Guaranteed Free Delivery by 12/24! available on most items - Details
How to Install a MMD Billet Aluminum Fuel Door on your 2010-2013 Mustang
Installation Time
15 minutes
Tools Required
- 7mm Socket
- 1/4" Drill Bit
- Small Flat Head Screwdriver
- 8mm Combination Wrench

Shop Parts in this Guide
Tools Required:
► 7mm Socket
► ¼” Drill Bit
► Small Flat Head Screwdriver
► 8mm Combination Wrench
Step 1:
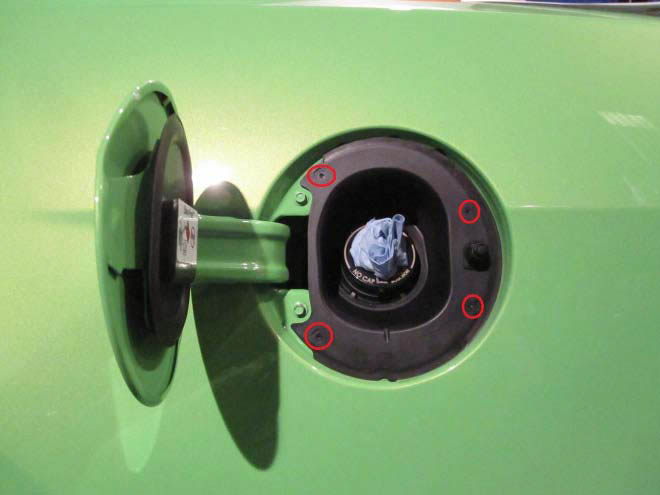
Open the fuel door and place a rag or towel in the filler neck to prevent getting any dirt or plastic pieces inside. With a ¼” bit, drill out the factory plastic shroud using the 4 indentations as guides for the bit.
Step 2:
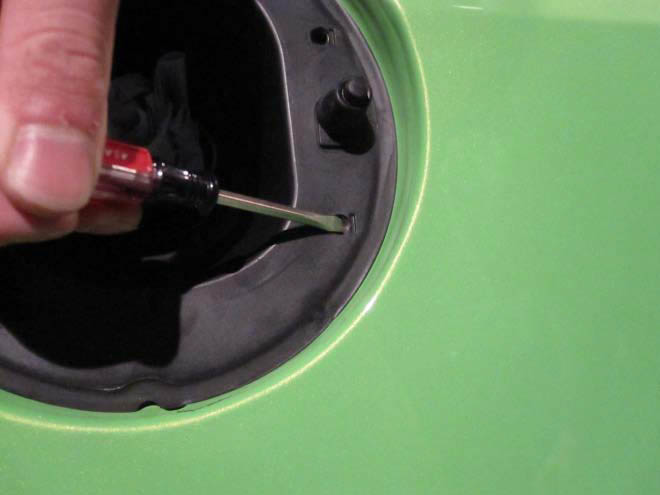
After the 4 holes are drilled, use a small flat head screwdriver to release the clips holding the shroud to the body.
Step 3:
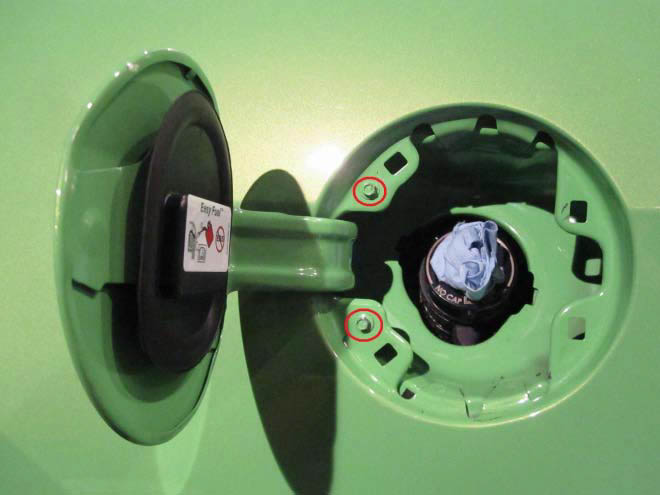
Once the shroud is removed from the vehicle, use a 7mm socket to remove the factory fuel door and set it aside.
Step 4:
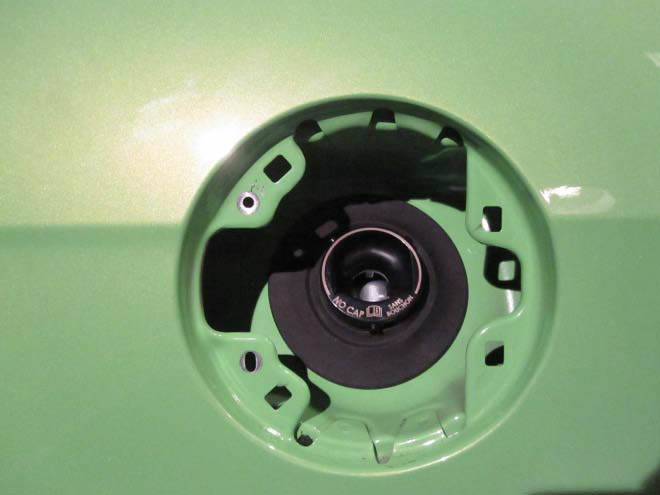
Install the included gasket over the factory filler neck making sure that the larger diameter lip goes into the hole and the smaller lip is facing out when installed. Work around the edge to get the entire lip into the hole, this will ensure the filler neck will not be able to move around once the gasket is installed. When installed properly, the gasket will look as shown below.
Step 5:
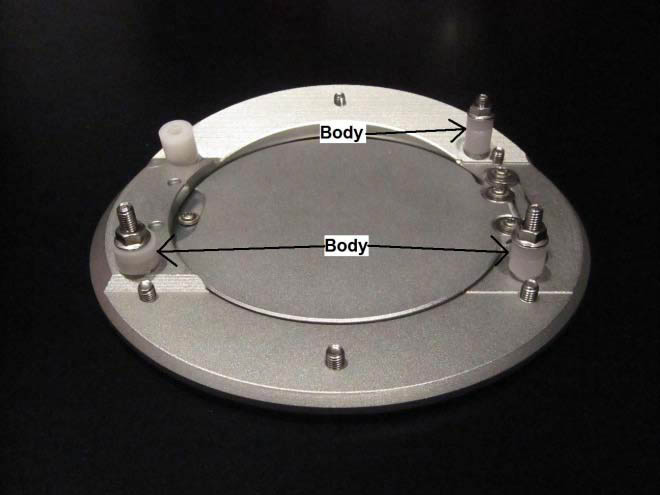
You are now ready to install you new billet fuel door. The door will come assembled with the hardware pre-attached as shown below. Remove the three 8mm nuts and top spacers from the studs. The illustration below shows where the body of the car will be when the door is properly installed.
Step 6:
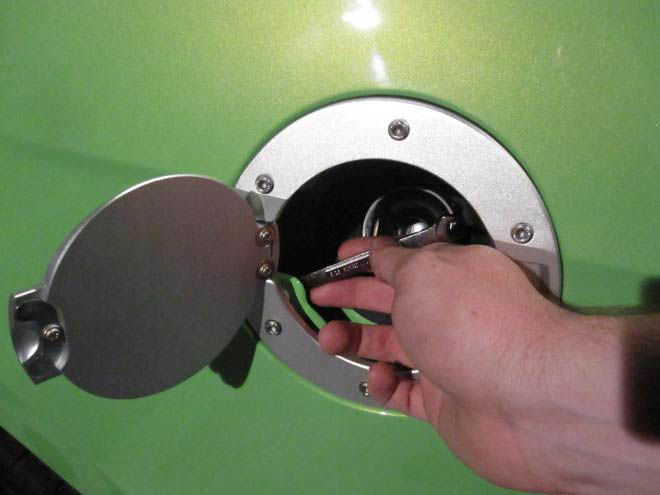
Install the door onto the vehicle and place the spacers removed in Step 5 back on the studs from inside the body and secure with the three 8mm nuts. Tighten the nuts using a small combination wrench to complete the installation.
