
How to Install Gear Oil in your 1979-2014 Mustang
Installation Time
1 hours
Tools Required
- 3/8 Ratchet
- 3/8" Three Inch Extension
- Floor Jack
- (2) Jack Stands
- Gear Pump
- 1/2" and 3/8" Clear Vinyl Tubing
- Empty Container or Catch Pan
- Paper Towels
- Rubber Gloves
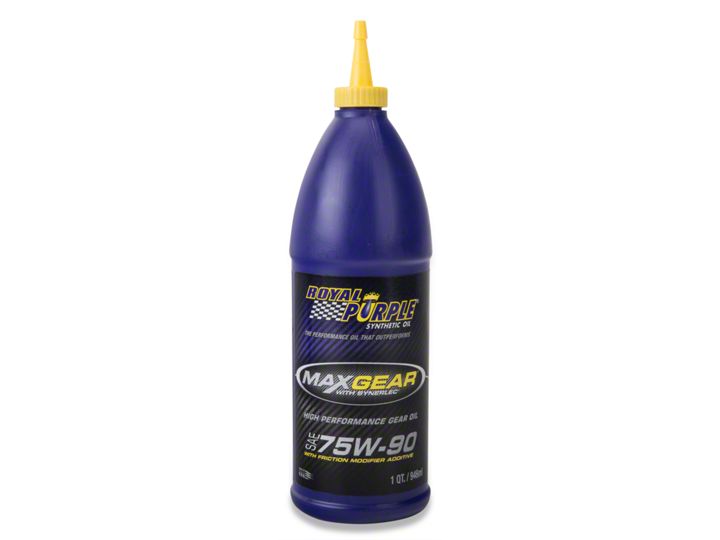
Shop Parts in this Guide
Tools Required:
3/8 Ratchet
3/8” three inch extension
Floor jack
(2) Jack stands
Gear Pump
1/2” x 3/8” clear vinyl tubing
Empty container or catch pan.
Paper towels
Rubber gloves
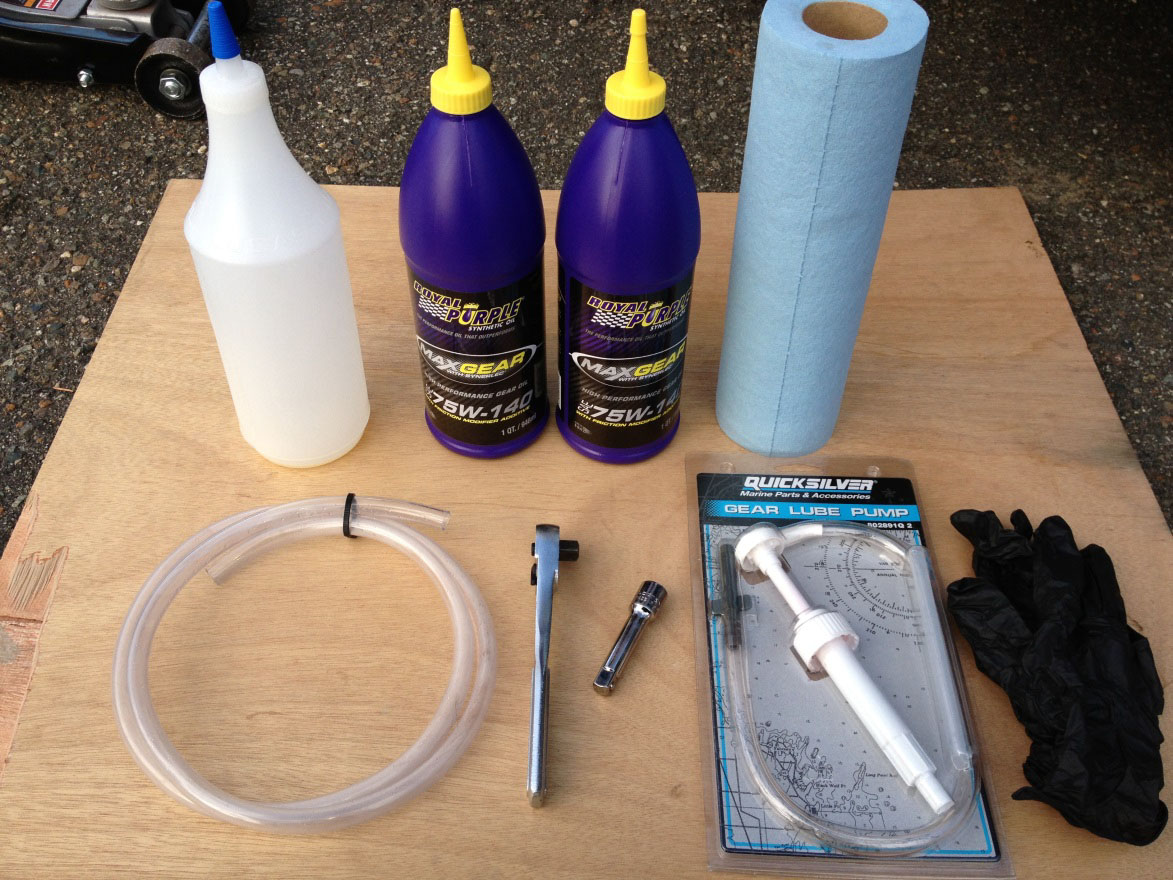
There are two common methods to draining. In this guide you will find both methods. If you are unsure of your vehicles oil fill capacity double check your owner’s manual.
Method one: Drain and refill using ½ vinyl tube and gear pump to evacuate fluid and replace with new gear oil. This method uses the refilling hole to service the axle, this method is best for routine maintenance as desired by owner and will remove 99% of the fluid inside
Method Two: Removal of cover for draining and inspection of gears requires new gasket sealant to be applied. Suggested full cure time before refill is 24 hours. This method is best used for a complete overhaul or inspection of gear ring and internal components.
Evacuate Fluid Method:
1. Prior to lifting vehicle ensure vehicle is locked in gear with wheel chock placed behind front wheels.
2. Proceed to raise vehicle with floor jack and place jack stands under vehicle recommended jacking points securely and lower.
3. Using a 3/8 Ratchet and 3” extension proceed to remove fill plug located on the front of differential.
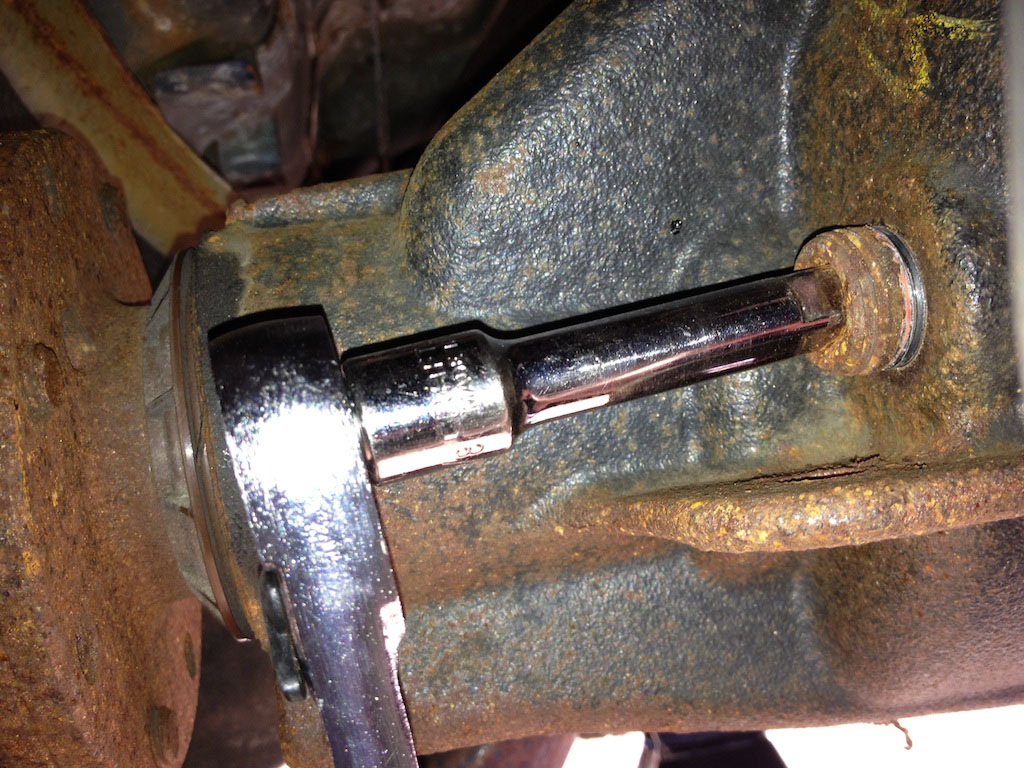
4. Proceed to install ½ hose inside refill hole on the front of differential push hose until bottoms out inside case.
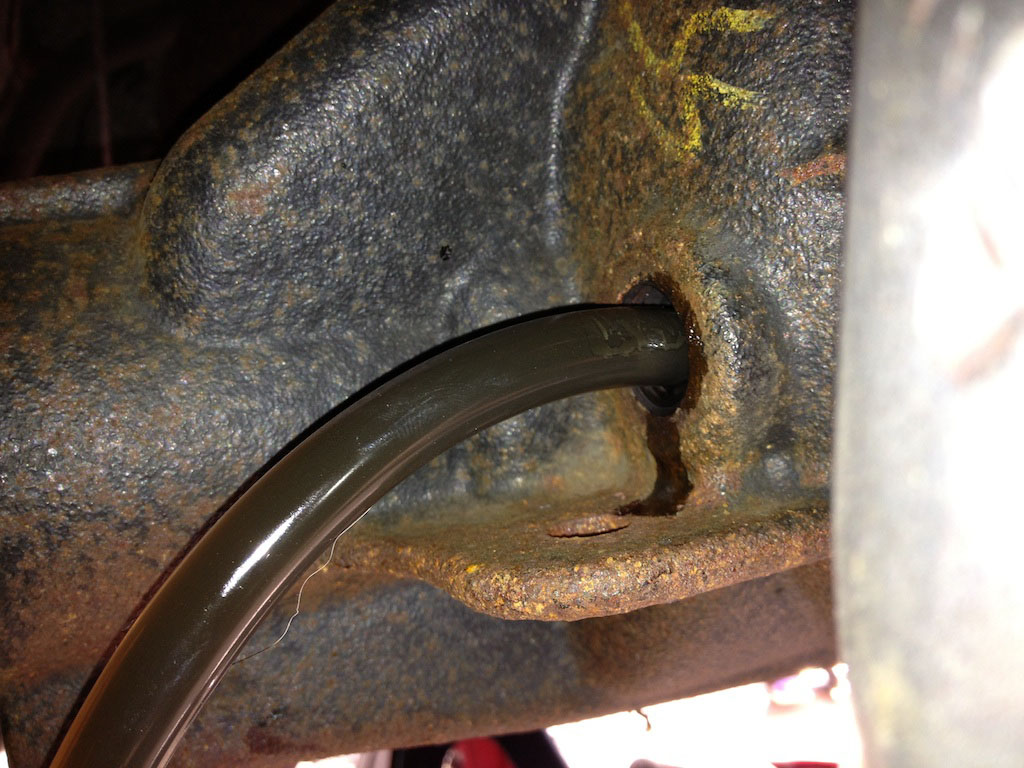
5. Install gear pump on ½ hose and place hose attachment on gear pump in to a suitable container or catch pan to collect used gear oil.
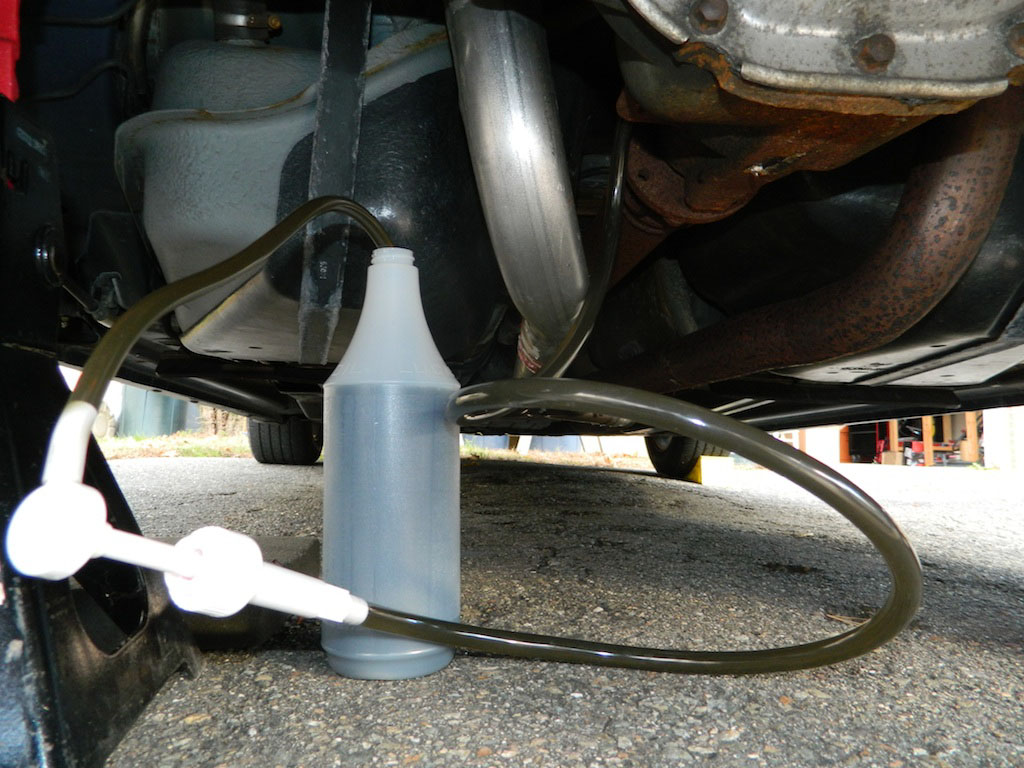
6. Evacuate all fluid until differential case is empty.
7. Remove ½ hose from pump and clean out any old oil.
8. Install gear pump with 6” bottle attachment inside new gear oil bottle
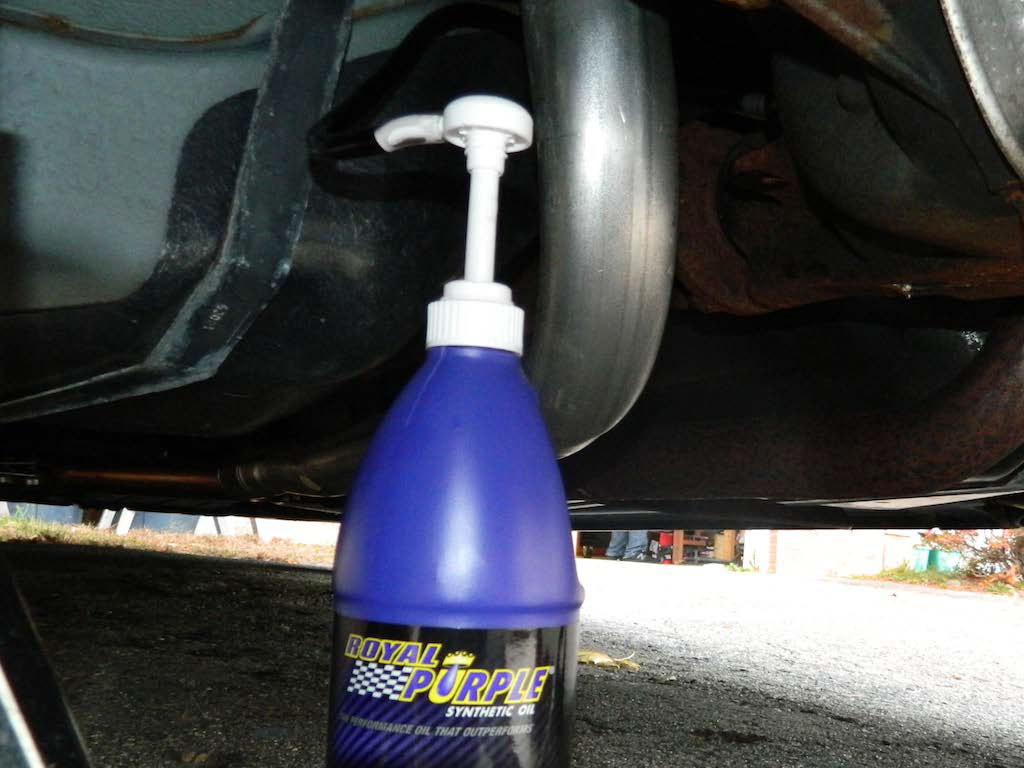
9. Proceed to pump new oil in to differential and fill to exact amount as Ford specifications require normally 7/16 of inch bellow fill plug hole.
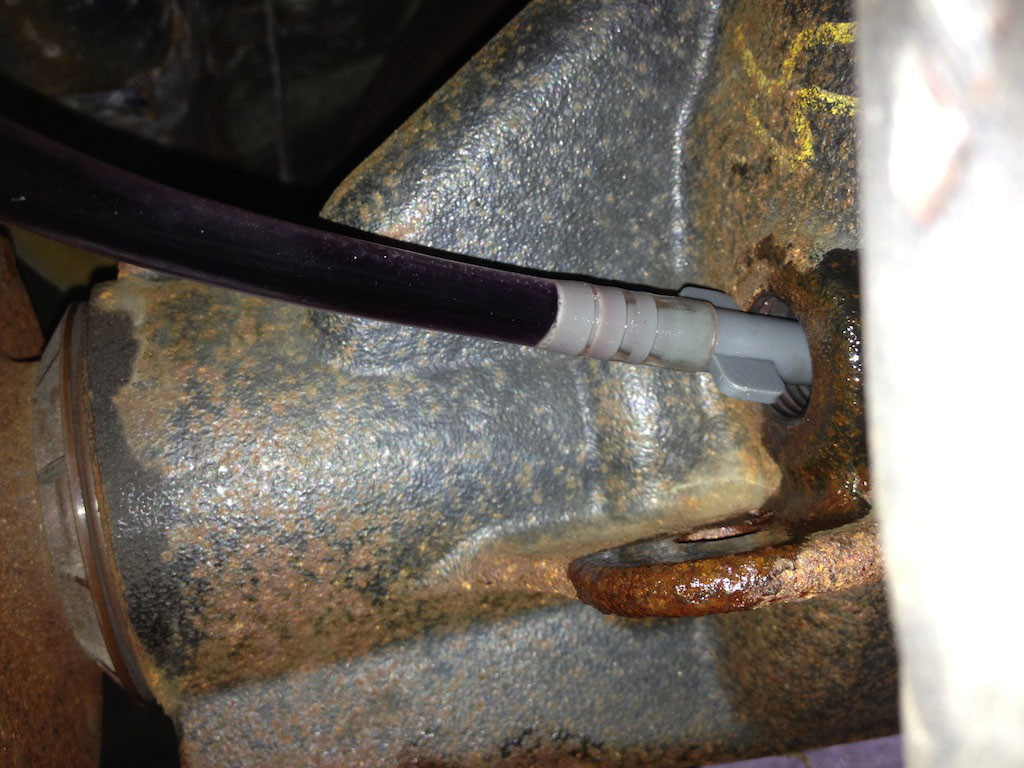
10. Once completely filled wipe away any spilled oil
11. Before reinstalling filler plug make sure to wipe magnet clean of any fine metal caught and reinstall drain plug then tighten to 22 lb-ft.
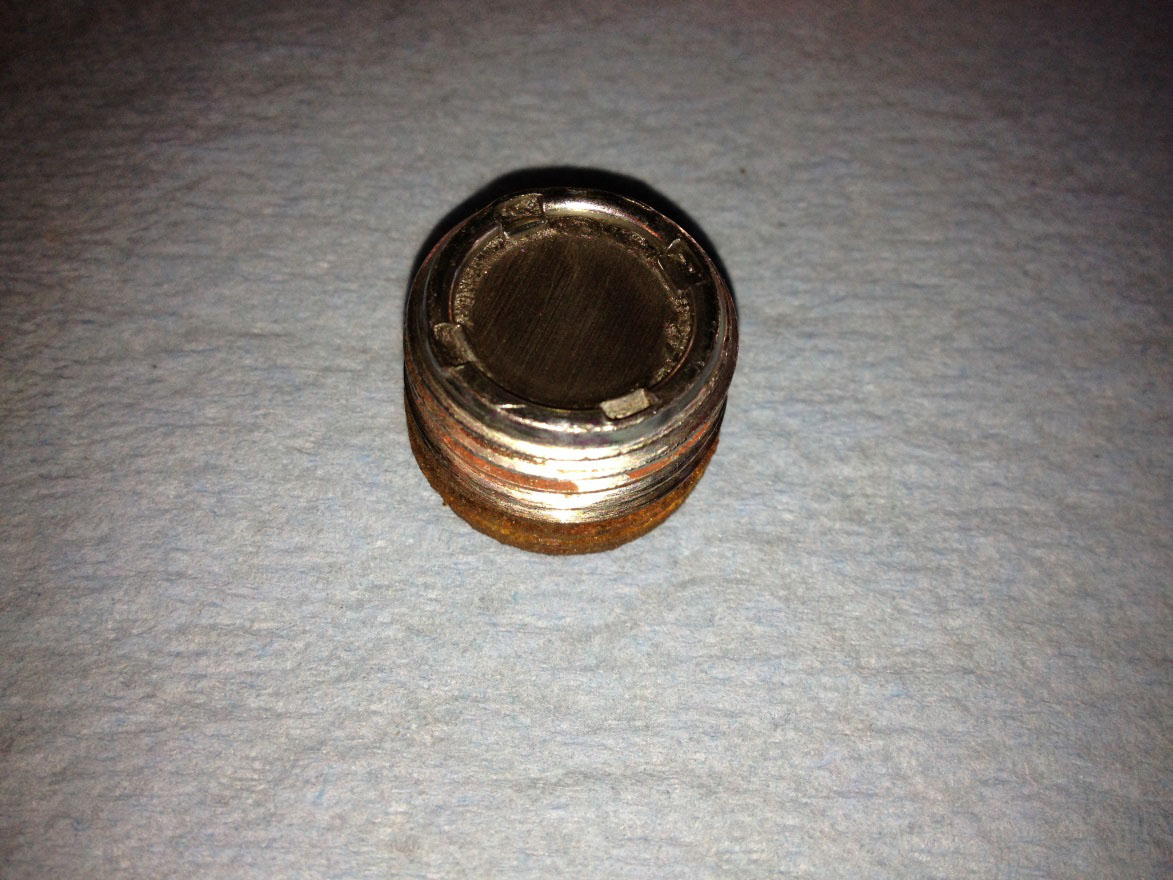
12. Lower vehicle back to ground level and Proceed to test drive.
Removing Cover Method:
1. Prior to lifting vehicle ensure vehicle is locked in gear with wheel chock placed behind front wheels.
2. Proceed to raise vehicle with floor jack and place jack stands under vehicle recommended jacking points securely and lower.
3. Using a 3/8 Ratchet and 3” extension proceed to remove fill plug located on the front of differential.
4. Loosen bolts using a 13mm socket remove all bolts expect bolts at the top located at corners. These bolts will ensure cover will not fall and allow for a more controlled drain and avoid splashing of fluid.
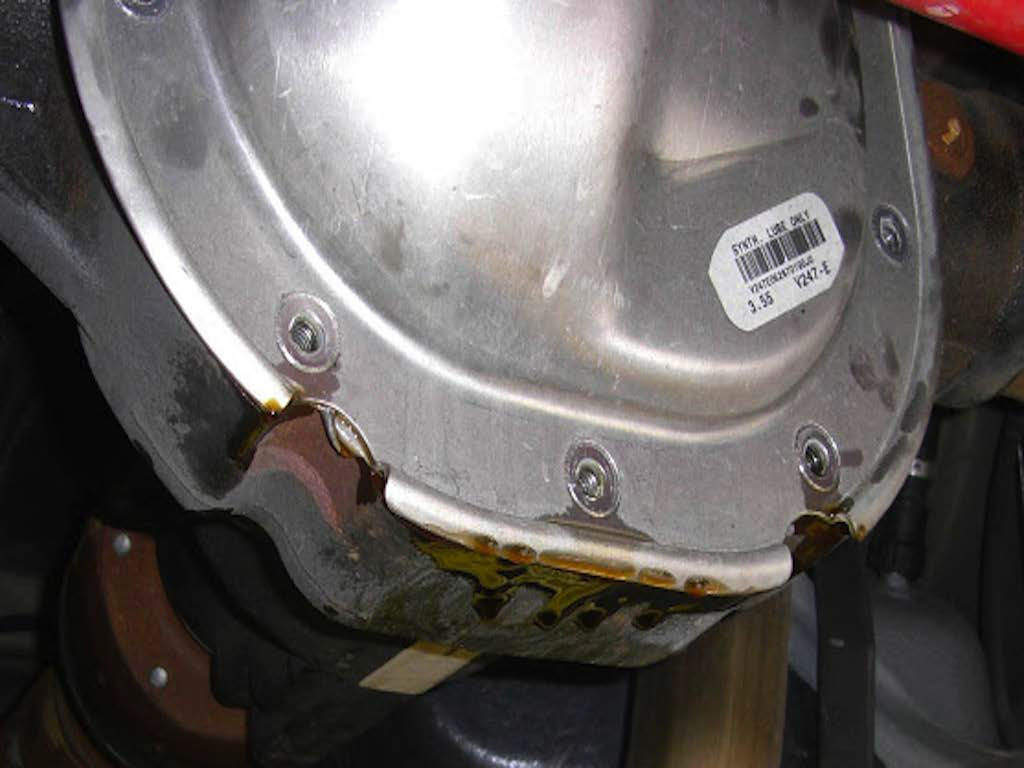
5. Using a small slotted screw driver pry between pan and differential and allow oil to drain.
6. Once completely drained removed cover and proceed to remove old gasket from differential case and cover with a gasket scraper or 1” putty knife. Be carefully not damage cover avoid dig marks or deep scratches
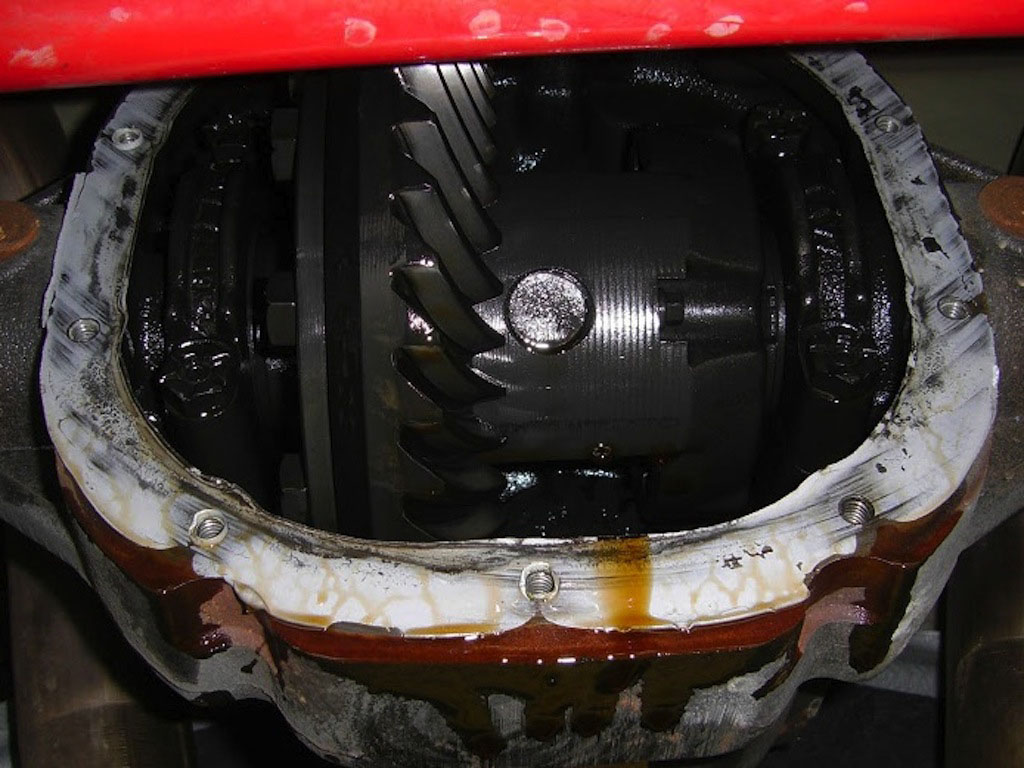
7. To ensure a smooth mating surface lightly clean up both surface faces with 120 grit emery cloth. Then proceed to clean surfaces with brake cleaner, wipe with a paper towel to remove any oils or dirt.
8. Install a continuous bead of RTV gasket maker such as Permatex Ultra Black, using a 1/8 to 3/16 bead ensuring to place bead on the inside of each bolt hole.
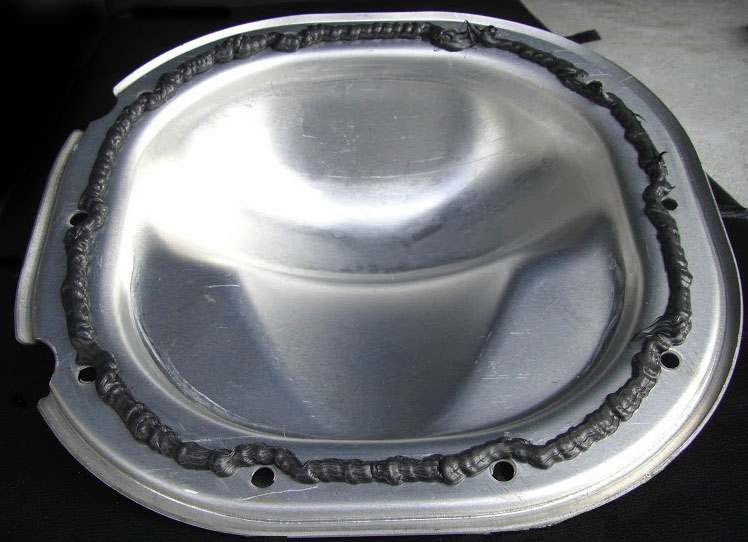
9. Install cover on differential housing finger tighten flange only until material begins to seep out the sides of the flange.
10. Allow gasket to set up as product calls for then torque bolts using a star pattern to 32 lb-ft.
11. Allow gasket to dry for at least total of 2 hours, or for best results allow curing overnight before refilling.
13. Proceed to pump new oil in to differential and fill to exact amount as Ford specifications require normally 7/16 of inch bellow fill plug hole.
14. Reinstall drain plug then tighten to 22 lb-ft.
15. Lower vehicle back to ground level and proceed to test drive
Installation Instructions Written By AmericanMuscle Customer Ryan Maguire 11/12/2013

