FREE 1 to 3-Day Delivery on Orders $149+ Details
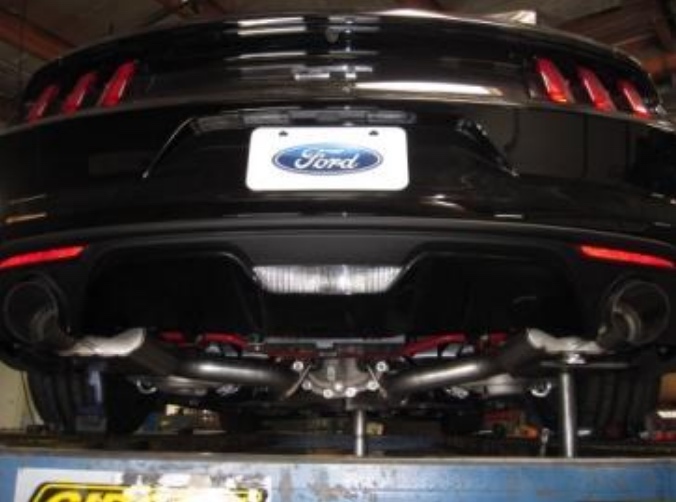
Gibson Cat-Back Exhaust w/ X-Pipe - Convertible - Black Tips (15-17 GT)
Installation Time
2 hours
Tools Required
- 1/2", 9/16", 15mm wrenches & sockets
- WD-40
- hacksaw
- jack stands

Shop Parts in this Guide

1. Disconnect the negative battery cable before removal of OEM exhaust. This will allow the computer to reset and recognize the new exhaust. Lay out the exhaust on the floor so it looks like the drawing and
1. Prior to removing your factory exhaust
2. To remove your stock exhaust, unbolt it from the clamps located just after the manifolds then remove the whole exhaust system.
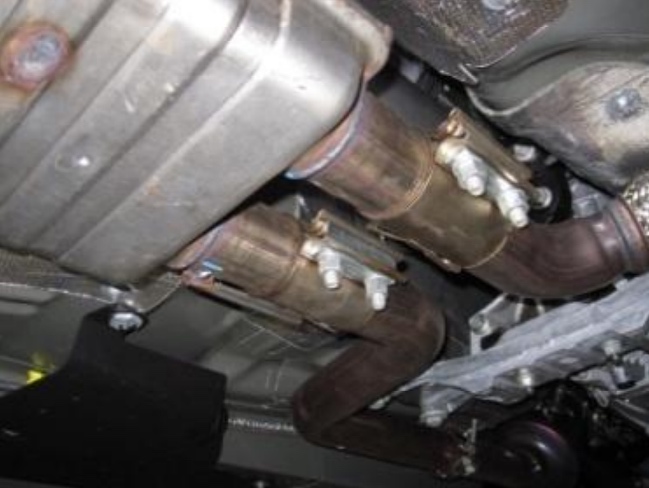
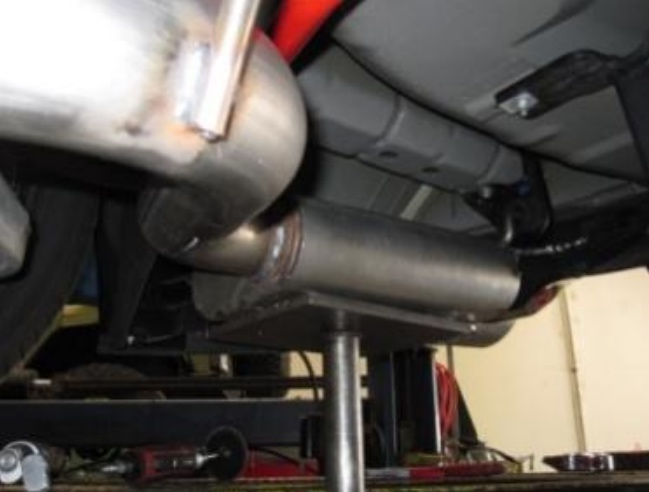
2. Install your Gibson x-pipe using the stock clamps. Be sure to keep loose until the entire system is in place.
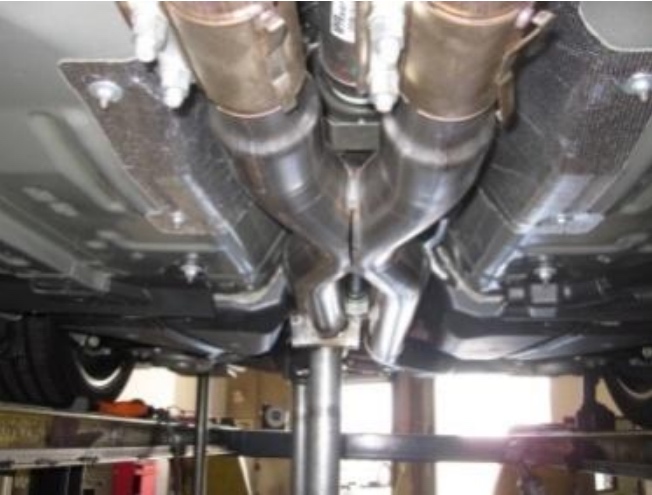
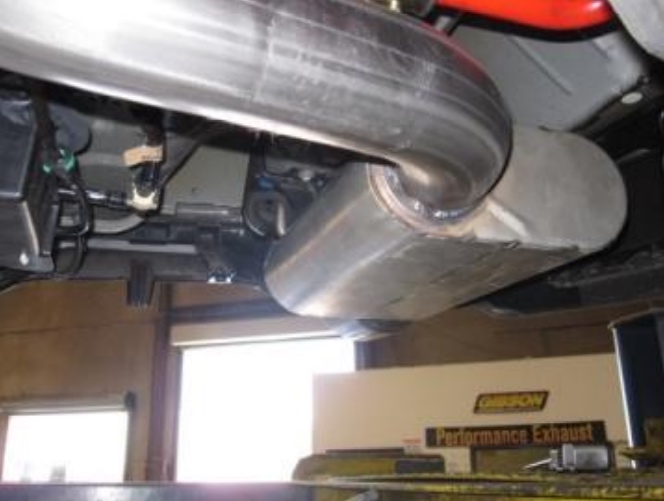
3. Now install the passenger side muffler assembly #B by sliding the metal hangers into the rubber grommets. Then do the same for the driver side muffler assembly #A. Use clamp #D to secure together. Keep loose.
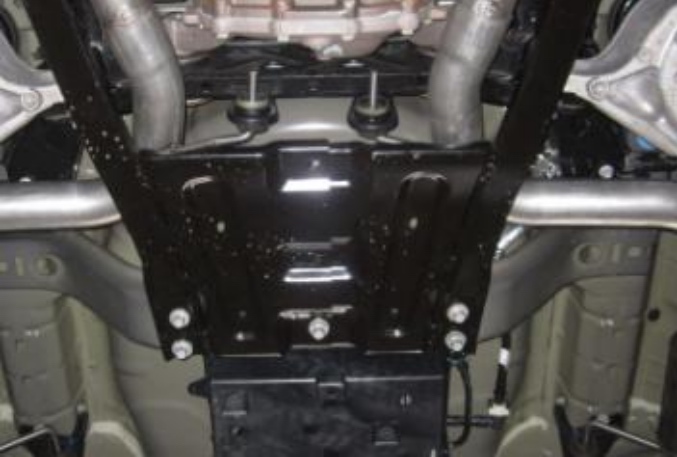
4. Once you have entire system hanging loose re install the factory fram support bracket. Instal the forward bolt loosly and used the supplied spacers and bolts for the rear 6 bolts. Tighten down all the bolts.
5. Check for clearance on all pipes and tip location. Place rubber objects or wood objects in areas that have little clearance. This will help hold the exhaust in place when you begin to tighten everything down. Once you have everything in place, firmly tighten all bolts and clamps down securely. Remove objects holding parts in place and double check all clearances.
Inspect all fasteners after 25-
50 miles of operation and re-
Tighten as necessary