
Best Sellers
How to Install Hurst 10-Piece Hurst Graphics Pack - Red on your Mustang
Installation Time
15 minutes
Tools Required
- Surface (Automotive Paint) Cleaner
- Spray Bottle
- Liquid Soap (Baby Shampoo)
- Painter’s Tape
- Needle
- Scissors or Craft Knife (optional)
- Soft Cloth
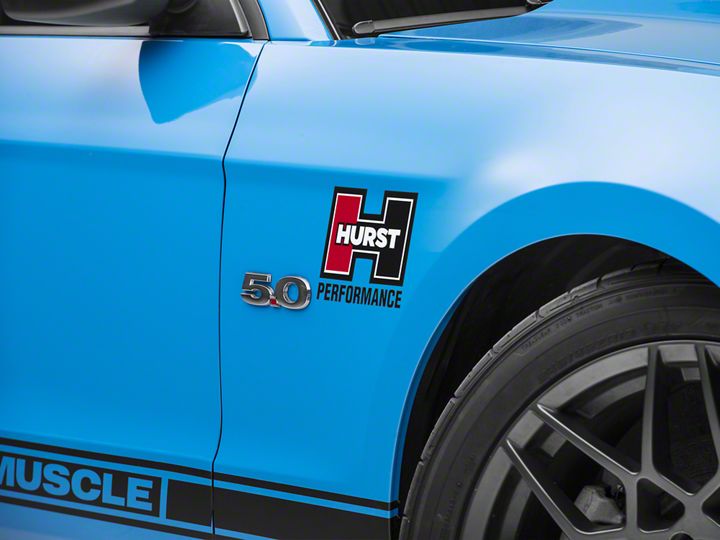
Shop Parts in this Guide
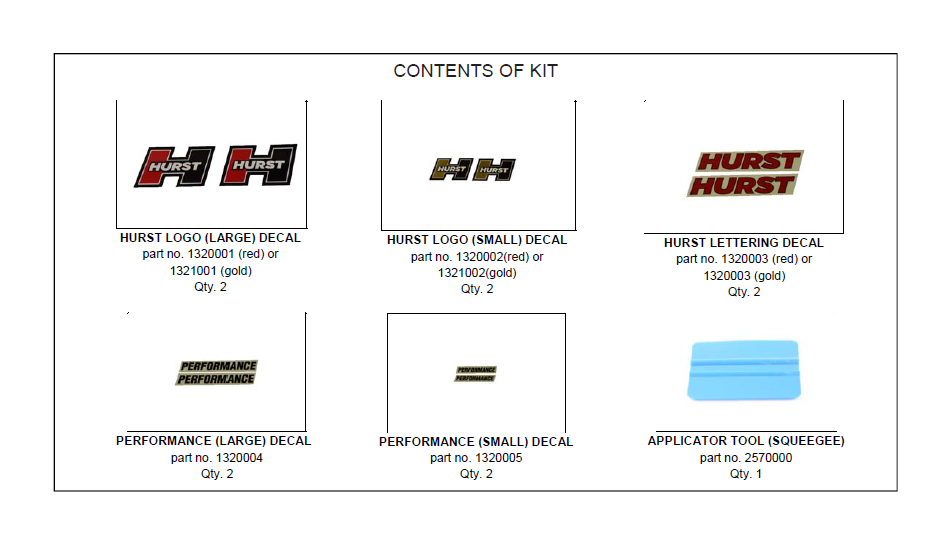
PREPERATION: Clean the area of the vehicle in the location of application. It is best to clean the entire vehicle first to avoid contamination of the decal adhesive surface from dust and debris. Remove any wax build up in the area of decal installation using a surface cleaner. Then wash the area again to remove any residue left behind. Prepare a spray bottle with a mixture of water and mild liquid soap (quality car wash soap or baby shampoo – DO NOT use dishwashing soap) with 4-5 LARGE drops of soap to 32 ounces of water. DO NOT install decals in direct sunlight.
Step 1. Ensure the decals are flat and have not become creased or damaged during the packaging or shipping process. Allow the decals to rest flat for some time and inspect them for defects as they cannot be returned after installation or modification (trimming).
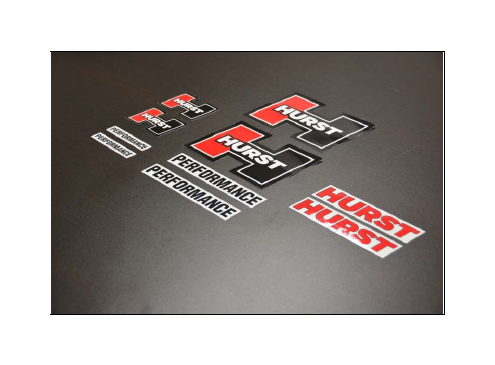
Step 2. Without removing the backing, position a decal in the desired location. Use some painter’s tape as a guide to locate the decal edges. The tape can also be used to hold the decal in position temporarily.
NOTE: Using scissors or a craft knife, the decals can be trimmed for a closer cut custom style look. However, this can make installation more difficult and can negatively affect the durability or the decal.
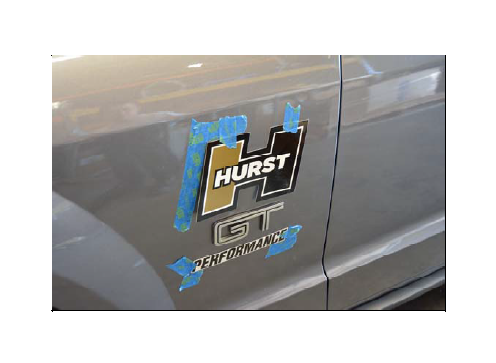
Step 3. Generously spray the application surface where the decal will be applied with the soap and water solution.
NOTE: Working with clean grease-free hands helps prevent finger prints under decals and helps ensure better decal adhesion. Wash hands frequently during installation.
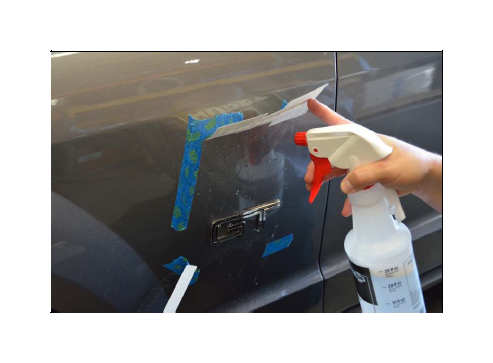
Step 4. Peel the backing off of the decal, spray the adhesive side of the decal, and place on top of the wet soapy surface. This will allow the decal to slide into the desired location.
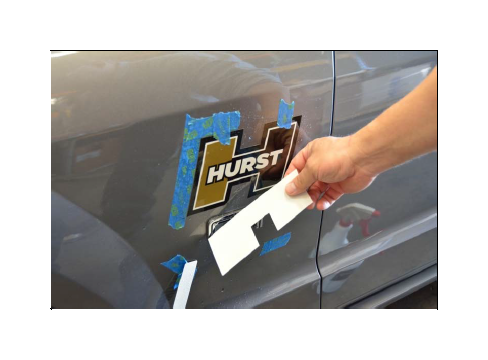
Step 5. With the decal positioned in the final location, wrap the applicator tool (squeegee) with a soft cloth and slowly work any bubbles out of the decal working from the center out to the edges. Be careful not to shift the decal position in the process. Once sufficient liquid is pushed out from behind the decal, it will stick permanently in place and will not be able to be shifted nor moved.
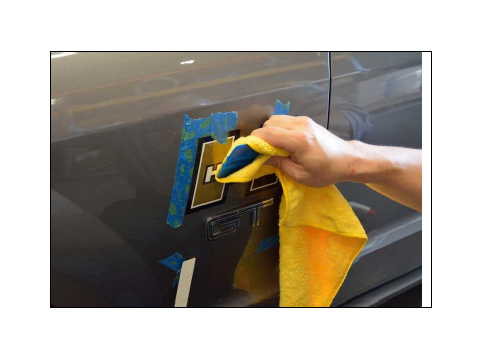
Step 6. Carefully remove any painter’s tape used in the installation process. Minor bubbles should dissipate after the decal dries completely (24-48 hours). Larger more stubborn bubbles may require the use of a needle to release the air through the decal however this method should be used as a last resort.
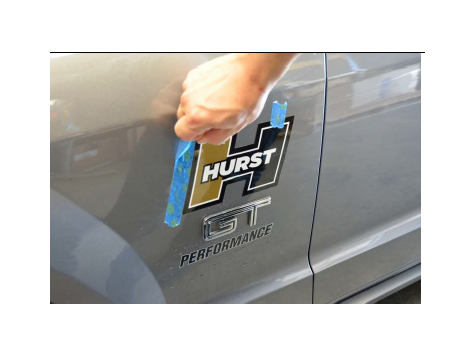
Step 7. Repeat the steps above including cleaning and preparation for additional decals.
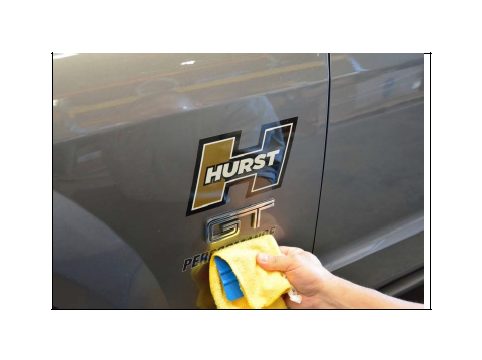
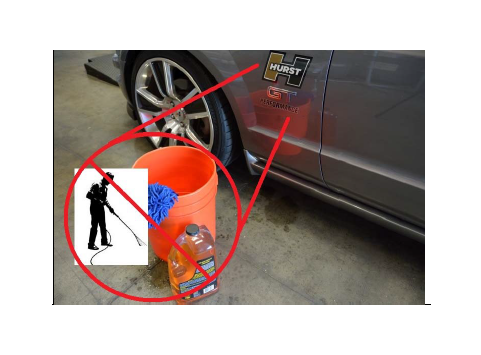
Step 8. Allow decals to completely dry and adhere (3 to 5 days depending on conditions) prior to washing, waxing, or otherwise disturbing. Care should be used when washing/waxing near the decals as wash mitts, sponges, and cloths can catch on decal corners and edges. NEVER use a pressure washer on or near the decals.
Step 9. Enjoy!
NOTE: Decals can be installed dry; however this is generally not recommended especially on larger decals. There is a much greater risk of positioning errors that cannot be corrected, as well as a greater risk of air bubbles trapped under the surface of the decal. Carefully following the “wet application” steps above will almost always result in a more professional installation.


