
How to Install Injen Power-Flow Cold Air Intake - Wrinkle Black on your Mustang
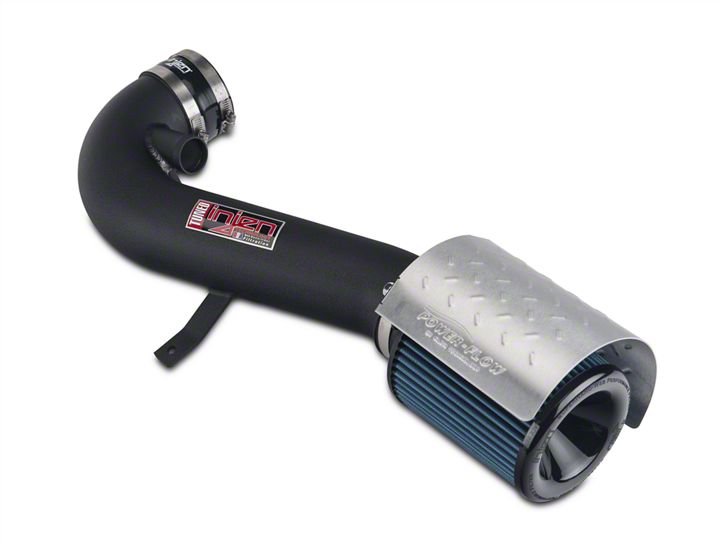
Shop Parts in this Guide
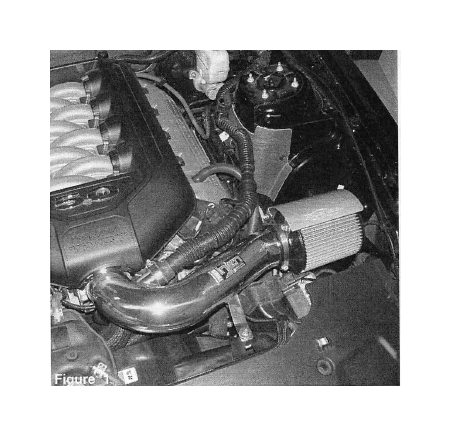
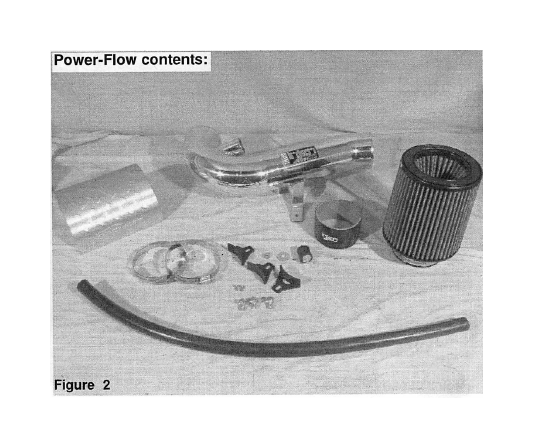
Complete stock intake shown. Disconnect battery before install.

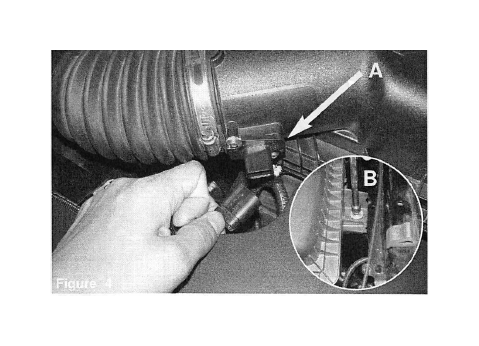
A) Disconnect the MAF sensor from harness.
B) Loosen the 10mm bolt holding in the air box.
Carefully lift up and remove the engine cover.

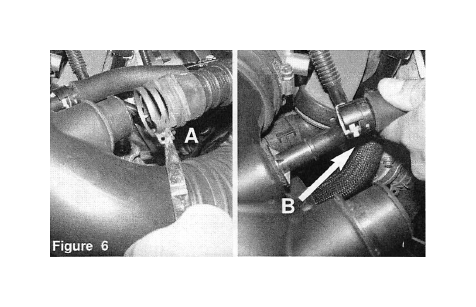
A) With pliers loosen the clamp holding in the sound tube connected at the intake tube and remove. Pull back sound tube.
B) Disconnect crank case line from intake tube.
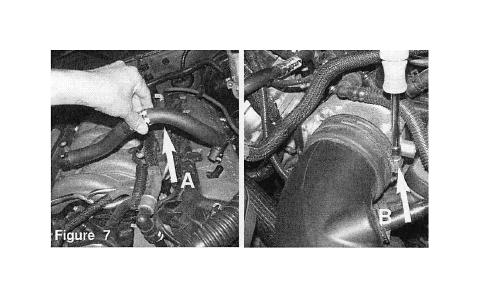
A) Disconnect crank case line from engine and remove from vehicle.
B) Loosen the clamp on the throttle body using 8mm nut driver and pull back.
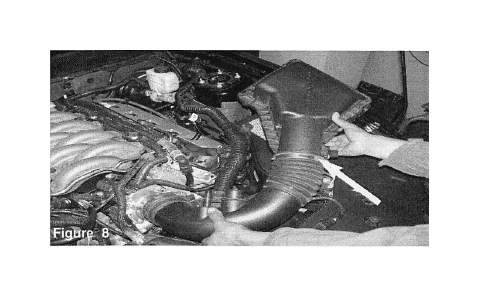
Carefully lift up and pull out he stock upper half of air box from vehicle.
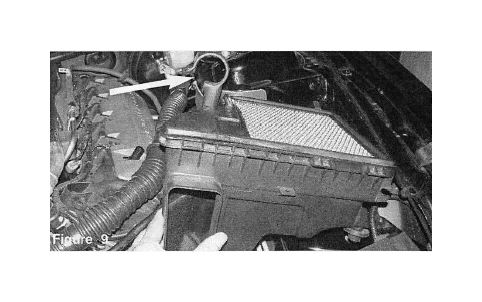
Carefully lift up and pull out the bottom air box from vehicle. Make sure that the sound tube rubber isolator is disconnected.
A) With T25 torx bit, loosen the 2 screws holding in MAF sensor.
B) Carefully remove MAF sensor.
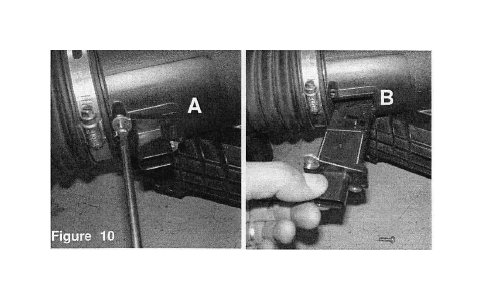
Install the MAF sensor into the intake tube.
Secure the MAF sensor using 2.5mm button head screws. Tighten using alien key.
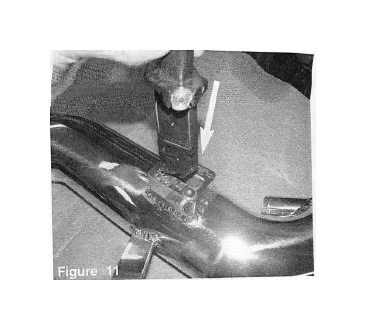
Install the M6 vibra mount to the thredded insert located on the radiator shroud.
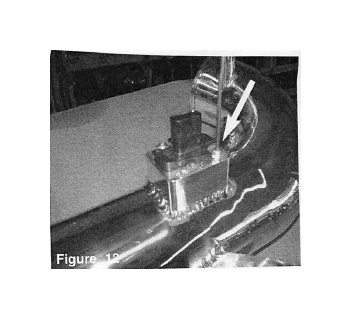
With clamps provided, install the 3-1/2" straight hose to the throttle body.
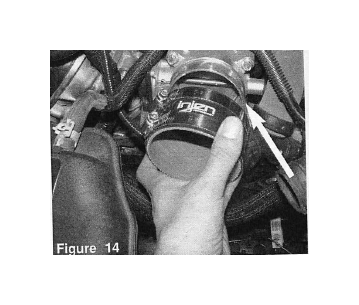
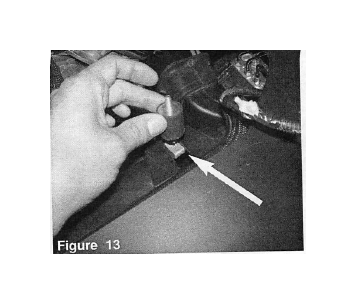
Install the 15mm hose to the engine fitting. Positon so hose sits under the intake tube.

Make sure the OE clamp is removed, attach the new clamp to the sound tube.
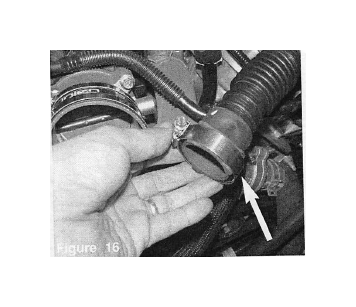
Attach the hose to the fitting on the intake tube.

Connect MAF sensor harness

Position the intake tube to the throttle body and bracket to the vibra mount.
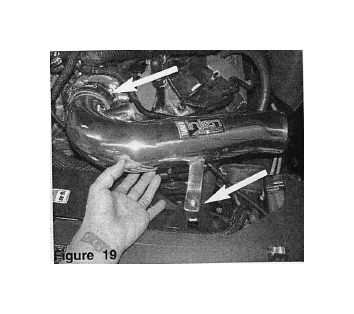
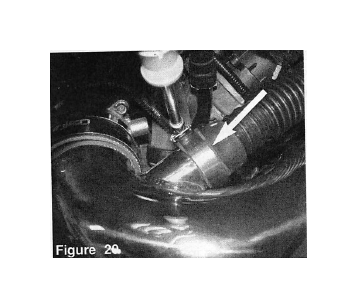
Install the sound tube to the fitting on the intake tube Secure and tighten using 8mm nut driver.
Take the heat shield, position like image above. Attach the brackets to the heat shield, secure the brackets using provided 5/16 hex screws and tighten.

Install the filter to the center of the heat shield, place clamp around the brackets and postion, tighten clamp just enough to prevent the heat shield from coming off.
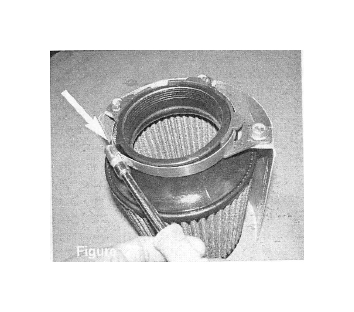
Install the filter and shield assembly to the intake tube and position. Position the heat shield for it not to hit frame of vehicle or any brake lines close by.
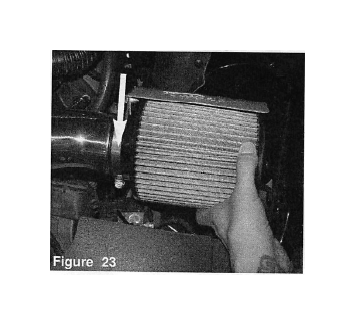
Tighten the clamps using 8mm nut driver.
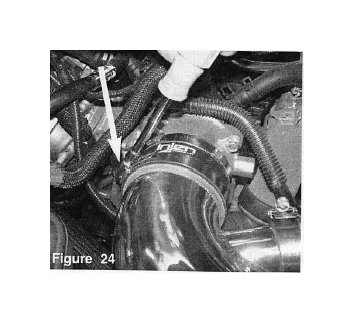
Secure the bracket using the provided M6 nut and washer. lighten using 10mm socket and ratchet.

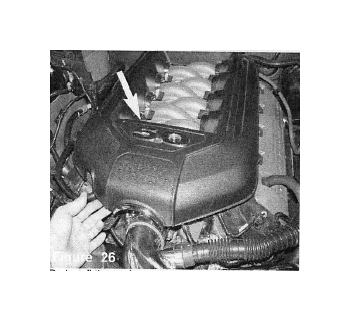
Re-install the engine cover.
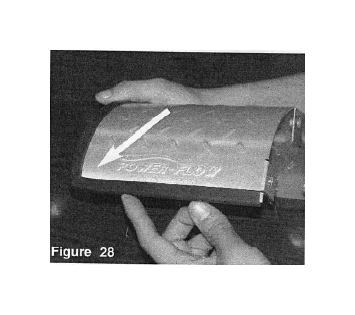
Provided vinyl trim can be installed to the edge of the heat shield. Cut a V out of the 2 corners to make the trim seal fit properly.
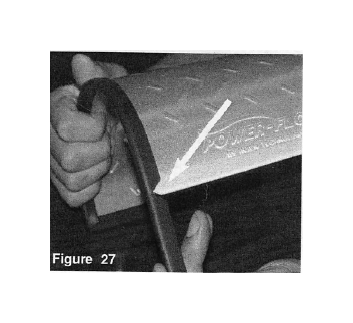
Once cut, attach to the heat shield.
Check the entire system for the best possible fit. Once you have checked the entire system for leaks, rubbing or rattling, continue to tighten all nuts, bolts and clamps. Reconnect the negative battery terminal prior to starling the engine.
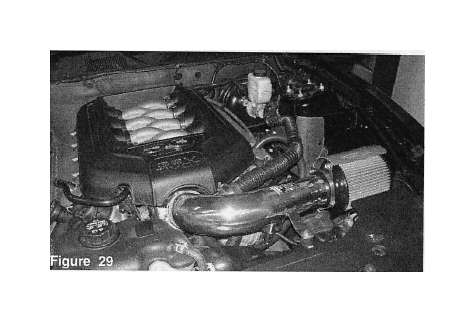
Congratulations! You have just completed the installation of the best engineered intake system, featuring Web Nano-fiber dry filter. Periodically, check the sys-tem for fitment, this will enhance the life of your Power-Flow system.
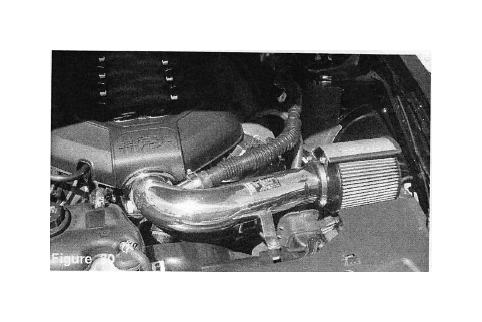
1. Upon completion of the installation, reconnect the negative battery terminal before you start the engine.
2. Align the entire intake system for the best possible fit. Once the intake has been properly fitted continue to tighten all nuts, bolts and clamps.
3. Periodically, recheck the alignment of the intake system and make sure there is proper clearance around and along the length of the intake. Failure to follow proper maintenance procedures may cause damage to the intake and will void the warranty.
4. Start the engine and listen carefully for any odd noises, rattles and/or air leaks prior to taking it for a test drive. If any problems arise go back and check the vacuum lines, hoses and clamps that maybe causing leaks or rattles and correct the problem.
5. Check the filter for excessive dirt build up. Clean or replace the filter with an original Injen/AMSOIL filter now sold on-line at "injenonline.com"). Congratulations! You have just completed the installation of the best intake system sold on the market. Enjoy the added power and performance of your new intake system.

