
JLT Performance Cold Air Intake ('05-'09 Mustang V6) - Installation Instructions
Installation Time
60 minutes
Tools Required
- 10mm Socket Wrench (an extension helps a lot)
- Flathead Screwdriver
- Philips Screwdriver
- 3/32 Alan wrench
Installation
1. Locate your stock airbox, your mass air flow sensor, your heater hose, and the tube connecting everything to your plenum.
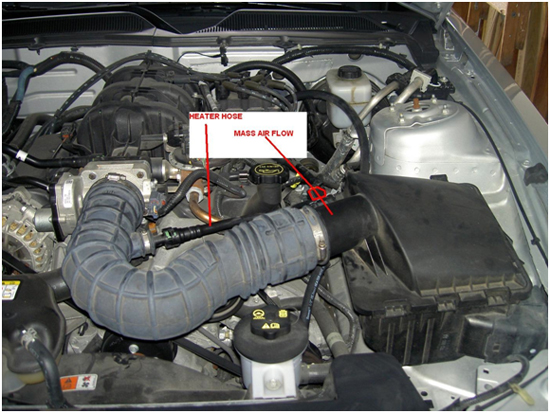
2. All of this stuff must be taken out of the car. First things first, locate the single bolt holding your factory airbox in place and remove the bolt with a 10mm socket wrench. (extension recommended)
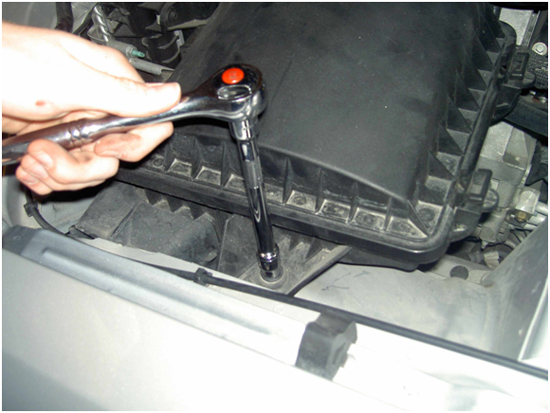
3. Once the bolt is removed, set the bolt aside, you will be needing it later, do not try to remove the airbox yet, as we must still remove some things before doing so.
4. Moving left down the tube (towards the engine) locate the MAFS (mass air flow sensor)
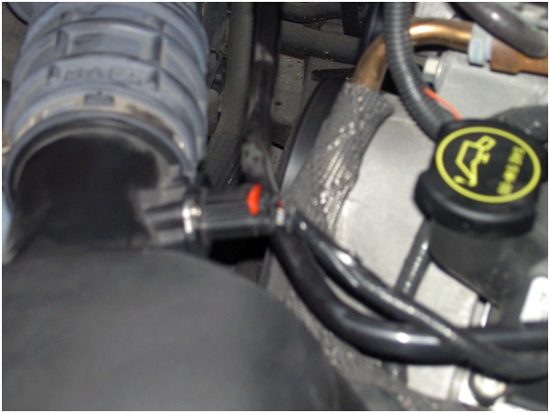
5. There are two bolts keeping this in place, so take your 3/32 alan wrench and remove the bottom bolt first, followed by the top bolt. These bolts will not be used on the JLT CAI, but you may still want to keep them if you plan on returning to stock. Once the bolts are out, carefully slide out the MAFS and set it aside, preferably somewhere where it will not get damaged.
6. Again moving left along the tube, locate where the heater hose connects to the intake tube, this must be removed. This is done by unsnapping the little green ring around the connection, and simply pulling it straight off, follow the hose back to where it connects to the engine, and do the same thing there. Once this is done, remove the old hose from the engine bay and set aside, and as with the MAFS bolts, this part is not needed for the JLT CAI.
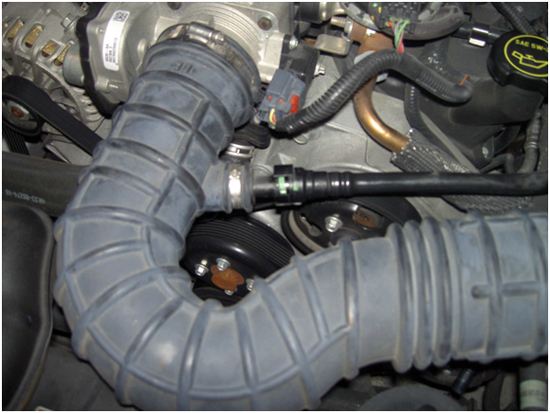
7. Now locate where the intake tube meets the plenum by way of the throttle body. Using a flathead screwdriver, loosen the clamp here, but DO NOT REMOVE FROM THE THROTTLE BODY YET,LEAVE THE AIRBOX IN THE CAR FOR NOW.
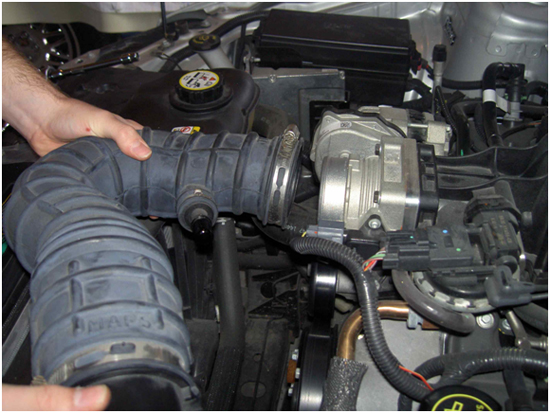
8. Before removing the stock airbox, it is a good idea to assemble your new JLT CAI.
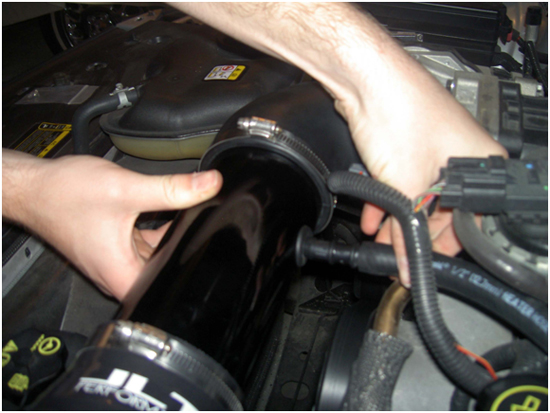
9. Locate the 90 degree rubber elbow and the long black plastic tube and fit the rubber elbow around the end of the plastic tube on the end of the tube that is closest to the little hole in the side (for the heater hose). Also make sure that the little hole is lined up with the opening of the rubber elbow
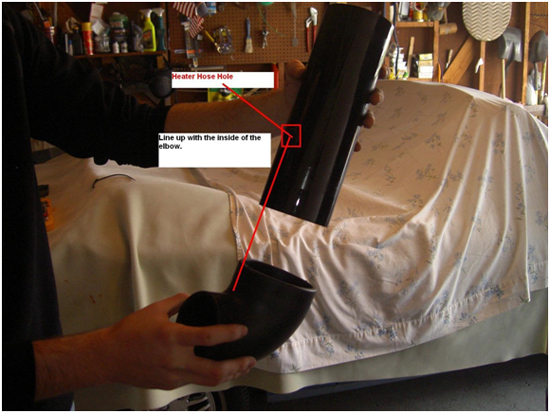
10. Slide a small metal clamp around the opposite end of the tube and place the black silicon reducer over that end. You should only push the silicon reducer so far so that the black tube ends where the reducer gets wider.
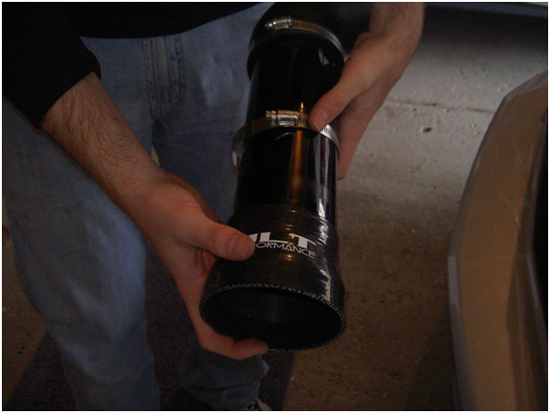
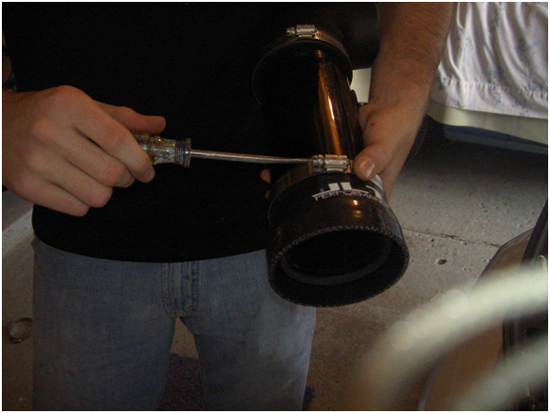
11. Fit the new metal mass air flow sensor housing into the silicon reducer so that the letters “JLT” can be read normally (without turning the intake around) and the slit for the MAFS is again, aligned with the opening of the elbow!! Secure the connection with another clamp.
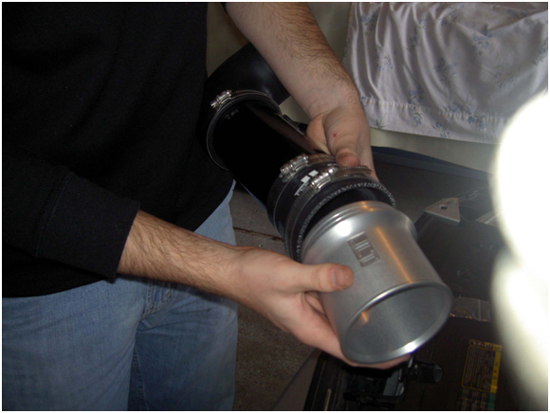
12. Affix the new filter on the other end of the MAFS housing making sure you have enough room to re-insert the MAFS. Secure the connection with another clamp.
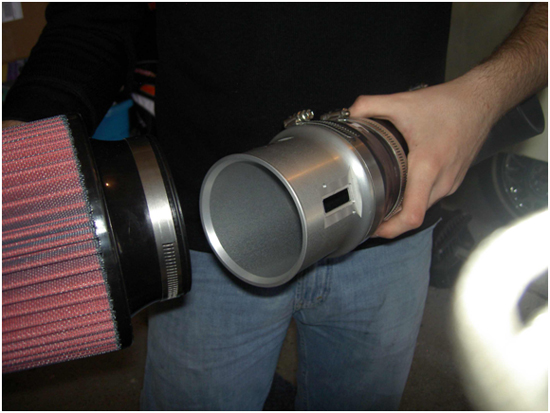
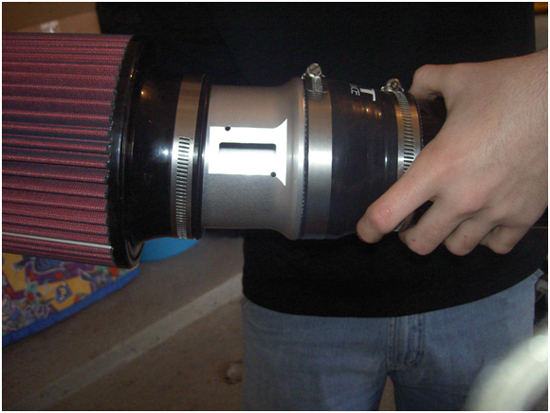
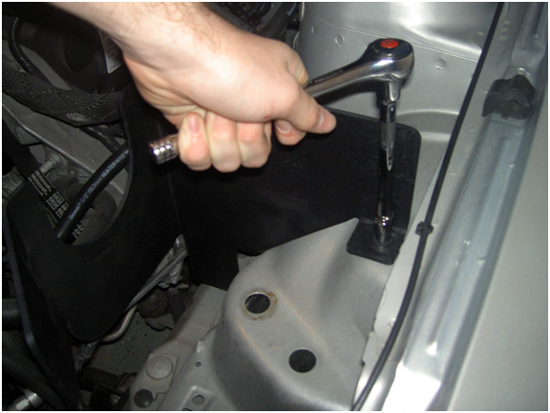
13. After the assembly of your new JLT intake is done, go ahead and take your stock airbox out and put in your supplied heat shield. Using the old stock airbox bolt and your 10 mm socket wrench bolt in the heat shield. Using the supplied zip ties, secure the free end of the heat shield to the round hole in the front of your engine bay. Place your JLT in. put a new clamp over the elbow, and attach it to your throttle body. Again, using a flathead screwdriver, tighten that connection.
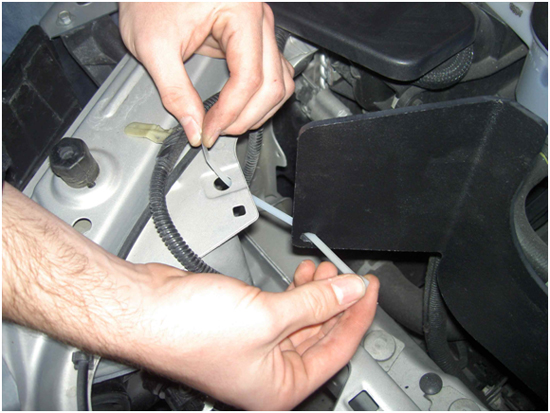
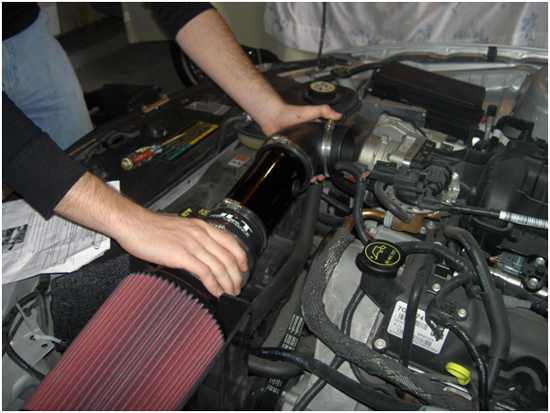
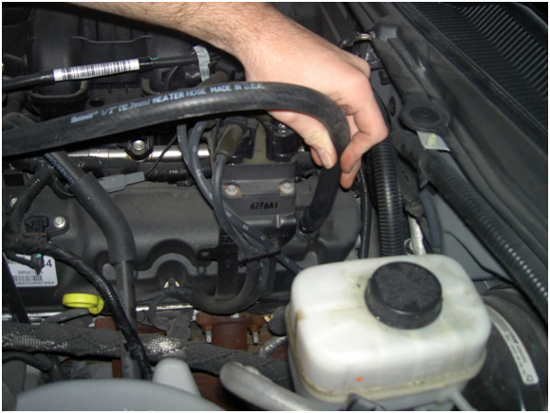
14. Take your brand new heater hose and stick the end with the little black extension and place it in the hole in the black tube we lined up earlier. Then place the opposite end of the hose on the fixture at the backend of your block (where you removed the stock hose).
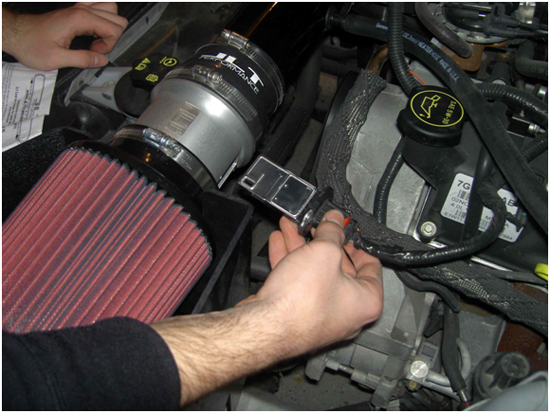
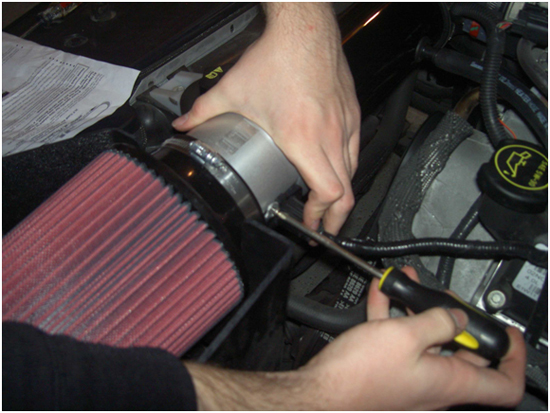
15. Now we must replace the MAFS into the new MAFS housing. ATTENTION look on the exterior of your MAFS and make sure the “Flow >>>>” on the sensor is pointing towards your engine! The MAFS will not fit right if you get it reversed anyways, but if you somehow put it in upside down then you run the risk of doing damage to your engine. Insert the MAFS and use the supplied screws (not the stock ones) and secure the MAFS using a Philips screwdriver. (the bolts will be tight!!)
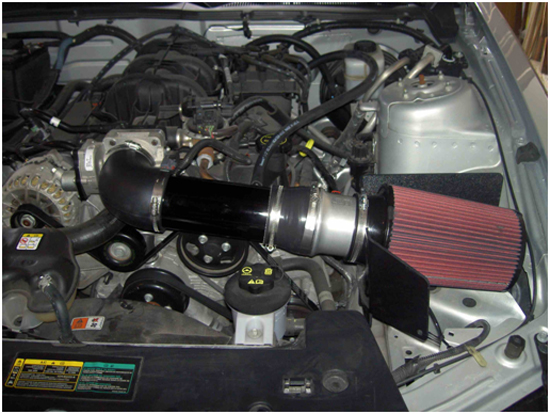
16. Now that you have done everything you need to do with the cold air intake, before you start your car you MUST, and I mean MUST re-tune your car with an SCT tuning device or a diablo sport tuning device. I cannot stress this enough, but your car will NOT run right without a new tune!! Once you upload a new tune into your car start her up and hear her roar! You have just successfully added one of the best mods for your car!
Installation instructions provided by AmericanMuscle customer Brian Rissman 4.29.09
