
JLT Performance Cold Air Intake ('94-'95 GT & Cobra) - Installation Instructions
Installation Time
60 minutes
Tools Required
- 5/16 wrench
- 10mm open end wrench
- 11mm open end wrench
- Phillips head screwdriver
- Car jack and stands.
Installation
Remove stock intake:
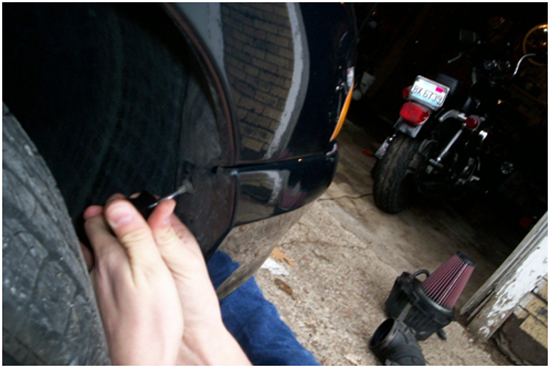
1. Jack the car up, turn wheel to the right and pull back the fender splash guard by taking out 3 connecting screws.
2. Remove stock tubing and filter, disconnect MAF sensor wires and set to the side
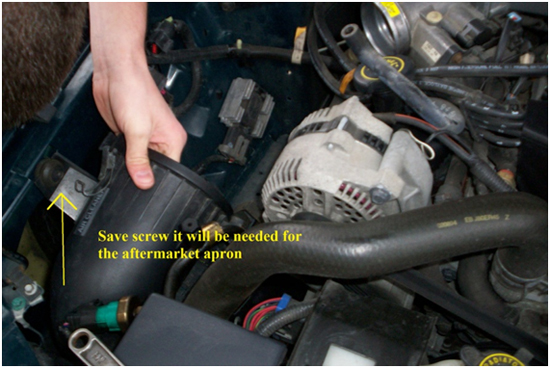
3. At this time remove the MAF sensor from the air box.
4. The MAF is connected by 4 nuts, remove them.
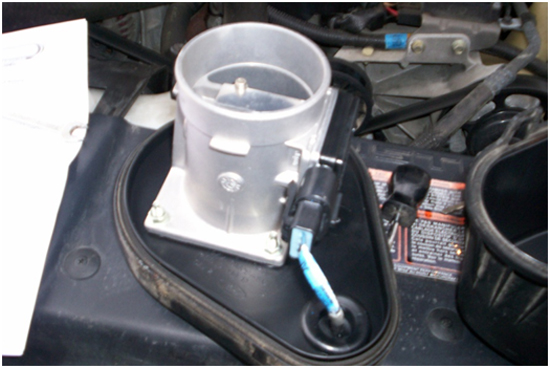
5. Remove MAF screen and install the supplied MAF adaptor.Do not reuse the screen.
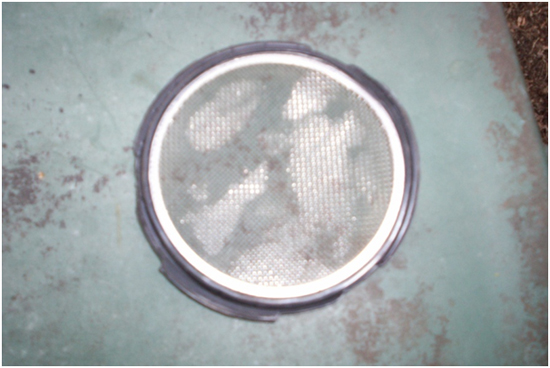
6. Adaptor attaches to MAF by using the 4 screws that are supplied, this adaptor is needed in order to use the air filter.
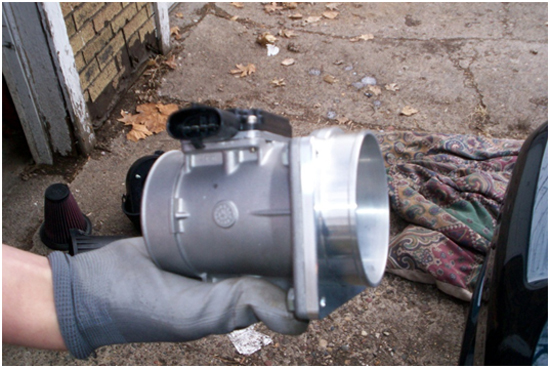
Installation of Cold Air Intake
1. Take MAF sensor wires that you set to the side and route them through the apron panel, these wires will be plugged in later.
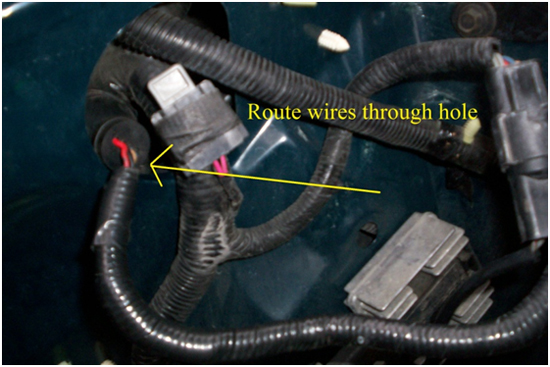
2. You only need a few inches of the cable inside the fender, just enough to reach the MAF sensor once in place.
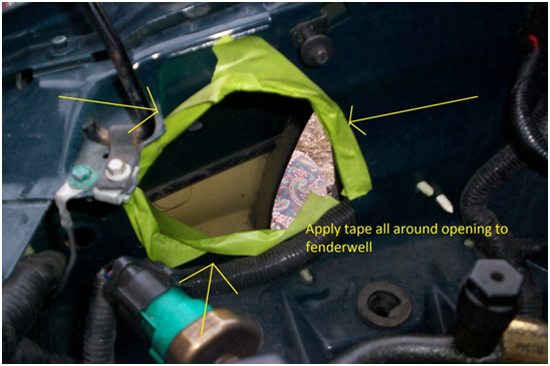
3. You can put some tape around the hole where the intake will be fed through this will help prevent any scratching of the intake pipe.tape should not be seen once apron is attached.
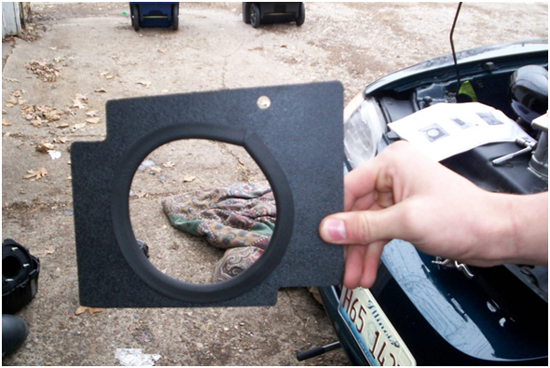
4. There is a rubber “U” channel gasket that is supplied in the kit; this gasket goes around the inside of the apron plate.
5. Take the large JLT intake pipe and install the 3-4” reducer and place the 3” pipe on the other side of the pipe.Rubber pieces are sometimes stiff, soapy water can help when attaching pieces.
6. Put the 3-3.5” silicon reducer onto the end of the throttle body, place a small clamp over the reducer.
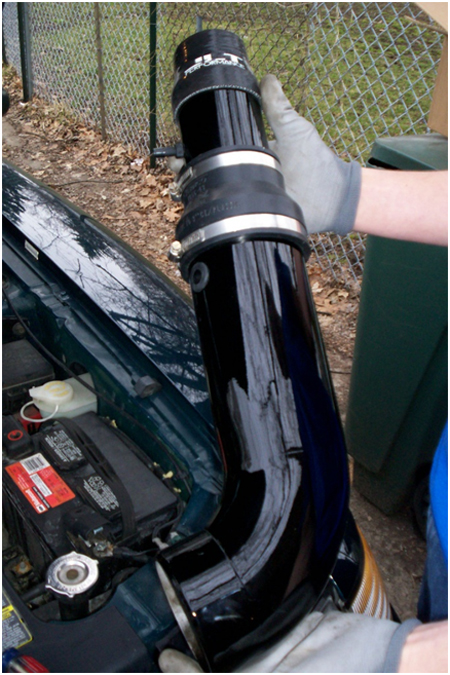
7. Place the apron with the “U” channel gasket around the JLT intake make sure placement is correct, hole of the apron should be on the top right, also install the 90 degree elbow on the end of the JLT pipe.
8. The elbow should face down from the rest of the intake pipe; adjustments can be made easier if soapy water is placed on the pipe.The 90 degree elbow is an extremely tight fit, placing the elbow in the microwave for about 20 seconds will help loosen up the rubber
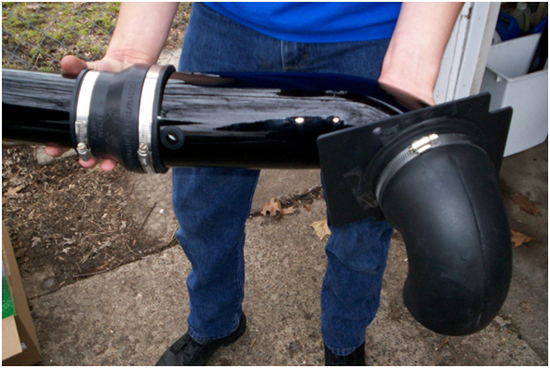
9. Install the MAF sensor; on the end of the 90 degree elbow make sure that the electrical plug is pointing towards the rear of the car. This position is necessary in order for the wires to reach the MAF sensor. Hose clamp will be placed over the elbow to secure the MAF to the pipe.
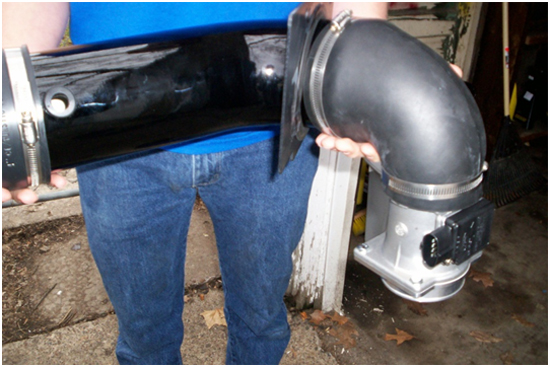
10. In order to install the JLT intake you must stand the pipe up and “screw” it into the hole in the apron. This is why the tape was placed earlier, use soapy water on the “U” channel gasket to prevent it from sticking to the tube.
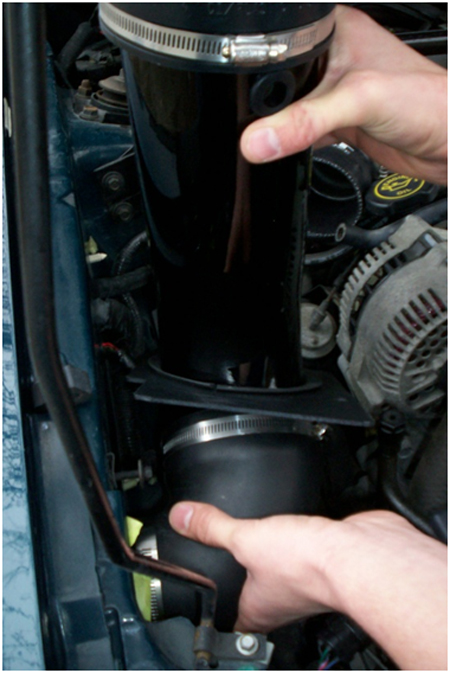
11. Once the pipe is placed through the apron it is now time to adjust the pipe itself, with the clamps loose adjust the pipe so it is connected to the throttle body, and tighten clamps.
12. Take the apron plate and bolt it up using the stock air box screw that was set aside earlier.
13. Installation of the filter is done by feeding the filter in between the splash guard and the bumper, attach the filter to the end of the MAF and secure it with the supplied hose clamp.
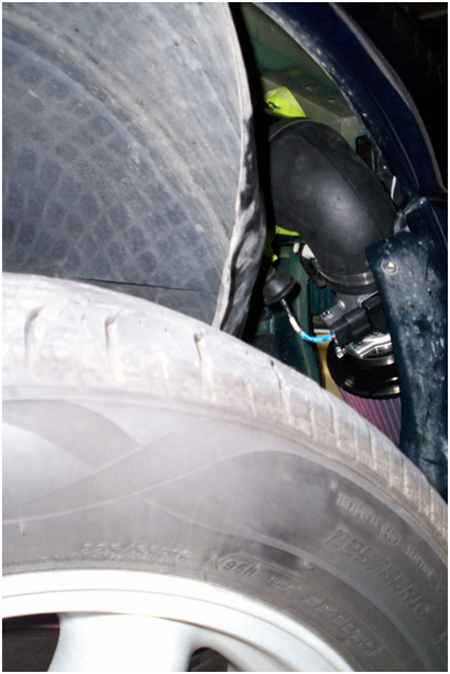
14. Reconnect the MAF sensor cables, 1 cable will plug into the MAF the other will screw into the rubber grommet that is on the side of the JLT pipe.
15. Reinstall the splash guard and the installation is complete.
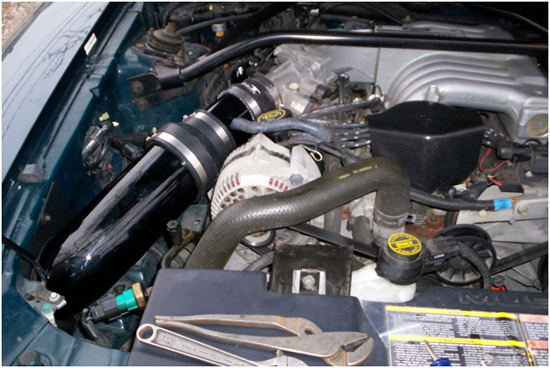
Installation instructions provided by AmericanMuscle customer Anthony Schooley 3.18.10
Related Guides
-
Installation
-
Installation
-
Installation

