Top Sellers in Mustang
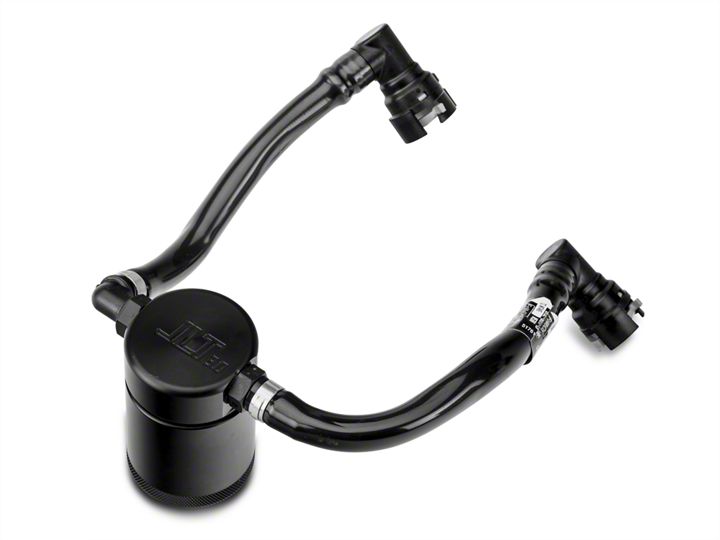
JLT V3.0 Black Oil Separator - Passenger Side (11-17 GT; 12-13 Boss; 15-17 GT350)
Shop Parts in this Guide
Removal Procedures: 1. Pop your hood and head to the passenger side valve cover where the pcv is located as shown.
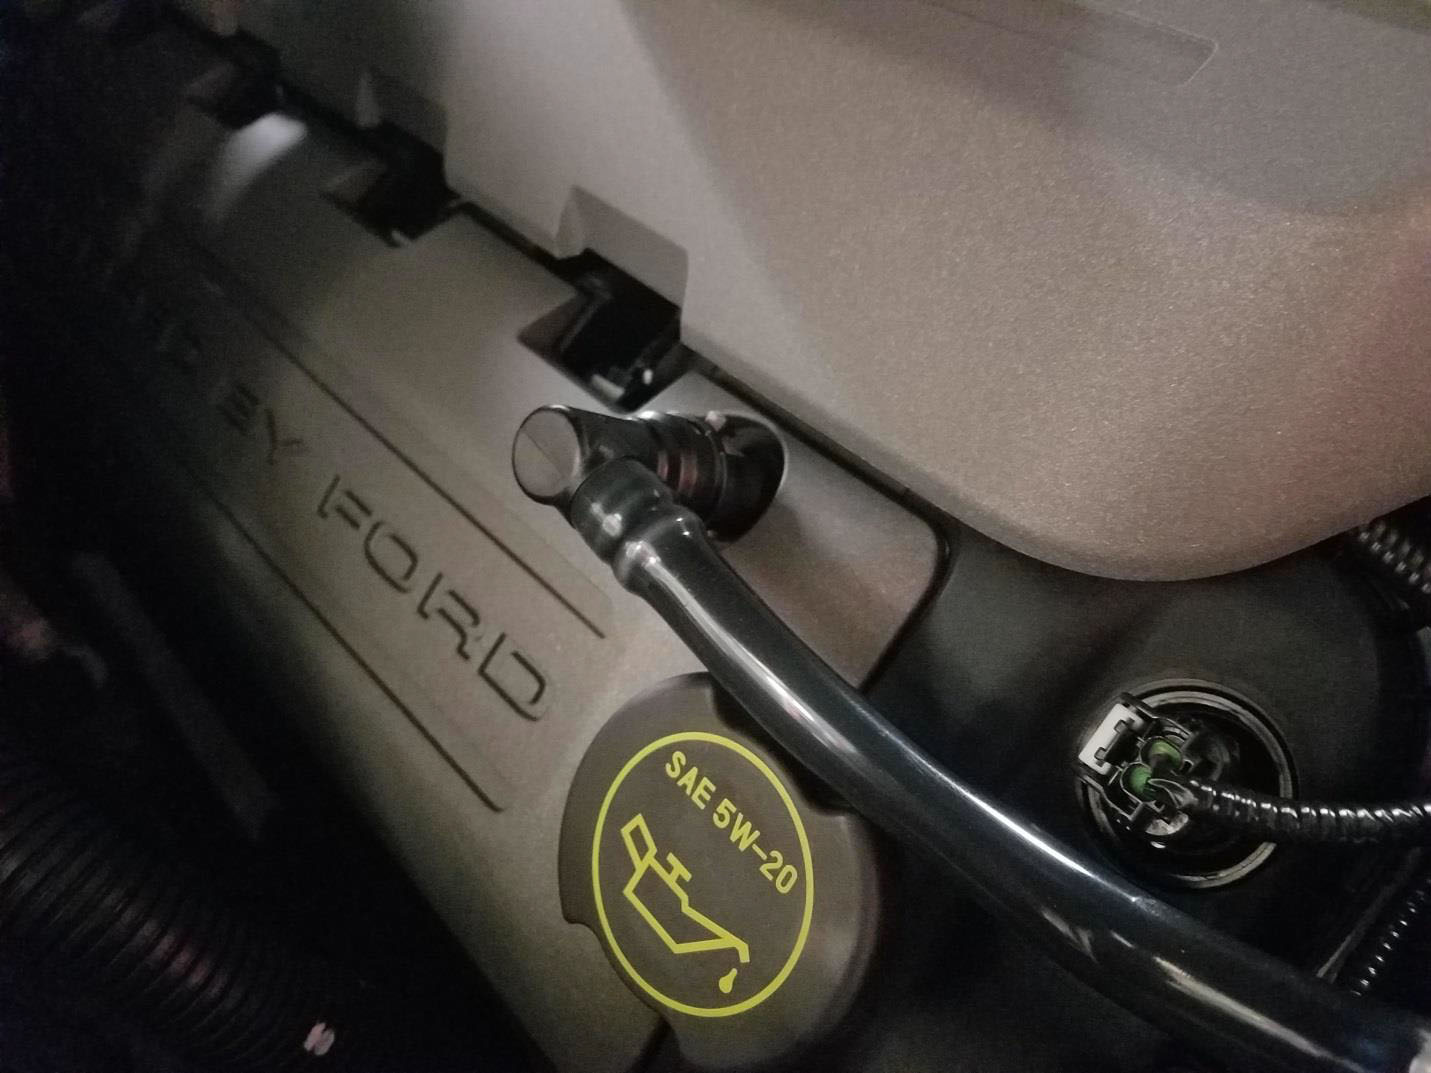
2. The pcv hoses have quick disconnect lines. The tab shown just needs to be rotated clockwise and then gently pull away from the pcv valve and the hose will pop off.
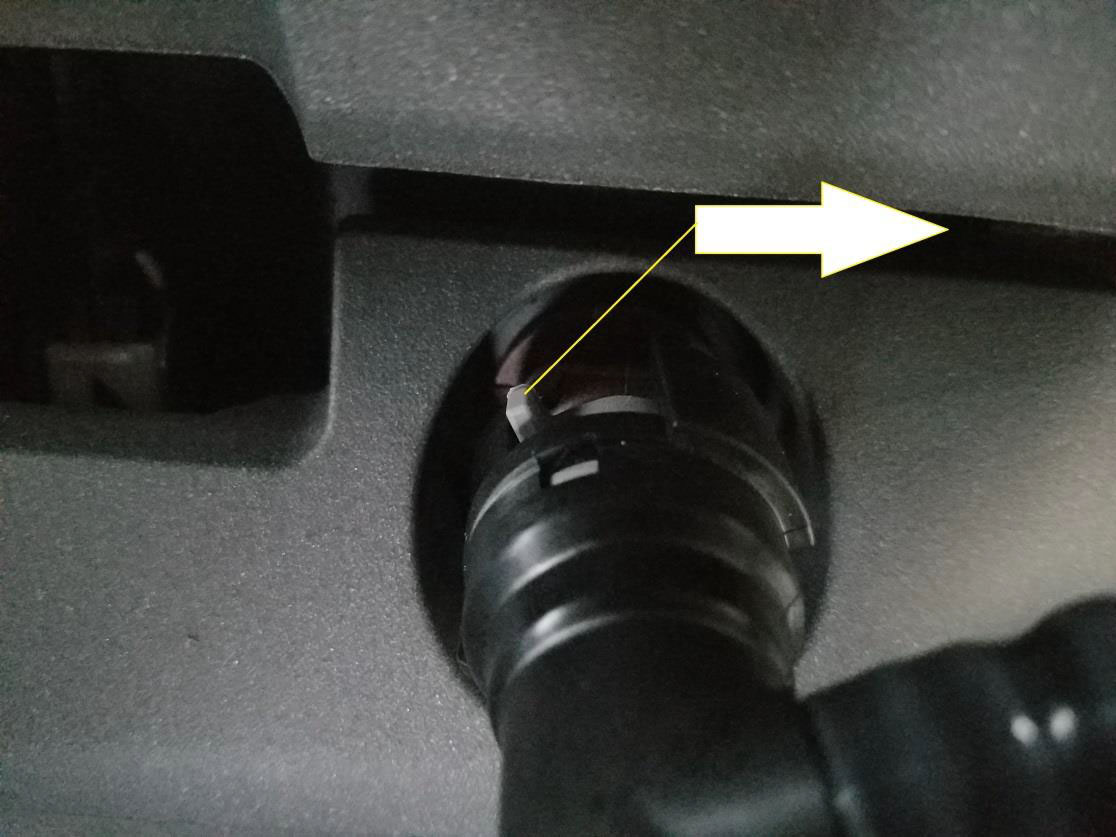
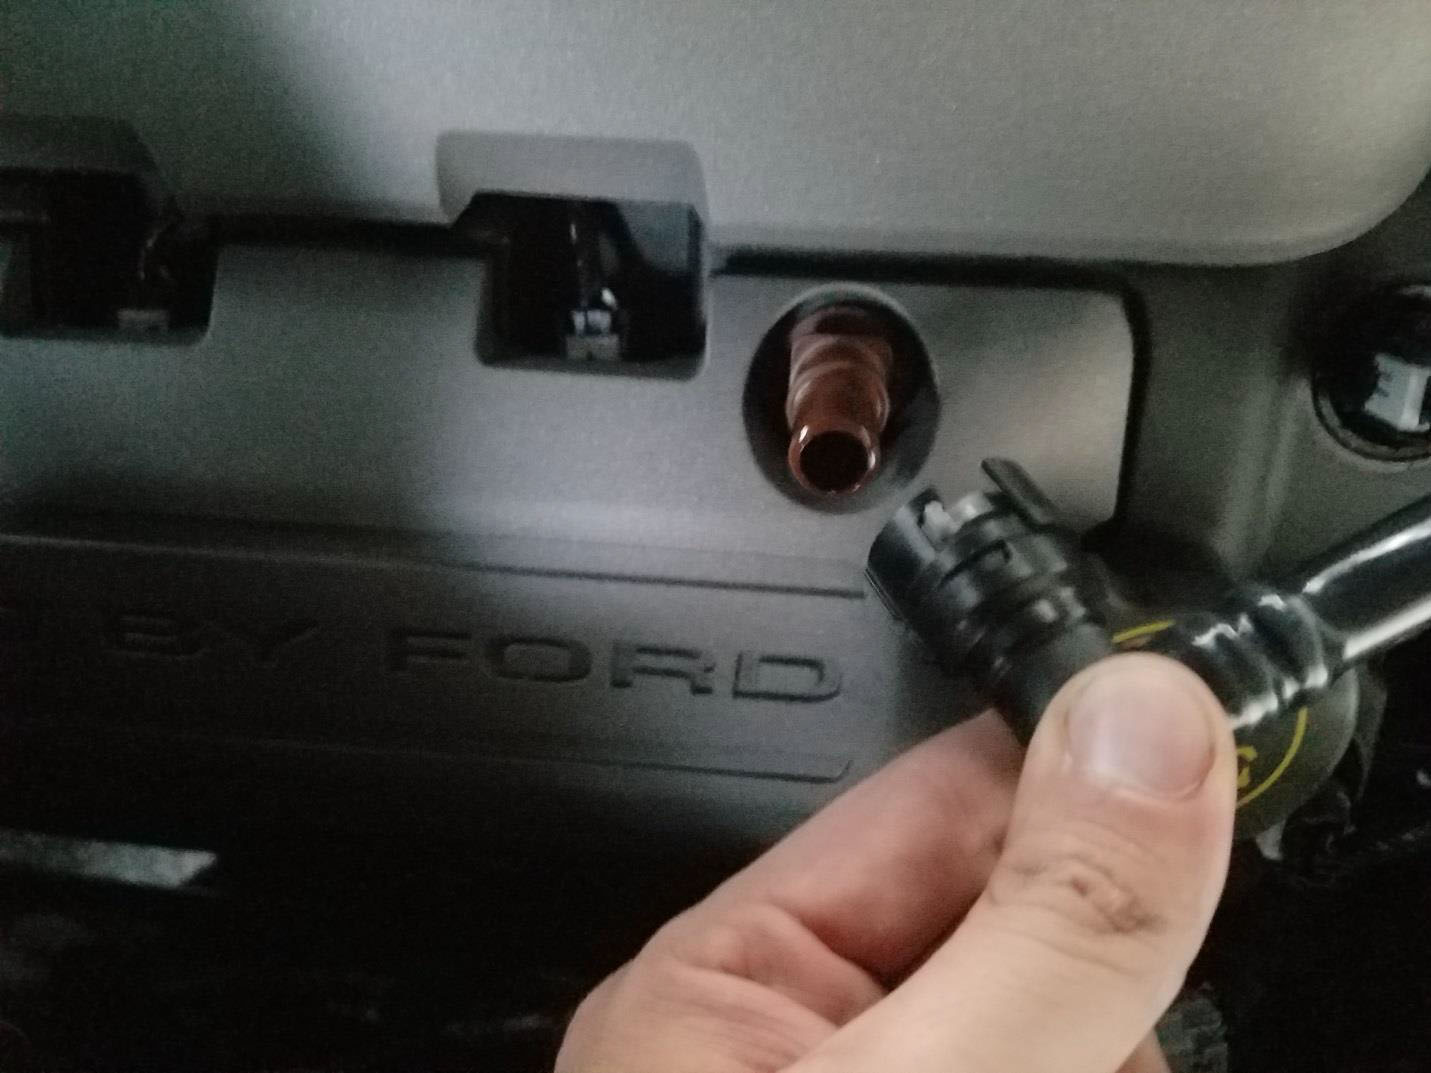
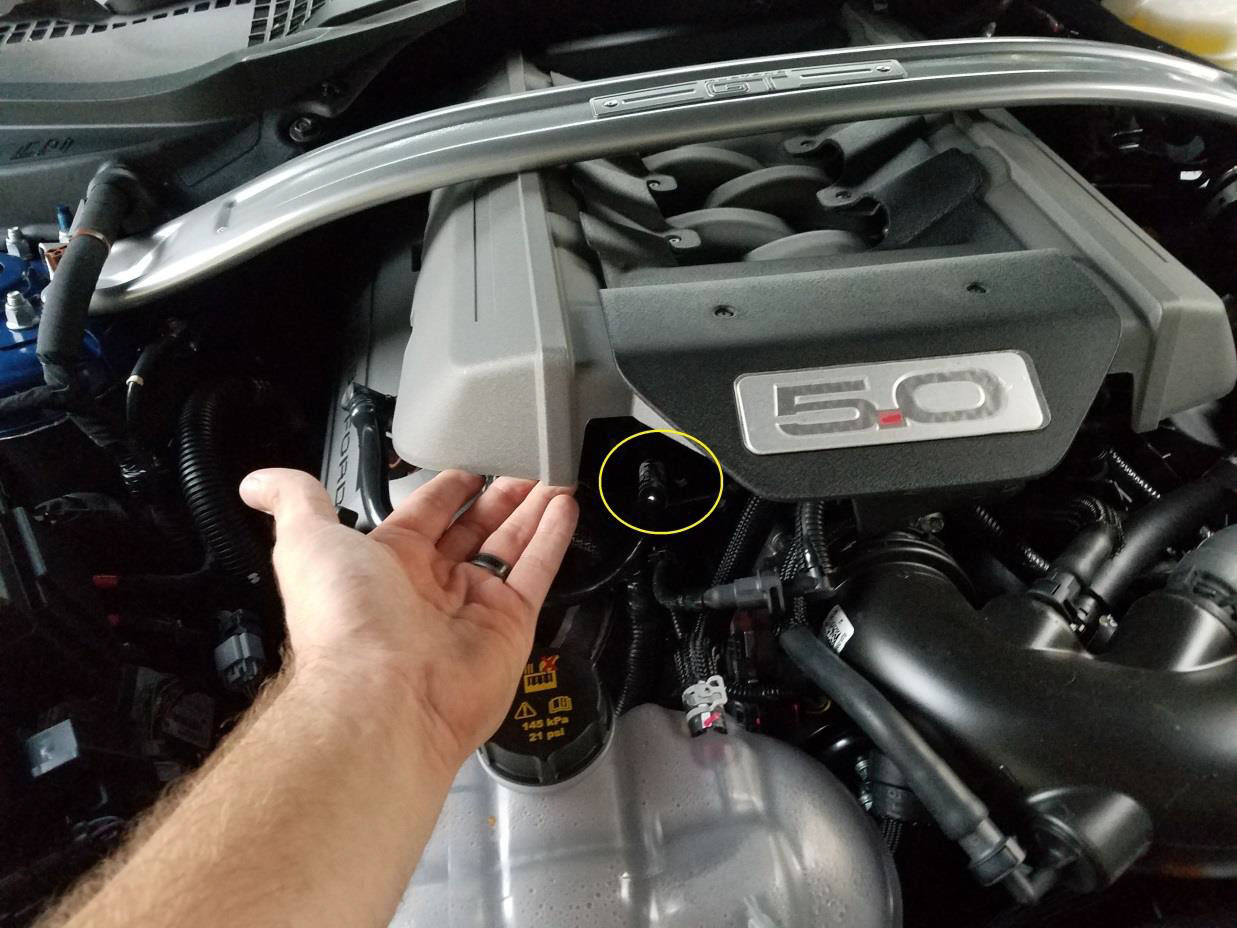
3. Now lift up on the front of the engine cover. It has rubber grommets so it doesn’t take much force. While lifted up, reach your hand underneath and pull off the other end of the pcv hose (circled yellow below) and then remove the entire PCV from vehicle.
4. The JLT oil separator uses the same OEM fittings as the PCV so it’s as easy as push the hose ends back onto the PCV fittings. Remember the hose ends may spin during shipping so if yours needs to, it is able to turn.
5. Line up the new switch with the led on the body and then firmly press in the middle so the snaps click into place on the switch body.
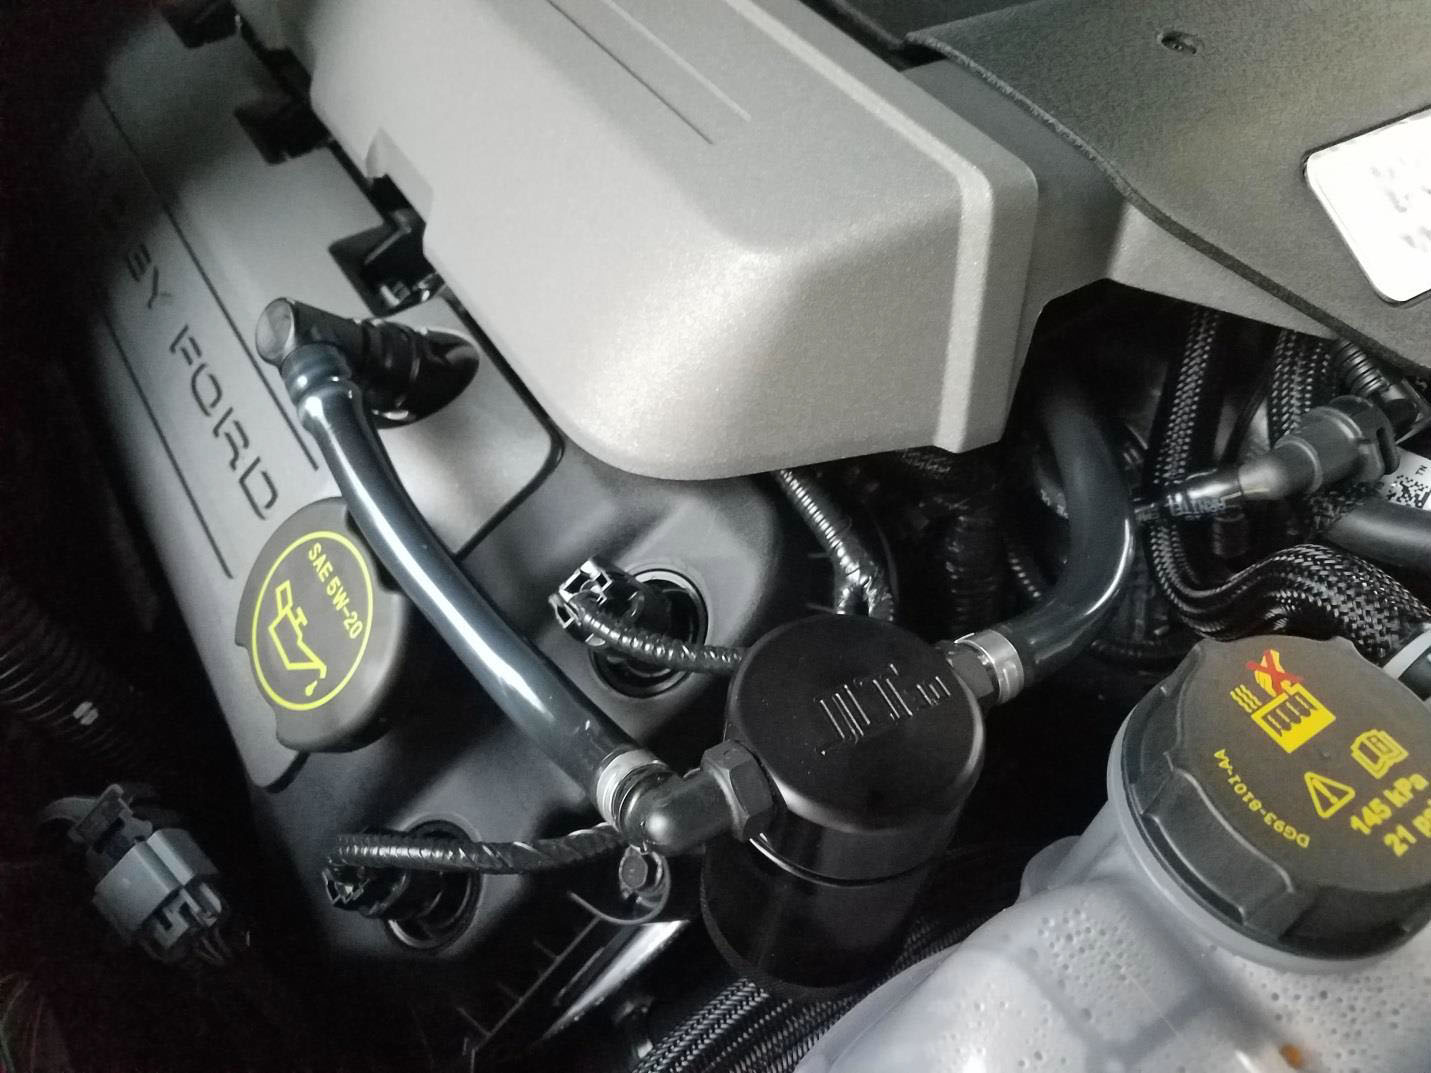
6. The hoses are able to support the weight of the JLT oil separator, so it just sits in the engine bay as shown. Double check that the lower half of the can is tight so that it doesn’t leak any of the oil that is captured by the filtered can. Check the can every so often until you get a feel for how much oil the system is removing from the PCV system.
7. Close hood! You’re all done.
Installation Guide Created and Submitted by AmericanMuscle Customer, Chris Kalnasy, on 8/18/2016


