
How to Install J & M Caster Camber Plates on your Mustang
Installation Time
1 days
Tools Required
- Common assortment of hand tools
- Floor Jack & Jack Stands
- + Torque Wrench
- Spring Compressor
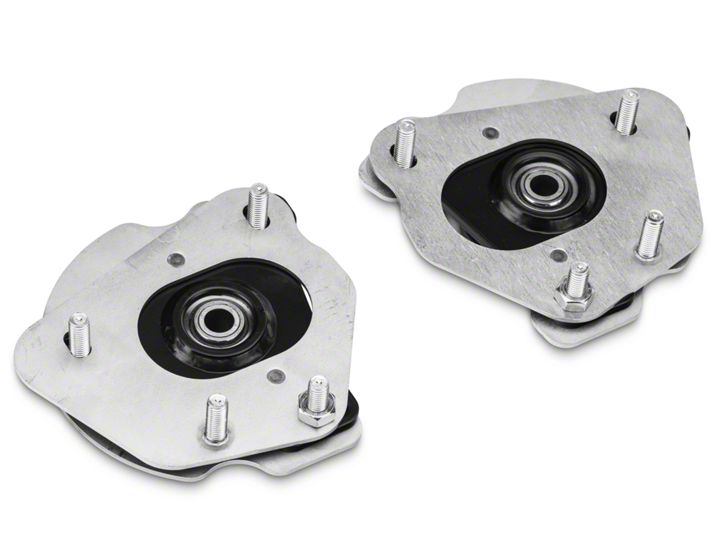
Shop Parts in this Guide
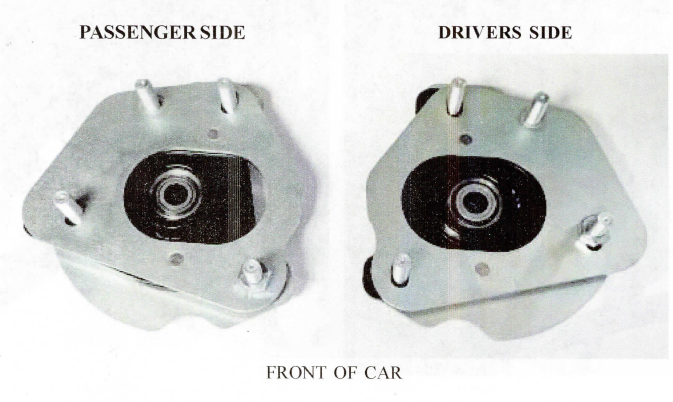
Camber/Caster Plate Installation Sheet:
1. Raise the vehicle to adequate working height and properly support the vehicle using proper jack stands (not a jack).
Note: Do not jack the car up using the k-member or IRS subframe. You should only use and support the car using the rocker pinch welds.
2. Using a2lmm socket remove the front wheels and tires.
3. We recommend doing one side at a time. Start with disconnecting all the clips that attach to the strut housing.
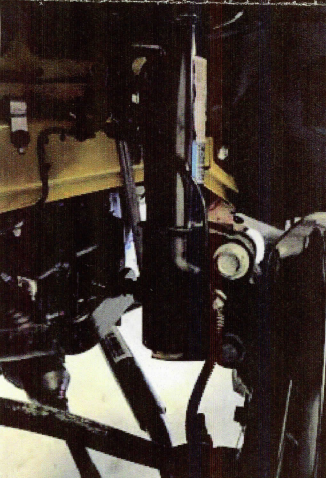
4. Remove the front anti-sway bar link from the strut housing. DO NOT USE AN IMPACT GUN. Do this by using a 17mm wrench on the flats of the stud and using a 18mm socket to remove the nut.
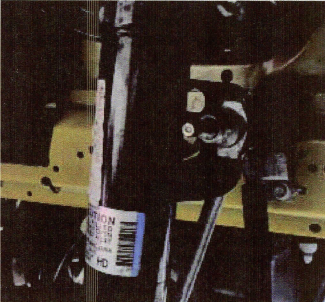
5. Using a 15mm socket remove the two caliper to spindle bolts holding on the caliper. Do not let the caliper drop or hang from the brake hose. We recommend securing it the brake hose to chassis bracket like shown in the photo.
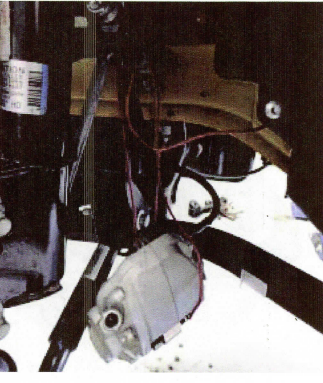
6. Remove the brake rotor and set aside.
7. Remove the strut to spindle mounting nuts with a 24mm socket. (Do not try and remove the bolt)
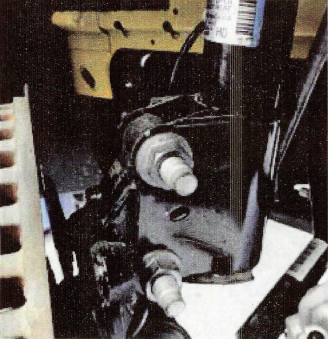
8. Carefully using a hammer hit the end of the strut to spindle mounting bolts to drive them out. These bolts are splined so it will take some force to get them out.
9. Install aJ/8" extension or screwdriver through one of the mounting holes to keep the strut and spindle assembly together.
10. Remove the 3 stock upper strut mount nuts using a 15mm socket.
11. Remove the extension or screwdriver to remove the strut assembly from the car.
12. Using a spring compressor, compress the spring until all the tension is removed from the upper strut mount spring seat.
13. Remove the strut nut and remove the stock upper strut mount. Make sure the spring seat with the rubber isolator stays on top of the spring.
14. Using the photo on page one make sure to use the appropriate side camber/caster plate and install onto the strut shaft and upper spring seat. (OEM spring seat and isolator is reused).
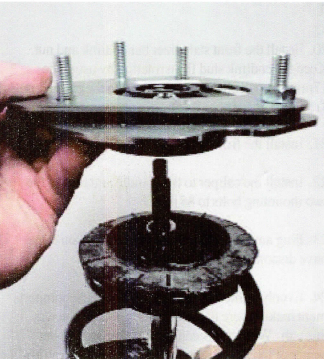
15. If using the OEM strut re-install the nut and torque to 76 lb/ft. Do not use an impact gun. If you are using an aftermarket strut, torque to the manufacturer's recommended torque specifications.
16. Place the strut assembly back into the car making sure to align the 4 studs through the factory mounting holes.
17. Place the supplied washers over the studs in the engine compartment and hand thread the supplied nuts onto the 4 studs.
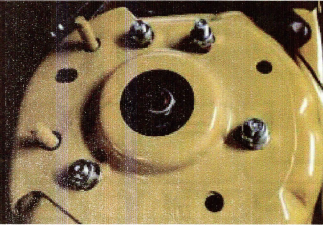
18. Attach the strut to the spindle. Make sure to install the strut to spindle bolts from the front side of the spindle.
19. Torque the spindle to strut mount nuts to 184 lb/ ft.
20. Install the front stabalizer bar end link and nut. Keep the end link stud from rotating by using the 17mm wrench on the flats and torque the endlink nut to 85 lb/ft.
21. Install the front rotor
22. Install the caliper to the spindle and torque the two mounting bolts to 85 1 b/ft.
23. Plug any of the electrical connectors you may have disconnected back into the strut.
24. Evenly tighten all the nuts in the engine compartment making sure the studs pull up and all the way through. We recommend locating the strut in the center of the strut tower hole to get you to an alignment shop. Torque the four MIO nuts to 26 lb/ft.
25. Repeat steps 3-24 on the other side of the car.
26. Install the wheels and lower the car onto the ground. Torque the OEM lug nuts to 148 lb/ft.
27. Align your vehicle to your desired alignment specifications or factory specifications. Caster should be set first.
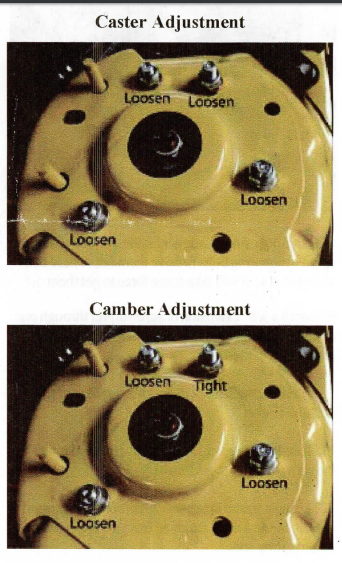
Alignment Notes:
You will not be able to adjust these plates with the vehicle on the ground or the suspension loaded. The front must be raised in order to adjust the camber/ caster plate. Due to the anti-roll bar loading it may be required to lift both front tires off the ground to make adjustments.

