
Best Sellers
How to Install a JPC Racing Line Lock Kit on your 2010-2013 Mustang
Warning
- Failure to disconnect negative battery lead could result in damage to your car's electrical system.
- When raising a car to access the undercarriage, always use a jack stand.
- Brake fluid can damage your vehicle's painted surfaces.
- Always check brake lines for leaks.
- Always test the brake system before you road test the car.
Installation Instructions
1. Unpack your JPC Line lock. Check all parts to make sure all parts on the item list are in the box and seem to be in working condition.
2. Disconnect the negative battery end.
3. Remove the air box to gain access to the brake lines.
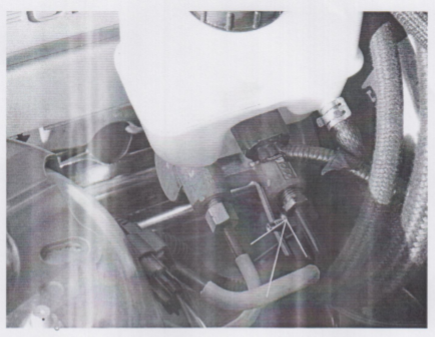
4. Disconnect the rear brake line from the master cylinder shown in the picture below.
Note: When disconnecting the brake line, make sure to use a cup or rag to catch the brake fluid. The brake fluid can damage your car's painted surfaces.
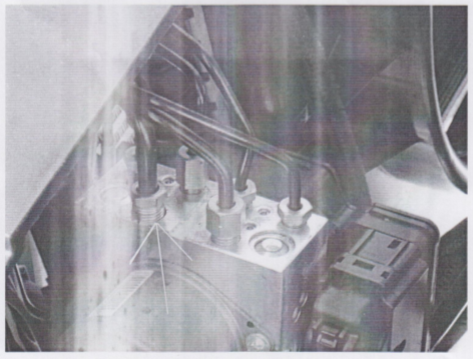
5. Now disconnect the front portion of the same line on the ABS, shown in the picture below.
6. Next unclip the line from the factory hold downs and remove the line from the car.
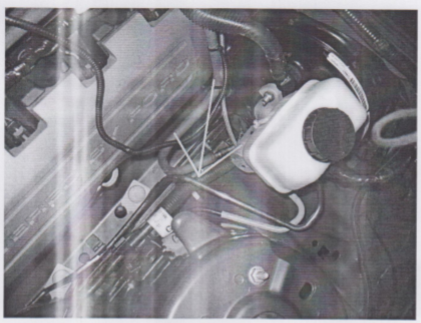
7. Once the factory line is out, you can start fitting the new stainless line in. Start with the line to the master cylinder side. When installing this line make sure to start all fittings by hand (you don't want to lock down any fittings until all the lines have been started by hand). See picture below.
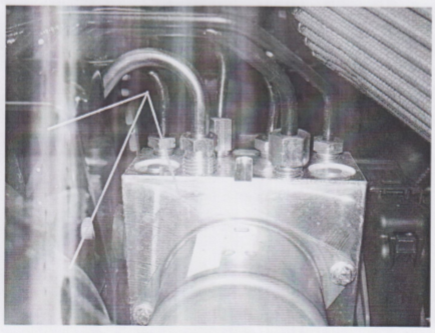
8. Next move to the ABS Line. This line should go in just as the factory line was removed, and it will use the factory line clips. Again, please start all fittings by hand. See picture below.
9. Next locate the line lock solenoid and the 1/8th NPT fittings. You will want to use Teflon tape on the threads of the fittings where they screw into the lock. Install and tighten the fittings and fit in to the car.
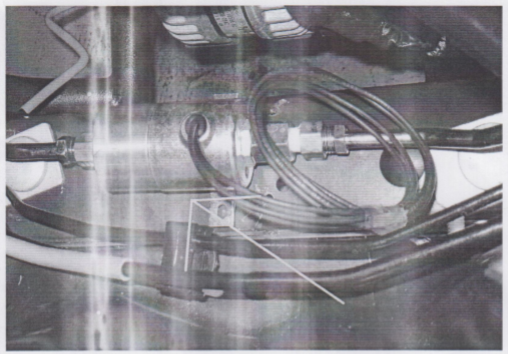
10. Now it's time to attach the line lock solenoid to the body of the car. Use the 2 included self taping screws. It's a good idea to pre-drill two small holes. You may have to slightly bend the tab closest to the engine so that it will hit the frame.
11. Once the line lock solenoid is screwed down it's time to tighten all the fittings. Do not over tighten! Make sure to check for leaks.
12. Now that the lines are tight, ass some brake fluid to the master cylinder and lightly pump the brake pedal a few times. Now is a good time to have an extra set of eyes to watch the fittings for leaks while you pump the pedal.
13. Once you have determined there are no leaks in the system, it's time to bleed the breaks. Make sure the reservoir on the master cylinder is full. ***With the key in the ON position,*** you will have to crack the lock line lose at the ABS. Hold it open as your friend slowly pushes the brake pedal. A tthis time you should see bubbles of air and brake fluid. Once the brake pedal is to the floor now tighten the ABS line back up and release the brake pedal. Repeat this until you see no air coming out from around the fitting. Then move to the brake calipers. Pump the brake pedal 3-4 times and hold to the floor, then loosen the brake bleeder. Once all the brake fluid and air comes out, shut the bleeder valve. Repeat this process until all air is out of the system. Turn ignition off and re-install your wheels.


