Talk to a Sales Tech
1-877-887-1105
M-F 8:30A-11P, Sat-Sun 8:30A-9P

Justin's 2014 GT Mustang Build

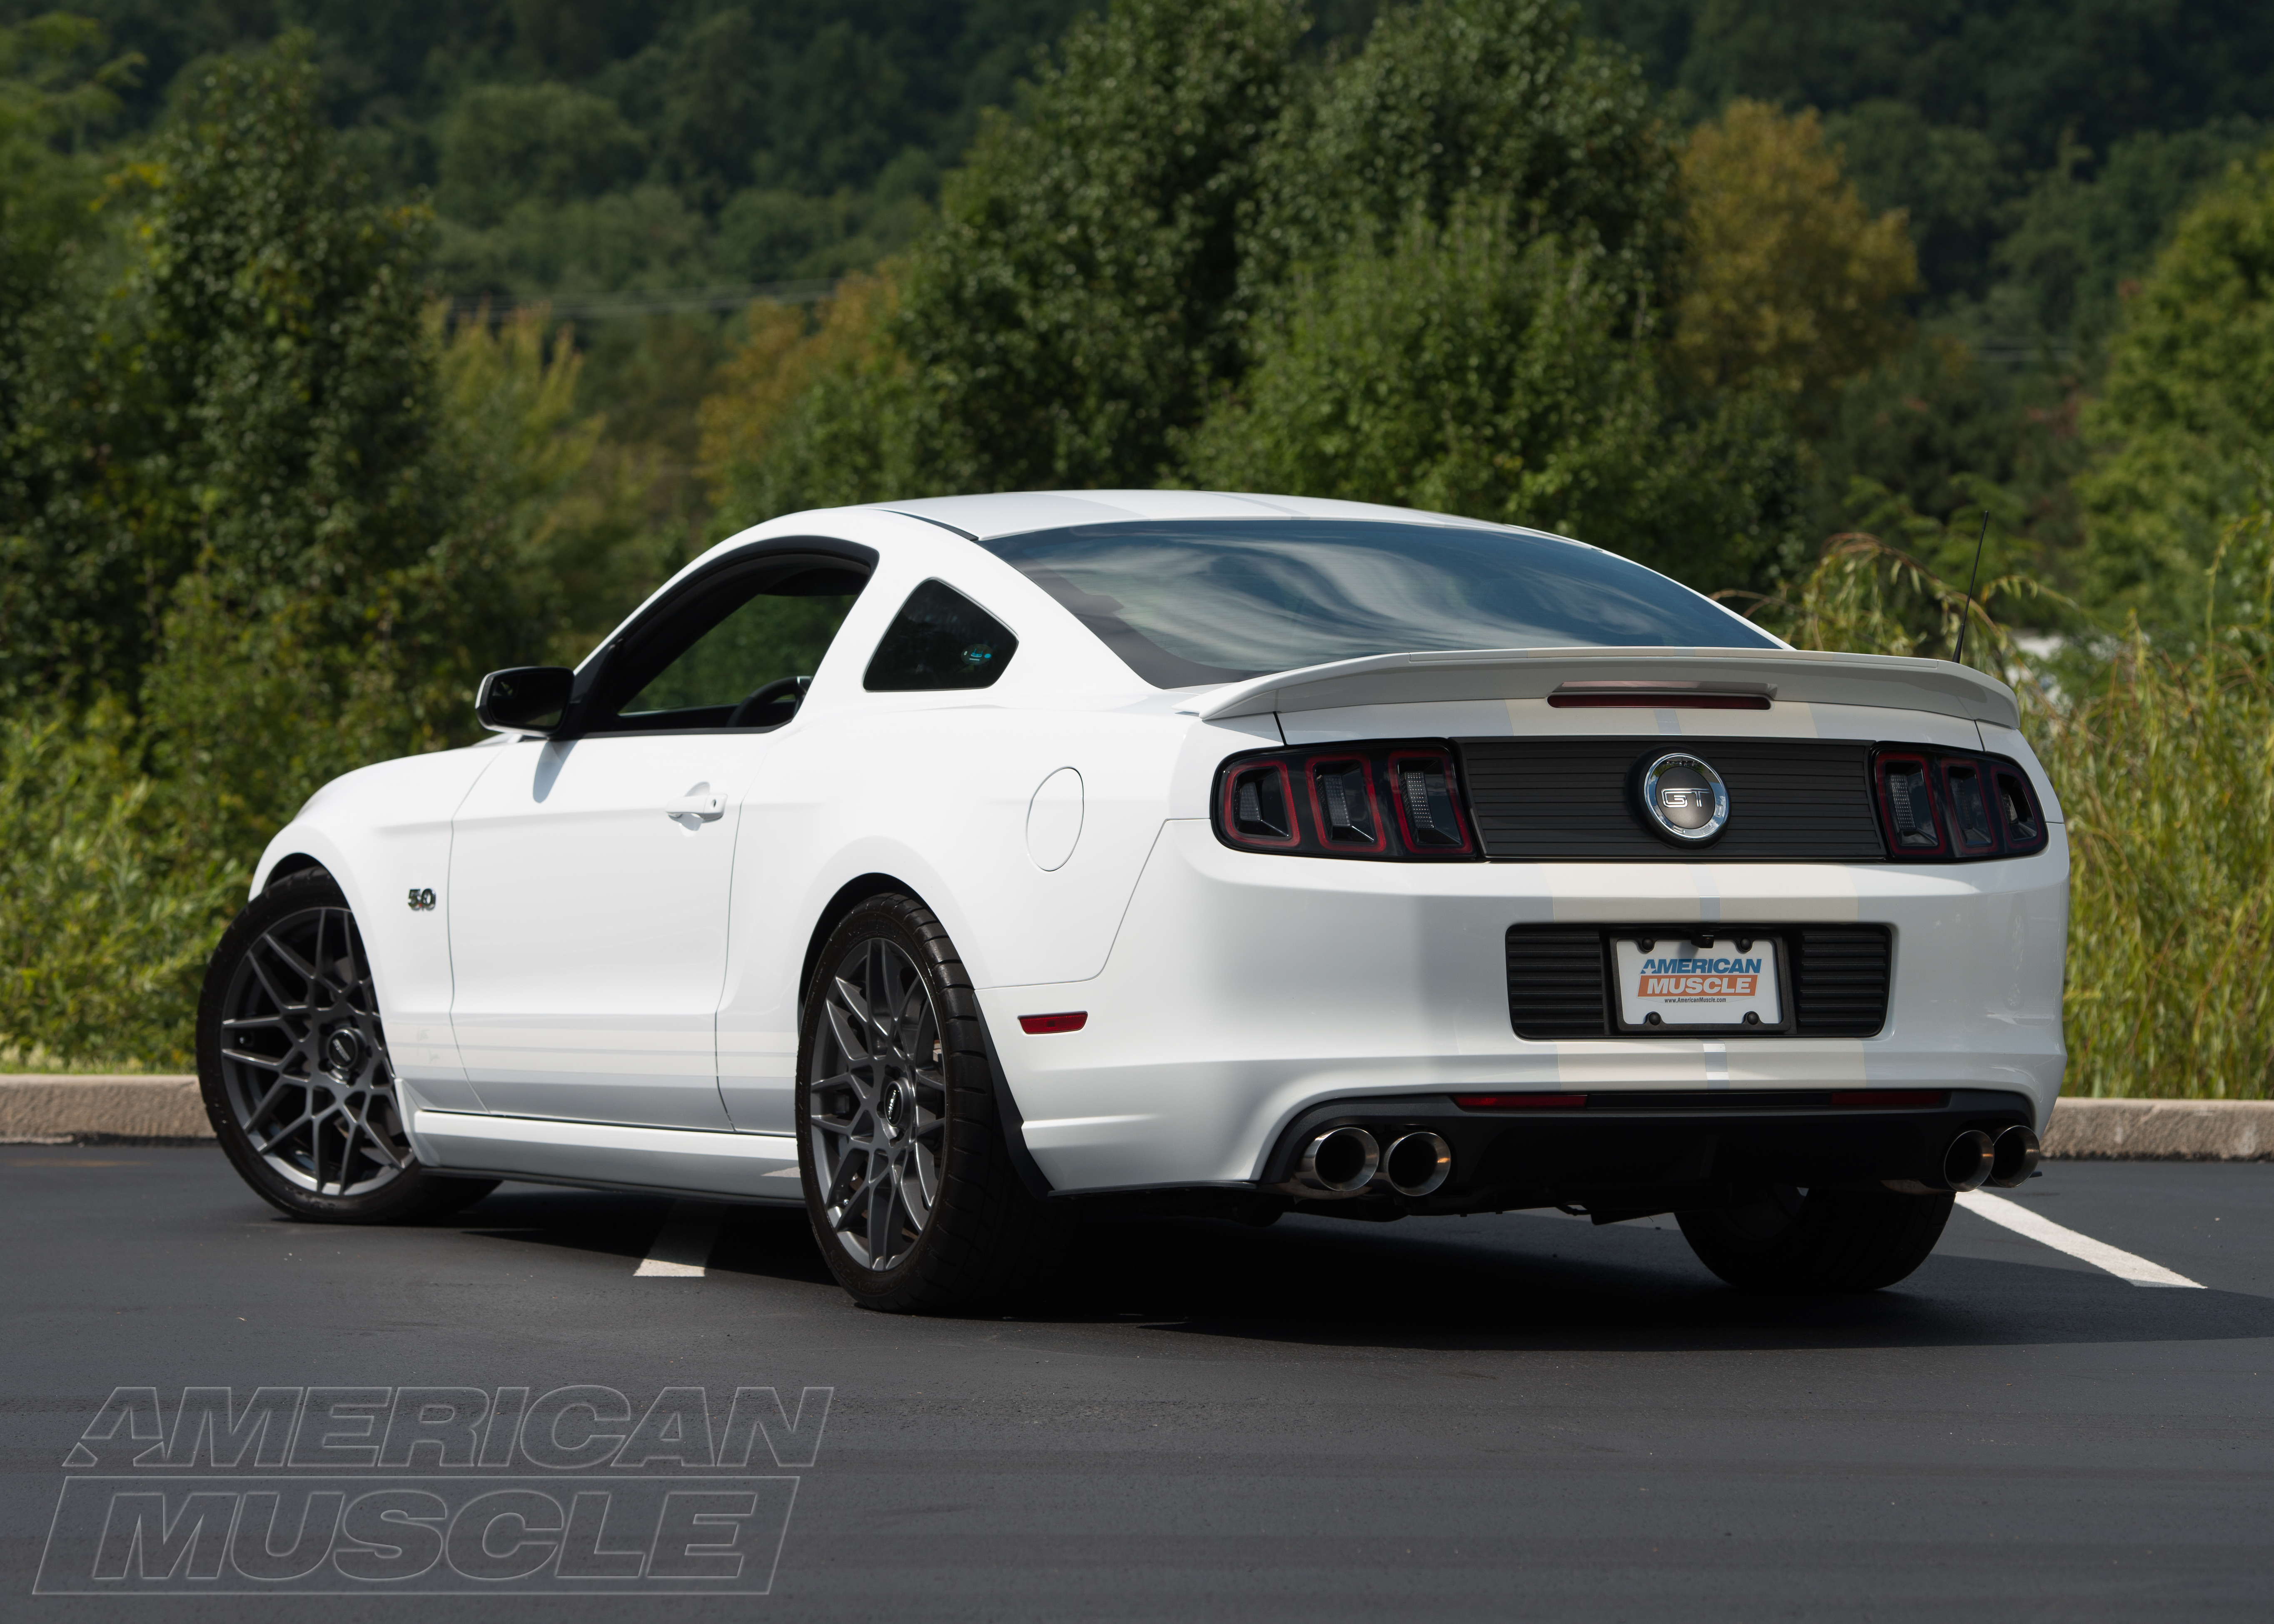
justins-2014-gt-project-car-oxford-white.JPG

Table of Contents
  1. Stage 1 of Justin's 2014 GT Build
  2. 2014 GT Build Stage 1 Mods
  3. Stage 1 Transcript
  4. Stage 2 of Justin's 2014 GT Build
  5. 2014 GT Build Stage 2 Mods
  6. Stage 2 Transcript
  7. Stage 3 of Justin's 2014 GT Build
  8. 2014 GT Build Stage 3 Mods
  9. Stage 3 Transcript
Shop 10-14 Mustang Parts

Making your own build out of a Mustang is part of the fun owning such a car. From superchargers to the basic cold air intakes, any mod can find its use in a build. Don't neglect the exterior or the interior either. With a Mustang like the 2010-2014, you'd be hardpressed to achieve the sleeper look.

2010-2014 Parts

Stage 1 of Justin's 2014 GT Build

2014 GT Build Stage 1 Mods

Stage 1 Video Transcript

Hey, guys. Justin here. As you can see actually working on my own car for once, it's a nice little change of pace. You guys always see me working on the project cars and the Bolt-On Build-Ups and all that stuff. Well, I wanna let you in on what I'm working on with my own Mustang. I have mentioned my '27 Ford a few times. I've been working on that at home of course but I figured this was a great time to show you my main ride. Recently upgraded to the '14 GT, track pack, some other little bells and whistles. Had to get the RECAROs of course which were a must but anyway, we're doing some mods. Spring's just about here so it's finally time to start working on this thing. Concentrating on the suspension today. I'll show you guys a little bit more about that in a minute but I had to get rid of that stock ride height. It was absolutely hideous. So Ryan and I are working on that but I of course did take care of a few of the basic mods so far.

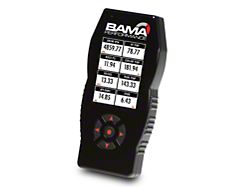
So got the C&L in place along with the BAMA tune. C&L, just a great intake and if I can be a little cheesy here, the blue couplers do go nicely with those Boss coil covers if I may say. Also I know it's a little silly but had to get the Hood Struts in place. Just a nice mod to have especially when you're wrenching under the hood like Ryan's doing all the work right now. It just clears out a little extra space. So definitely a must have mod. And then of course we did the exhaust. I actually am going with the Quad Tip MagnaFlow Street Series. They're already installed. I did the rear valance along with it which I had to cut the bumper up a little bit. You guys will see that of course but I got a good game plan for this car. It's gonna be a little aggressive but I definitely wanna go GT500 inspired but I'm just gonna have fun with it, see how it comes together. Now we're actually gonna concentrate again on suspension today and show you guys what we're working on. So check it out.

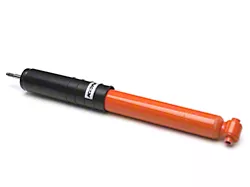
All right, guys. Definitely tackling some of the performance and suspension basics here today. For instance we're installing the KONI STR.T Shocks and Struts along with the SR Performance Lowering Springs. Now you guys hear me talk about those SR Springs all the time. We use them on a lot of our project cars and I'm even trusting them on my own car because they're a great product. I mean, they give you a one and a half inch drop on all four corners which I think is just right. It's not totally slammed but again it takes care of some of that wheel gap. And the STR.Ts are great as well. I mean, the adjustables are nice, the KONI yellows but for the basic use of just lowering the car, handling the lowering spring, giving you a little bit more of a sporty ride the STR.Ts are a way to go. The STR.Ts are nice because you can use them with your factory top hat or your strut mount and you don't have to use an '05 to '10 GT500 strut mount. But in my case I just really like to be able to dial in everything so I'm going with the J&M Caster Camber Plates up top here which should really set off this package.

All right, guys. Ryan and I just finished up the front. We got the shocks in the rear, the springs in place. Now we're moving on to the SR Performance Panhard Bar which we have installed already but we're gonna be making some adjustments and that's the important part with these adjustable Panhard bars. SR does a great job. They offer double adjustability here because when you think about it, you lower the car with a standard length Panhard bar and basically the rear axle wants to shift to the driver side pushing the tire out further over there which is not a good thing. So the adjustable bar gives you the ability to basically center the rear axle under the car which is huge when lowering it of course. Gives you the best performance and to do so you pretty much just gotta rig up a crude little plumb bob just to make your measurements, load up the suspension, make your measurements, make some small adjustments if you need to and then get this puppy centered underneath the car. So we're gonna make our final adjustments and see how we look.

All right, guys. That's gonna do it for today. Obviously we kept things pretty simple. Just took care of the Caster Camber Plates, springs, shocks, struts and the Panhard bar but the car is finally looking good ride height wise. We got rid of that ugly factory wheel gap and I'm very happy with how the car is sitting now. I do have some wheels in mind for the car of course but it is still a little nasty up here in the northeast. There's still a lot of salt on the roads so in the meantime I'm sticking with the Brembo wheels. Do have a little bit of appearance stuff coming up. You kind of see where that GT500 theme's coming from and of course definitely gonna dive into the engine bay and take care of some parts there. So thanks for checking out my 2014, guys, and stay tuned for more.

Stage 2 of Justin's 2014 GT Build

2014 GT Build Stage 2 Mods

Stage 2 Video Transcript

Hey, guys. Justin here, as you can see, I have my '14 back in the shop, we're doing a little bit more work on it today, definitely diving into the engine bay a little bit. Really excited to show you about all of this stuff here. And we're gonna do a little bit of appearance stuff. So I'll kind of show you where that GT500 theme's tying into. Now you always hear me tell you and guess what I'm gonna tell you one more time, so subscribe to our YouTube channel if you haven't done so already, you can see the progress I'm making with my own car in addition to some of our own project cars here at the shop and some other fun vids. So let's check this out.

All right guys, some of you may have recognized this bad boy, that's right, I'm going with the Cobra Jet intake manifold. A lot of you guys have been asking to see it on our YouTube page and I've been dying to do it. So here it is, man. We're gonna throw this thing on my '14, see how it does. Now, if you don't know about this, it's basically you can expect a lot of top end gains without any of the torque loss you'd see with a Boss manifold. So it's kind of a rare thing right now. Not a whole lot of people are doing it for a couple of different reasons but I mean you can't deny the gains. So hopefully this thing delivers.

And in conjunction with that, I'm throwing on the Super Cobra Jet mono-blade throttle body, really let this thing breathe. It should be a pretty awesome setup when we're all said and done. Currently, I'm about 375 ish with just like an intake, nothing too crazy. So hoping for around 420 plus horsepower considering I'm still on stock manifold, stock headers. So we are gonna throw an off-road H-pipe on this and see how it does. Now we're gonna finish up here under the hood. Then we're gonna tackle the intake because we have to get a little custom there.

All right guys, like I told you earlier, we had to get a little custom with the cold air intake because as of now, no major companies have released a cold air for this setup. There's a couple smaller shops that are handmaking the intakes, but honestly, I just wanted to throw this thing on and get it going. So basically here's what we did. We grabbed a 2010 C&L cold air intake for the three valve cars because they still have that oval shape throttle body going on. We made some small modifications and here it is. It works, it looks pretty good on there. Now we just have to see how this thing's gonna perform. We are going to get underneath the car. Ryan and I are gonna throw on the off-road H-pipe from Pypes and then I'll show you guys some of the appearance stuff we did here today.

All right guys. As I said earlier, we do have a little bit of appearance stuff going on here today as well. As you can see I'm increasing that GT500 theme that I mentioned before, thanks to these GT500 style stripes that Smitty the mastermind behind AmericanMuscle Graphics is currently working on for me. I have to admit I'm a less is more guy when it comes to styling but he's like, I got a great idea. We'll do the matte wood on the gloss white, it's gonna look awesome. I haven't seen a lot of matte white on white cars, I've seen a lot of matte black on gloss black cars. So I figured let's give it a shot, we'll see how it looks. And so far I'm really digging it, I think it's gonna be pretty cool. So we have one more cool appearance part here before we wrap this thing up today and get it over to the dyno, so let's check that out.

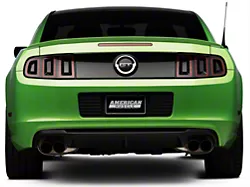
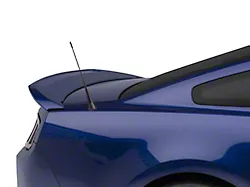
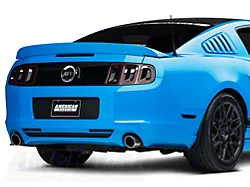
Rounding out the GT500 appearance, we got the GT500 style spoiler. We also did the stripes over that as well. Again, I think it looks pretty cool. So also threw on the MMD Decklid Panel on the car, I just really fell in love with it when I saw it on the MMD project car. And again, I think it ties in the license plate area very well, just tones down some of the flashiness back here.

All right, with everything installed, it's time to get Mike J here from the Bama Performance team in order to tune for this setup, turn the roller one more time and see what we're looking at. All right, well that was fun. Sounded pretty good from inside the car. Let's see how those numbers look. Something tells me they're gonna be pretty good. All right, 421, 372. The car picked up over 40 plus horsepower peak, lost a little bit of peak torque but that's very misleading because basically, this thing picked up everywhere else throughout the curve. And so this thing is definitely doing its job. And the numbers are right on par where I thought they were going to be considering I'm still on stock headers. Now I can't wait to throw long tube headers on the car, I will do that eventually. But for now, I'm just kind of keeping it simple. I want to get the manifold on there, but I think with those long tubes, this thing should really perform.

All right, guys. Well, I hope you enjoyed that installment here with my '14. It was definitely a fun stage for me. I've been dying to throw these parts on. I hope you guys like what I did. The car is making some good power, can't wait to get it out on the street, have a little bit of fun. And I'm really happy with how the car is looking. You don't really see the matte white stripes on the white car a whole lot. I know, it might not be for everybody, but I'm really happy with it. But now the car needs wheels desperately. So that's gonna be one of my next steps. Have some other small exterior mods in mind. I'm gonna jump inside the car, do some stuff in there as well. So if you want to keep an eye out for more of these videos, you guys know what to do by now, just click on that link below to keep an eye out. And remember for all your Mustang needs, keep it right here at americanmuscle.com.

Stage 3 of Justin's 2014 GT Build

2014 GT Build Stage 3 Mods

Stage 3 of Justin's 2014 GT Build

Stage 3 Video Transcript

Hey, what's going on, guys? Justin with americanmuscle.com here. As you can see, I have my '14 GT back in the shop, I'm doing a little bit more work on it today. You guys seem to be really digging these videos so I'm gonna keep bringing them to you. If you caught the first couple of videos you can kind of see the general direction of the car appearance-wise, I have that GT500 theme going on thanks to the matte white stripes on the white car which I think looks really cool, the GT500 spoiler, and some other little parts.

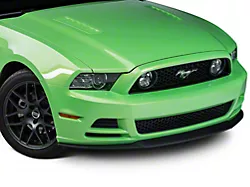
Performance-wise, you saw the Cobra Jet intake manifold I did in the second video along with the big mono-blade throttle body, the off-road H-Pipe, and the MagnaFlow exhaust. So car is running great, looking good so far, but I definitely have some more stuff planned today. I'm starting off with the chin spoiler here, the Roush front chin spoiler which I just finished up installing. Really a big fan of this chin spoiler. Not a whole lot of options available out there for these generation Mustangs in terms of lip spoilers or chin spoilers, the RTR is nice, it's a little too radical for what I'm going for, Boss is really nice obviously, but price is a little high for me.

So the Roush is just right, I like it, simple lip yet I think it really adds a lot to the car. So I do have some other appearance stuff going on here today, guys, in addition to some stuff inside the car finally. So let's go over to the side and I'll show you some more appearance stuff. All right, guys, you've been hearing me talk about it for the last few videos and guess what? The nice weather is finally here, so finally being able to throw on my new wheels. And I could not be happier.

I went with the '13 and '14 GT500 style wheels wrapped in the very good Mickey Thompson Rubber here. And again the 20-inch in charcoal, I think they look awesome on the white car. And they really just nailed that GT500 look that I had been after ever since I bought this car, so my vision is finally kind of coming together thanks to these wheels.

In addition to that, guys, I also did the Roush side and rear splitters to go along with that front chin spoiler from Roush. I think the total package just really adds a lot to the car in terms of appearance and just gives it a much more aggressive look. Now I am gonna get inside the car of course, but I do have one more suspension part I want to tackle before I do so, so let's check that out.

All right, guys, Ryan and I just finished up installing the SR Performance lower control arms here on my '14. Now for a lot of Mustang owners, these are actually one of the top mods you guys do when you first get the car because as you probably know, the wheel hop in these things is absolutely horrendous. I've just been dragging my feet a little bit on this mod but now that the car is making real good power, I definitely need these to help me get that power to the ground. Very simple install, guys, basically a two-bolt install. Of course, you want to make sure you get the brake lines out of the way with a big zip tie, something like that. But again, a very recommended mod with these cars and again should help you lay down some nice lines instead of wheel hopping all over the place.

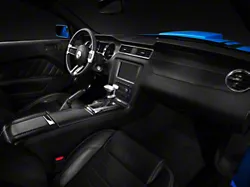
With these buttoned up, I'm gonna get inside the car and show you guys a couple mods in there. All right, guys, so here we are in the interior of my '14 GT where I am doing a little bit of work today. Now full disclosure, when I bought this car, it had to have a few options, it had to have the track pack, Recaros and the car had to be white. Now the only car I could find with those options was a base car.

So I am missing out on the cool stereo, some of the nice interior touches and those track apps that we all know and love. So I am trying to fix that one at a time and I'll show you what I'm talking about. First up, I did the Raxiom navigation. Now this is an absolute must for anybody without the factory nav. It integrate so well into the interior of these cars, works flawlessly and the GPS is right on the money. So hands down, probably one of the best mods I've done to this car so far.

As far as that boring base dash, well luckily here the guys at AmericanMuscle Graphics do offer a few dash overlay kits. So I picked up their carbon fiber version and I absolutely love this thing, man. Slapped it on one day in the driveway at home, just in an hour or two and it kind of gives you that California-special appearance to your dash if you have a base car like me, it just spices it up a little bit. So I really do enjoy that.

Finally, I am missing those track apps, so I had to take care of that. And what I did was I looked at the PLX DM-100 Multigauge. Now this thing is a touchscreen gauge and it shows you all that great OBD-2 info. So air/fuel ratio, intake air temp, water temp, things like that and it can also be used as a performance gauge so it can tell you your eighth quarter mile times, things like that.

Definitely, a nice thing to grab if you don't have those track apps because it kind of takes the place of that and I had a nice stealthy install here with the gauge pod. So overall the interiors come together pretty nicely. A couple of other little bells and whistles I threw in was the Modern Billet six speed white shift knob which I just love that retro look.

And I also threw in some Raxiom LED map lights as well. So overall, again, really happy with the interior. I think the car is really starting to come together. Maybe have a few other things down the road here as far as the interior's concerned but for now, again, really happy. All right, guys, that's gonna do it for this installment of my 2014. Thanks for checking out the progress. I honestly could not be happier with how the car is sitting right now. I think it's looking great, definitely making some good power. Now is the time to get out in the streets and have a little bit of fun. So drop a comment and let me know what you think of this bad boy. And in the meantime, we'll see you next time. Peace.