
How to Install Koni Sport Adjustable Front Struts on your 1994-2004 Mustang
Installation Time
30 minutes
Tools Required
- Jack
- Jack stands
- Lug wrench
- Wheel chocks
- Adjustable wrench
- Large flat screwdriver
- ½ drive ratchets
- Extensions
- Universal joint
- 21mm socket
- 24mm socket
- 11mm wrench
- 12mm wrench
- Zip tie
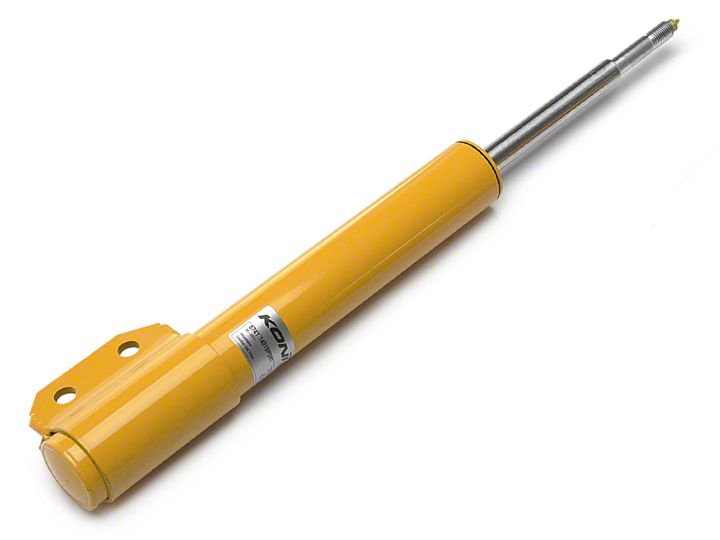
Shop Parts in this Guide
Installation Instructions:
1) Place wheel chocks behind rear tires, raise the front of the car and place jack stands under the control arms. This serves two purposes. One is used to put a little pressure on the strut to make taking the top nut off, secondly is as a safety measure for when the car is on the jack, and very slightly above the jack stands.
2) Remove the wheels.
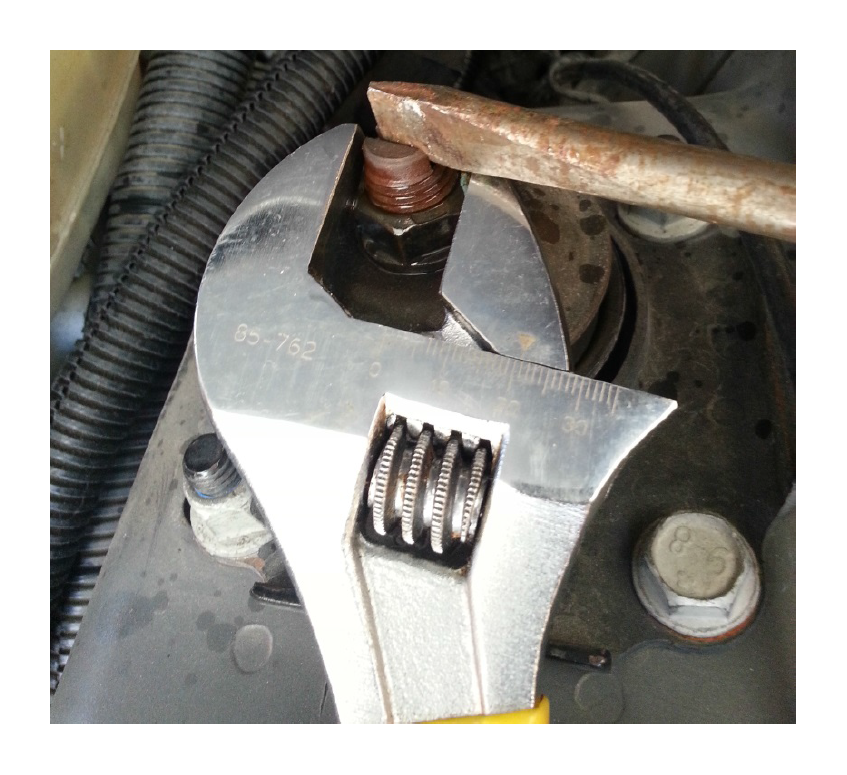
3) Leave the car resting on the jack stands and use the flat screwdriver and (in my case) adjustable wrench to loosen the top nut. Leave the nut barely threaded on to keep the strut from falling out when you take out the bottom two bolts. I also used some lubricant.
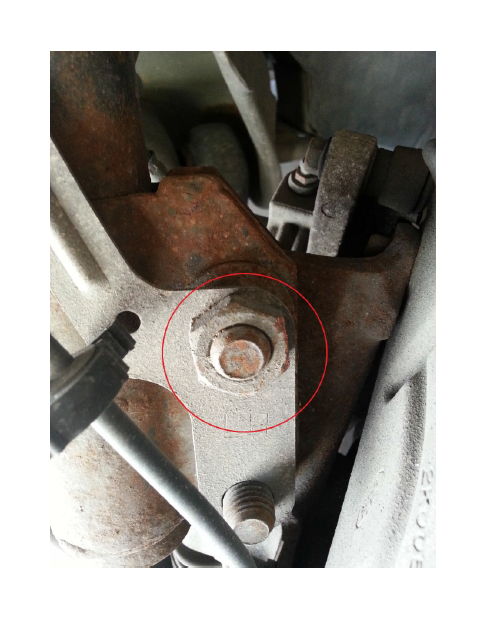
4) Use the 24mm socket to take off the bolt holding the bracket for the abs sensor wire.
5) Use both the 24mm and the 21mm sockets to take the nut off of the two bolts holding the strut to the spindle. Leave the bolts in for now until everything is ready for the next step.
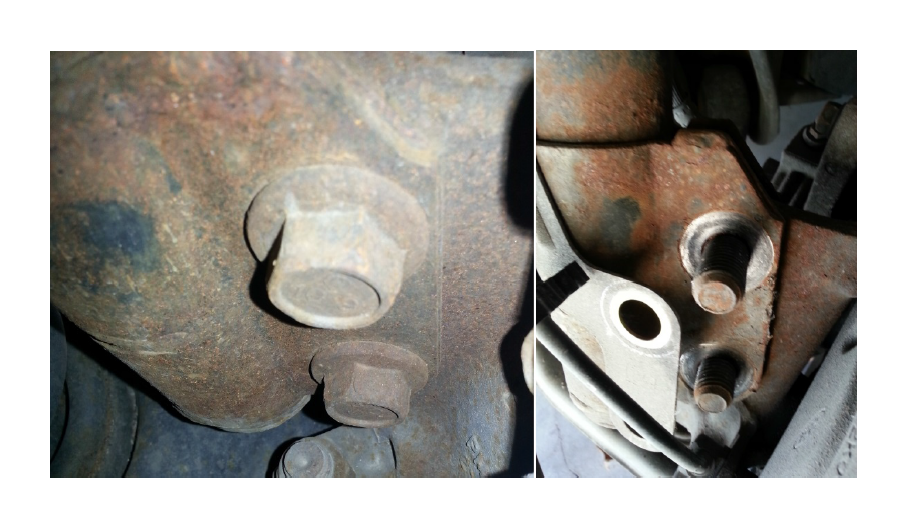
6) Lift the car slightly off the jack stands to remove pressure from the bolts. Be prepared for the spindle to fall forward after you remove the two bottom bolts. As you are removing the last bolt you will need to be doing three things. Apply a little upward pressure on the strut to allow the bolt to come out, while pulling the bolt out, while holding the spindle from falling too far forward. It’s kind of tricky; I used my knee to hold the spindle.
7) Have a zip tie handy to secure the spindle to keep it from falling forward.
8) Remove the top nut and pull the strut down and out.
9) It is recommended that you cycle the new Koni strut a few times before installation. It makes it a little easier to compress the strut while it is half way installed to align the mounting holes. Do this by standing the strut up on the floor and pushing down on the black plastic thread cover that the strut came with.
10) Remove the dust boot and the bump stop underneath the dust boot and install them on the Koni strut.
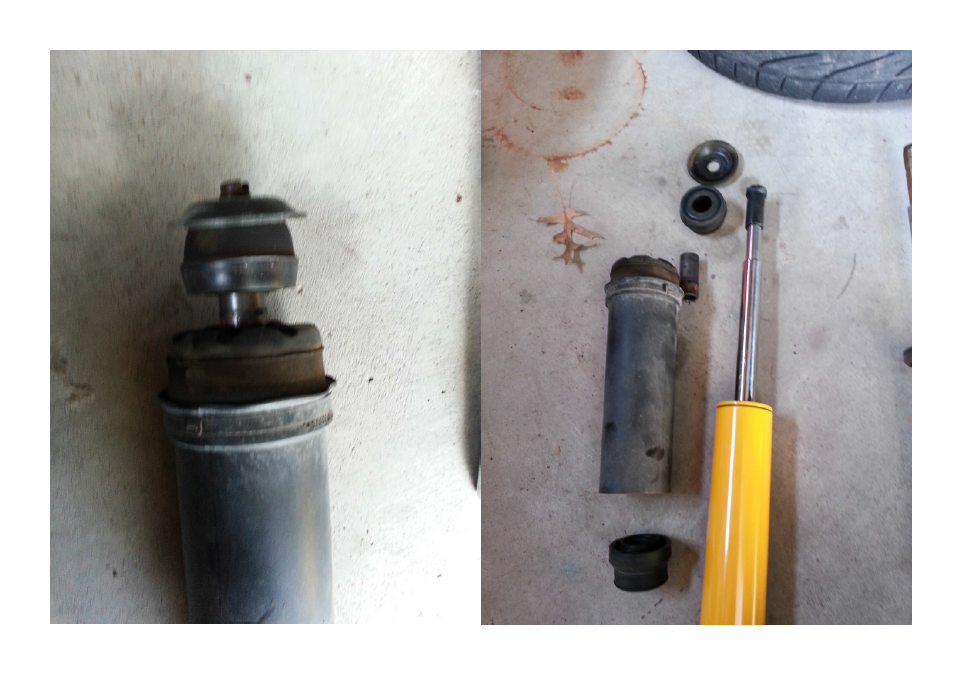
11) Push the strut up through the strut tower. Install the spacer, bushing, and thread the top nut on a few turns to hold it in place
12) Cut the zip tie and line up the bottom strut mounting flange with the spindle, and slide them together until the mounting holes line up, preferably both holes but at least the bottom hole. You may need to remove the brake caliper since the mounting flanges are twice as thick as the original struts. If so use the 12mm wrench to remove the top bolt and rotate the caliper out of the way, make sure to replace the caliper if you move it.
13) Install the bottom bolt; don’t worry about the nut right now. Maneuver the spindle to align the top bolt hole and install the bolt.
14) Go ahead and put on the two nuts and tighten. Tighten to 148 FT/lb
15) Reinstall the abs bracket and nut.
16) Using the 11mm wrench and adjustable wrench tighten the top nut.
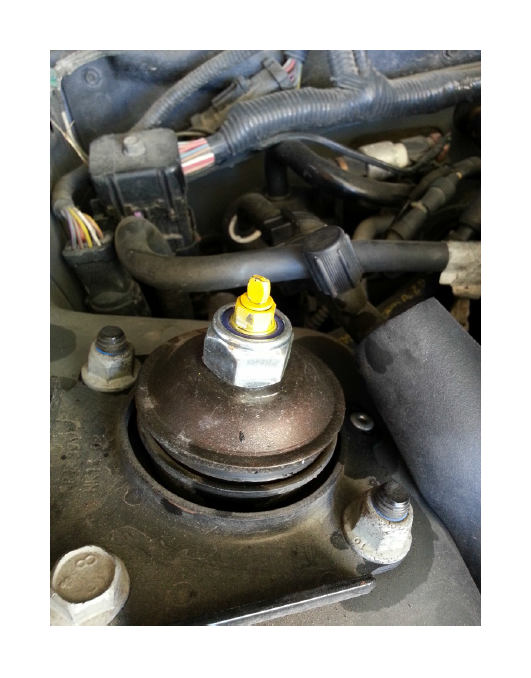
17) Reinstall the wheels, and lower the car.
18) Adjust the struts to full soft for about a week for a break in period. First stop must be an alignment shop.

