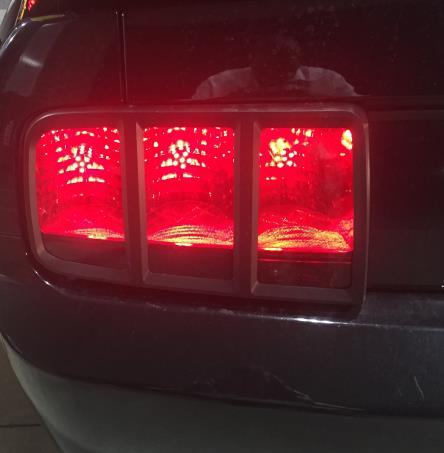
How To Install a LED Sequential Chase Tail Light Kit – Plug and Play - On Your 2005-2009 Mustang
Installation Time
30 minutes
Tools Required
- 11mm wrench
- T-30 Torx Bit with Driver (optional)
- Small Flat Screwdriver

Shop Parts in this Guide
Included Parts:
Passenger and Driver side LED Lamps.
Installation Instructions:
Open trunk.
Remove the four Center Pin Lock Retainers that shown below by using a small flat head screwdriver to lift the head of the retainer in the center. Keep the retainers for re-installation later.

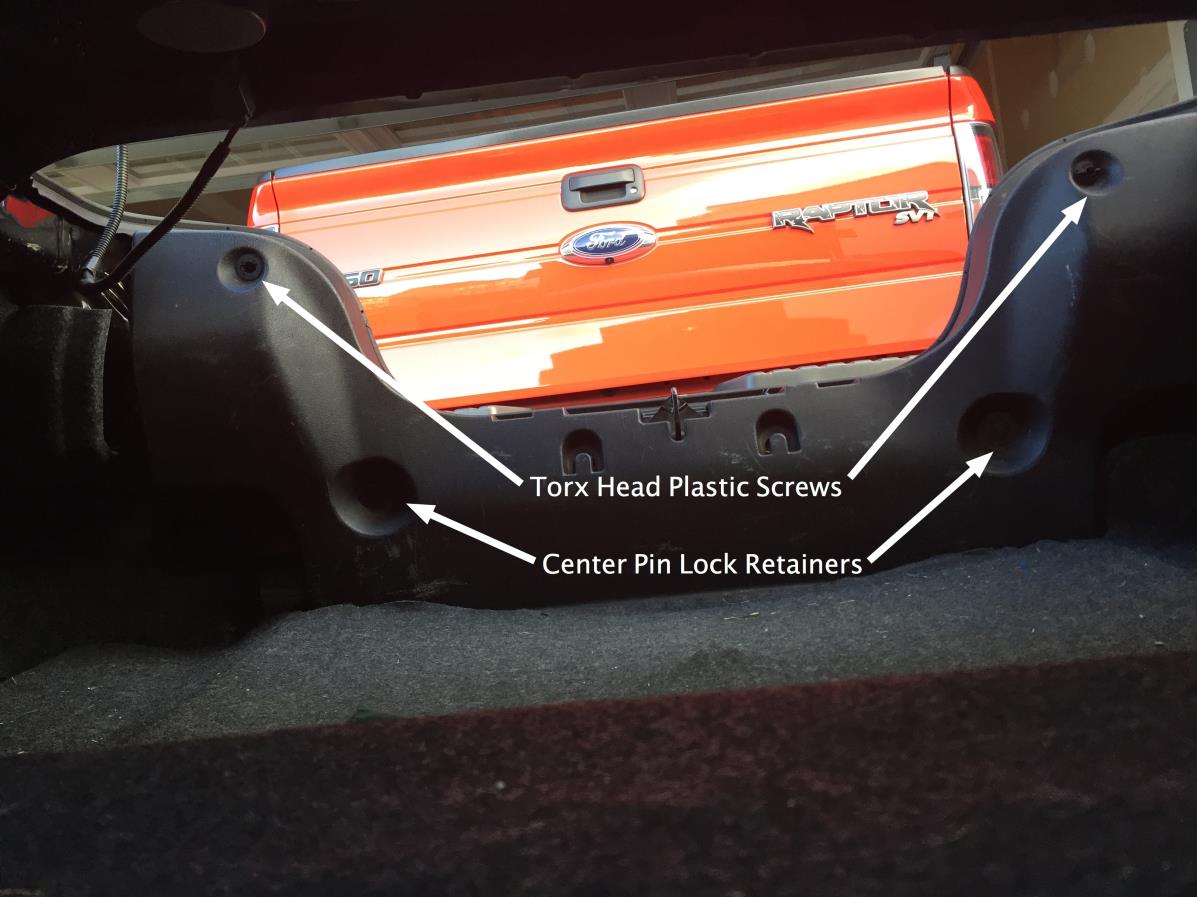
Remove the two Torx Head Plastic Screws from the upper area of the trim panel directly behind each taillight in trunk. Keep the screws for re- installation later.
Remove the trim from the trunk by lifting the panel above the trunk latch and away from the car.
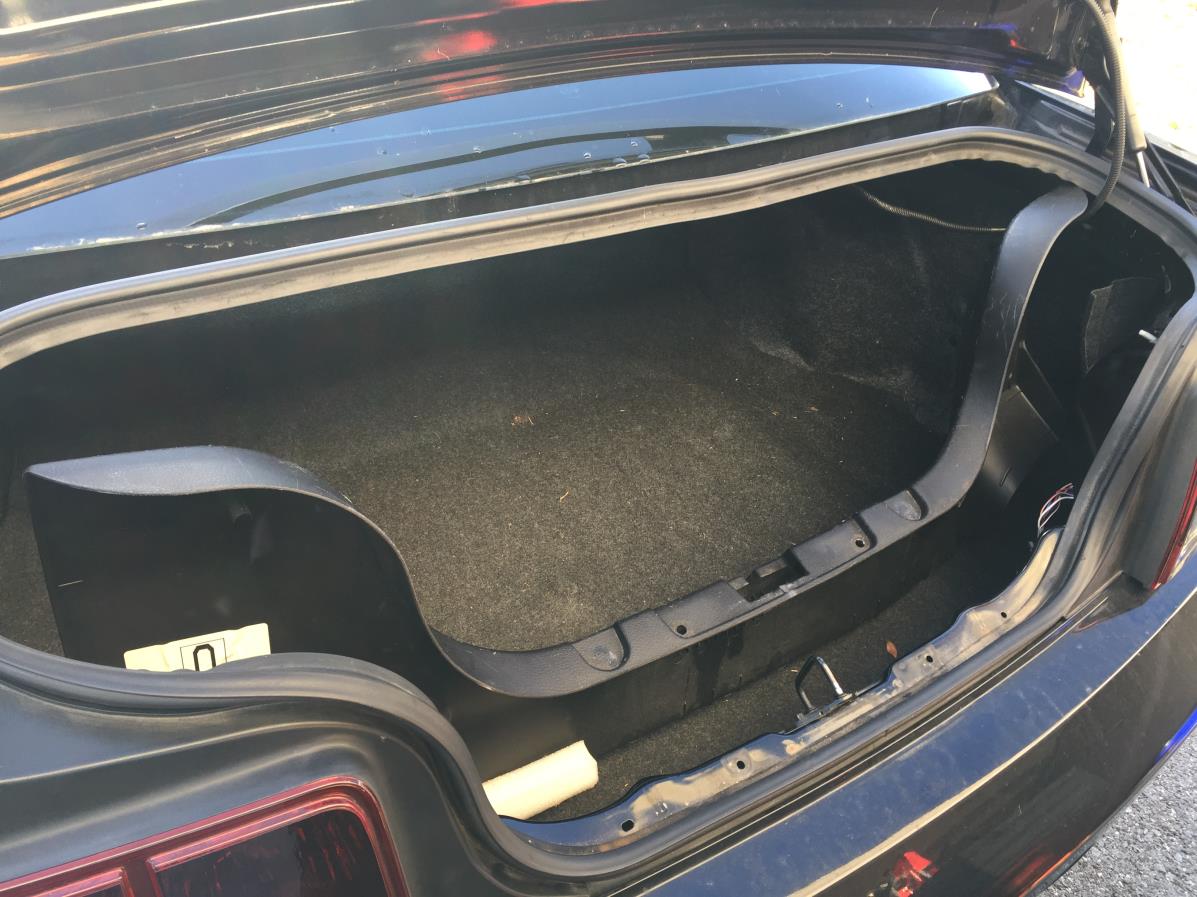
5. Remove the 11mm nuts shown below that secure the taillight housing to the vehicle.
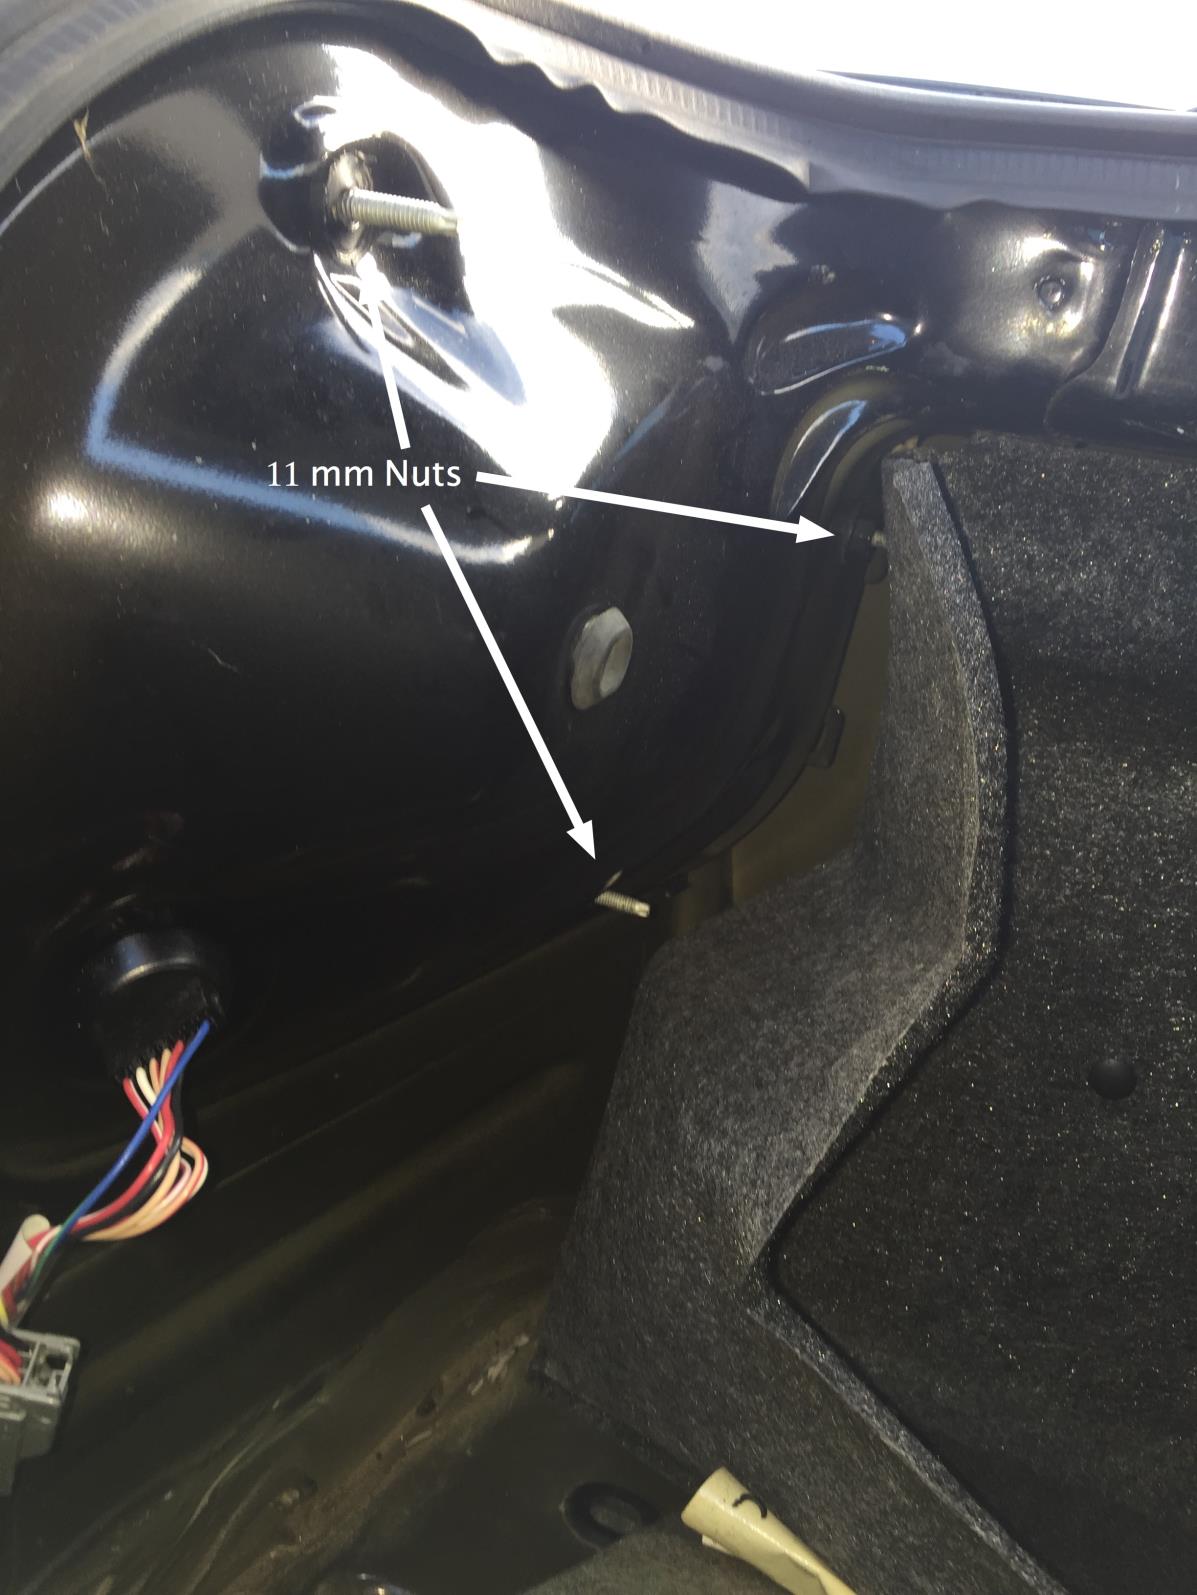

6. Make sure the lights are turned off and the ignition is turned off before proceeding. You will retrofit one side of the car at a time. Remove the taillight from the car by pulling the housing away from the car and exposing the existing lamp sockets.
7. Remove the inner, middle and outer lamp sockets by twisting and removing from the housing. Remove the existing bulbs by pulling the bulbs firmly to separate them from the sockets..
8. Do not remove the new LED lamps from their sockets. Insert the connector from the new LED lamps in the corresponding sockets that previously held the bulbs being replaced. Each LED lamp is marked inner, middle or outer. Insert the lamp end of OUTER LED adapter into the car’s outer housing opening. Insert the lamp end of the MIDDLE and INNER LED adapter into the respective MIDDLE and INNER housing openings. The MIDDLE & INNER LED bulbs will connect to the existing middle socket. The existing inner socket will not be used.

9. Repeat for the other side.

Test the new lights before securing the the light housings to your car. Ensure the signal lights work with headlights on and off. If the LED lamps do not light at all, you may need to switch polarity of the connector by removing the plug, rotating 180 degree and re-inserting.
Once all testing is complete, secure the housing to the car and reinstall the Torx Head Plastic Screws and Center Pin Lock Retainers.
