
Best Sellers
How to Install MAC 3 in. Axle-Back Exhaust (11-14 GT) on your Ford Mustang
Installation Time
2 hours
Tools Required
- ¼” Ratchet (3/8” optional)
- 13mm Socket
- 13mm wrench
- Jack and Jack Stands or ramps
- (optional tools for tip adjustment 15mm deep socket and spray silicone)
Difficulty: Light to Moderate Skill
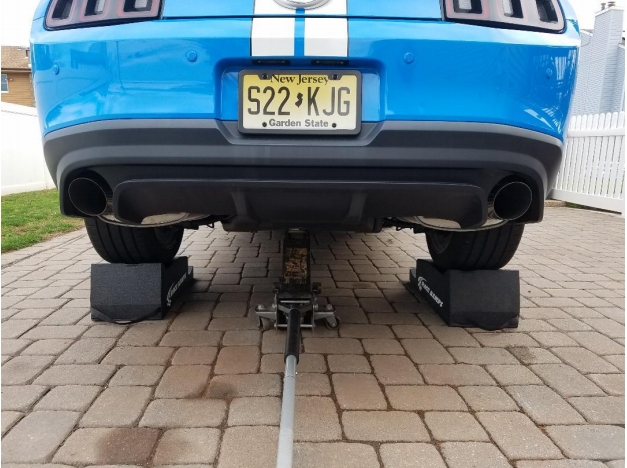
1. Start your install by raising the rear of the vehicle with either a jack and jack stands or ramps as shown.
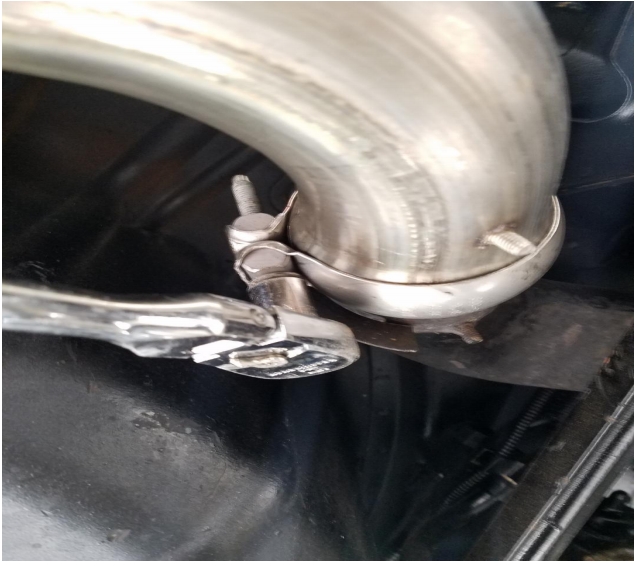
2. Starting with the passenger side loosen the 13mm nut on the stock axle back to over axle pipe connection.
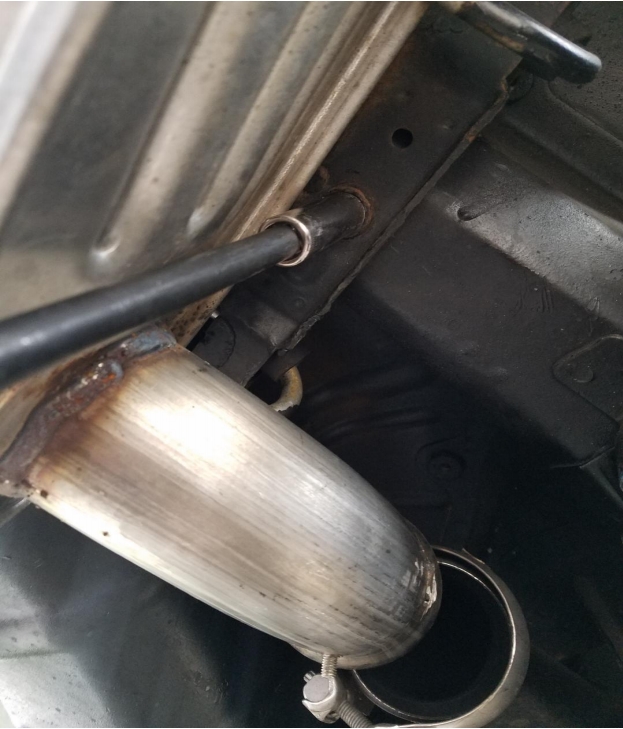
3. With the clamp loose, slide your stock axle back assembly forward to reveal a 13mm bolt on the exhaust hanger assembly, use a 13mm socket and extension and remove this bolt.
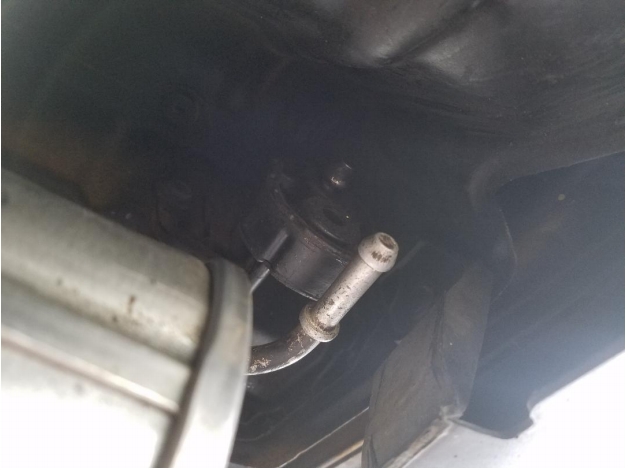
4. Now before removing the other exhaust hanger bolt, it is much easier to get to it with the rear hanger bushing off. Slide your stock front metal exhaust hanger out of the bushing and let the axle back hang down. ( spray silicone makes them much easier to slide out)
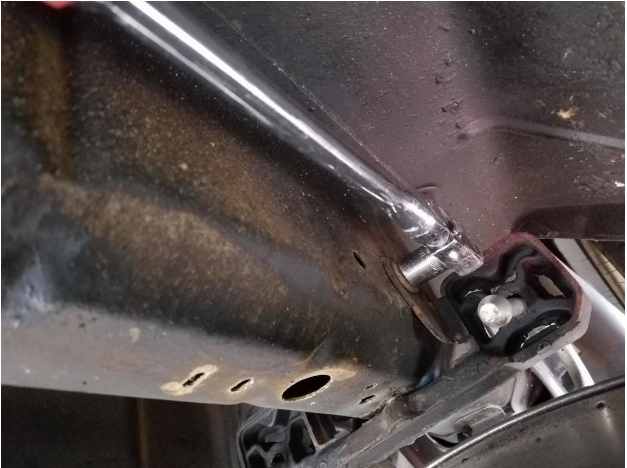
5. With the axle back now hanging down slightly you can now easily access the last exhaust hanger bolt,remove it with your 13mm socket and ratchet and be prepared to catch the exhaust as this is the only bolt holding your axle backs in at this point. Your stock axle back is now removed.
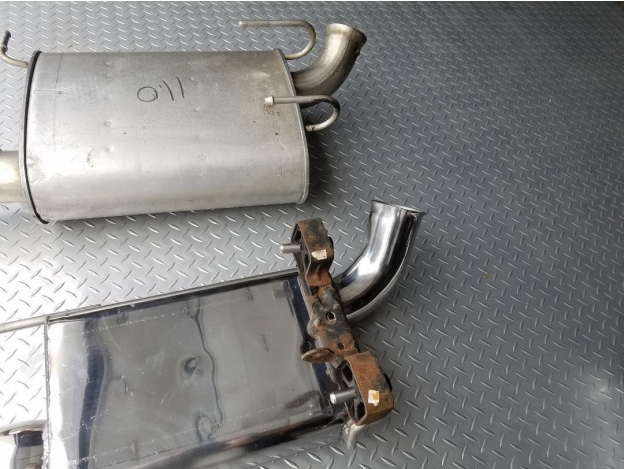
6. Transfer over the stock exhaust clamp and hanger assembly on to the Mac 3” axle backs. (the stock exhaust clamp may have a small tack weld holding it to the stock axle back, just bend it back and forth several times til it breaks off)
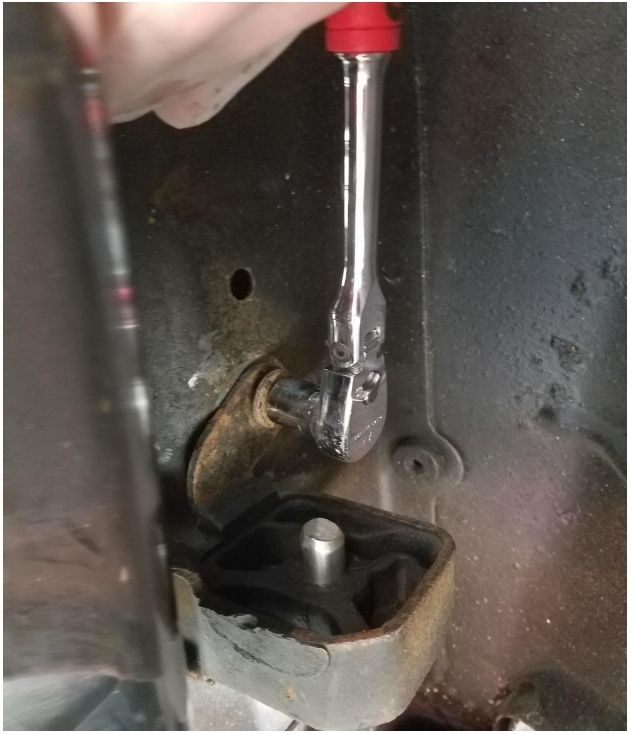
7. Slide your new Mac 3” axle backs up into place with the over axle pipes and front muffler hanger bushing. Then start the side exhaust hanger bolt with your 13mm ratchet. This is much easier to start with since the Mac’s are significantly smaller then stock mufflers.
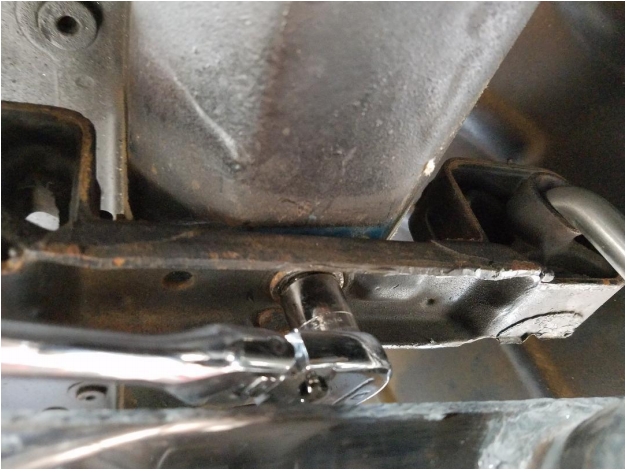
8. Now tighten the bottom exhaust hanger bracket 13mm bolt, here you will have less room then with the stock assembly since the Macs can’t forward as much as stock so you will either need to use a ¼ ratchet or a 13mm wrench to tighten it.
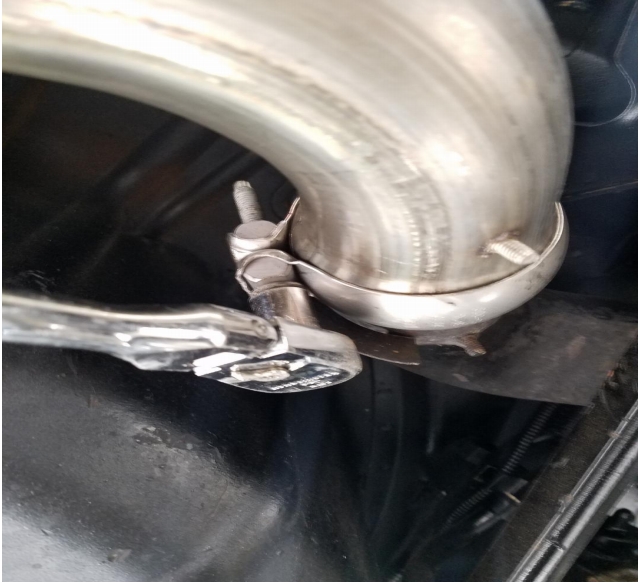
9. With the exhaust hanger now securely in place you can slide your stock clamp on to your new Mac axle back and stock over axle pipe and tighten it to 40 ft lbs. Be sure to align your tips properly before the final torque.
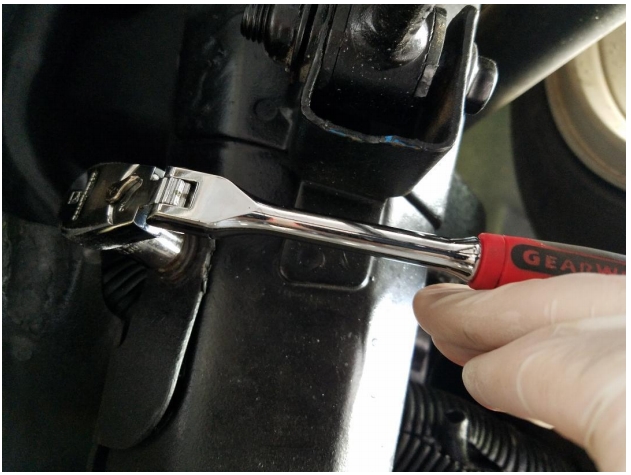
10. The Drive side axle back install will be exactly the same with the exception of the exhaust hanger bracket which uses 3 bolts instead of the 2 on the passenger side. This is the forward most 13mm bolt of the top inside of the hanger assembly.
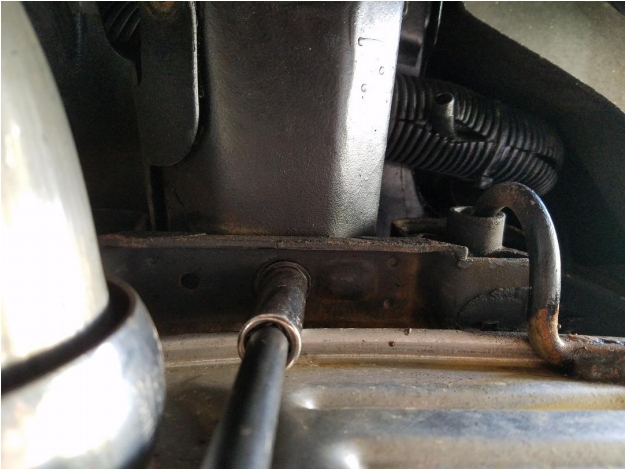
11. The top bracket 13mm bolt will be the same procedure as the passenger side, slide the muffler forward and remove the bolt.
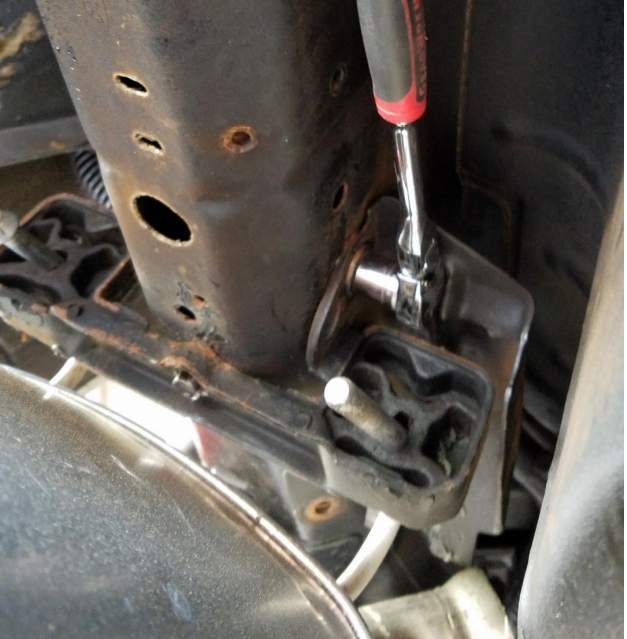
12. The top rear most 13mm bolt can again be accessed easier by sliding the muffler assembly out of the rear bushing and letting it hang while you remove bolt, after you remove this third and final bolt, the axle back will be free to drop out.
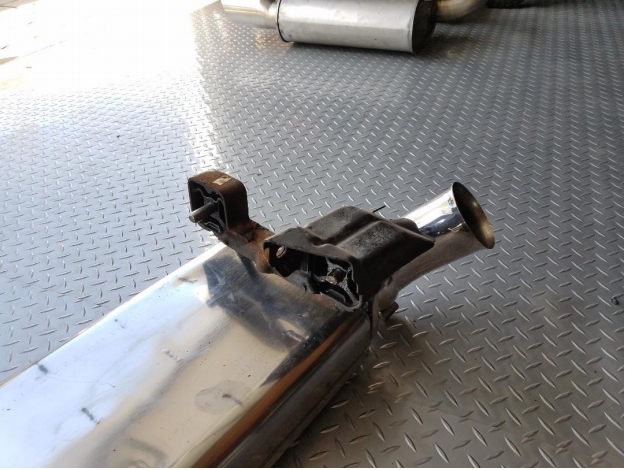
13. Here is a view of the drive side hanger assembly out of the car and slide on to the new Mac axle back for a better view. Now installation will be exactly the same as the passenger side.
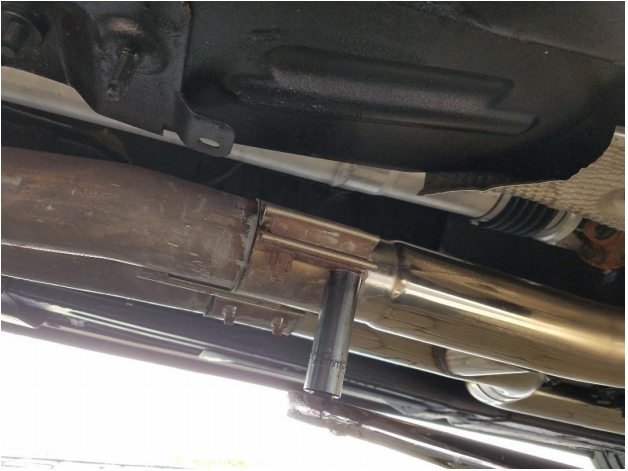
14. (Optional) Now you may or may not need to adjust your tip alignment of your new Mac axle backs, this can be done by loosing and adjust the over axle pipe to mid pipe clamp which uses 2 deep 15mm nuts. Adjust tips as needed and re torque these bolts to 45 ft lbs.
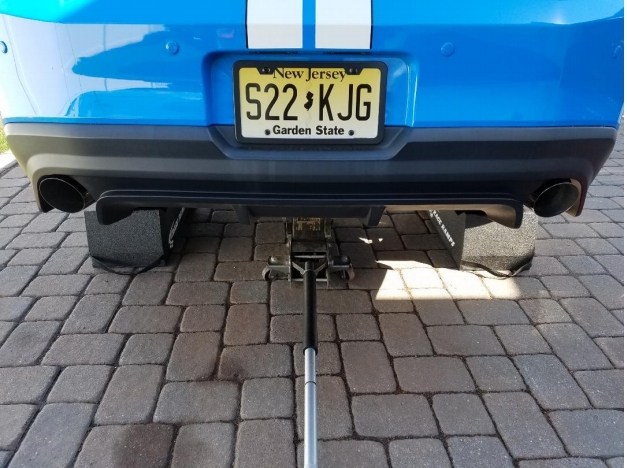
15. Once your tips are adjusted to your liking, start your car and check for any leaks at the connections you removed. Then lower you car and take it for drive to listen for any rattles or noises that may require adjustment. Your installation is now complete; enjoy your new exhaust system.
Installation Instructions Written by AmericanMuscle Customer Anthony 4/22/19


