
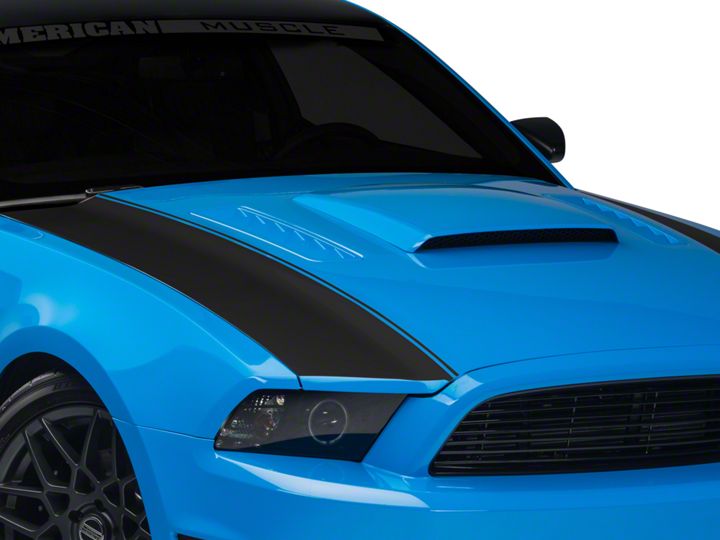
How to Install Outer Hood Stripes on your 2013-2014 Mustang
Installation Time
2 hours
Tools Required
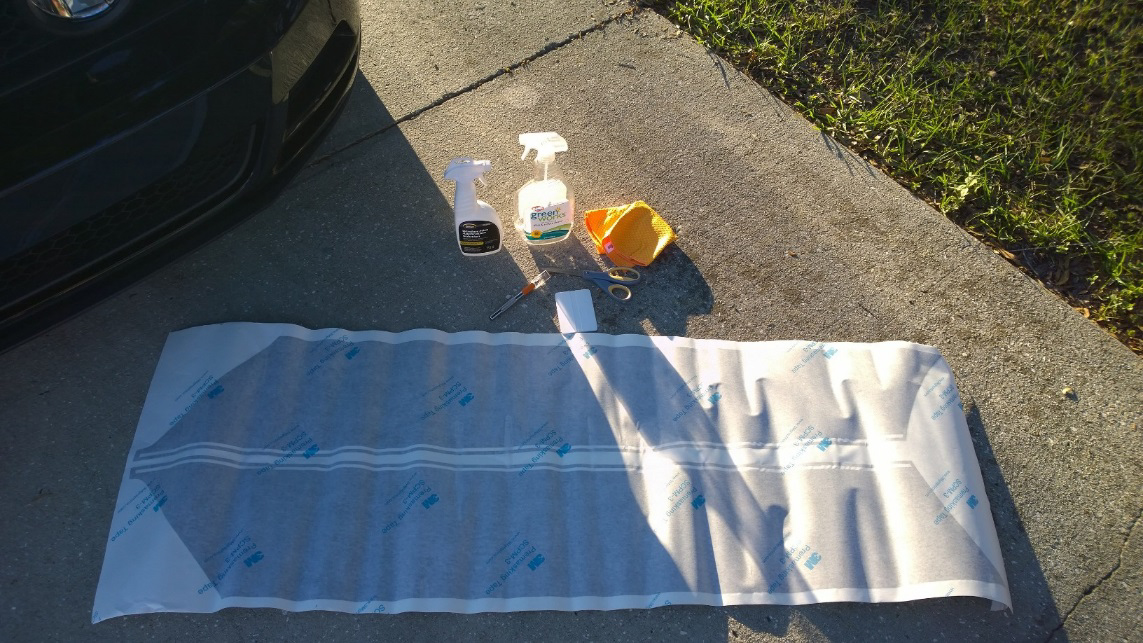
- Scissors
- Vinyl Squeegee
- Hobby Knife
- Cleaner
- Application Fluid
- Lint-Free Cloth
Shop Parts in this Guide
Preparation:
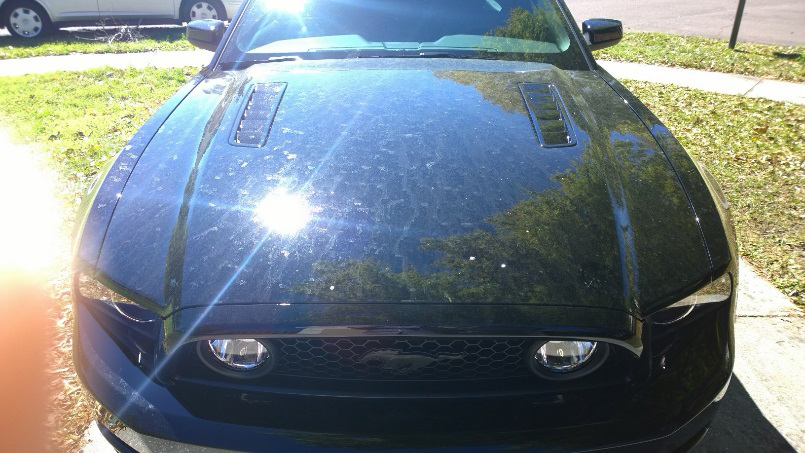
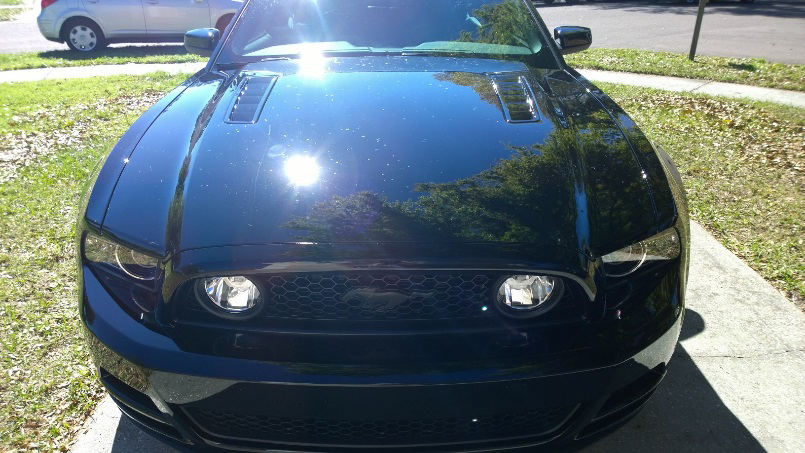
1) Wash your car. It is very important that you apply vinyl to a clean surface. We will clean the area for application later but for now, wash the entire car.
2) Trim the vinyl to fit. It is much easier to apply vinyl that has the excess tape trimmed away. Using scissors, carefully cut the vinyl out staying as close to the edge as possible without cutting the vinyl itself.
3) Clean the area for application. The cleaner the surface, the smoother the vinyl. Use any ammonia-free household cleaner. Glass cleaner is not recommended.
Tips: It is best to apply out of direct sunlight and in a temperature range between 55°-80°.
Application:
1) Remove the vinyl from the
backing and soak the adhesive side
and area to apply liberally with the
vinyl solution.
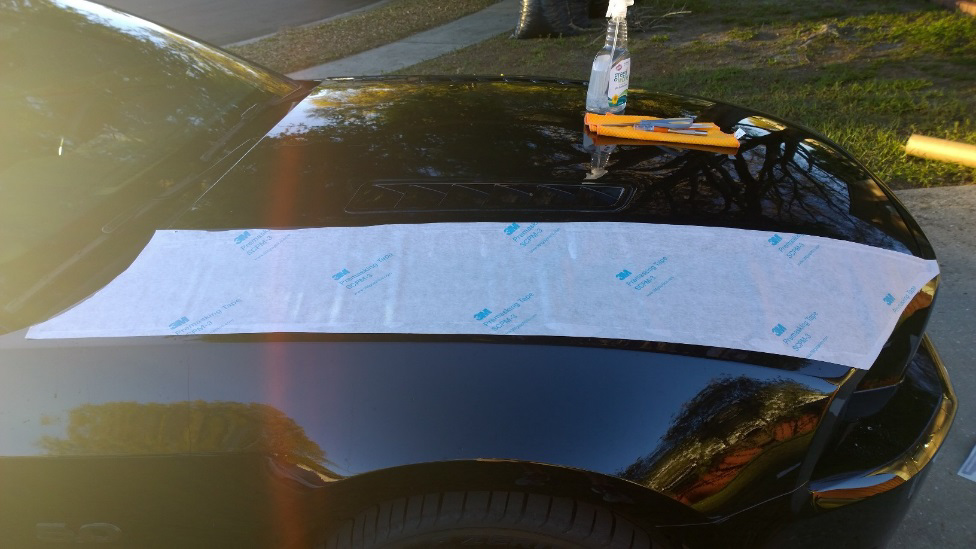
2) Place the vinyl adhesive
side down and position in place.
The vinyl should move freely on
the surface of the vehicle.
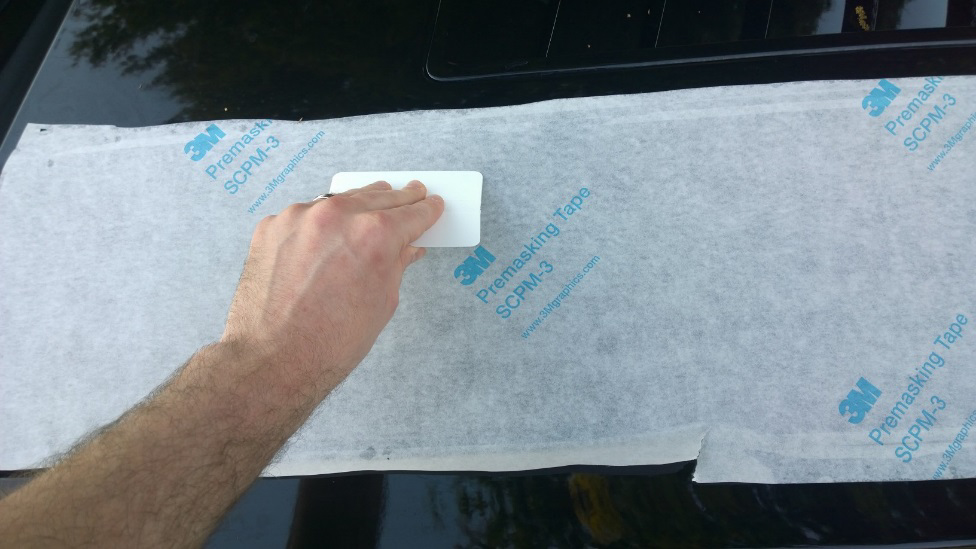
3) Starting at one edge, hold
the squeegee at a 45° angle and press gently down the middle of the vinyl and then out to the edge on each side.
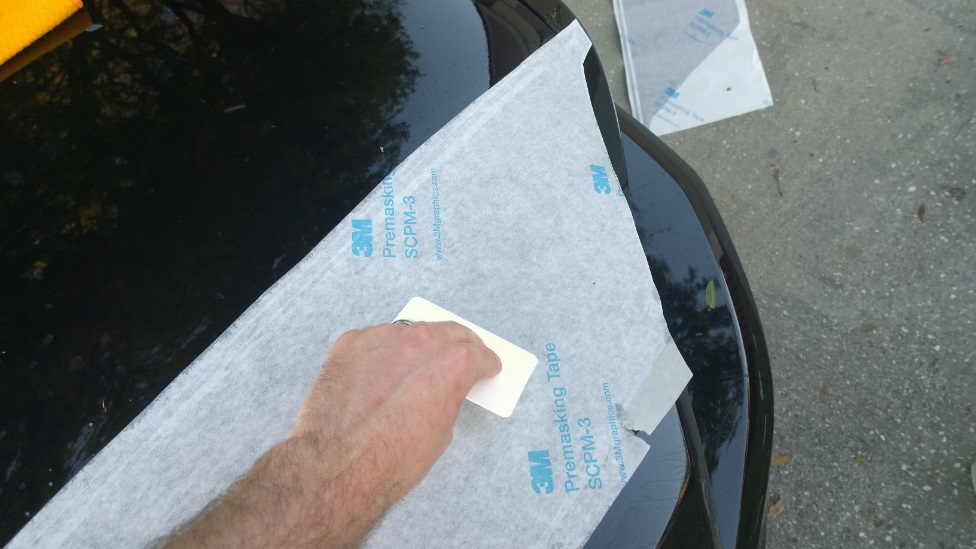
4) Repeat this process moving
down the length of the vinyl. Take
care as it may try to slide out of place. continue to move up and down the length of the vinyl pressing harder on each pass. As the solution exits the vinyl, it will be more likely to stay in place.
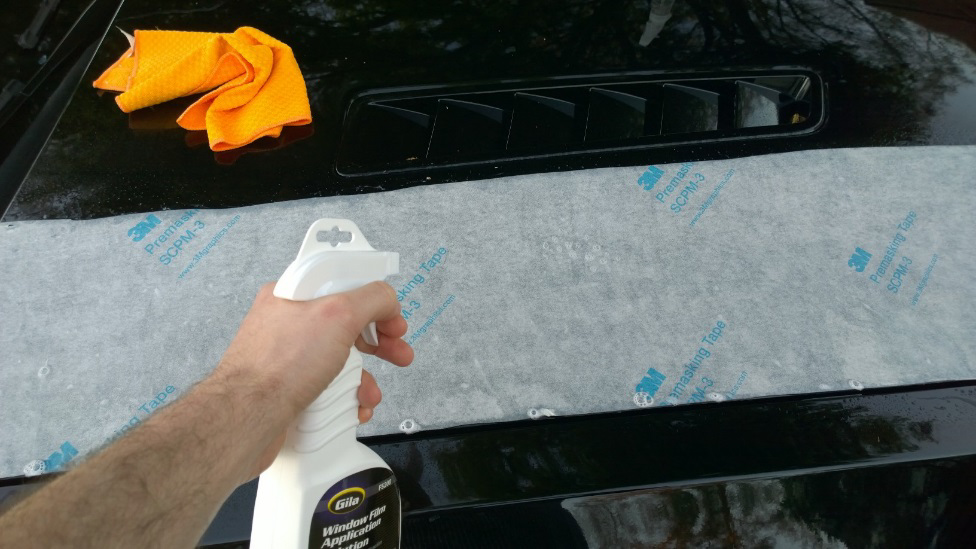
5) Wait 15 minutes.
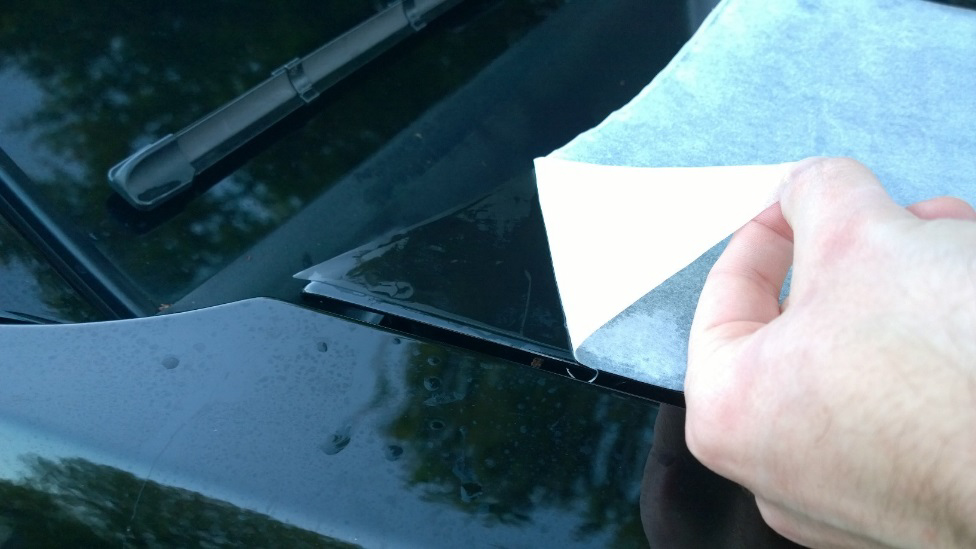
6) Use the application solution
to soak the tape and rub it in. This
allows the adhesive to loosen slightly.
**STOP** This is the most
crucial step of the process and where most mistakes occur. The key here is to move slow. The slower you are, the better your results.
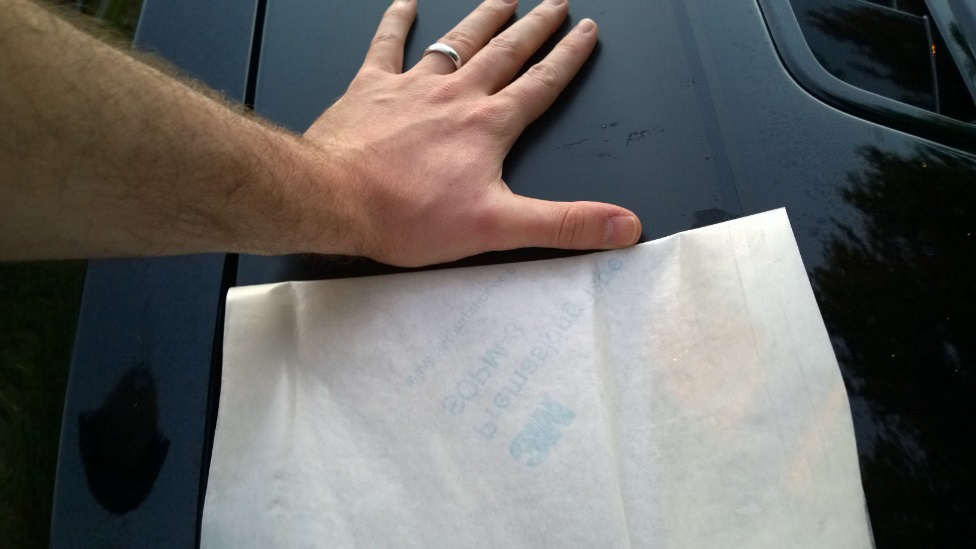
7) Begin at one end and gently
peel the tape away from the vinyl at a sharp angle. It may come off the car which is ok, just use the squeegee to smooth it back out. As you move away from the edge, it will be more secure but do not move faster!
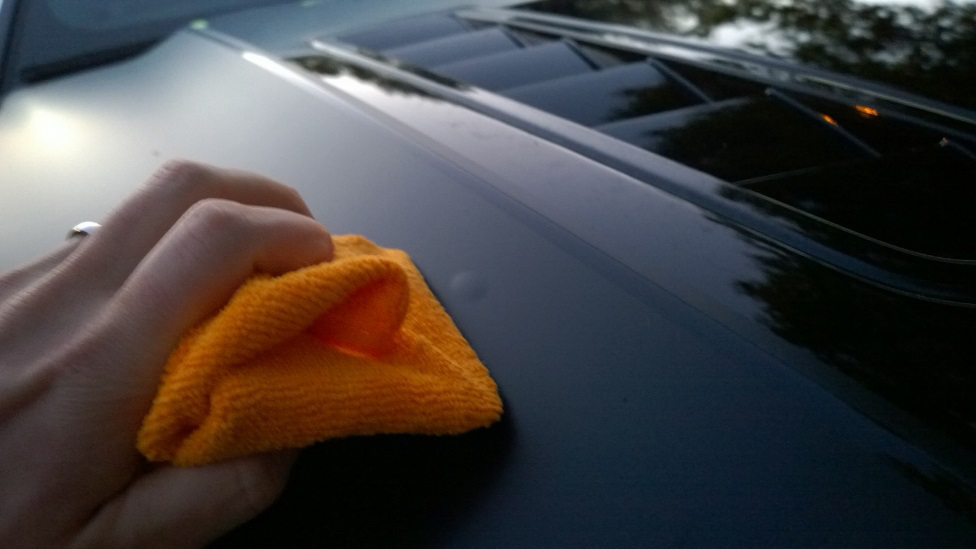
8) It is important to keep pressure
at the edge of the tape. You can use
your hand as seen here or continually move the squeegee across the vinyl while applying pressure. This helps to
prevent the vinyl from peeling off the
car. Continue the length of the car and take extra care towards the end as the vinyl may peel away easier.
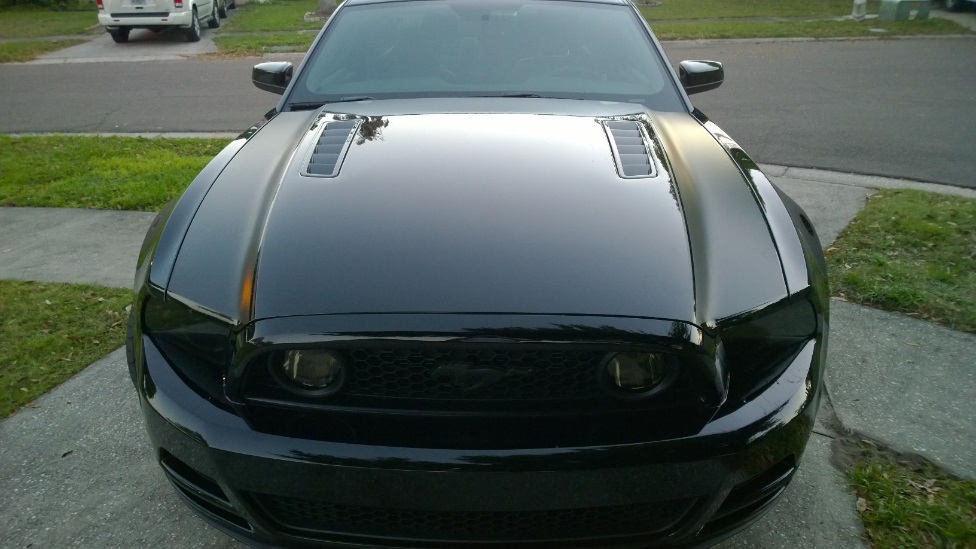
9) Tidy up! Wrap the squeegee in
the lint free cloth and apply pressure
at a 45° angle to push bubbles towards the nearest edge. Don’t obsess over tiny bubbles as the sun will dissipate most of them. If they don’t go away in two weeks, you can use a pin to puncture them and the squeegee to smooth them out again. If a grain of sand or other tiny debris is under the vinyl, leave it alone. Cutting it out will make it look worse.
Tips:
• Go slow! Spending two hours
on application is better than starting
over.
• Any time you use the squeegee
directly on vinyl, wrap it in the cloth.
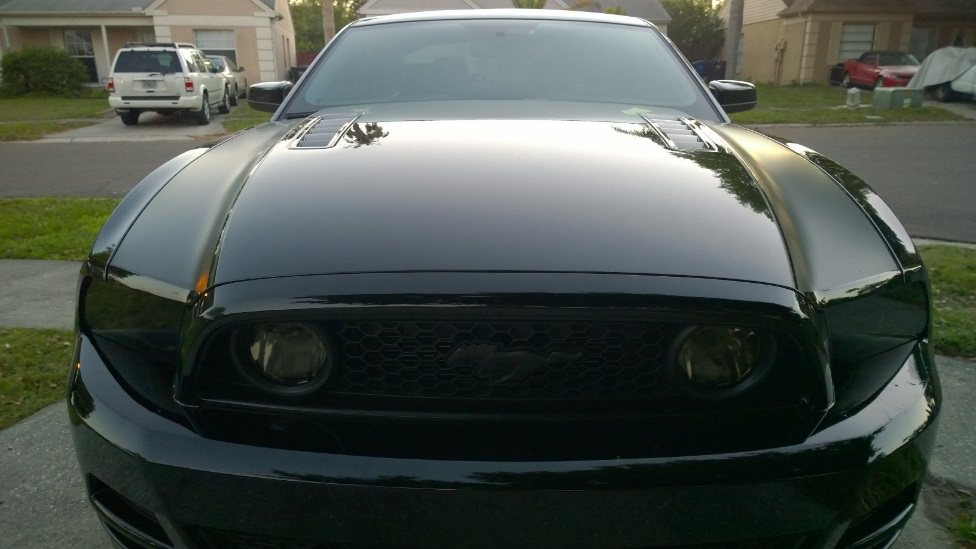
Installation Instructions written by AmericanMuscle customer Jesse Hope 03/31/2014

