Best Sellers
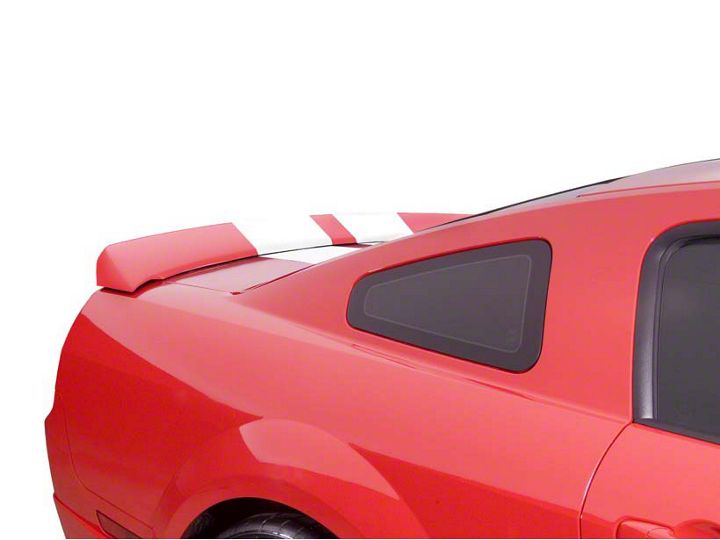
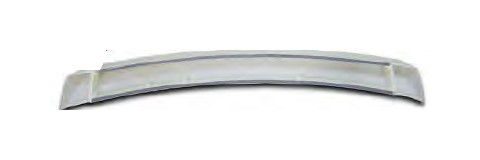
How to Install Cervini's Mid-Wing - Unpainted (05-09 All) on your Ford Mustang

Shop Parts in this Guide
Notice: Prefi t Before Painting. Install new, unpainted parts according to these instructions. Then remove parts, paint them and re-install.
Painted or Altered Parts are Non-Refundable
The surface that is in contact with the 3M ed tap ust be cleaned with isopropyl alcohol & the temper mus minimum of 75 degrees F, before aing. Allow the 2-sided tape to dry 24 h d .
Installing th wi Remove the factory spoiler. Use the supplie temp to lo re the scew holes need to be drilled. Line up tte with th es of t nk as shown in fig A. On the ho template m actory spoiler location. Ta the plate pl Drill a 1/4” ho the indicated locations. Flip empl to the oth of the trunk and repeat. Included in the har roll o ouble sided tape. After the wing has been pain insta 3M dou ded tape along the guidelines a 1/8” away fro he ou edge as shown in fig B. Place the g on the trunk o th cking xposed and can be pulled. (Th llow you et the best align- ment of the part). Install the provi screws. (Do Not Tighten). Pull the backing slowly. After all the bking moved, fi rmly press the edges of the wing to securely adhere the tape. O the trunk and tighten the black screws.

PAINTING INSTRUCTIONS
VERY IMPORTANT: The following painting procedures MUST be followed EXACTLY for PROPER ADHESION and to prevent fish eyes.
1. To remove any mold release contaminants, clean the back of the part fi rst. Using 2 new clean rags, saturate the fi rst rag with plastic prep cleaner* and begin cleaning. Then use the second rag to remove the prep cleaner. Continuously fold both rags to their clean sides during the process. Use 3 sets of new rags throughout the process. This prevents mold release contaminants from transferring to the painted surface.
2. Repeat step one on the front of the part.
3. Rinse the part with water. Apply a generous amount of Ajax® or sand fi x* to a red scuff pad* (3M Scotch Brite Brand) and scrub the surface to be painted THOROUGHLY (especially where the 2-sided tape is installed, on the back side of the part, and all the hard to reach areas). Then rinse with water and dry. The scrubbed surface should be dull. If any shiny spots show, repeat the process on those areas.
4. Using another set of clean new rags, again clean the surface to be painted with plastic prep cleaner.
5. Spray the surface to be painted with adhesion promoter* including the areas where the 2-sided tape is installed (follow the instructions on the can for application and drying time).
6. Apply 3 to 4 coats of urethane primer* with fl ex additive* (follow the instructions on the can for application and drying time).
7. Wet sand primer with 600 grit sandpaper. Be careful not to sand through the primer. If you do, you MUST clean those areas with plastic prep cleaner, apply adhesion promoter and prime. Once the primer has dried, wet sand the areas that were touched up. Your surface is now ready for paint.
* These items can be purchased at any auto body supply store.


