
How to install a Mishimoto Performance Aluminum Radiator w/ Stabilizer - Manual on a 1997-2004 GT Mu
Installation Time
2 hours
Tools Required
- 8mm socket
- 10mm socket
- 13mm socket
- 3/4" wrench
- Philips screwdriver
- Flathead screwdriver
- Pliers
- Fluid drain pan
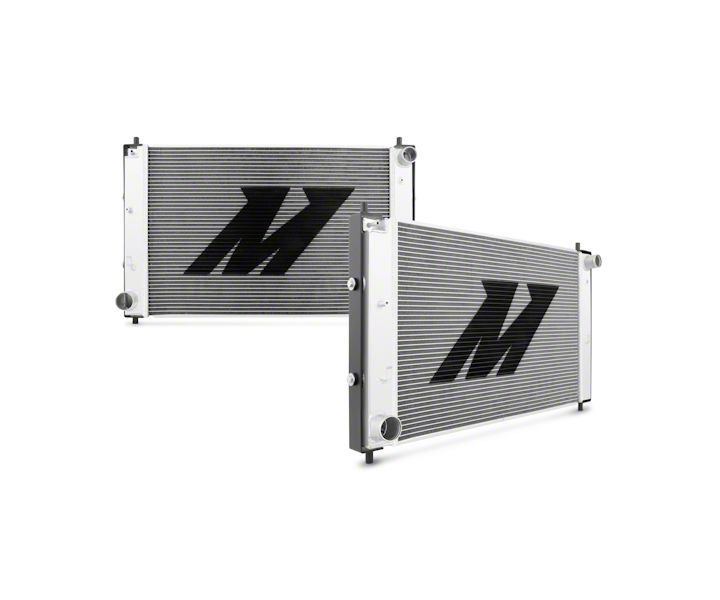
Shop Parts in this Guide
Installed on: 2000 Mustang GT (manual transmission)
Tools:
• 8mm socket
• 10mm socket
• 13mm socket
• 3/4" wrench
• Philips screwdriver
• Flathead screwdriver
• Pliers
• Fluid drain pan
1) Remove battery and tray
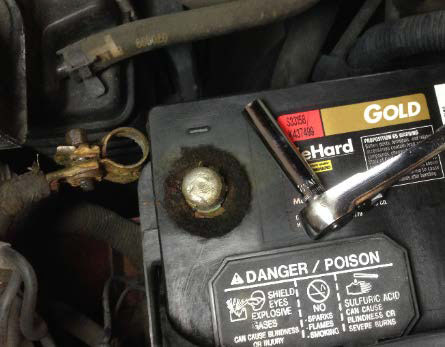
Using an 8mm socket, disconnect the negative battery cable then the positive battery cable. Loosen the battery hold down clamp, lift out the battery, and set it to the side.
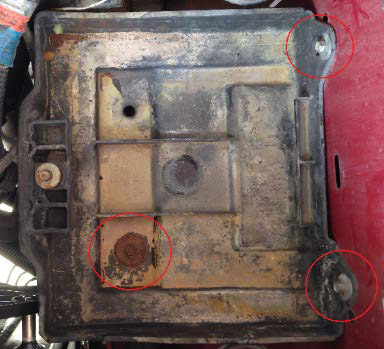
Still using the 8mm socket, remove the three bolts holding the battery tray in place. Two wiring harnesses are fastened to the tray, so simply tilt it up out of the way towards the engine. Removing the tray will make it much easier to lower the Mishimoto radiator into place later as it is slightly wider than the stock unit.
2) Drain the radiator fluid
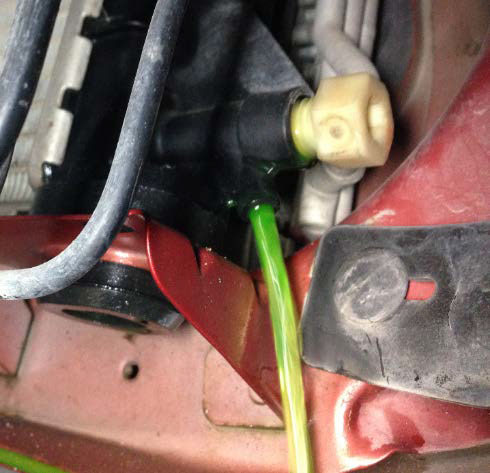
Place a suitable container under the radiator drain located at the lower passenger side of the radiator. Using a 3/4" wrench, loosen the radiator drain plug. After breaking it loose, you can easily turn it by hand until the fluid starts to flow freely. To help the fluid drain more completely, remove the cap from the radiator reservoir. Dispose of the used radiator fluid properly.
3) Remove the radiator reservoir tank
This requires removing a wiring harness, two hoses, and three nuts. Disconnect the wiring harness from the connector on the bottom of the reservoir tank. Remove the small hose routed to the top of the radiator by loosening the clamp at the radiator side with a pair of pliers and pulling the hose free. Disconnect the larger hose from the bottom of the reservoir tank in the same way.
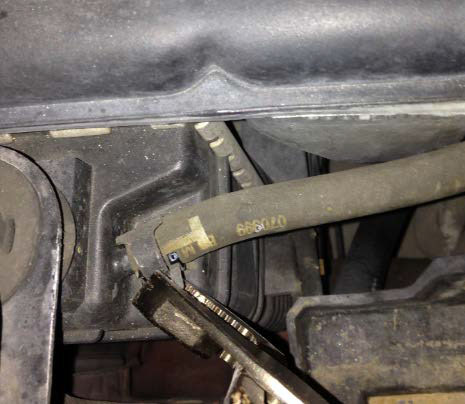
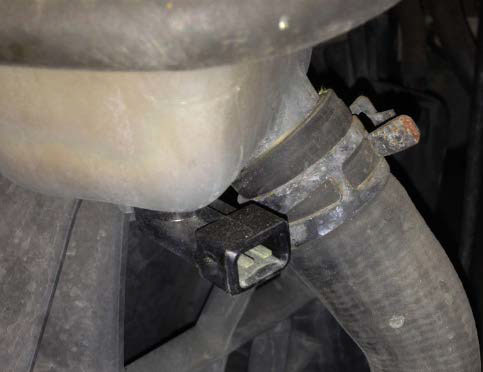
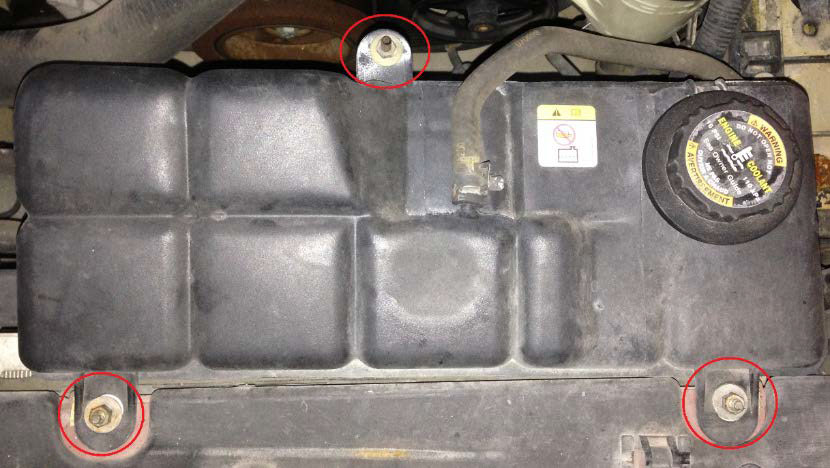
Using a 10mm socket, remove the three nuts along the top of the reservoir tank. Lift the reservoir tank free and set it to the side.
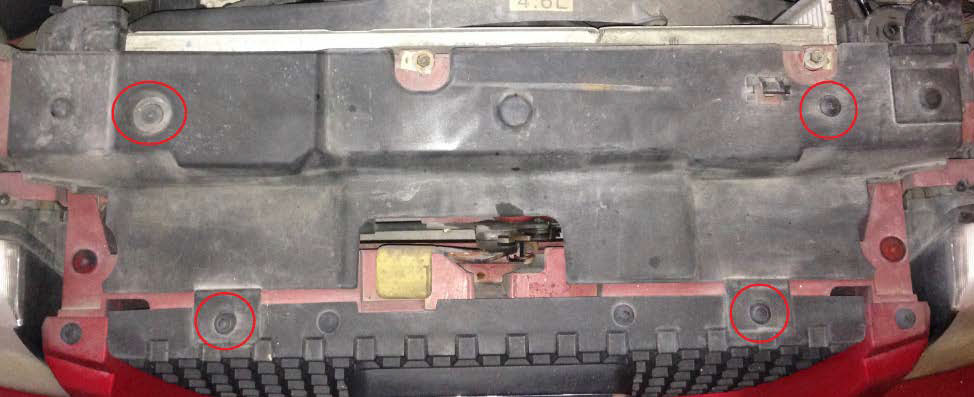
4) Remove the plastic cover over the radiator mounts
Using a Philips screwdriver, remove the four fasteners holding the plastic cover over the radiator mounts. Lift the cover and set it to the side.
5) Remove the radiator hoses
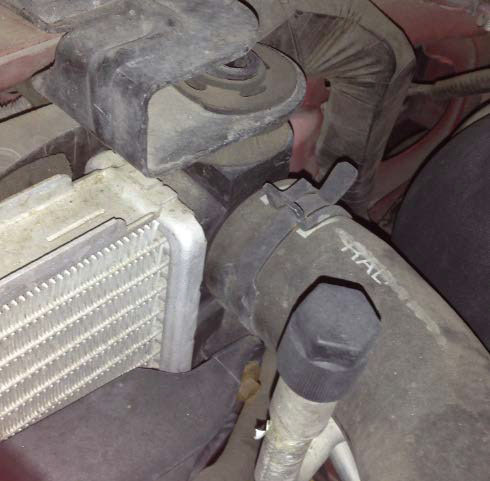
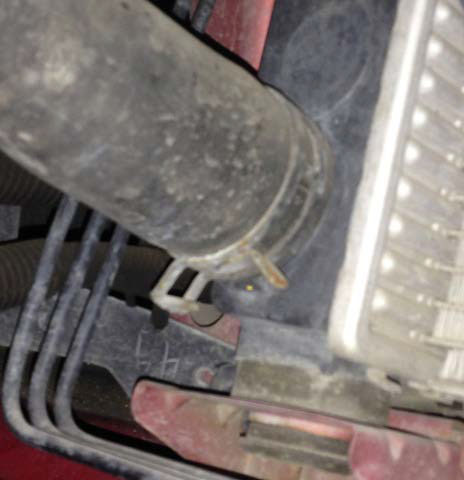
Remove the upper radiator hose from the radiator by loosening the clamp with a pair of pliers and pulling the hose free. Do the same for the lower radiator hose. You don’t need to remove the hoses from the engine, unless they seem soft or worn in which case now is a great time to replace them with new hoses.
6) Disconnect the fan wiring harness
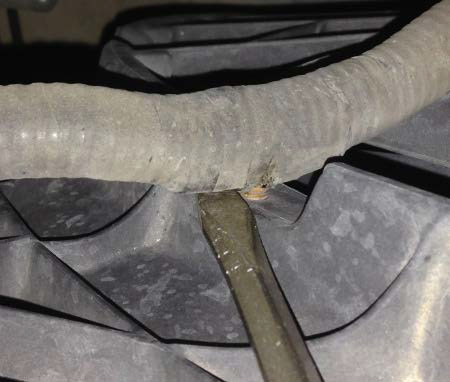
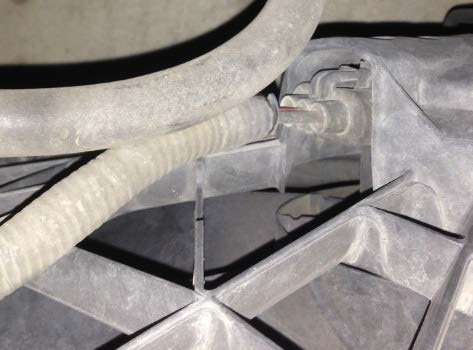
The fan wiring harness is held to the radiator shroud with three press-in fasteners. Removing these intact can be challenging, as they get brittle with age. Carefully pry them free with a large flathead screwdriver. Once all three are removed, disconnect the connector from the fan. Do so by pressing down the small latch on the connector and pulling it free.
7) Remove old radiator
Using an 8mm socket, remove the two upper mounting brackets that hold the radiator in place. There are no bolts at the bottom of the radiator, so at this point it can be lifted out. Pay close attention to the passenger side as you lift it out, as it is close to both the AC lines and the brake lines from the ABS.

8) Remove the fan assembly
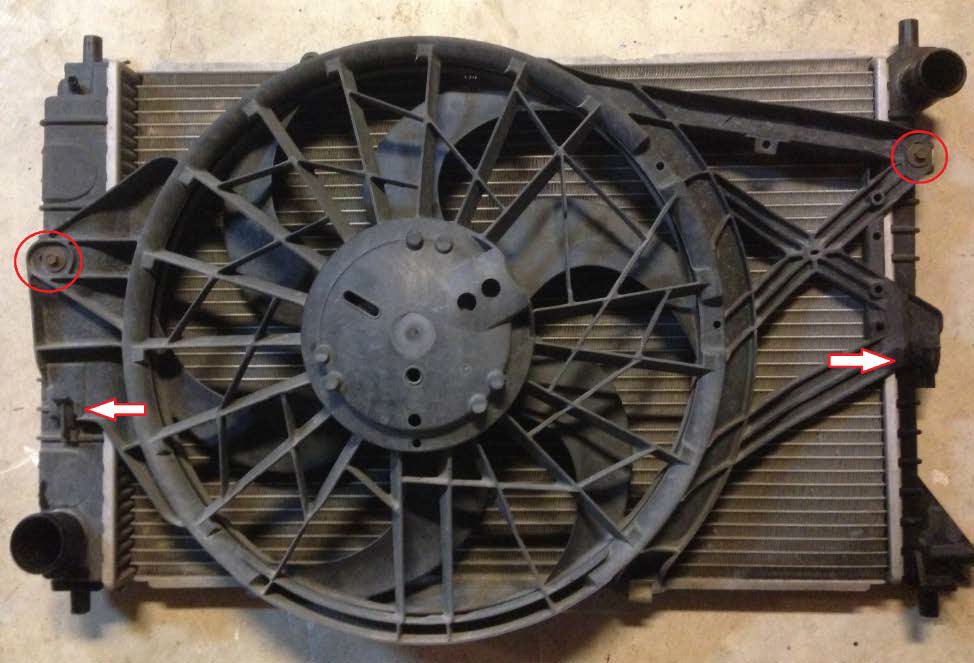
Using an 8mm socket, remove the two bolts that hold the fan assembly to the old radiator. Slide the fan towards the top of the radiator until it clears the two fixed brackets, and lift it free.
9) Compare old and new radiators
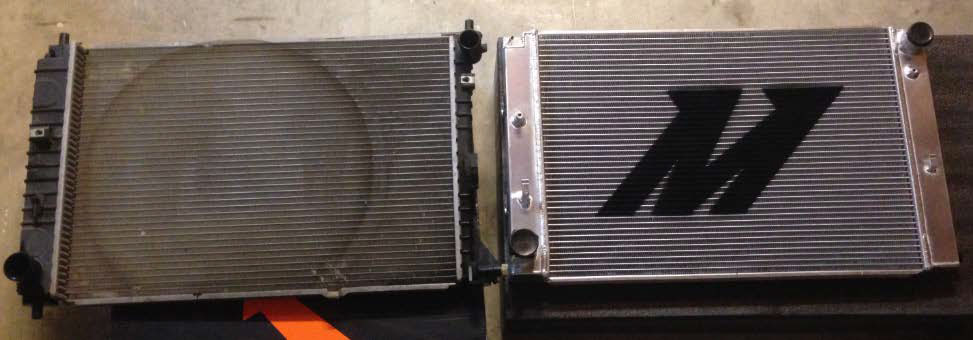
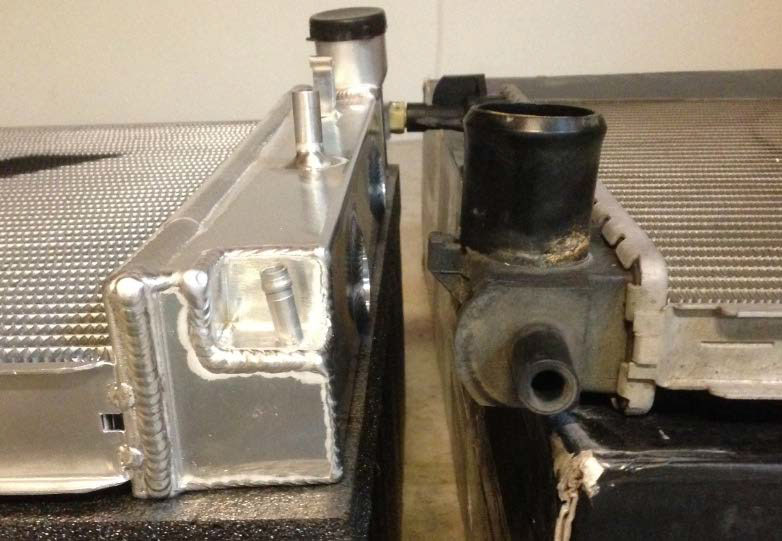
Now is a good time to put the two radiators side by side and make sure you have the correct one. Verify that all of the fittings, hose mounts, etc. match between the two. Notice that the Mishimoto radiator is noticeably thicker than the stock radiator.
10) Assemble radiator brackets
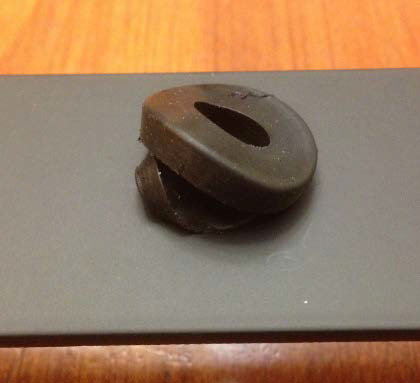
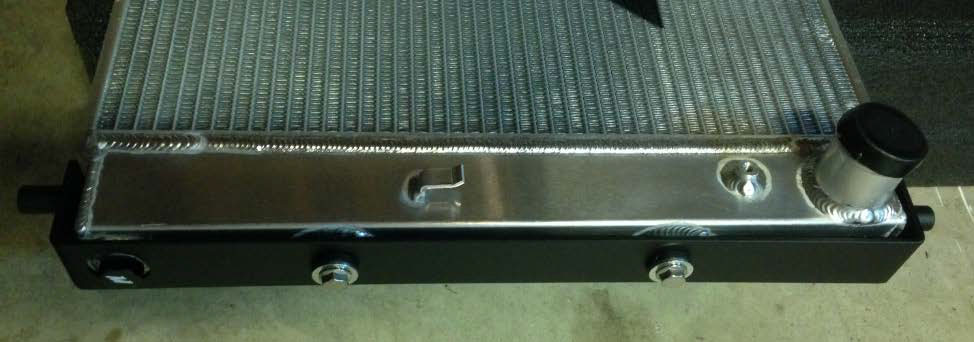
The Mishimoto radiator comes with a floating bracket system to protect the radiator from chassis flex. Press the four rubber grommets into the four matching holes on the supplied brackets. Press the four metal collars into the grommets. One bracket has an additional hole to provide access for the radiator drain plug, and goes on the passenger side. Attach each bracket to the appropriate side of the radiator using a 13mm socket and the supplied bolts. Be careful not to overtighten the bolts and strip the threads in the radiator.
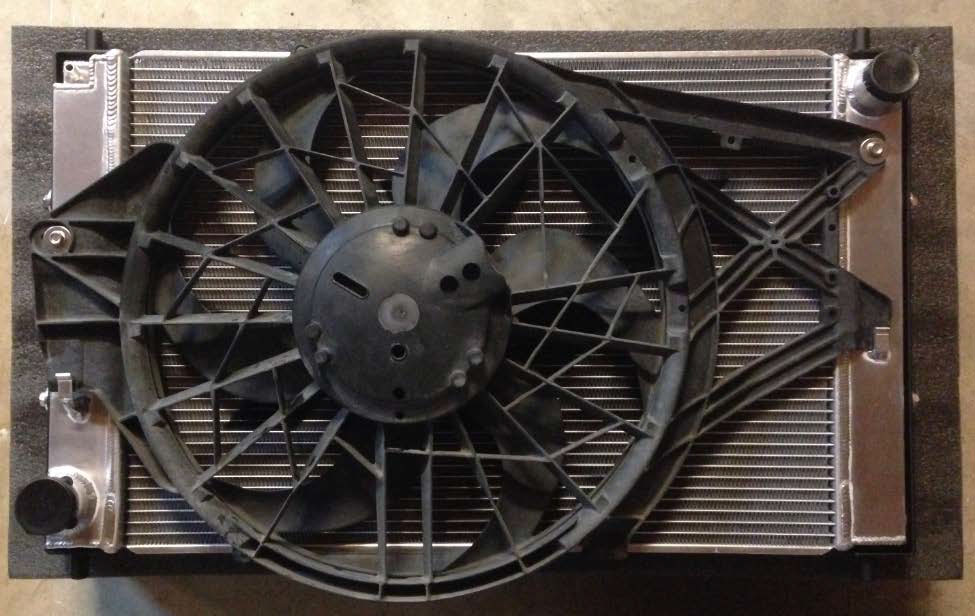
11) Transfer the fan assembly to the new radiator
Carefully place the fan assembly on the new radiator, making sure the bottom of each side is hooked behind the fixed brackets. Using a 10mm socket and the two supplied bolts secure the fan assembly to the radiator. Again, be careful not to overtighten the bolts.
12) Set the new radiator into place
The radiator rests on two brackets permanently mounted to the chassis. Carefully lower the radiator into the car, being sure to align the posts on the bottom of the radiator with the large grommets in the chassis brackets. If you don’t have air conditioning, the radiator fits with plenty of clearance on both sides.
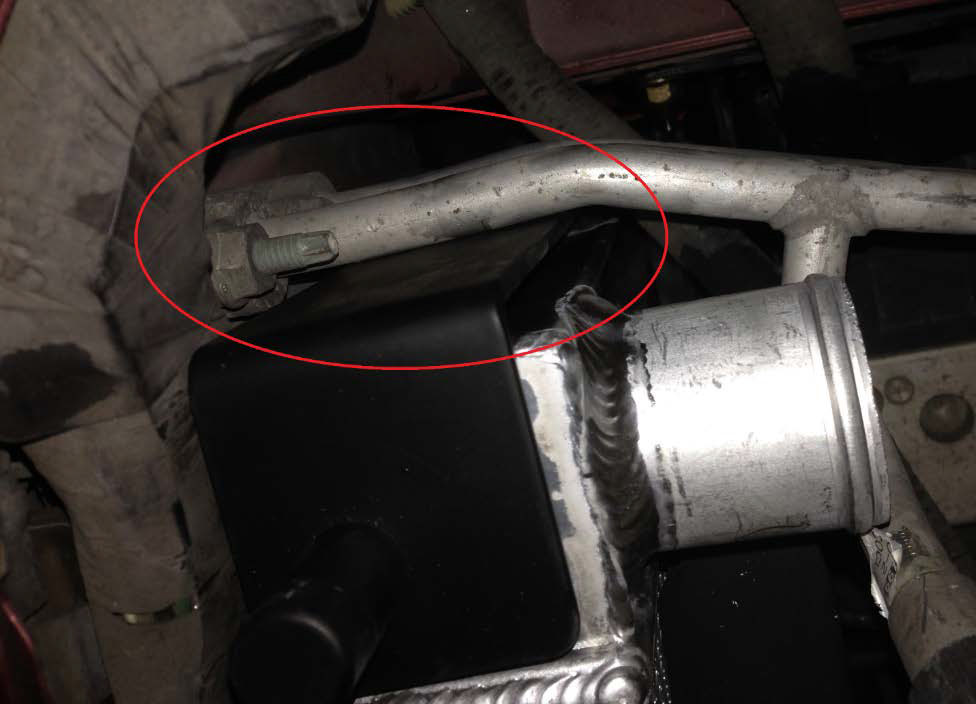
(If you do have air conditioning, you will probably have an interference fit with the AC lines. For a slight interference, you can gently bend the two AC lines away from the radiator bracket. For a more significant interference, you may find that the upper bolt on the passenger side bracket simply won’t fit past the AC lines. In this case (which I encountered) you will have to remove that upper bolt before lowering the radiator into place).
After lowering the radiator into place, you can gain access to the bolt location by removing the air filter assembly. Using a 13mm socket, install the bolt being careful not to overtighten it.
13) Reassemble everything
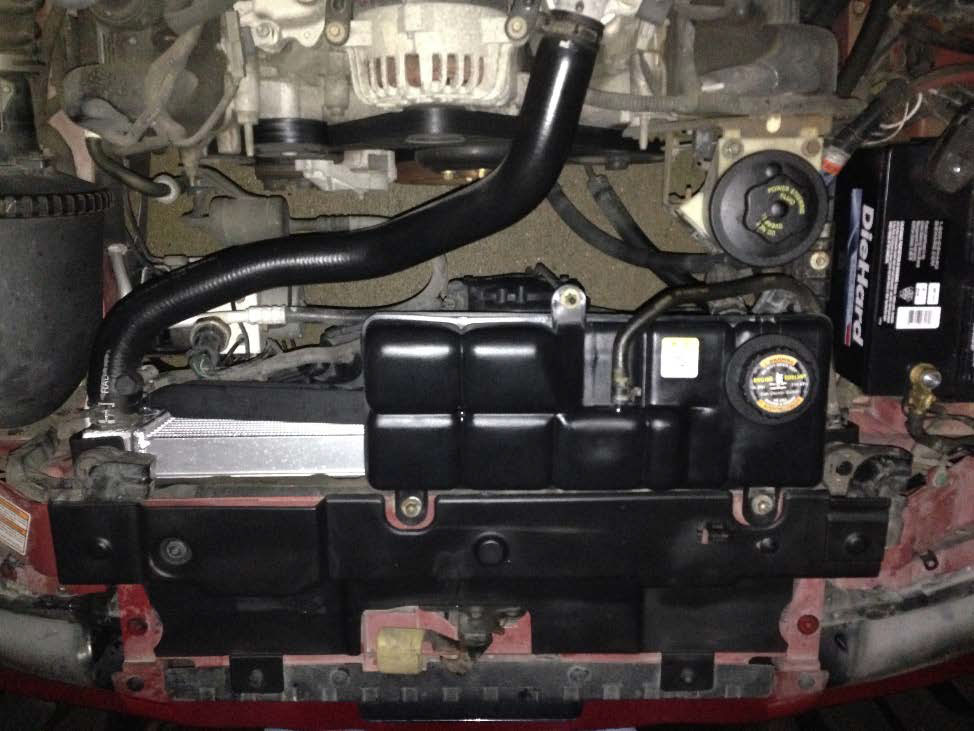
The rest of the installation is very straightforward, simply put everything back in the reverse order that it was removed. Bolt in the upper radiator brackets; reconnect the fan wiring harness; connect the lower and upper radiator hoses; install the plastic cover over the radiator brackets; install the reservoir tank; bolt in the battery tray; and finally put the battery back in.
14) Fill system with new coolant
Add coolant to the reservoir tank until it is full. Check all connections and address any leaks as appropriate. Start the car and turn the heat on high. Monitor the coolant level and add more as necessary, making sure you keep doing so until the car is fully warmed up. Air may stay trapped in the system for a while, so make sure you recheck the fluid level after the first time you drive the car around.
Enjoy your new Mishimoto radiator!
Installation Instructions written by AmericanMuscle Customer Joseph Peck 2/01/2015

