
Best Sellers
How to Install Maximum Motorsports Coil-Over Spring Clearance Tool on your Mustang
Shop Parts in this Guide
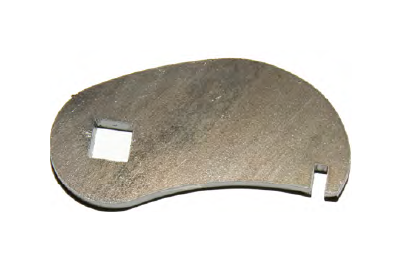
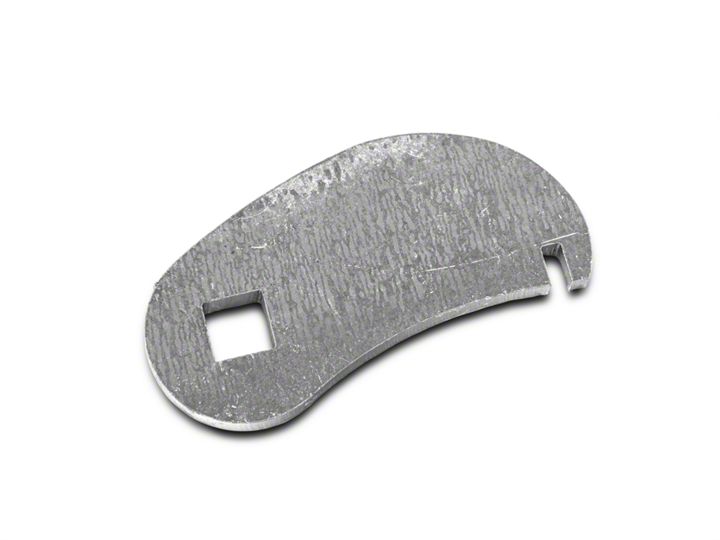
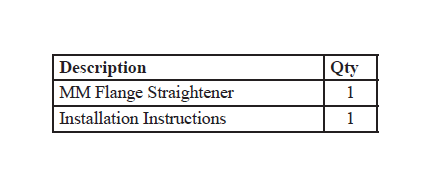
Congratulations on purchasing Maximum Motorsports’ Coil-Over Spring Clearance Tool. Now provided with our front coil-over kits, this tool makes clearancing the driver side upper frame rail simple.
Read all instructions before beginning work. Following instructions in the proper sequence will ensure the best and easiest installation.
Frame Rail Clearancing
NOTE: These instructions assume the driver side strut has been removed for access to the frame rail.
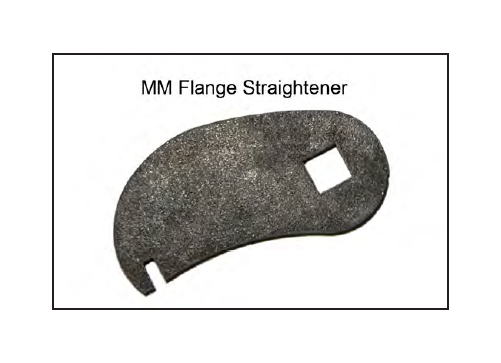
1. On the inboard face of the driver’s side upper frame rail, there is an oval-shaped hole with a surrounding flange that protrudes from the frame rail. On cars with SN95 (1994-2004) width front control arms, the coil-over spring may contact this flange, causing a clunking noise. The MM Flange Straightener can be used to bend the flange up, increasing clearance between it and the spring, eliminating the potential interference.
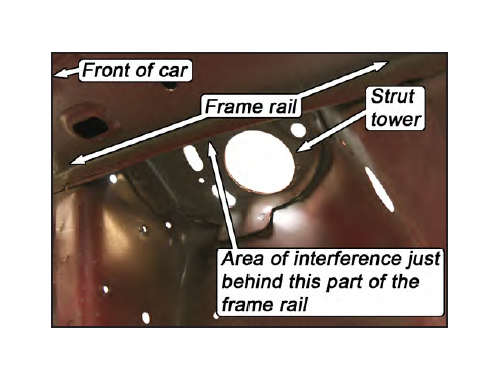
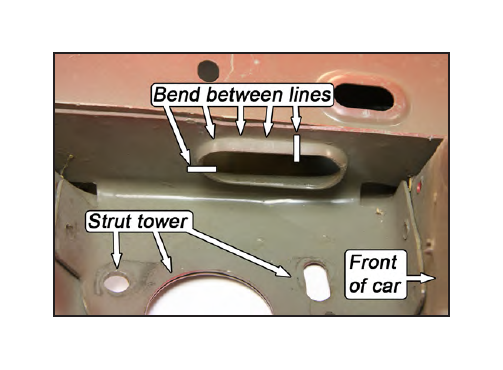
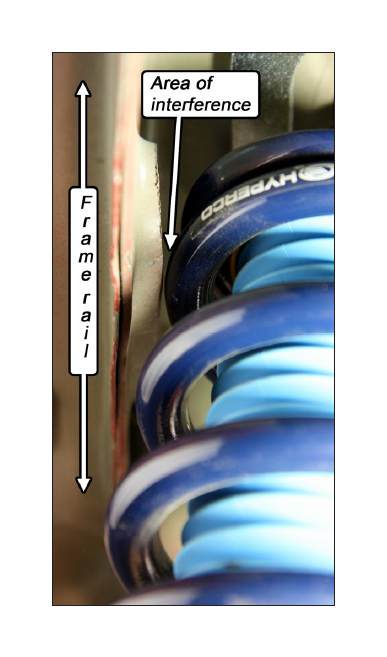
2. Fit the MM Flange Straightener on a 3/8” drive ratchet as shown.
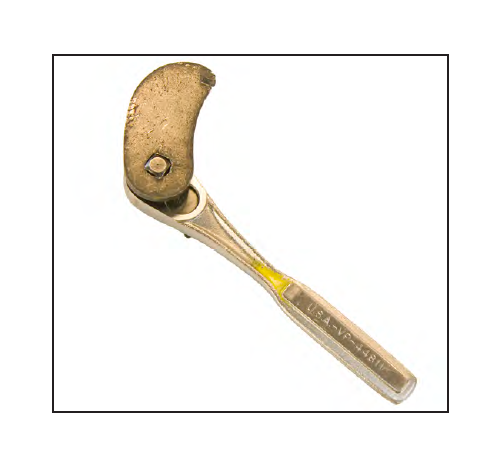
3. Fit the slotted end of the tool over the flange as shown. The flange can be bent by pushing down on the wrench. Reference the photo in the previous step to see where the tool needs to be used.
NOTE: Do NOT attempt to bend the flange flush with the frame rail using the provided tool, as damage to the tool will occur. The tool is only designed to bend the flange approximately 50° from its starting position. If more clearance is needed, a small hammer can be used.
NOTE: The flange will bend easily, but we do NOT recommend attempting to bend the entire length in one step. Instead, bend the flange approximately 25°, then move the tool forward along the flange in 1/4” increments until the required length of flange is bent. Once done, make another pass, bending the flange the remaining amount. Making smaller bends with the tool rather than one large one will minimize the risk of damaging the tool.
NOTE: If the notch in the tool becomes enlarged, it can be hammered back to its original shape and size.
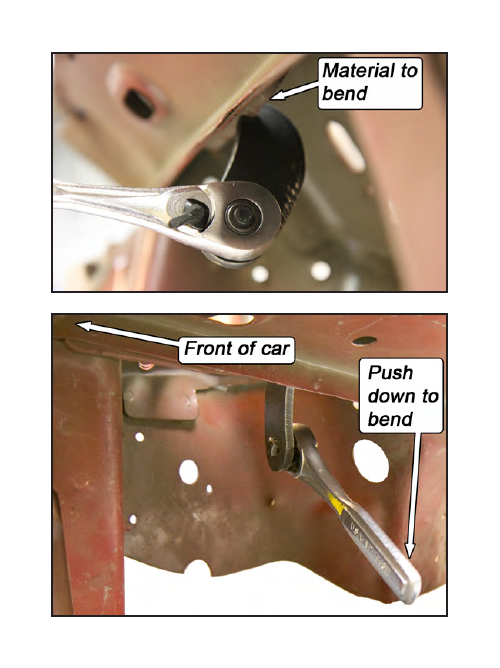
4. Reinstall the strut and check the clearance between the front spring and the frame rail. Be sure to turn the steering wheel from lock-to-lock while checking for interference. There should be an 1/8” of clearance. If not, remove the strut and bend the frame rail as needed.
5. Reassemble the front suspension according to the manufacturer’s guidelines.


