
How to Install Maximum Motorsports IRS Subframe Bushings - Polyurethane on your Mustang
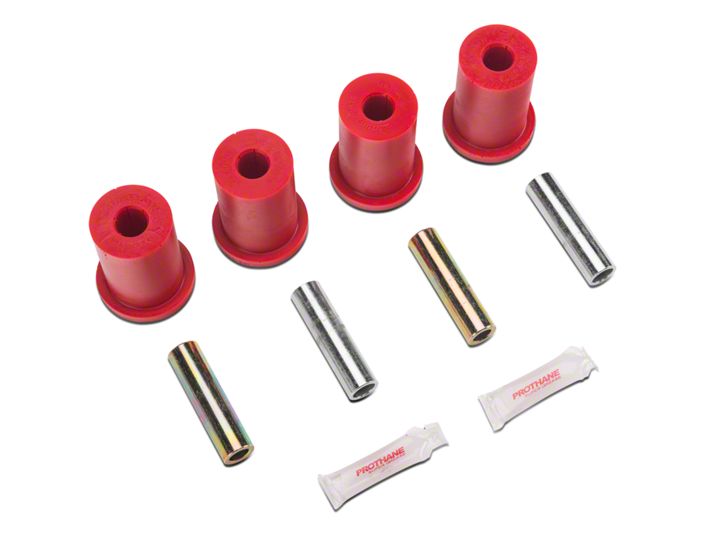
Shop Parts in this Guide
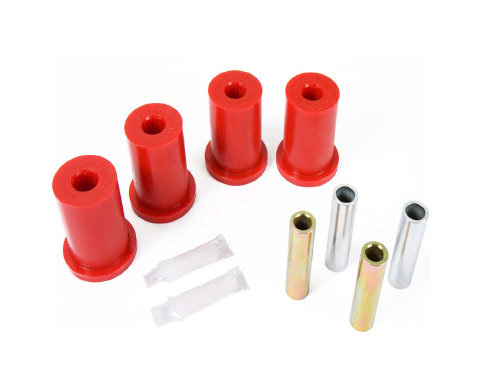
Read all of the instructions before beginning work. Following the instructions in the proper sequence will ensure the best and easiest installation.
Thank you for purchasing Maximum Motorsports’ Polyurethane IRS Subframe Bushing Kit. This kit is intended for use on the 1999-2004 Cobra IRS subframe. The polyurethane bushings in this kit are considerably less compliant than the stock rubber IRS subframe bushings. These stiffer bushings virtually eliminate displacement of the IRS subframe relative to the chassis, thus improving stability and predictability of the car during acceleration, braking and cornering. The polyurethane still provides very good noise isolation. 1979-98 cars fitted with IRS require MMIRSU-2 bushing kit.
Note: MM has developed a Bushing Removal Tool (MMT-6) to aid in the fast removal of the stock rubber IRS subframe bushings. Not only does this tool reduce the time spent on this job by at least an hour, it also makes bushing removal much easier.
Note: Installation of this kit requires 6 jackstands, a floor jack, a hand drill, and an assortment of common hand tools.
1. Block the front wheels of the car.
2. Raise the rear of the car with a jack and support the rear of the car on a pair of jackstands. This first pair of jackstands MUST be positioned under the chassis of the car (e.g., under aftermarket subframe connectors or under the torque boxes), not under the IRS subframe.
3. Remove the rear wheels.
4. Remove the cat-back exhaust system.
5. Position the jack under the differential and raise the jack until it just contacts the differential. Do not lift the rear of the car off the jackstands.
6. Position a second set of jackstands 3 inches under the main rear tube of the IRS subframe. The main rear tube of the IRS subframe is located just forward of the gas tank.
7. Remove the two rear 12mm IRS subframe mounting bolts.
8. Slowly lower the rear of the IRS subframe onto the second pair of jackstands.
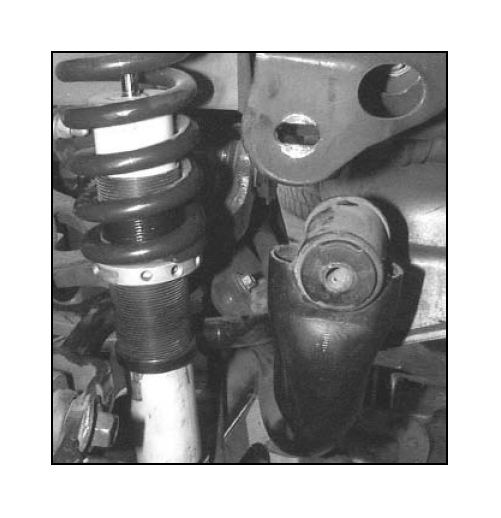
Note: If you have an MMT-6 Bushing Removal Tool, remove the two rear rubber bushings with the tool now. If you do not have the tool, use the procedure detailed in Step 9 to remove the rubber bushings.
9. Remove the two rear rubber IRS subframe bushings from their respective shell by “walking” a 5/16” drill bit around the interface between the bushing and the shell. To walk the drill bit, place the tip of the drill bit in the interface between the bushing and the shell. When the drill is turned on, the drill bit will have a tendency to walk around the perimeter of the bushing, thereby cutting the bushing from the shell. As needed, gently push the drill bit deeper and deeper into the bushing while encouraging the bit to walk around the bushing. Continue until you have cut all the way around the bushing, from the front face of the bushing to its rear face.
10. After removing the two rear rubber bushings from the shells, it is essential to remove ALL of the rubber that is still bonded to the interior surface of the shells and to sand the interior surface of the shells until SMOOTH. A drill or die grinder with a sanding roll works well.
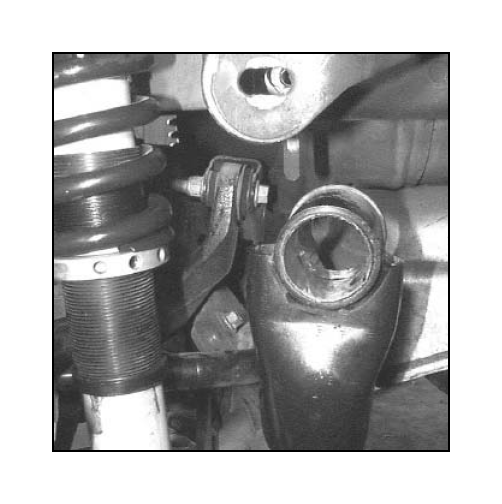
11. Apply a thin layer of the supplied grease on the interior surface of each shell and to the exterior surface of two MM Polyurethane IRS Subframe Bushings.
12. Insert one Polyurethane IRS Subframe Bushing into each shell. Insert the bushing into the shell from the side facing the gas tank. Do NOT use excessive force to insert the bushings. If excessive force is necessary, additional sanding of the interior surface of the shell is required. The bushing is fully inserted when the shoulder at the end of the bushing is flush against the lip of the shell.
13. Note the different ID of the Steel Crush Tubes. One pair has a large 14mm ID and one pair has a small 12mm ID. Select the pair of crush tubes with the small 12mm ID. Apply a thin layer of the supplied grease on the interior surface of the hole in each installed Polyurethane IRS Subframe Bushing and to the outer surface of each 12mm ID Steel Crush Tube.
14. Insert a 12mm ID Steel Crush Tube through the hole in each installed Polyurethane IRS Subframe Bushing.
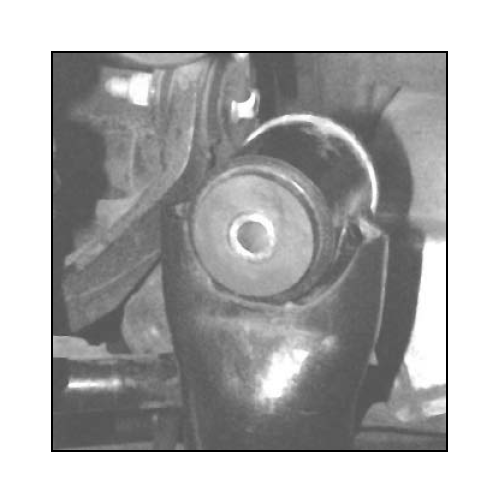
Do NOT re-attach the rear of the IRS subframe to the chassis yet. You need to leave the rear of the IRS subframe on the jackstands to have sufficient clearance around the fuel tank to lower the front of the IRS subframe.
15. Place the jack under one of the jacking pads of the IRS subframe (i.e., just rearward of where the front of the IRS subframe attaches to the chassis) and raise the jack until it comes into contact with the jacking pad of the IRS subframe. Do not lift the rear of the car or the IRS subframe off the jackstands.
16. Position a third set of jackstands 3 inches under each of the front legs of the IRS subframe just behind the jacking pads.
17. Remove the two front IRS subframe mounting bolts. Measure the diameter of the bolt threads. These two bolts should be 14mm in diameter. In some cases an incorrect 12mm bolt was installed in some Cobras on the Ford assembly line. This was especially common on 2003 and later Cobras. If your car has the incorrect 12mm bolts you may purchase the correct 14mm bolts and 14mm nuts from your local Ford dealer, or from Maximum Motorsports. MM stocks the OEM Ford bolts for this application. Do NOT re-use 12mm bolts, as they are incorrect. The correct 14mm bolts are needed to properly locate and secure the subframe.
18. Slowly lower the front of the IRS subframe onto the jackstands.
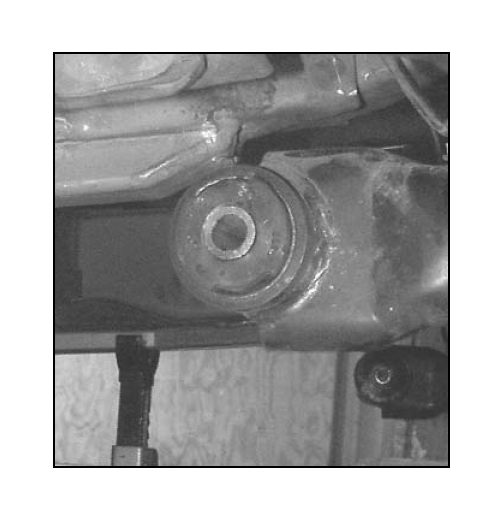
Note: If you have an MMT-6 Bushing Removal Tool, remove the two front rubber bushings with the tool now. If you do not have the tool, use the procedure detailed in Step 9 to remove the rubber bushings.
19. Remove the two front rubber IRS subframe bushings from their respective shell using the technique described in Step 9.
20. After removing the two front rubber bushings from the shells, it is essential to remove ALL of the rubber that is still bonded to the interior surface of the shells and to sand the interior surface of the shells until SMOOTH. A drill or die grinder with a sanding roll works well.
21. Apply a thin layer of the supplied grease on the interior surface of each shell and to the exterior surface of each remaining MM Polyurethane IRS Subframe Bushing.
22. Insert each bushing into the shell from the side of the shell facing the driveshaft. Do NOT use excessive force to insert the bushings. If excessive force is necessary, additional sanding of the interior surface of the shell is required. The bushing is fully inserted when the shoulder at the end of the bushing is flush against the lip of the shell.
23. Apply a thin layer of the supplied grease on the interior surface of the hole in each installed Polyurethane IRS Subframe Bushing and to the outer surface of each 14mm ID Steel Crush Tube.
24. Insert a 14mm Steel Crush Tube through the hole in each installed Polyurethane IRS Subframe Bushing.
25. Raise the front of the IRS subframe into position and re-install the two front 14mm subframe mounting bolts. If the car is equipped with conventional rear coil springs, make sure they are positioned properly on the spring perches as the front of the IRS subframe is lifted into place.
26. Raise the rear of the IRS subframe into position and re-install the two rear 12mm subframe mounting bolts.
27. Torque each of the four IRS subframe mounting bolts to 76 ft-lb.
28. Re-install the cat-back exhaust system.
29. Re-install the rear wheels. Torque the lug nuts to the appropriate vehicle or wheel manufacturer’s specifications.
30. Lower the rear of the car to the ground.
31. Test drive the car. Be sure to get acquainted with the improved driving characteristics of the car prior to engaging in spirited driving.
32. Re-torque the four subframe mounting bolts after 1000 miles of driving.
This kit includes the following:
4 Polyurethane IRS Subframe Bushing
2 12mm ID Steel Crush Tube
2 14mm ID Steel Crush Tube
2 Grease Packet

