
How To Install MMD 2005-2013 Classic Quarter Window Louvers - Pre-Painted on your 2005-2009 Mustang
Installation Time
30 minutes
Tools Required
- Window cleaner
- Paper towels
- Microfiber towel
- Scissors *use with caution*
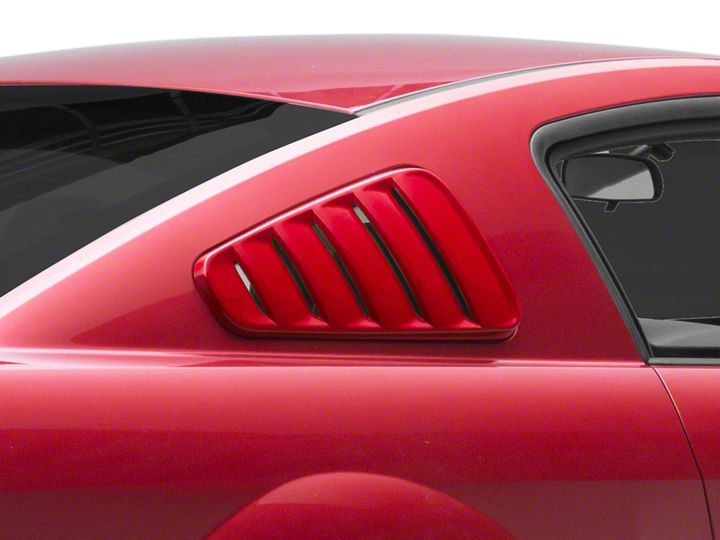
Shop Parts in this Guide
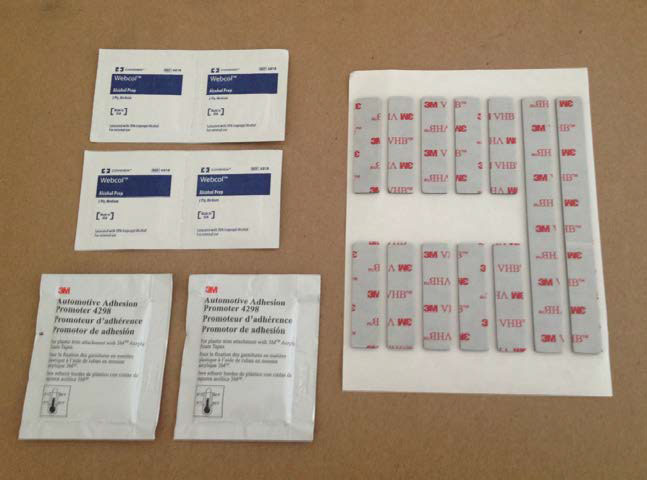
Supplied Tools
-Instructions (1)
-3M bonding tape short (10)
-3M bonding tape long (2)
-Alcohol wipes (4)
-Adhesion promoter pads (2)
Instructions
1. Using a pair of scissors carefully open the package. Do not puncture the package as the louvers are packed with only a thin sheet of Styrofoam encased in plastic wrap.
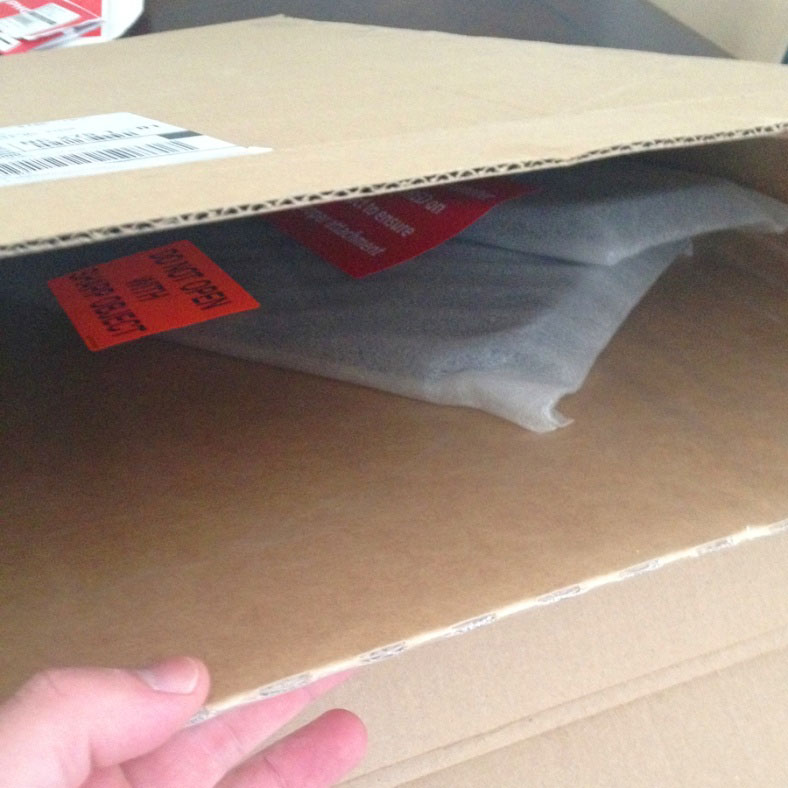
2. Pull out cardboard holding window louvers and unwrap. Inspect for any shipping damage. Remove protecting wrap and brush away any shipping or cardboard debris. To prevent unwanted scratches keep louvers in Styrofoam wrap or place on microfiber towel during inspection process.
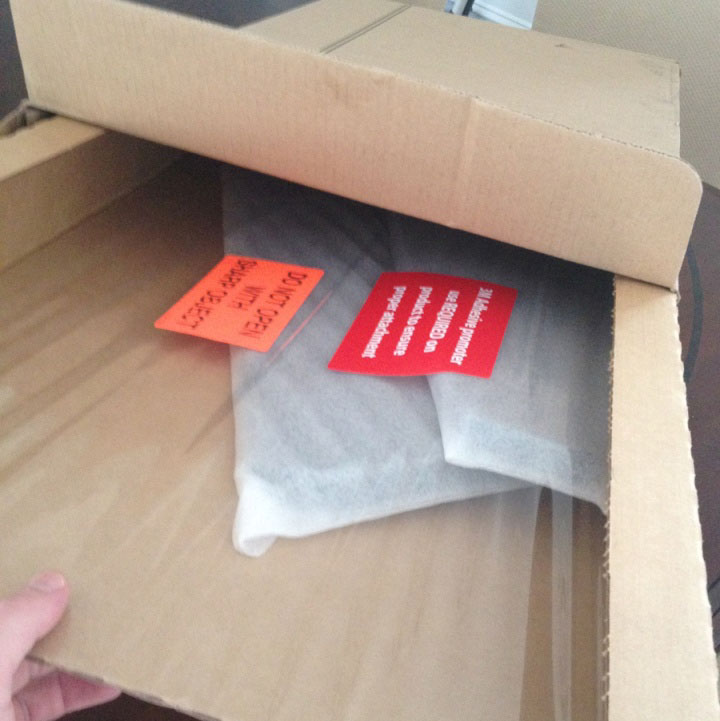
3. Lay out provided supplies and check that all materials are present.
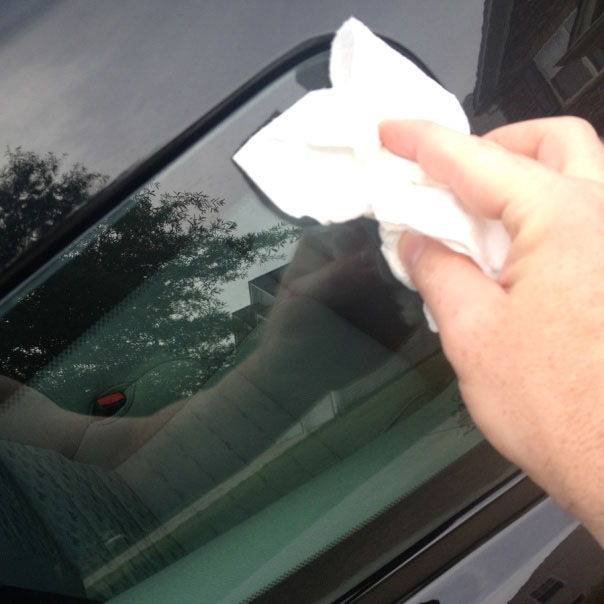
4. Choose a rear window to install first louver on. Be sure to thoroughly clean window and let dry before using a paper towel and then the supplied alcohol wipe.
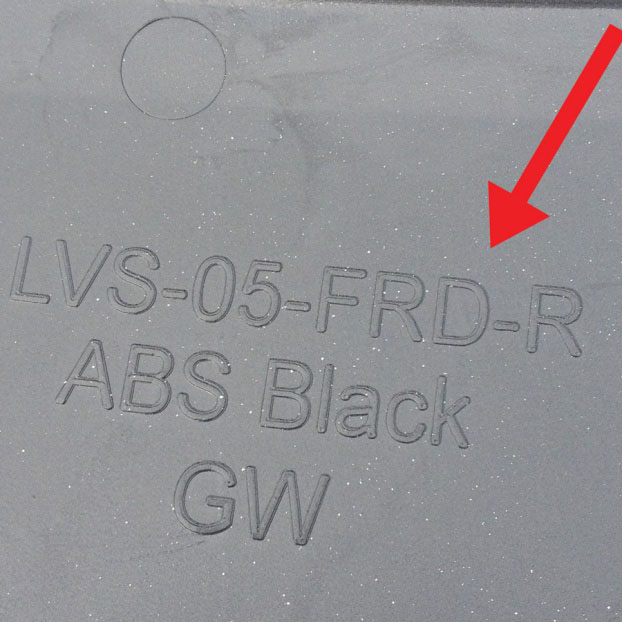
5. Flip over louver and look for imprinted text that indicates which side it is built for. Carefully hold up to window to gauge spacing. This is important as when the adhesive is applied you will not be able to shift the placement.
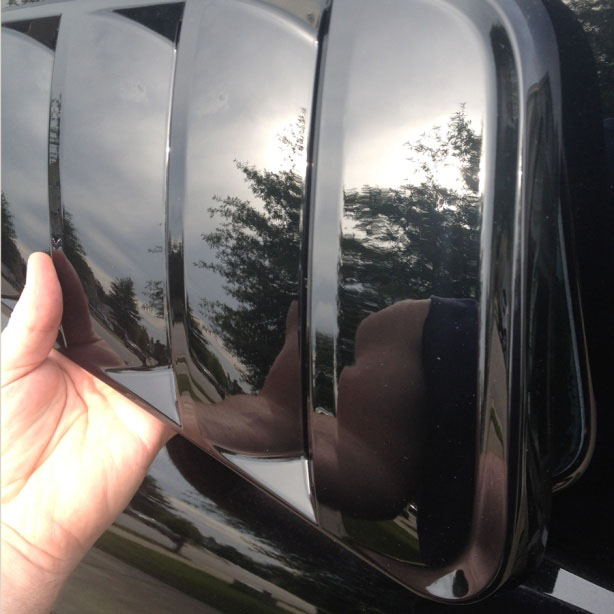
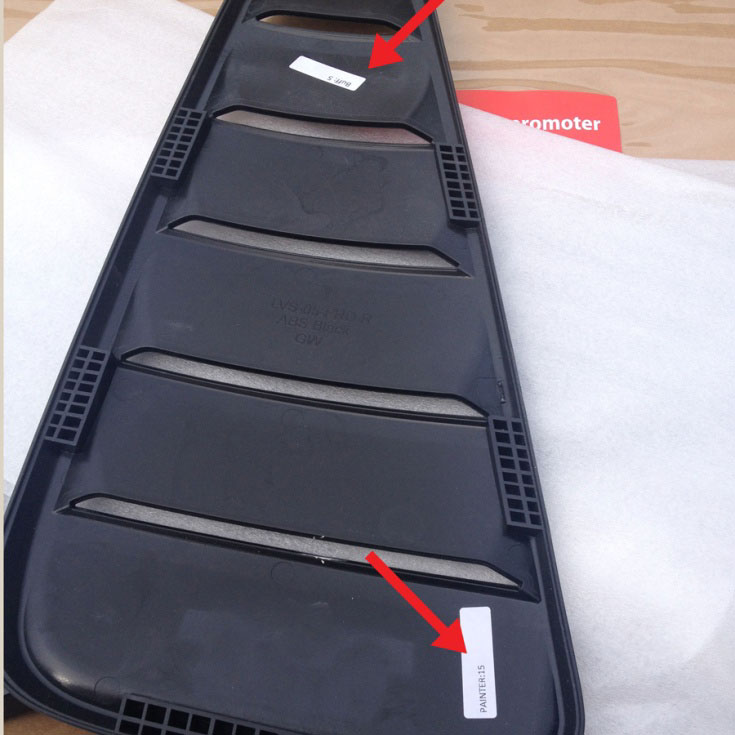
6. Peel stickers from back of window louver as they will be visible from the inside of the rear passenger seat if not removed before final placement.
7. Using only 1 of the supplied alcohol prep pads rub down the mounting points on the louver as well as the outside of the quarter window where the louvers will adhere to.
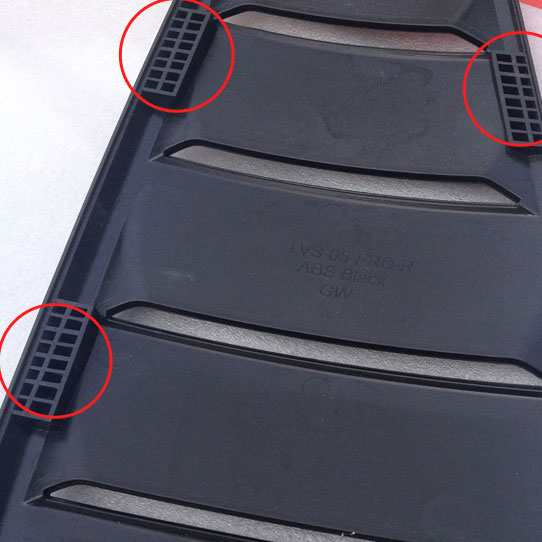
8. Using only 1 of the supplied 3M adhesion promoter pads thoroughly wipe down the mounting points on the window louver. CAUTION: When opening the pouch of the 3M adhesion pads take care to not splash the liquid onto your window louver. Wipe your hands immediately after holding the pad. If you notice fingerprint residue left over gently use alcohol wipe to remove adhesive solution.
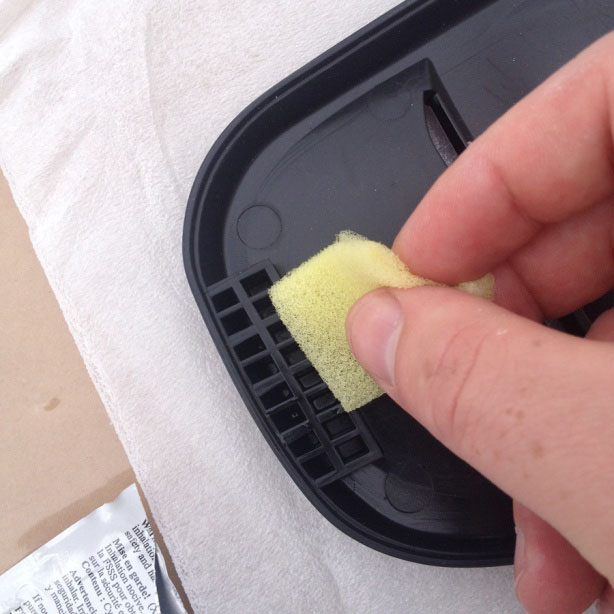
9. Place the supplied 3M dual-lock tape strips on the louver mounting areas. Attach the match to each of the 6 dual-lock strips that are on the louver.
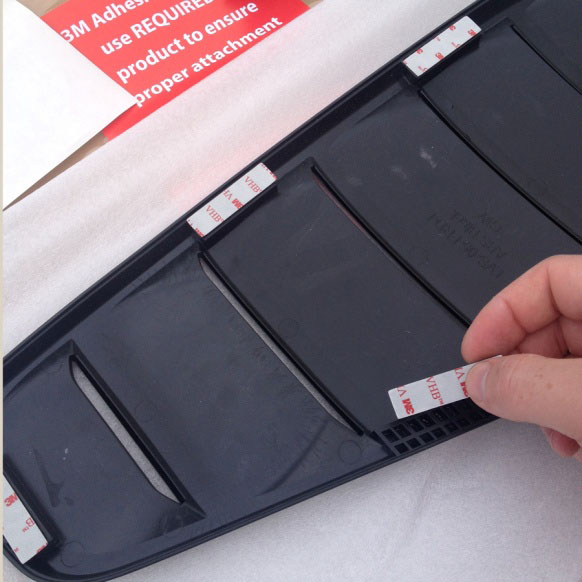
10. Peel the backing from the 3M dual-lock strips and place in the designated areas on rear of window louver. NOTE: The layer is extremely thin and will take several attempts unless you have long fingernails.
11. When the louver is properly positioned around the quarter window gently press down around the entire edge of the louver to fully lock in the dual-lock strips. Try not to reposition at this point.
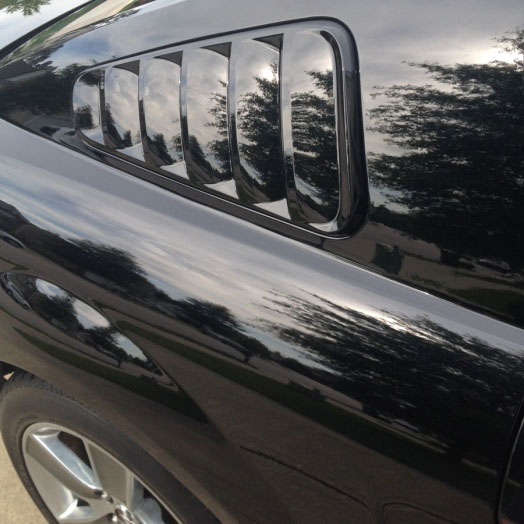
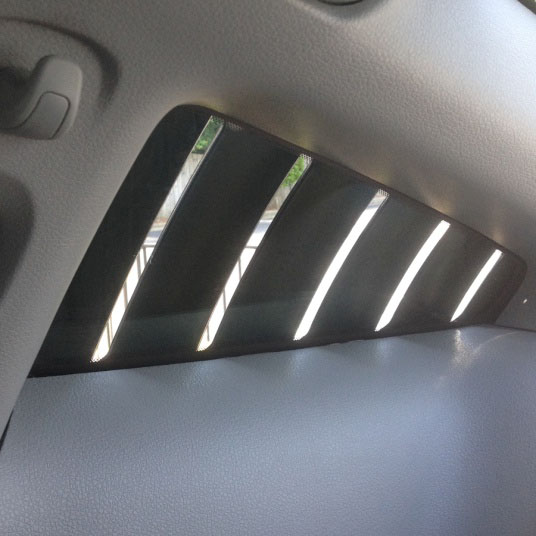
12. Repeat steps 1-11 to complete the installation for the second window louver.
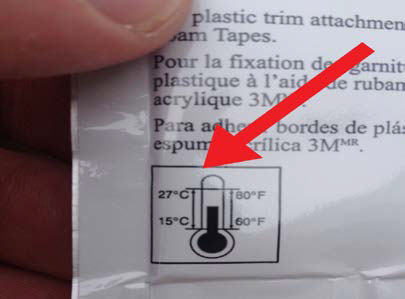
FINAL NOTE: Be aware of the outside temperature when applying the 3M adhesive solution as the package contains a general temperature range for best application. I noticed the temperature dropped below the recommend range hours after installation causing the front part of the window louver to become detached from the side of the car. I pulled the car into the garage to set overnight. It reset and is still holding strong weeks later.
Installation Instructions written by AmericanMuscle Customer Russ Blackburn 6.19.2014

