
Best Sellers
How To Install MMD Headlight Splitters - Pre-Painted on your 2013-2014 Mustang
Installation Time
30 minutes
Tools Required
- Micro Fiber Cloth
- Alcohol Prep Pads (supplied)
- Adhesion promoter pads (supplied)
- 3M Tape Kit
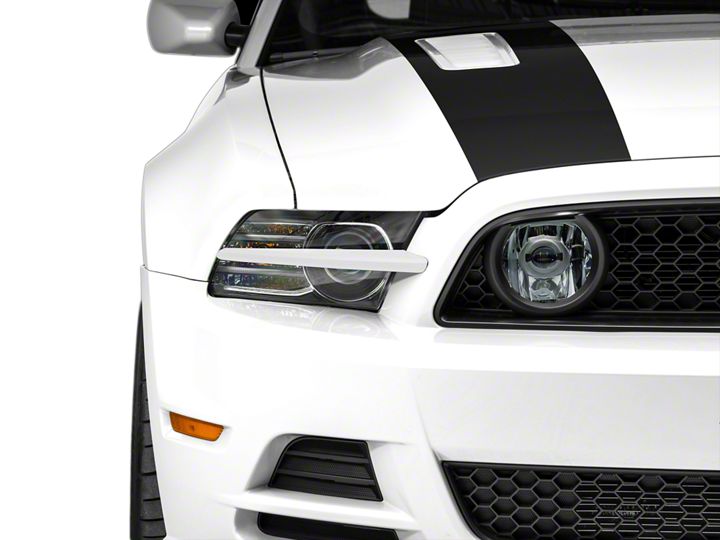
Shop Parts in this Guide
Intake Install:
(This guide explains how to correctly line up and place splitters onto headlight)
1. Firstly take the microfiber cloth and wipe down the headlamp to get all dust dirt and debris off of it.
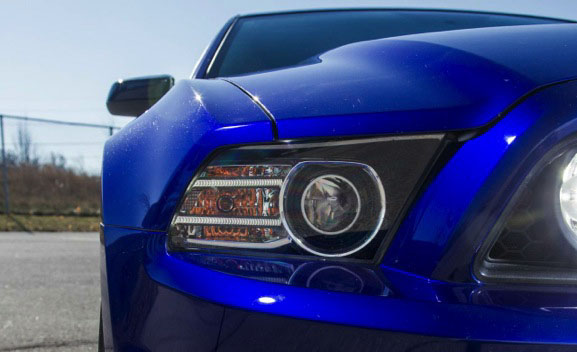
2. Use the supplied alcohol prep pad to wipe down the back of the splitter unit as well as the center area of the head light.
3. Once the alcohol has dried off the headlight unit do the same with the adhesion promoter pads that are supplied.
4. Next take out the supplied tape kit and install it onto the splitter as the shape allows as the tape and splitter unit are the same shape, thicker on one side then the other.
5. After the tape is installed on the unit carefully, line up the outside edge of the unit with the middle of the marker lights
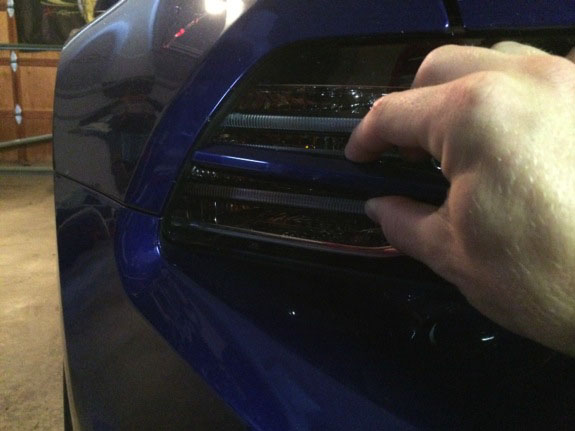
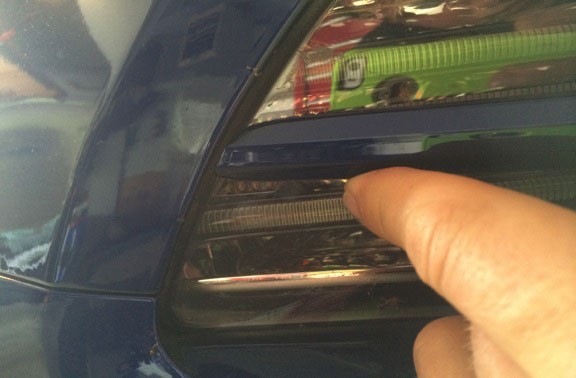
6. Next once the first side is lined up and in place, press it onto the light a bit and move your hand to the far side and follow it down until it makes contact with the grille surround.
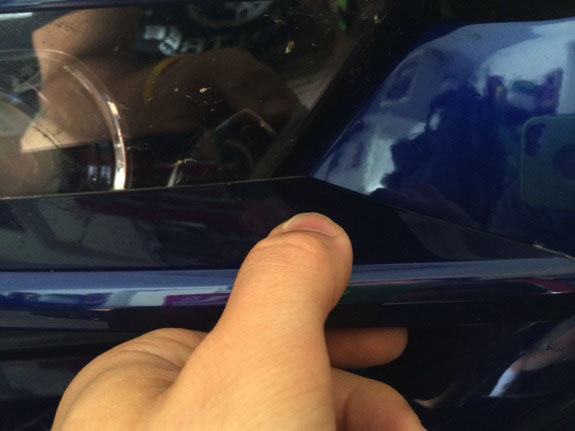
7. Once both sides are lined up. Using two hands evenly press the entire unit onto the light from both sides. Use a little strength to make sure entire tape piece makes contact.
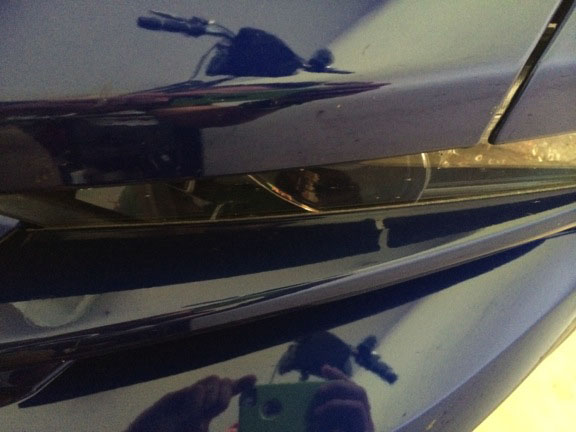
8. Once that’s completed. Repeat all steps for the second side as it’s the exact same on the opposite side.
9. Once both sides are done. Use microfiber cloth to wipe down and shine up. Enjoy.
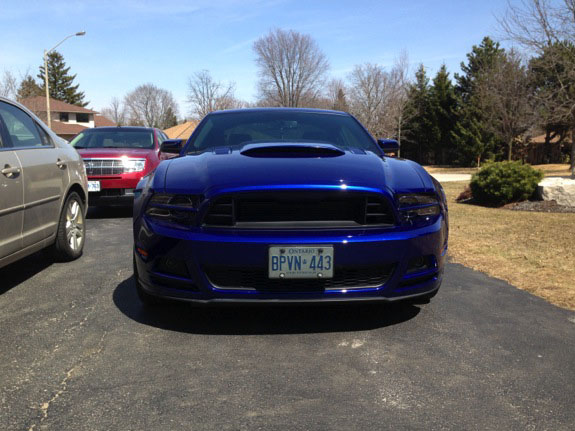
Installation Instructions Written by AmericanMuscle Customer Brendon Aasla 6.05.2014


