
How to Install an MMD Hood Scoop on Your 2013-2014 Mustang GT or V6
Installation Time
1 hours
Tools Required
- Power Drill
- 1/4" & 1/2" Drill Bit
- Trim Removal Tool
- 7mm Socket & Ratchet
- Masking/Painters Tape
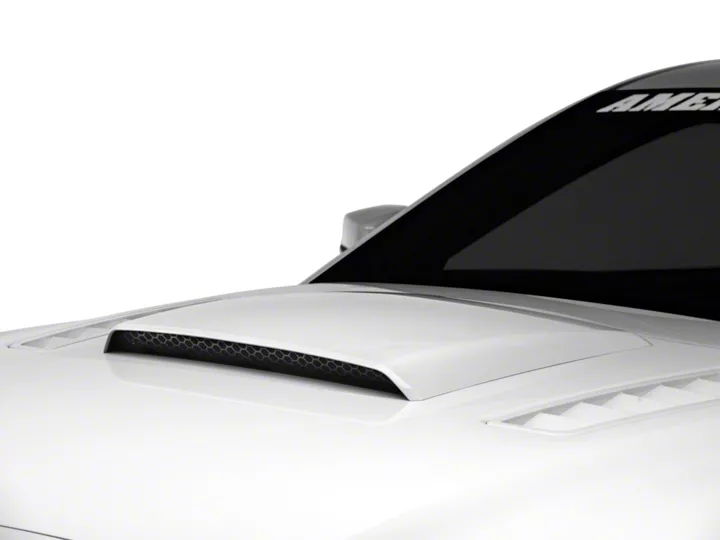
Shop Parts in this Guide
Tools Required:
Power Drill
1/4” & 1/2” Drill Bit
Trim Removal Tool
7mm Socket & Ratchet
Masking/Painters Tape
Contents:
(1) - Hood Scoop
(1) - Hood Scoop Insert
(1) - Tape Kit
(1) - Drill Template
(4) - Clip Stud/Washer/Nut Assemblies
(2) - 3M Adhesion Promoter Pads
(4) - Alcohol Prep Pads
Be sure to use the Alcohol Prep Pads and 3M Adhesion Promoter
Pads as instructed.
While not absolutely necessary, it is recommended to remove the
hood from the vehicle before installing this hood scoop as holes
need to be drilled from the underside
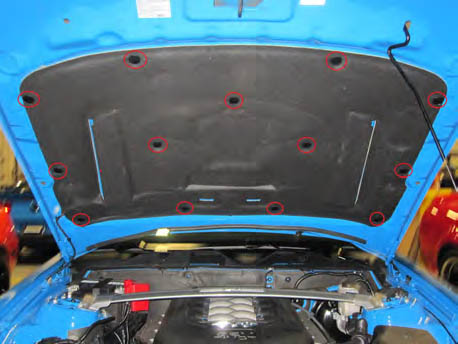
STEP 1 // Using a trim removal tool, remove the 13 retaining clips securing the insulation pad to the hood and remove it from the vehicle.
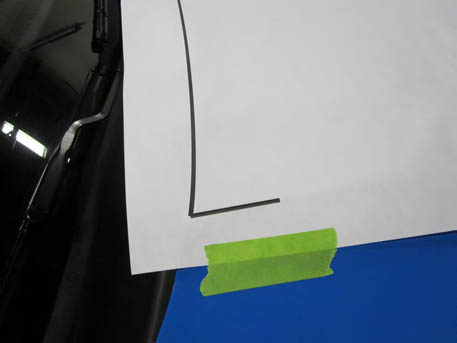
STEP 2 // Place the drill template on the hood using the back edge and passenger side hood detail as a reference point. Use masking/painter’s tape to hold the template to the hood.
STEP 3a // Before drilling, check to make sure that the template is centered on the hood side to side and FRONT to back. There should be approximately 19 ¼” from each front holes to the sides of the hood.
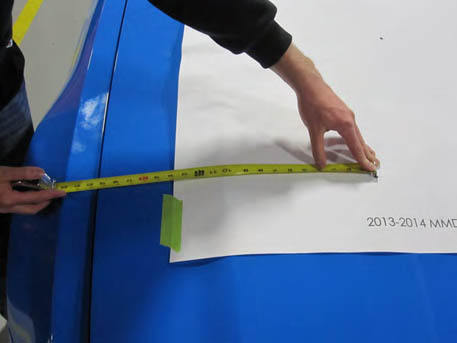
STEP 3b// There should also be approximately 11 ¼” from each REAR hole to the back of the hood.
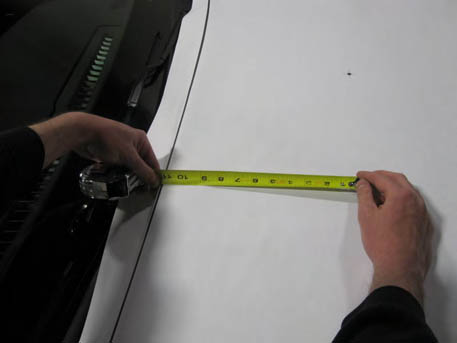
STEP 4 // Once you are certain the template is centered on the hood, center punch the four holes and drill with a ¼ bit as shown.
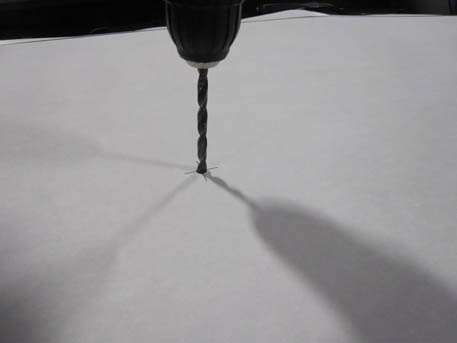
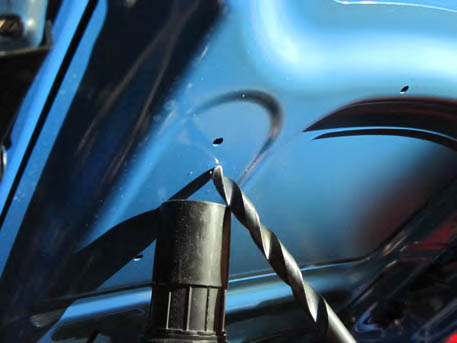
STEP 5 // From the underside of the hood, drill out the front two ¼” holes to ½”. Note: If leaving the hood on the car, have a partner hold a shop-vac or similar next to the bit to prevent any metal shavings from landing in the engine bay.
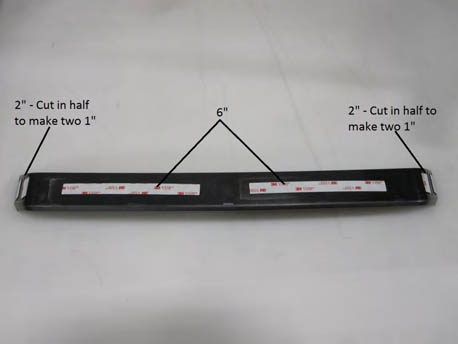
STEP 6 // Thoroughly wipe down the tape indents on the insert using the supplied Alcohol Prep Pads, followed by the 3M Adhesion
Promoter. Place the 3M tape from the tape kit on the insert as shown below.
STEP 7a // Remove the backing from the 3M tape on the top of the insert and install it into the scoop body. Place the front edge of the
insert in first then firmly press down to fully seat the adhesive tape.
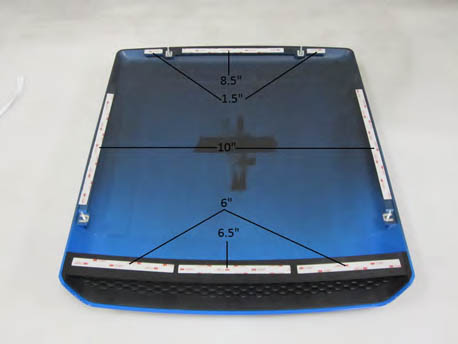
STEP 7b // With the insert installed, thoroughly
wipe down the underside of the insert and the
tape ledges on the scoop with the supplied
Alcohol Prep Pads, followed by the 3M Adhesion
Promoter. Place the remaining 3M tape from
the kit on the underside of the insert, along with
the (4) clip studs as shown.
STEP 8 // Thoroughly clean the surface of the
hood where the 3M tape will attach. Peel the
backing from the tape and place the hood scoop
on the hood making sure to align the clip studs
with the pre-drilled holes in the hood. Do not
press down on the scoop at this point.
STEP 9 // Make sure the scoop is centered on the hood side to side (take measurements if necessary).
Once you are certain the scoop is properly aligned, firmly press down around the edges and over the insert to fully seat the adhesive tape.
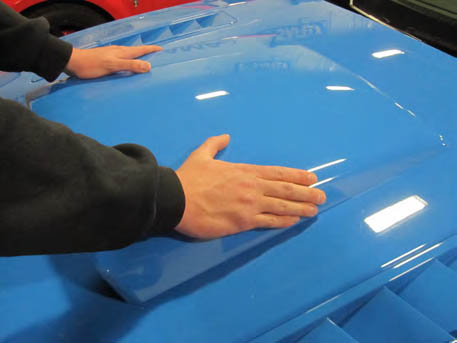
STEP 10 // Once the scoop is fully seated, open
the hood and install the washers & nuts over
the clips studs and tighten with a 7mm socket.
Re-install the hood insulation pad removed in
Step 1 to complete the installation.

