
How to Install MMD Tail Light Trim on you 2005-2009 Mustang
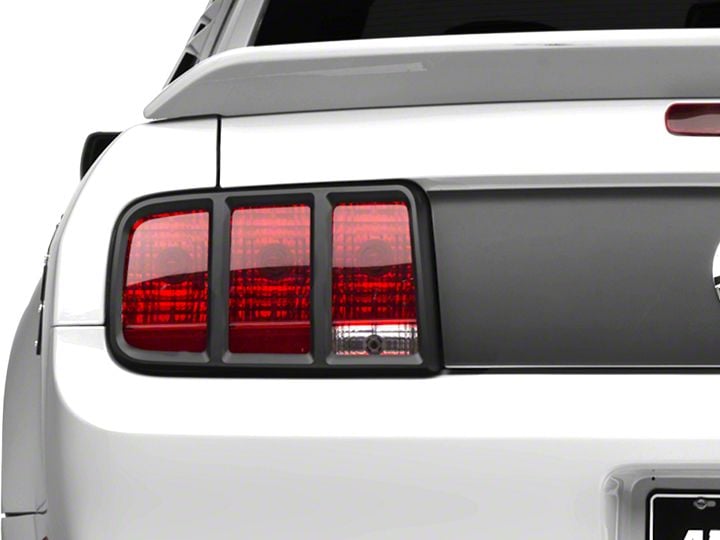
Shop Parts in this Guide
Before beginning, thoroughly clean the tail
light lens to make sure they are free of any
dirt or contaminants.
To ensure a strong bond, please make sure
you use the alcohol prep pads and 3M
Adhesion Promoter as illustrated in the
instructions.
Step 1
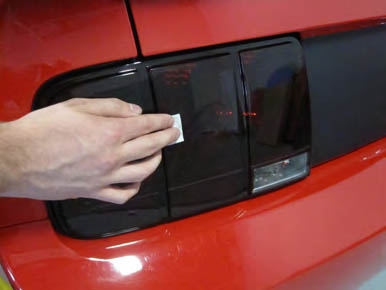
Using the supplied alcohol prep pads,
thoroughly clean the outside edges of the three lenses where the adhesive will
attach.
Step 2
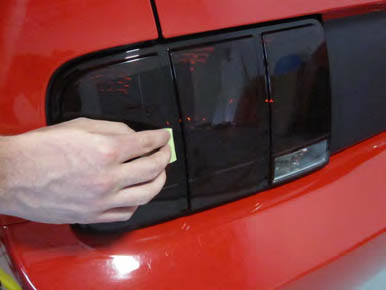
Apply the included 3M Adhesion Promoter to the same areas cleaned in Step 1. Only prep the very outside edges of the lenses where the adhesive will attach, there is no need to wipe down the entire lens.
Step 3
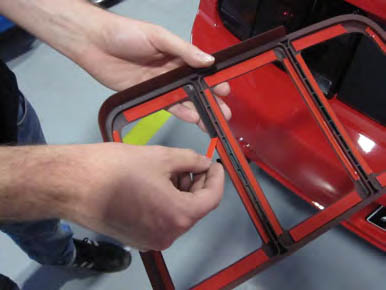
Peel the backing from the 3M Adhesive as shown.
Step 4
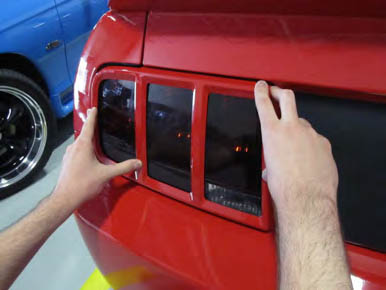
Starting with the upper inner corner, apply the trim to the tail light lens as shown below. Make sure there is proper clearance between the trim and decklid panelin the upper corner of the tail light.
Step 5
Once the trim is properly located over
the tail light lens, push down firmly
on all areas of the trim to fully seat
the adhesive. Repeat Steps 1-5 for
opposite site trim to complete the
installation.

