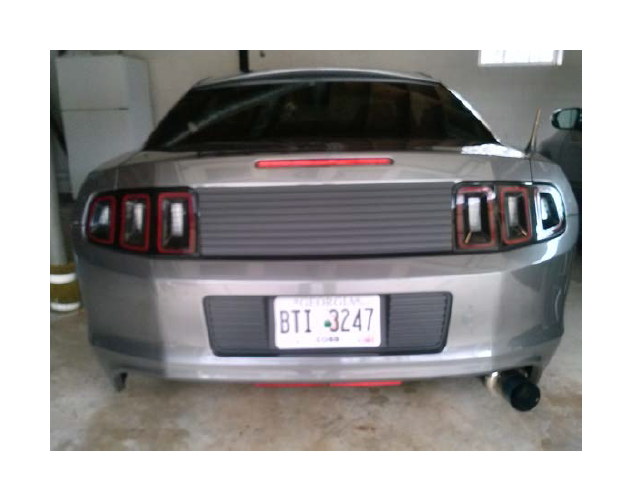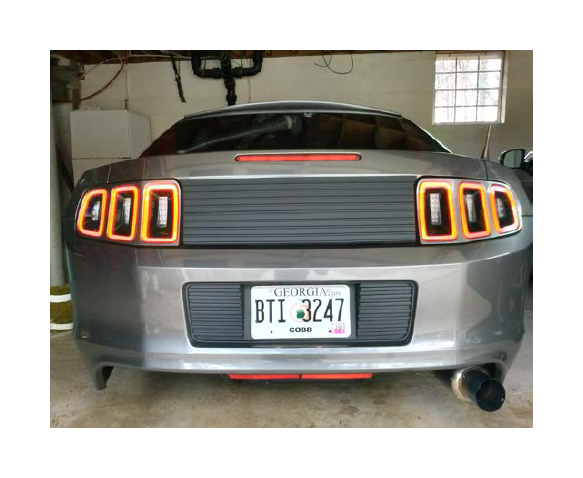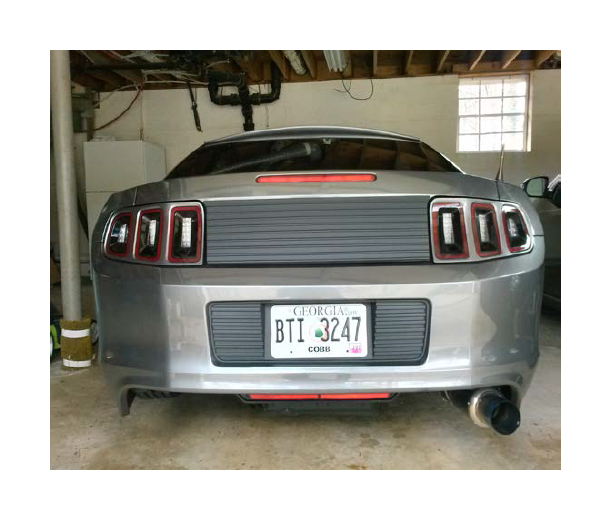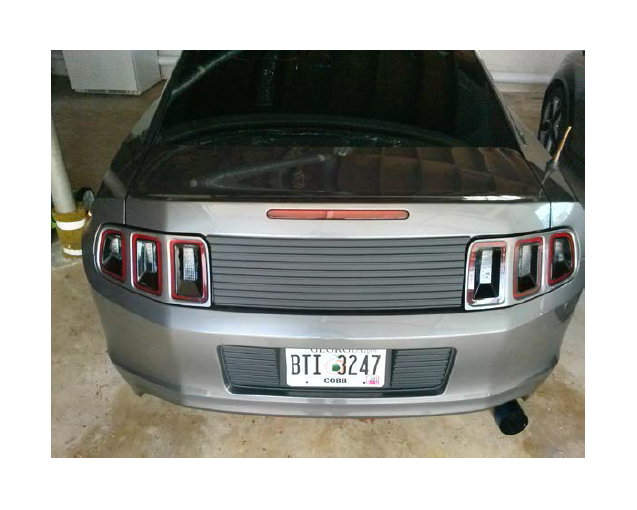
How to Install MMD Tail Light Trim - Pre-Painted on your 2013-2014 Mustang
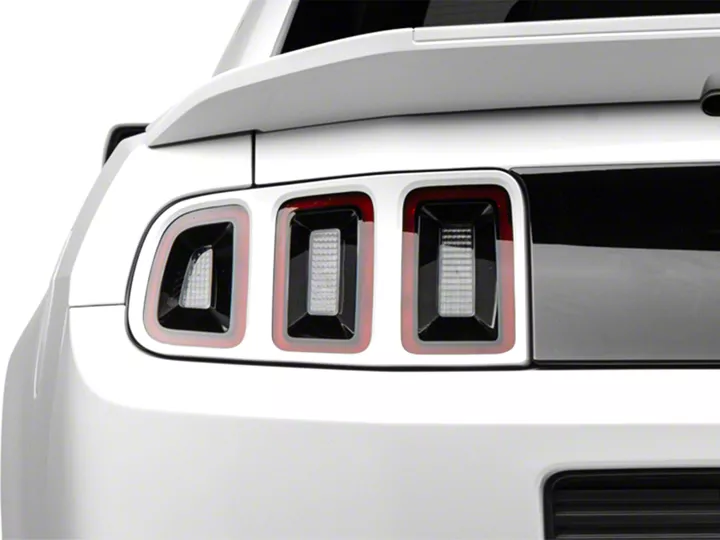
Shop Parts in this Guide
Installation Instructions:
1. Lay your taillight covers out on the trunk lid of your mustang carefully using the pieces of cellophane provided.
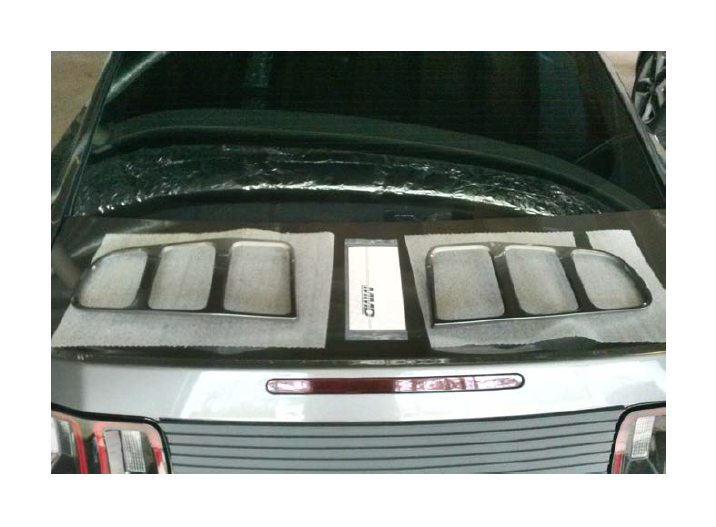
2. Mock up the covers on your mustang by simply laying them on the taillights, it helps by turning on your parking lights. As this enables you to see exactly where the covers need to line up to fit and look the best as there is some play/adjustability in them.
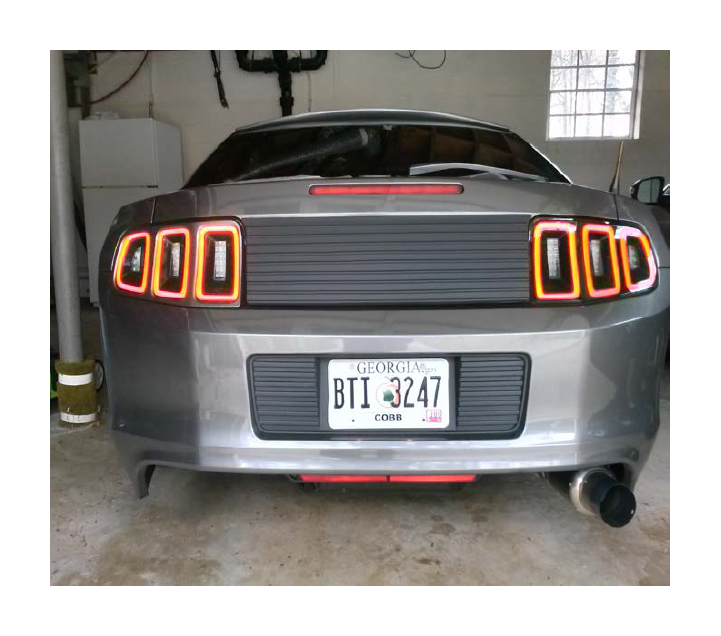
3. Using the supplied alcohol wipes, clean all the area in between the red led portions and black area. This is where gloves come in handy if you don’t want to leave fingerprints or have sensitive skin.
4. Flip over the MMD taillight covers and using the edge of a razor blade carefully remove all the 3m tape backing.
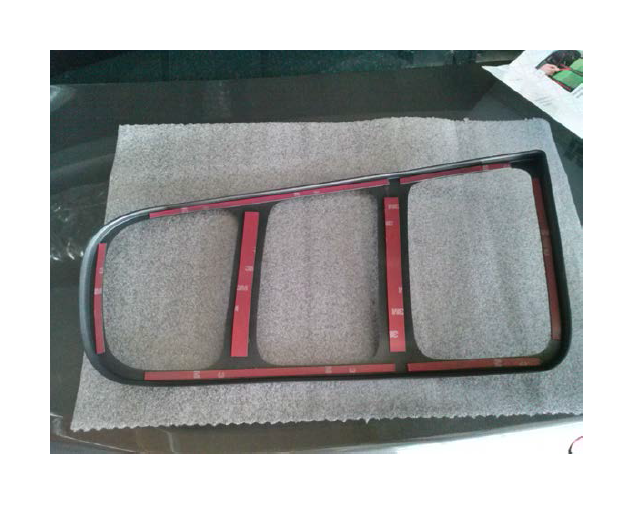
5. After allowing the alcohol to dry for 5 minutes or so line up the covers from the outside edges, again be sure the parking lights are turned on as this will easily allow you to line them up correctly. Once satisfied with the alignment start pressing in very firmly and smoothly going all around the covers to ensure a good bond to the taillights.
6. Stand back and admire possibly one of the easiest and best looking modifications available for the new 2013 ford mustang.
Before:
.png)
After:
