
Moroso Mustang Aluminum Universal Supercharger Coolant Tank ('96-'04) - Installation Instructions
Installation Time
2 hours
Tools Required
- Medium flathead screwdriver
- 5/32 socket with long extension and ratchet.
- 7/8 wrench
- Monkey/pipe wrench
- Silicone tape
- 1 gallon Coolant/water
- Bucket/ drain pan
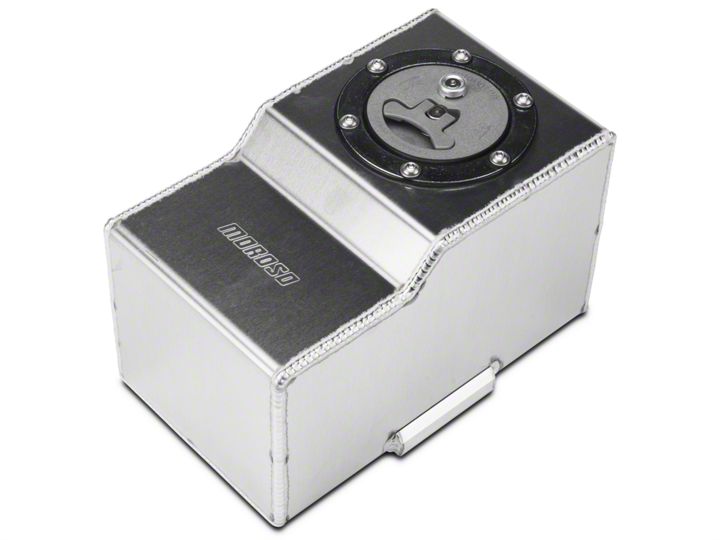
Shop Parts in this Guide
Installation
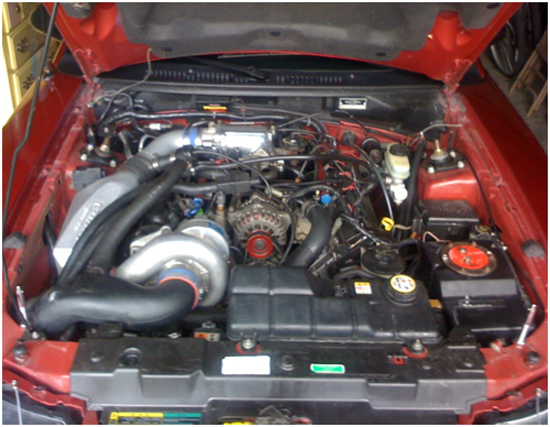
Preview (Before):
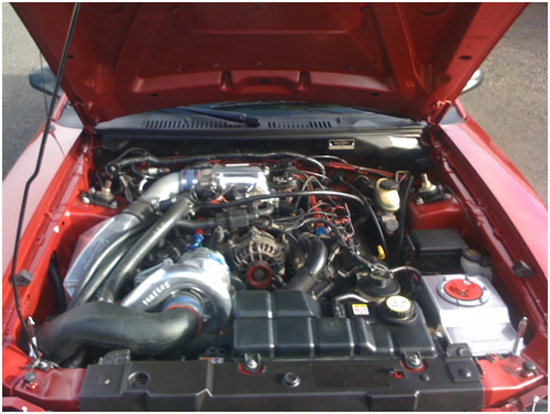
Engine bay before installation: 2003 Mustang GT with 4.6L Vortech V2 aftercooled supercharger kit, using Vortech’s stock plastic reservoir.
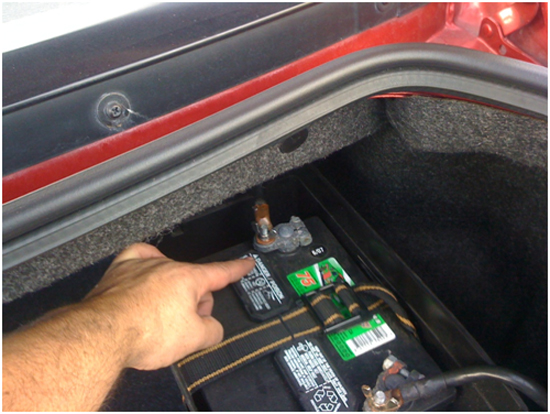
1. Always disconnect the negative terminal of battery when working under the hood! For cars that use this item, your battery should have been relocated and mounted in the trunk.
2. Start by removing any and all obstructions that may be in the way of the removal and installation process of the supercharger tank. In this case, it was just several grounding wires. Remove bolt with a 5/32” socket and gently pull wires aside and out of the way.
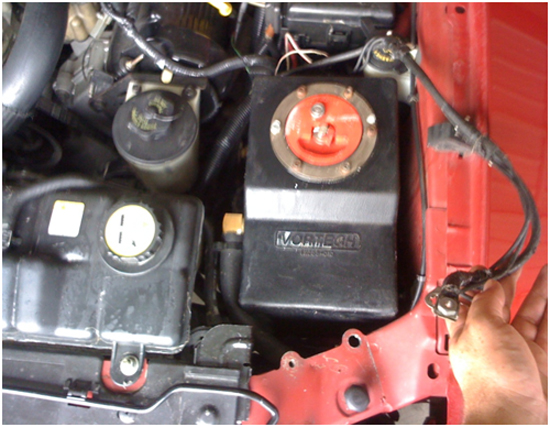
3. Drain water/coolant from the old supercharger reservoir tank. Near the back and bottom corner there is a brass twist valve. Twist valve open and drain into a catch bucket or container placed directly underneath. Location may slightly vary depending on your supercharger brand.
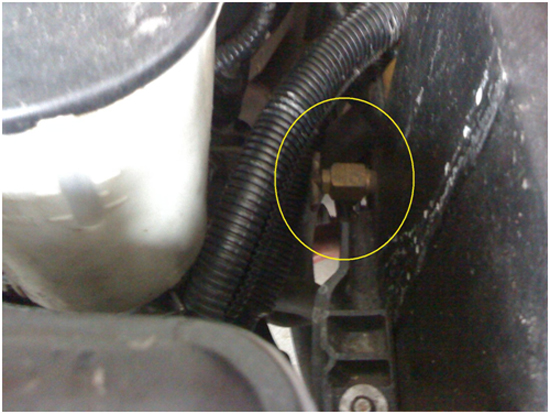
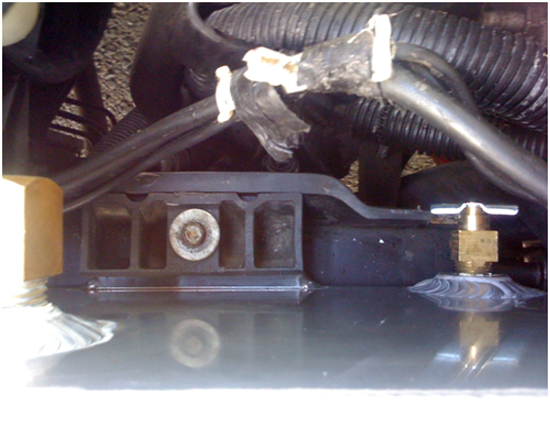
4. Remove the tank hold down wedge (formerly the battery clamp wedge). This is accomplished by removing a single bolt with a 5/32” socket. A socket extension makes this job allot easier. Once bolt is removed, lift out hold down wedge and set aside. The tank is now free to move around.
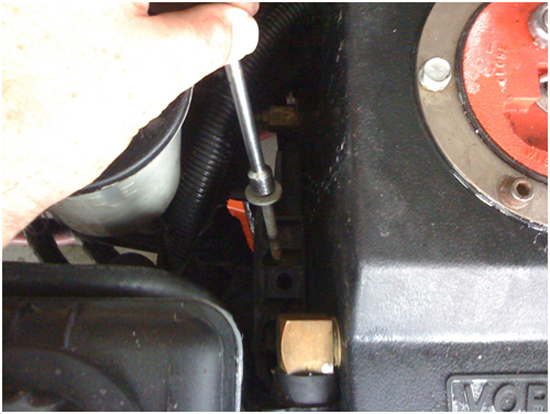
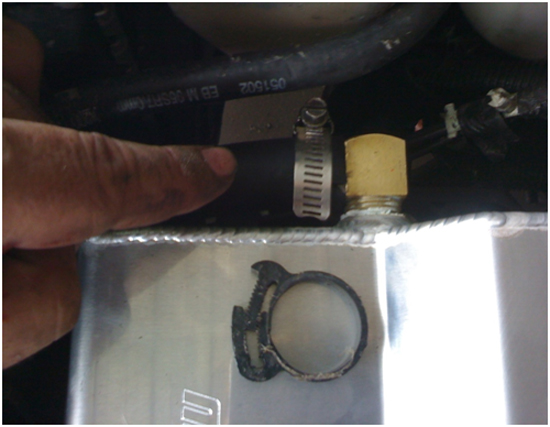
5. First disconnect the upper return hose. There is a small plastic zip clamp holding on the hoses to the fittings. Use flathead screwdriver to pry apart the zip clamp to allow the hose to be pulled off. If hose is stubborn to come off, gently use your flathead screw driver to assist in prying it off as you pull, being careful not to tear the hose.
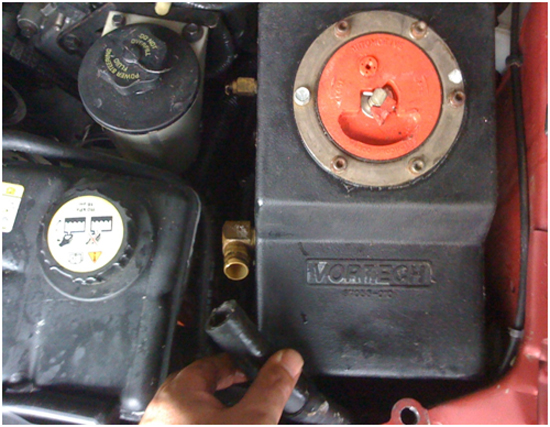
6. Repeat step 5 for the bottom feed hose. Seeing how you have already removed the upper return hose and the tank hold down clamp, the tank can easily be lifted out to allow easier access to disconnect the bottom feed hose.
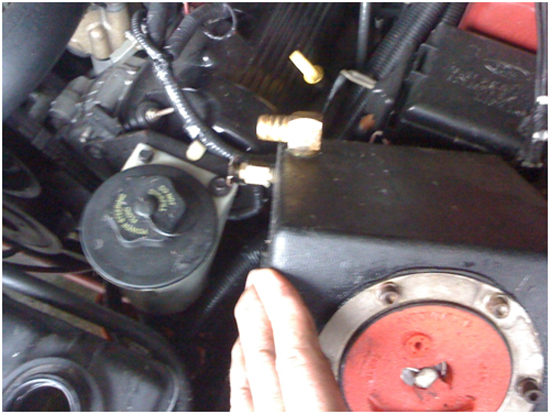
7. Here is a side by side photo of the old and new tank. As you can see in this picture, the upper return fitting is different between the two tanks. The old tank uses a 90 degree elbow where as the Moroso tank uses a straight fitting. For this installation, I decided to swap the upper fittings to keep the hoses in the same routing positions. If you do not intend or need to swap the upper fitting, continue on to step 9.
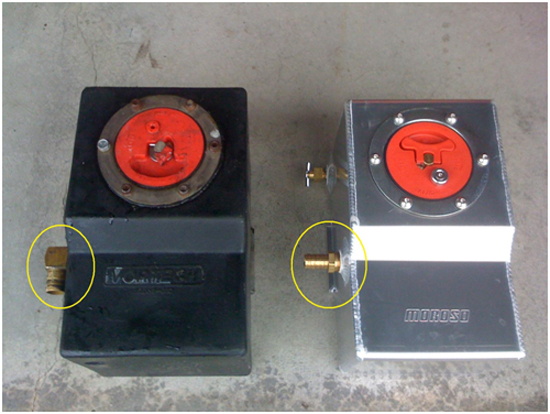
8. Using a 7/8 inch wrench turning counter clockwise, remove the upper brass return fittings from the old and new tanks. Below is a comparison of the two fittings.
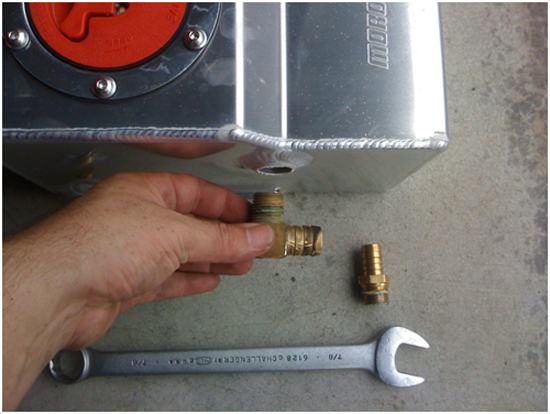
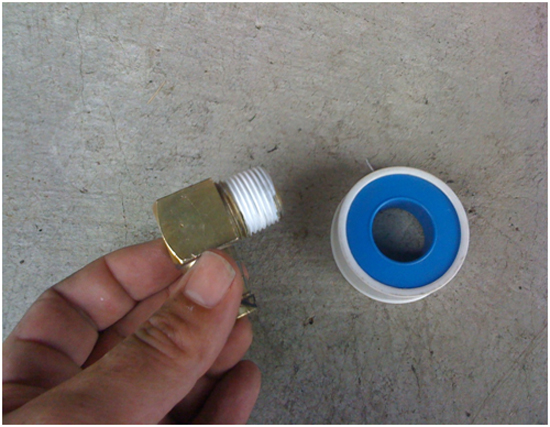
9. Before installing the old brass fitting into your new tank, make sure to use some type of anti cease. I prefer the silicone tape type, make sure to wrap all the threads. I would also recommend cleaning the old fitting first with a wire brush and brass polish to remove and tarnish or debris.
10. Here is the new tank with the old tanks 90 degree elbow installed. Again, you may not have to do this depending on the routing of your return hose.
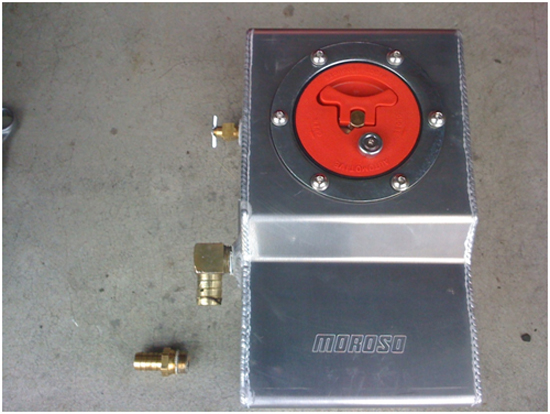
11. The lower feed fitting on the back of the new tank may need to be clocked slightly to allow an easier connection of the lower feed tube. Using an adjustable monkey wrench, I rotated the fitting about 45 degrees counter clockwise to match the angle of the old tanks clocked fitting position. If this step in not applicable to your setup, continue to step 12.
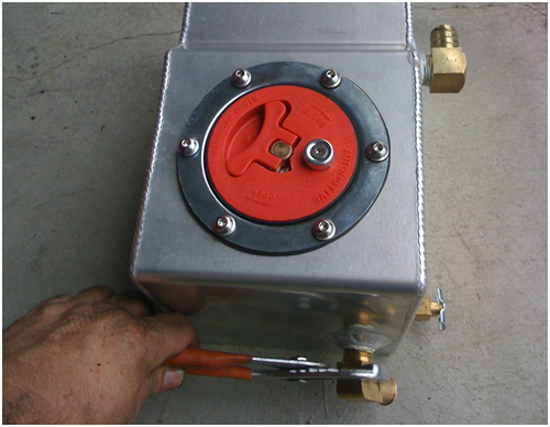
12. Installation of the new tank can now begin. Start by connecting the lower feed tube to the lower feed fitting. You can reutilize the black zip clamps you previously removed from the stock tank unit, or if you prefer you can use some aftermarket stainless steel hose clamps for a more secure fit as pictured during step 13.
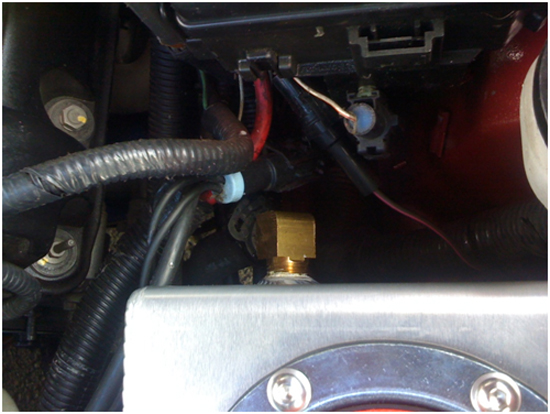
13. Now that the lower hose is connected, you can connect the upper return hose to the upper fitting. Note that I decided to use steel hose clamps vice the plastic ones that came with the Vortech kit. This is just a preference, but is not necessary for installation.
14. Reinstall the tank hold down clamp wedge by reversing step 4. Make sure to position the tank squarely on the battery platform before tightening down. Also, reconnect all wires and any other obstructions that were removed in step 2.
15. Fill up your new tank with the coolant of your choice. Check the manufacturer’s manual of your supercharger to get the proper mixture. In my case, 50/50 water/coolant was used. Be careful not to overfill! You don’t want to fill above the upper return tube on the tank. Also, before filling make sure the drain plug on your new tank is tightly secured clockwise.
16. Ensure supercharger tank cap is secured. Reconnect negative terminal on battery, start her up and enjoy your new tank! Looks amazing compared to the stock plastic one. Enjoy!
Installation instructions provided by AmericanMuscle customer Kimo Velleses 9.30.10
