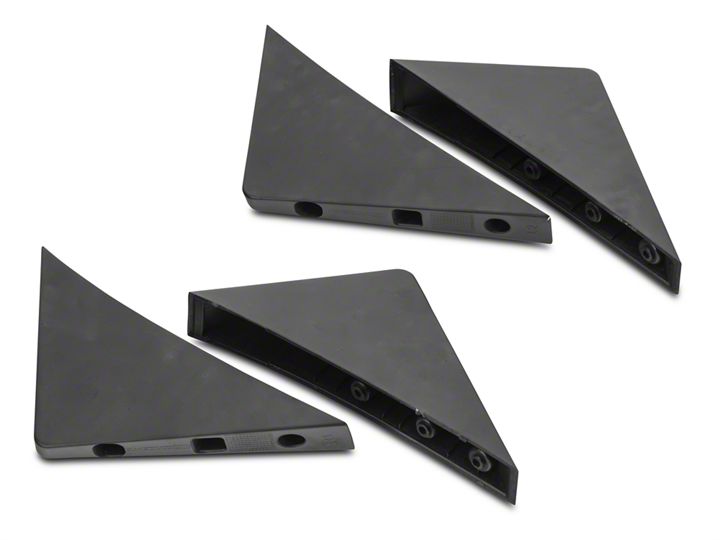
How to Install MP Concepts Rear Diffuser Fins (15-17 GT, EcoBoost, V6 w/ Non-Premium Rear Bumper) on your Ford Mustang
Shop Parts in this Guide
Step 1: Locate the factory mounting tabs on the rear bumper.
Step 2: Starting with the fin labeled R1. Align the fin to the left of the factory mounting tab and flush against the bottom edge of the bumper. Mark and pre-drill only the bottom hole with a 1/8” drill bit. Loosely secure the fin to the vehicle using one of the supplied phillips screws.
Step 3: Make a mark on the bumper where the second fin will be placed. Measure 6 3/8” from the mounting tab referenced in step 2.
Step 4: Align R2 with the bottom edge of the of the bumper so that the center of the fin lines up with the mark made in step 3. Pre-drill the bottom fin hole with a 1/8” drill bit. Loosely install the fin to the vehicle using one of the supplied phillips screws.
Step 5: Adjust the top of the fins so that they are straight on the bumper. Mark and pre-drill all remaining screw locations.
Step 6: Using a phillips screw driver, tighten all screws. **Note: Do not over tighten the screws. Repeat the process on the left side of the bumper.


