
How to Install a MSD Launch Master 2-Step Rev Limiter on your 1999-2010 V8 Mustang
Installation Time
1 hours
Tools Required
- Flat Head Ratchet Extension 10mm socket Wire cutters Wire strippersOptional Tools Adhesive Tape Wire ties
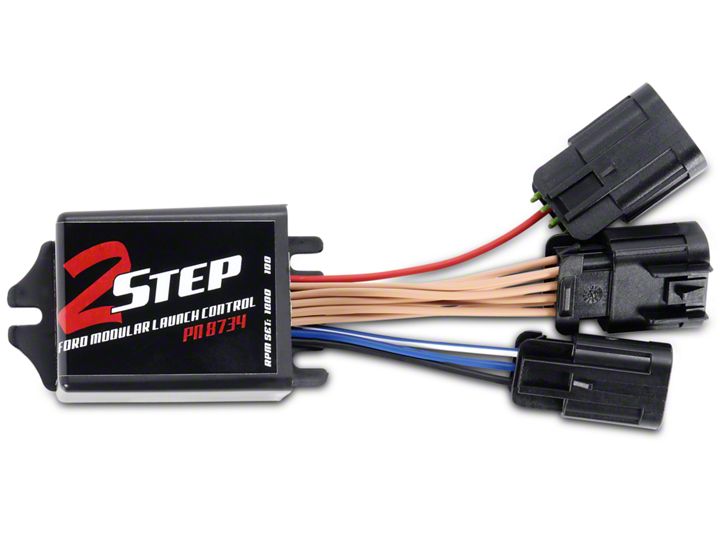
Shop Parts in this Guide
Installation
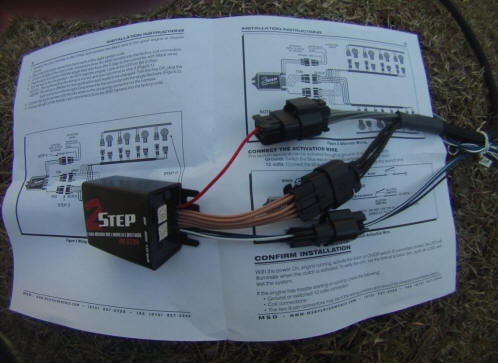
1. Connect the plug and play harness
RED to GRAY
TAN to BLACK
BLUE WHITE, BLACK, BLUE to BLUE WHITE, BLACK
2. Remove the air filter. Loosen the two band clamps. Wiggle and the intake at each base until it slides off
3. Remove the two 10MM bolts and the coil covers will come right off!
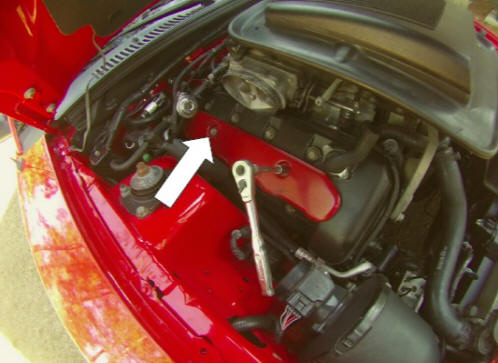
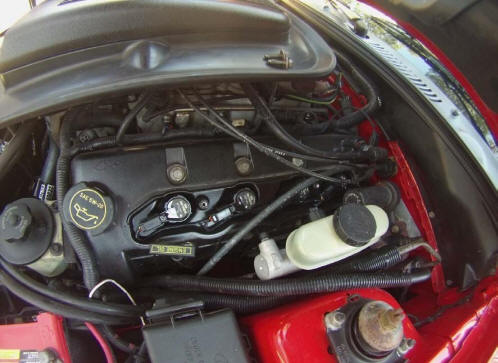
4. Disconnect all of the plugs from the coils. Plug the wire you disconnected off of the coil in the harness. Then plug the wire on the harness into the coil. The wires are self explanatory the longest one goes to the front of the motor, and the shortest one goes to the back of the motor.
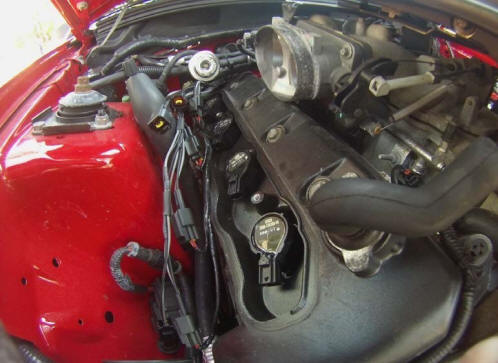
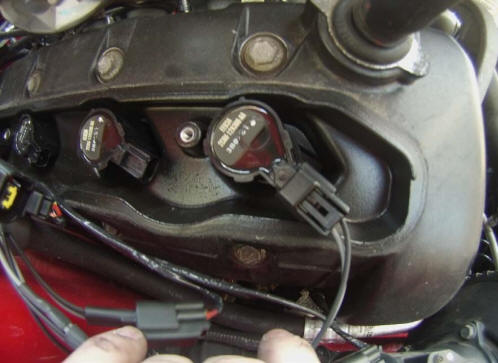
5. Find a place where you would like to mount the module. I chose the fuse box I attached it using 3m double sided tape.
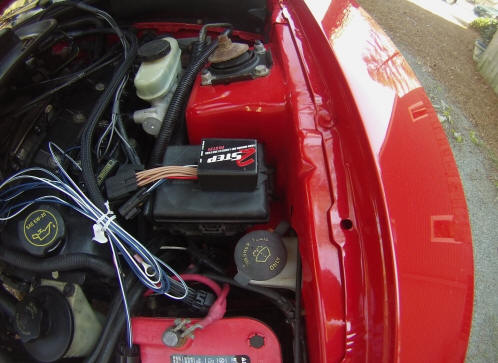
6. Grounding the module - Place the black wire to the negative side of the battery.
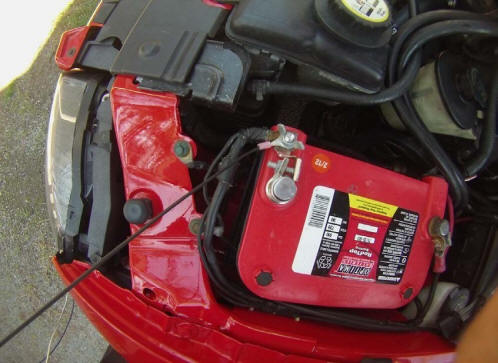
7. Locate the firewall grommet - It is located on the top right of the engine bay
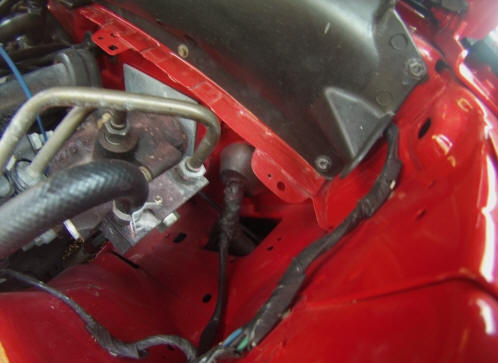
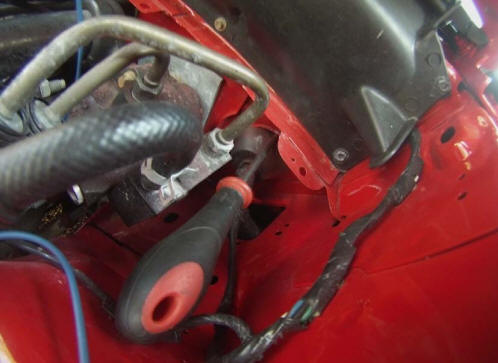
8. Place a flat head screwdriver in the grommet to make room to slip the wires threw the firewall
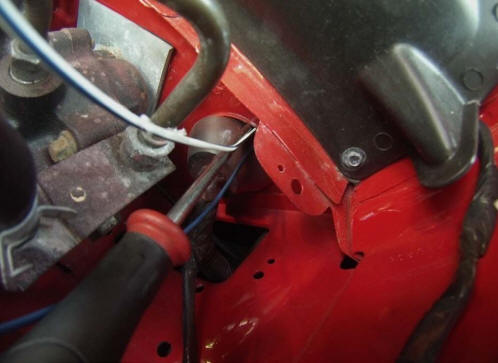
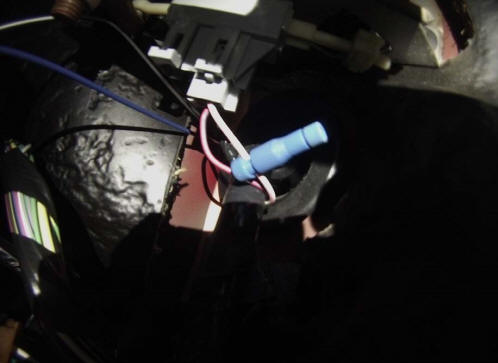
9. Locate the clutch switch. The clutch switch is on the top of the pedal. You will see two wires going into the top of the switch
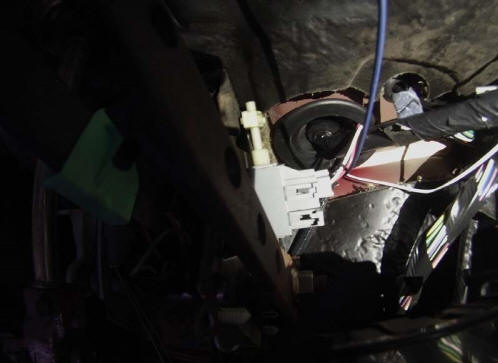
10. Choose any of the two wires off the switch and use the easy crimp on the wire tapping the BLUE wire to the module
11. After this step the installation is complete! Reassemble the covers on top of the coil and you’re done. To set the 2step you must use the dials on the side of the box, to the left is the 1000’s, and to the right is the 100’s. The blue-white wire is not used!
Installation Guide written by AmericanMuscle Customer Jordan Fournier 2.26.2013

