
How To Install an MSD Replacement Cap & Rotor on Your 1986-1995 Mustang w/5.0L Engine
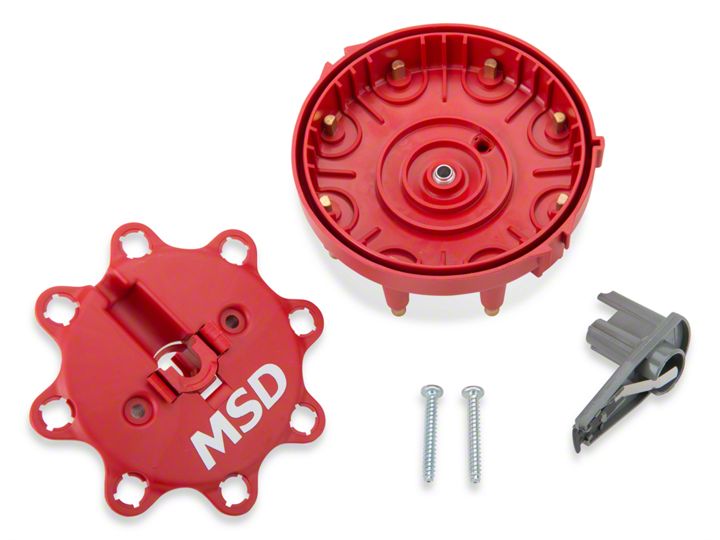
Shop Parts in this Guide
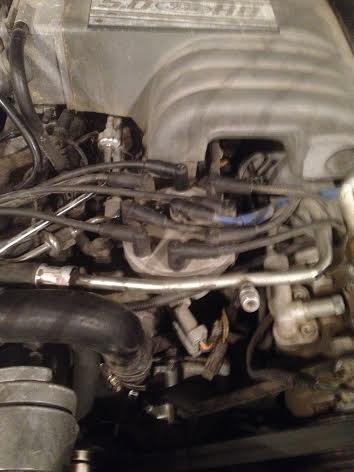
Removal Procedure:
Step 1: On the cap there are two levers you will need to pop off by using your fingers.
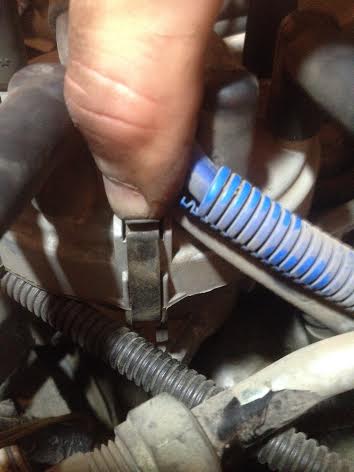
Step 2: With the two levers released pull the cap off the distributor exposing the rotor
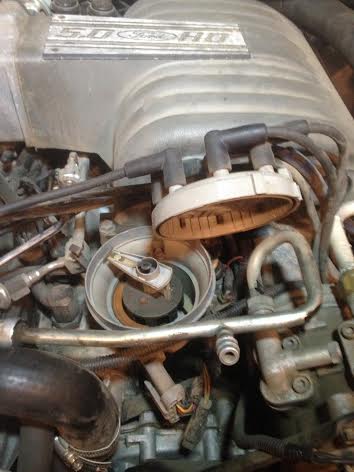
Step 3: Grab the rotor with your hand and pull it off.
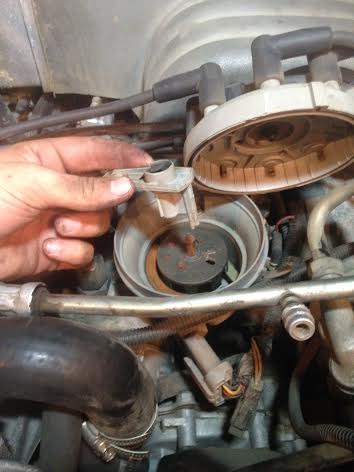
Installation Procedure:
Step 1: Take the new rotor and push it on, there is only one way it can go on.
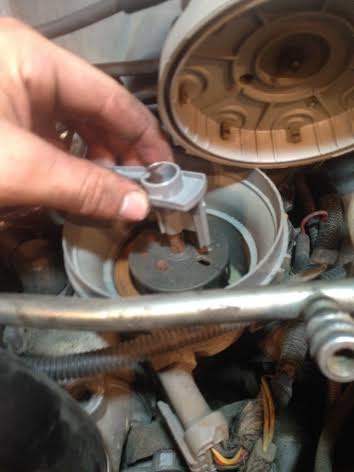
Step 2: Next take the new MSD cap and make sure it is oriented correctly. There is a square notch on the edge of the MSD cap, make sure this notch is in the same position as the old cap.
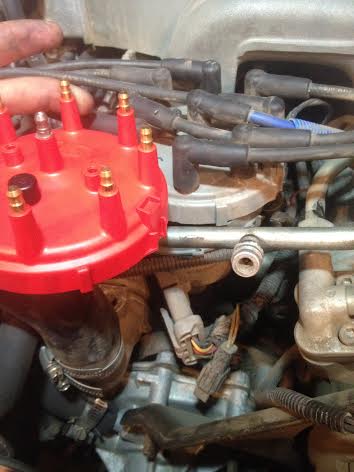
Step 3: With the cap oriented correctly take the plug wire to the left of the notch and transfer it over to the MSD cap from the old cap.
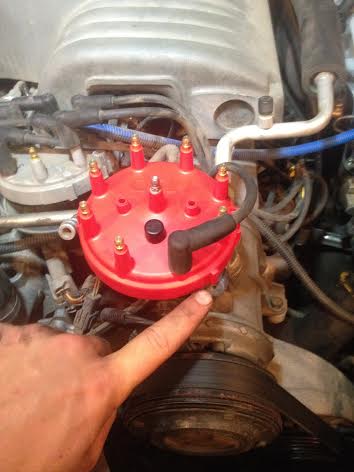
Step 4: With the first wire transferred over, start by going counterclockwise transferring all of the other wires to the new MSD cap.
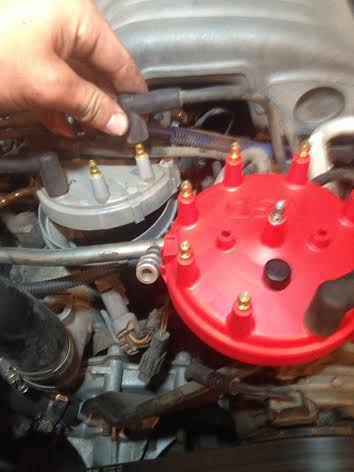
Step 4: Pic continued
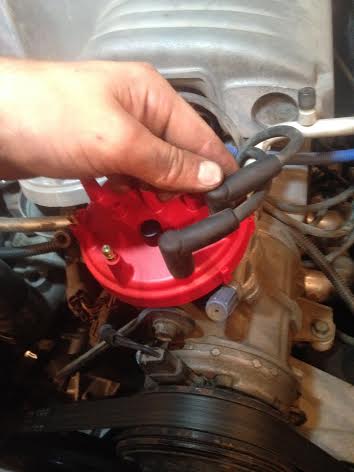
Step 5: After all wires have been transferred to the new cap, line the cap up with the distributor and set it down
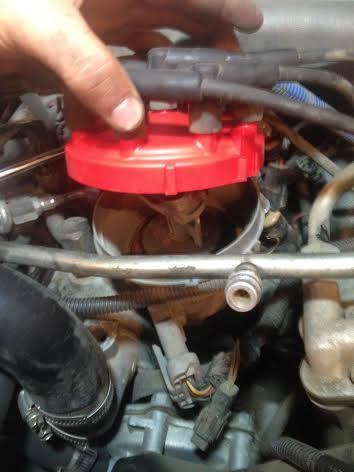
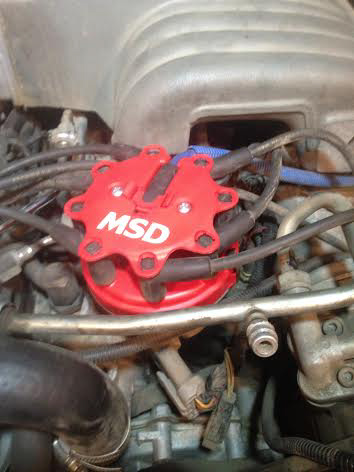
Step 6: Push the levers back over the cap so it’s secured to the distributor
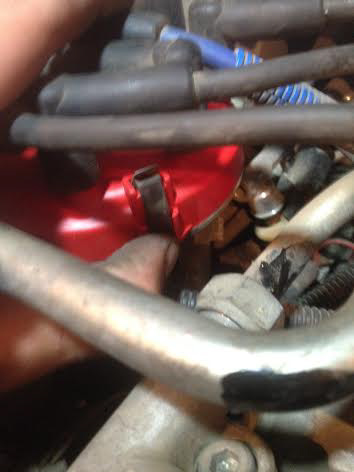
Step 6: Pic Continued
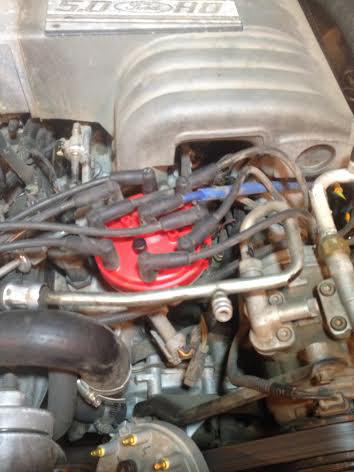
Optional installation: Install at your preference
Step 1: Remove the center wire off the New MSD cap
Step 2: take the center wire and slide it into the bracket that snaps into the new MSD cap.
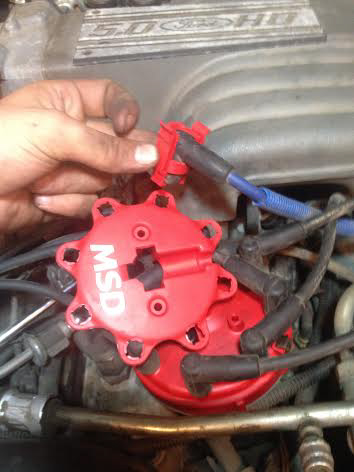
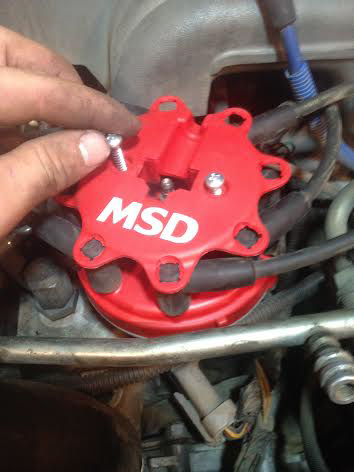
Step 3: take the MSD wire retainer/trim piece and place it over the cap.
Step 4: with the two screws supplied insert them into the two holes and tighten
Step 5: Snap the Center wire into the Cap.
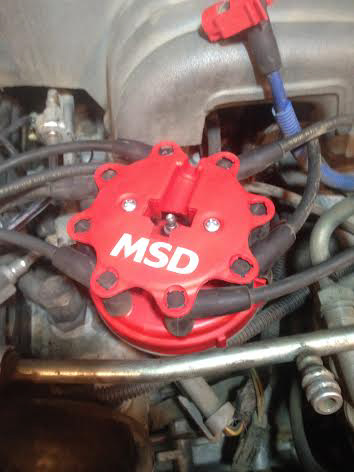
Step 6: Enjoy
Installation Instructions written by AmericanMuscle Customer Vance Clark 10.30.2014
