
How to Install a SR Performance Cold Air Intake on your 1996-2004 Mustang GT
Installation Time
1 hours
Tools Required
- 5/16 nut driver
- 10mm socket
- Adjustable End Wrench
- Flat Head Screwdriver
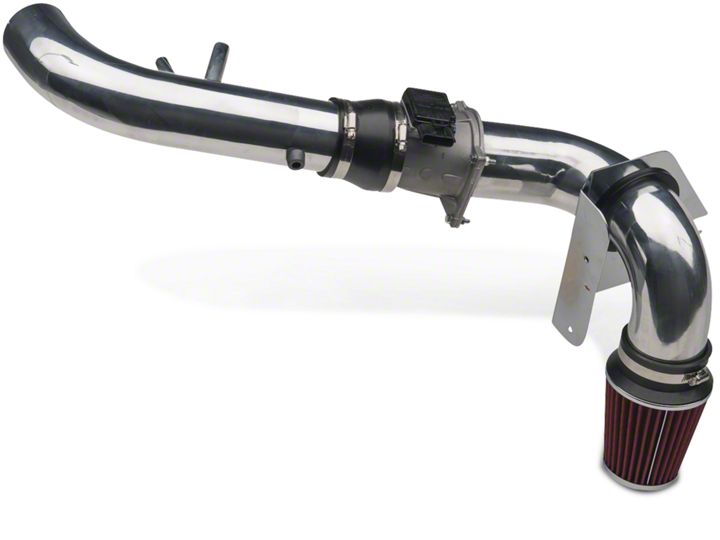
Shop Parts in this Guide
Installation
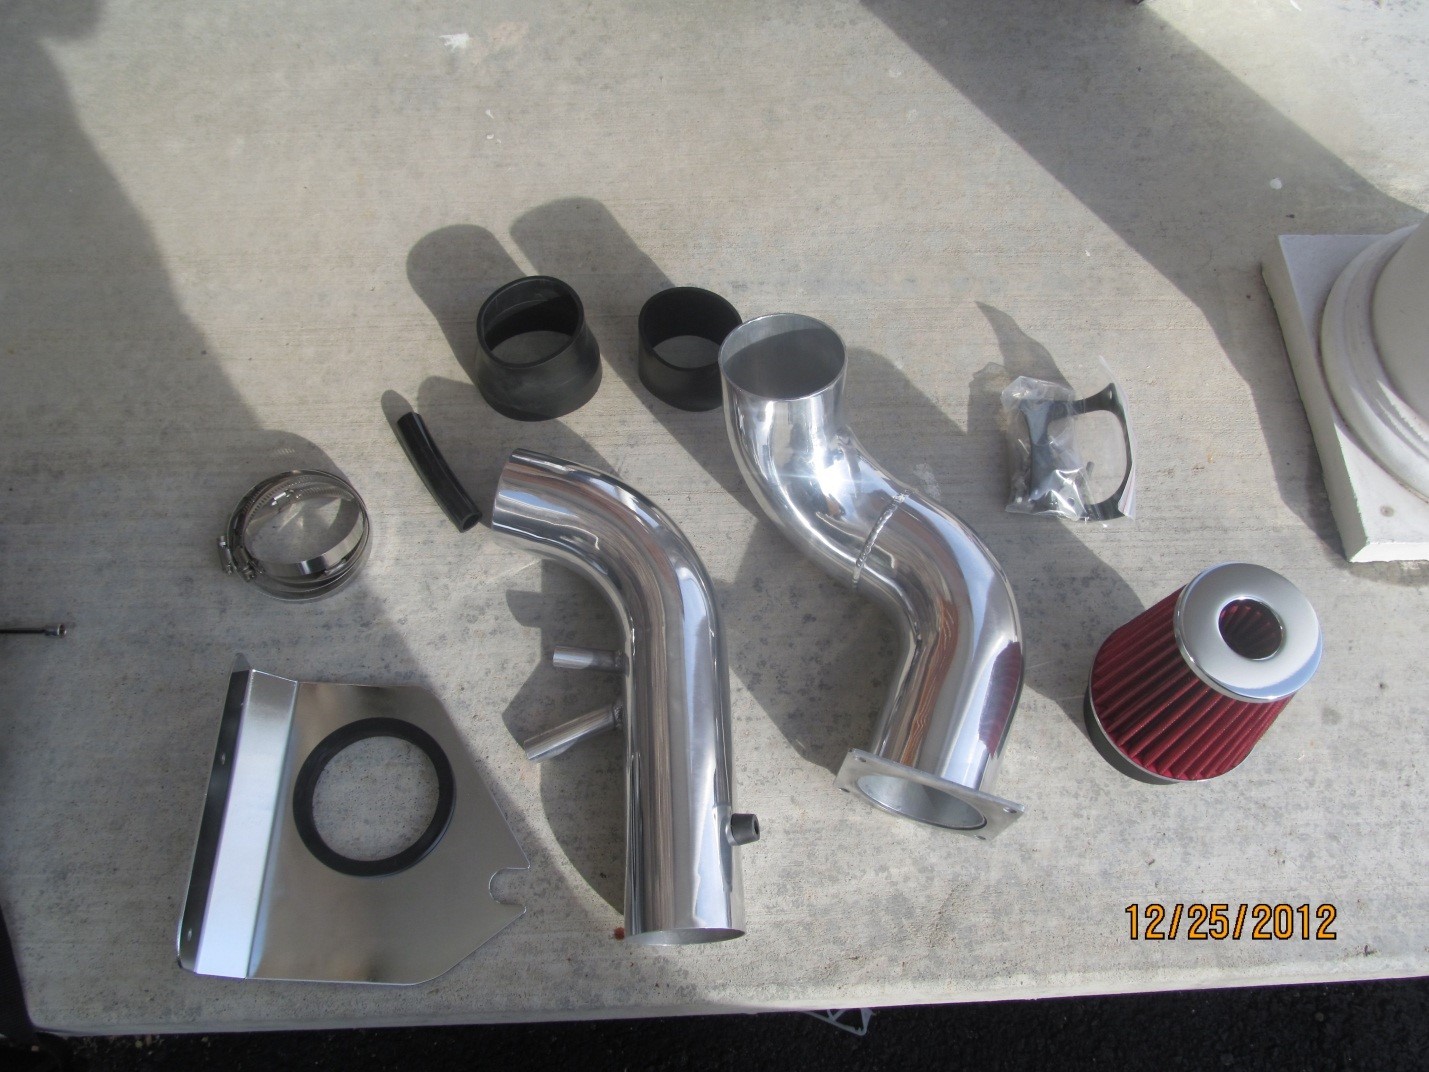
Parts included in box:
Stock Intake:
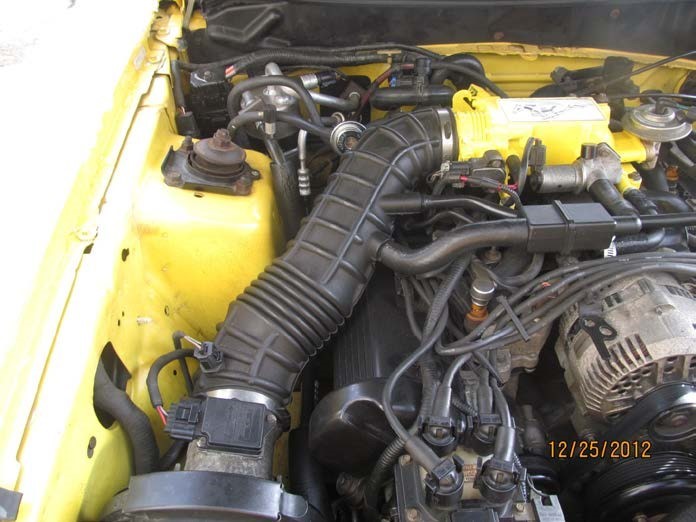
1. Remove electrical connections as shown below
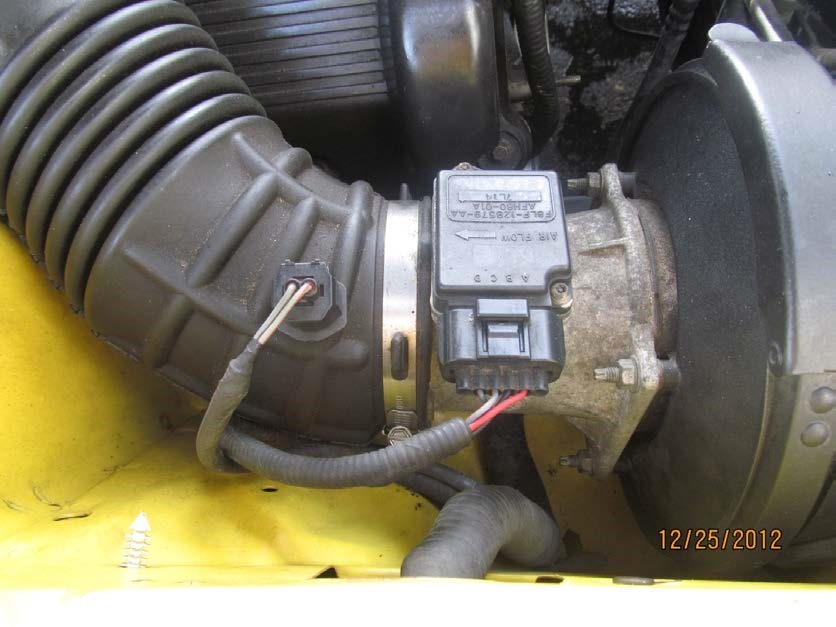

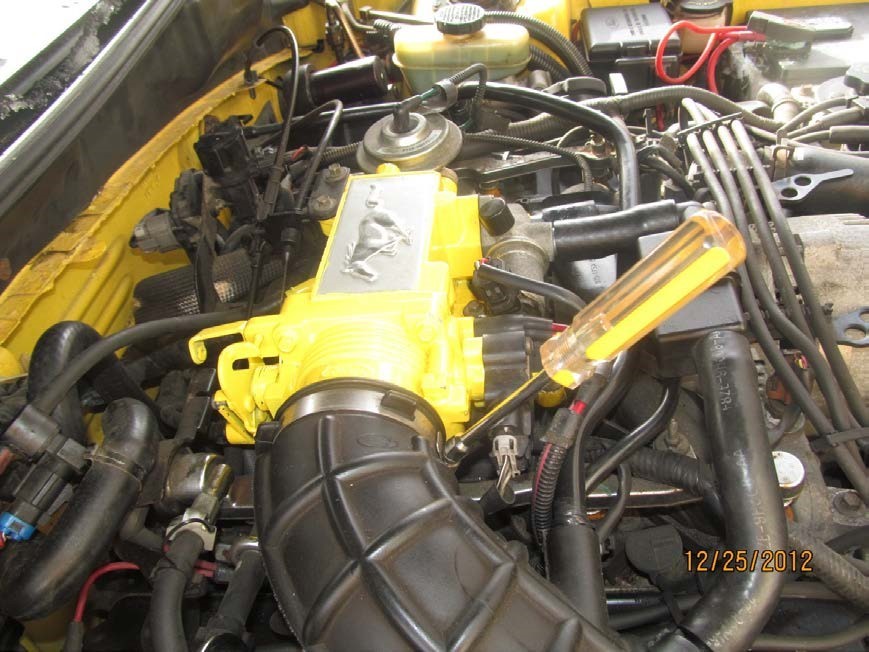
2. Use the 5/16 inch nut-driver to remove hose clamps as shown below
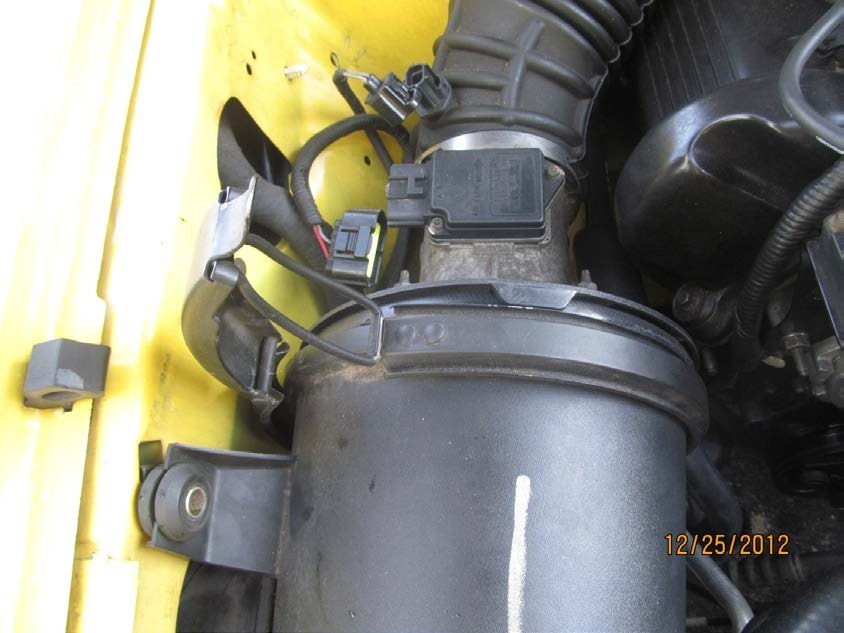
3. Losen air filter housing clamp as shown below
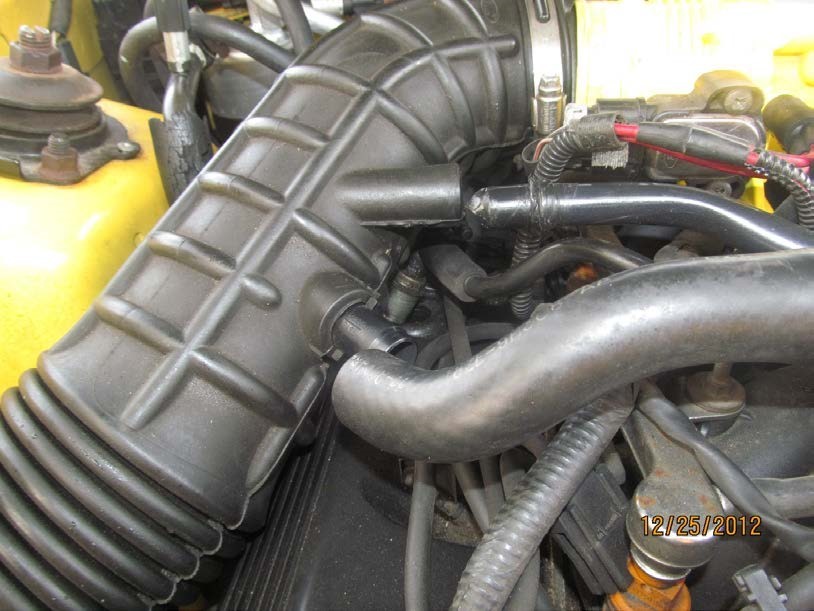
4. Disconnect vacuum hoses as shown below:
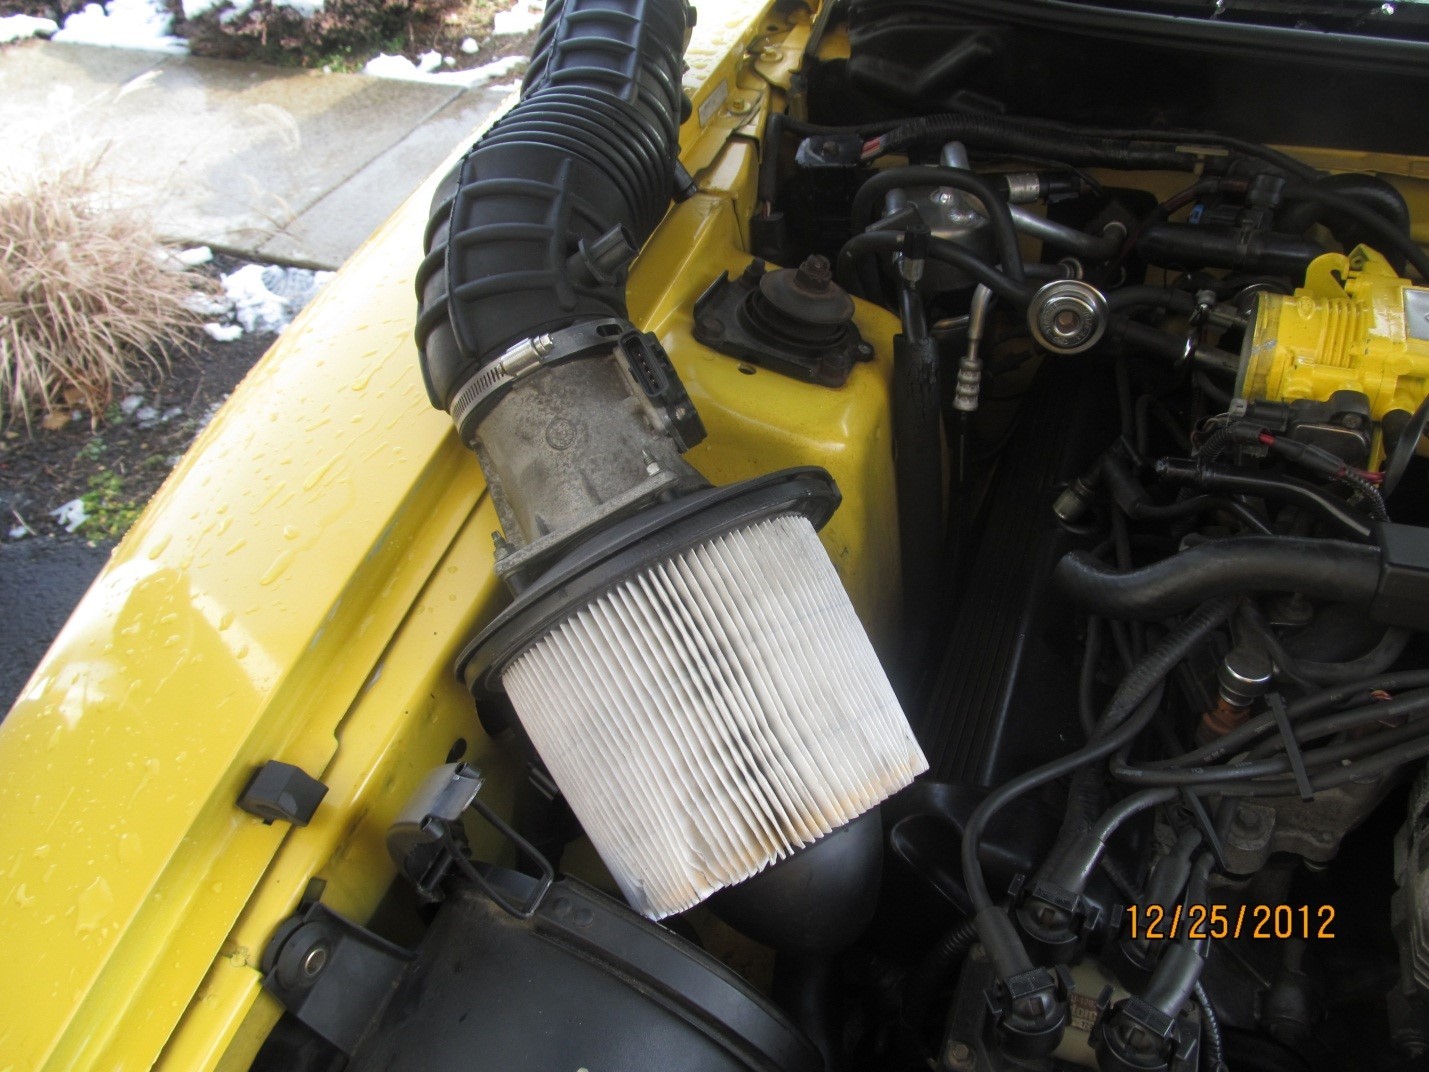
5. Remove factory cold air intake:
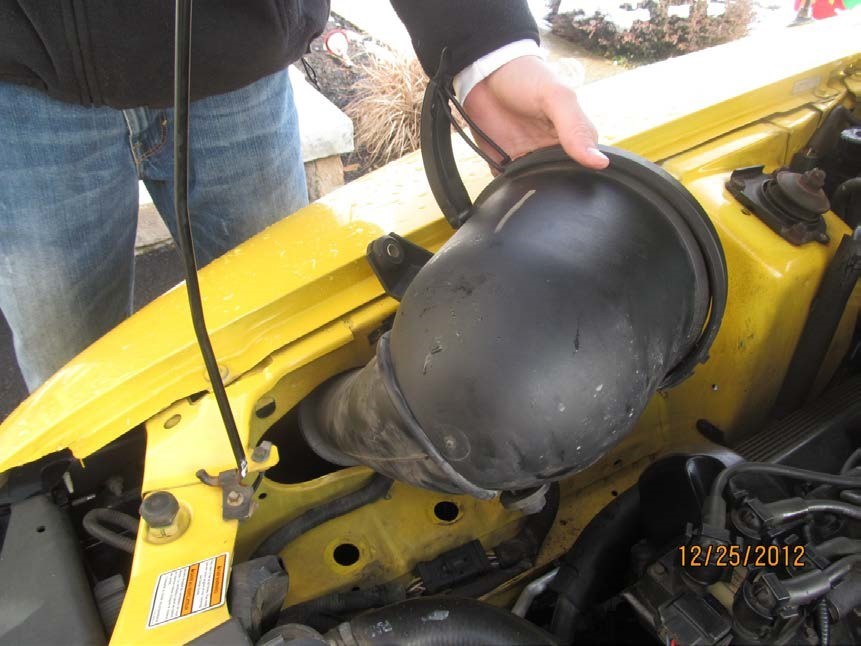
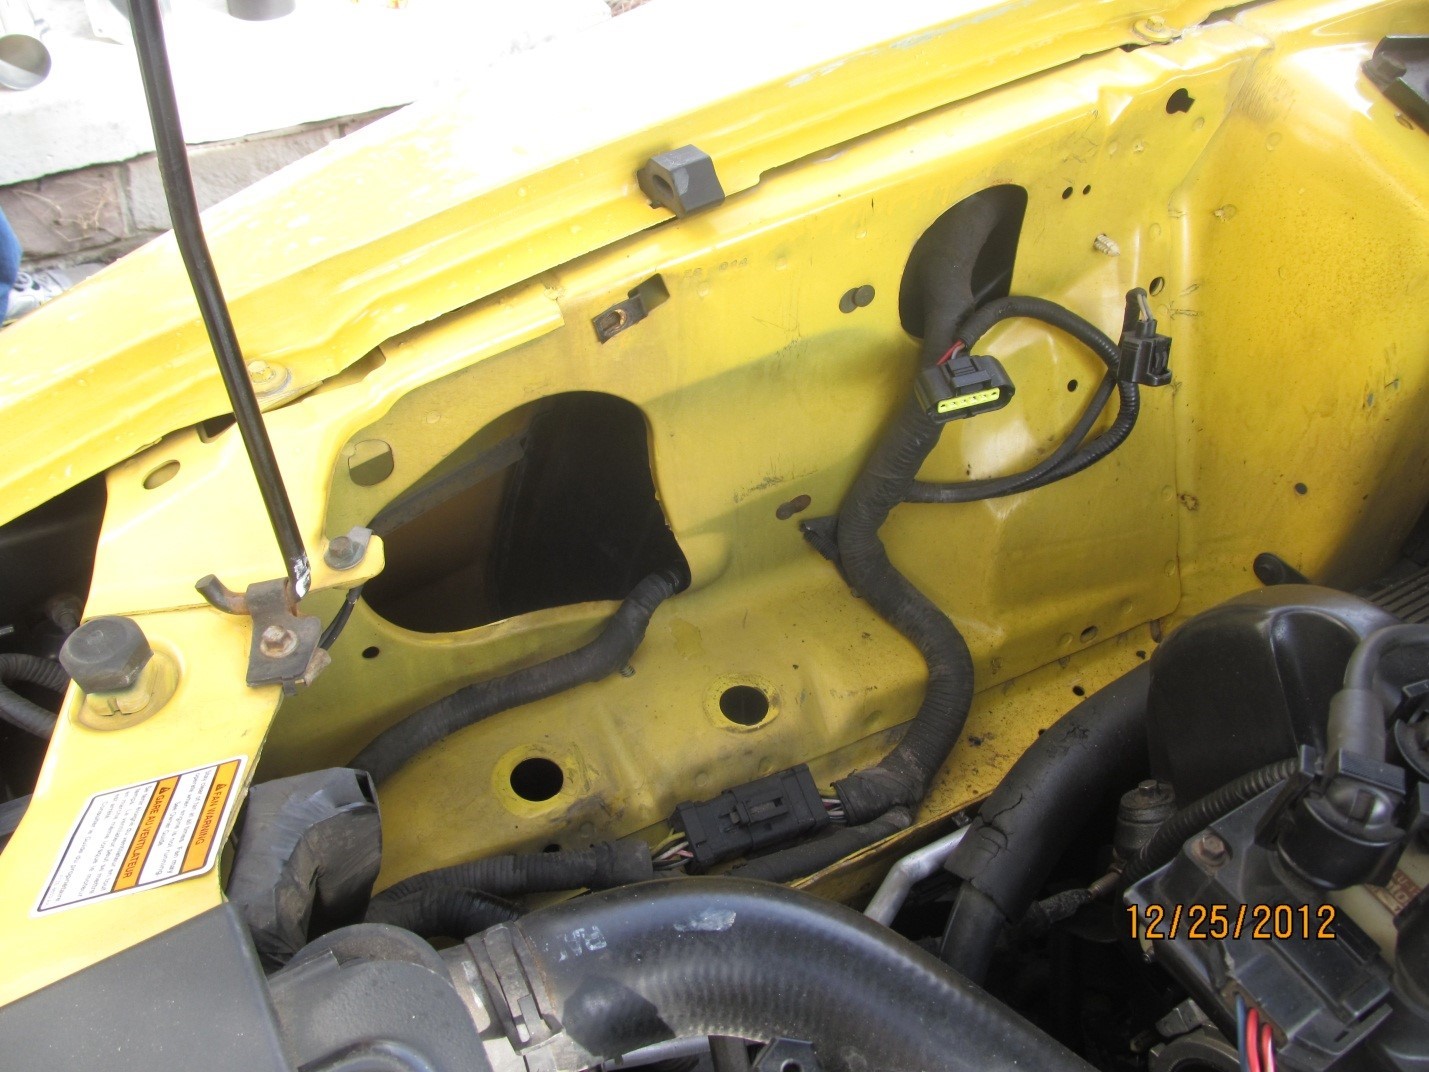


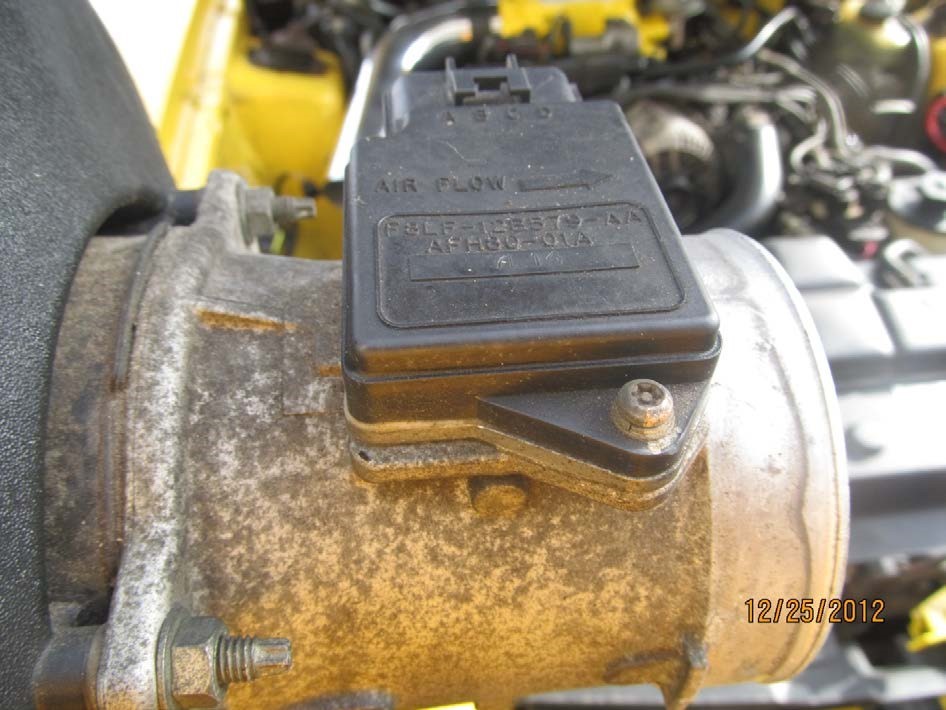
6. Remove old mass Air Flow Meter to install on the new cold air intake. You will need to remove the bolts with a 10mm socket and adjustable end wrench. Picture below:

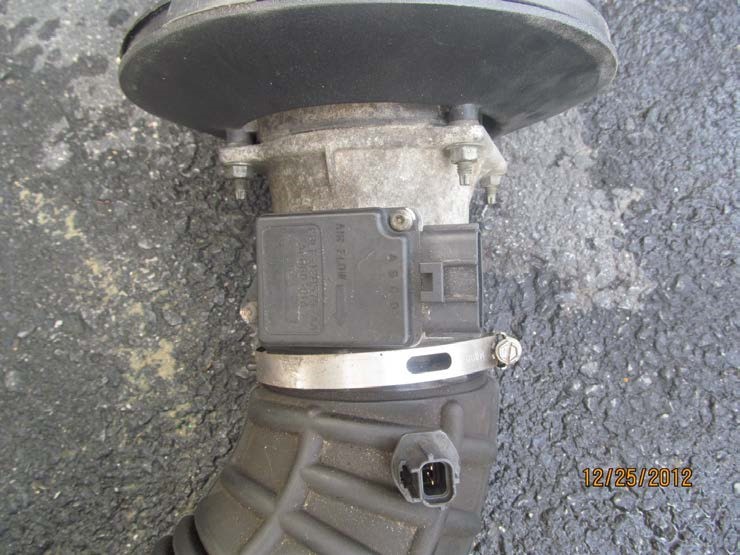

7. Connect Mass Air Flow Meter to new cold air in-take as shown below notice the rounded end on the new gasket:
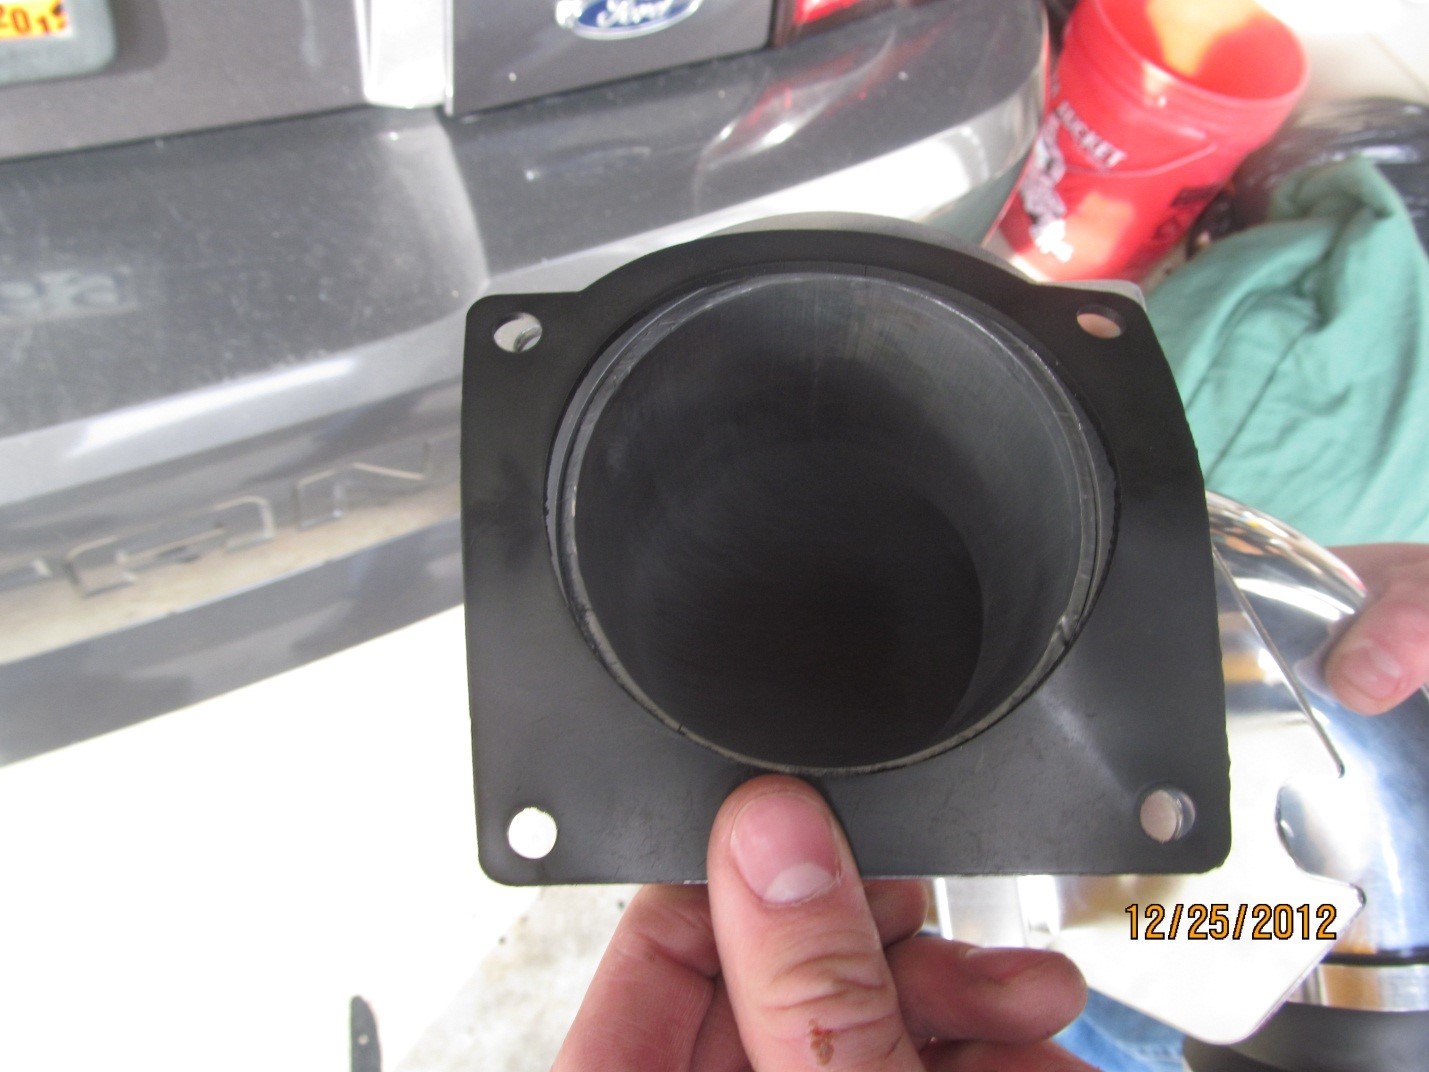
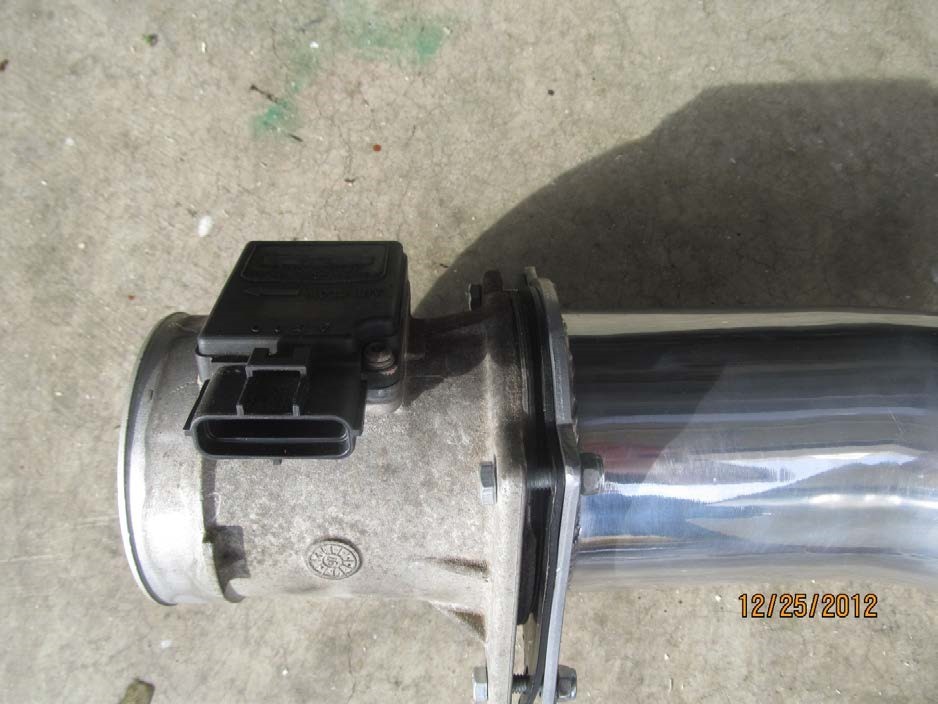
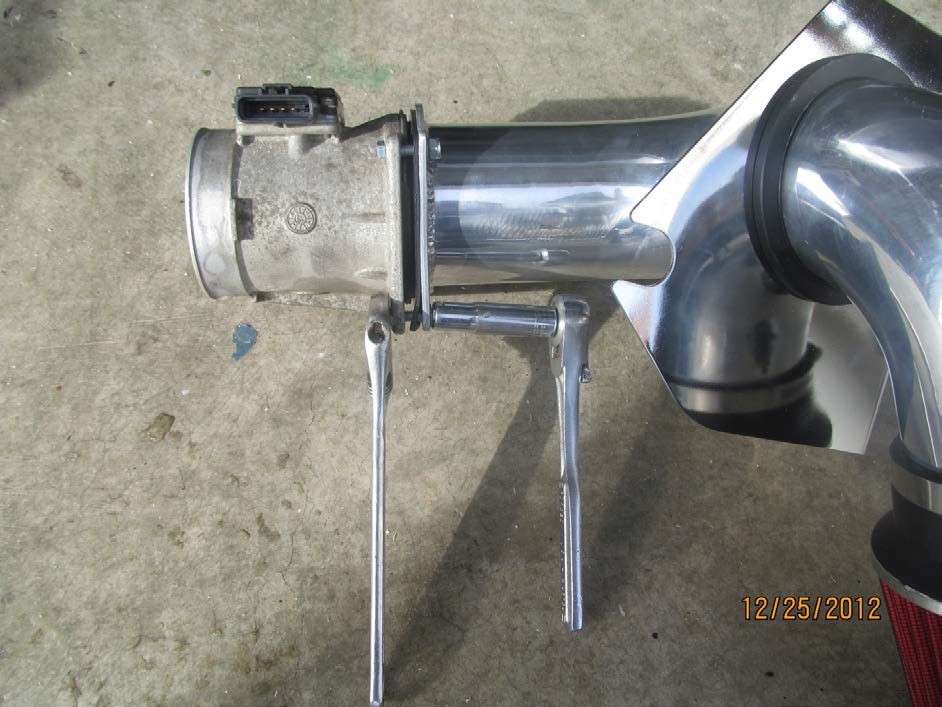
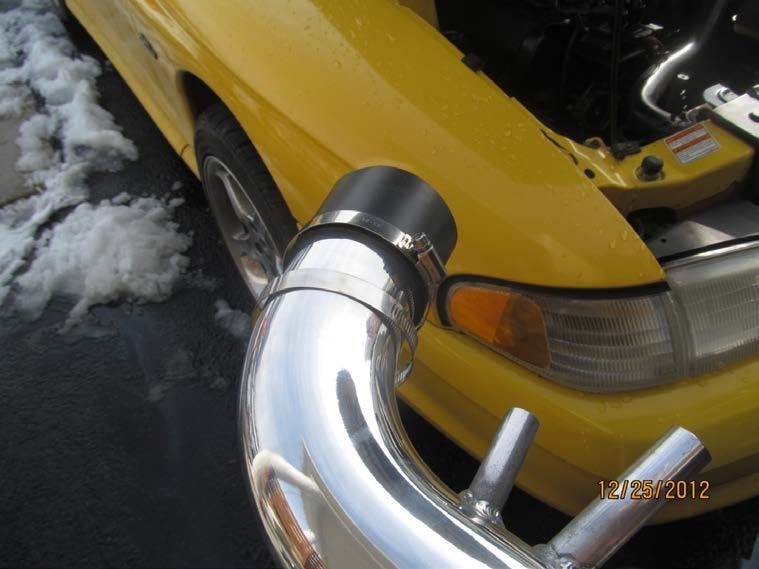
8. Now you can begin the installation of the new cold air-intake. Connect the filter to the intake, notice the way the bracket to hold the intake to the fender is placed.
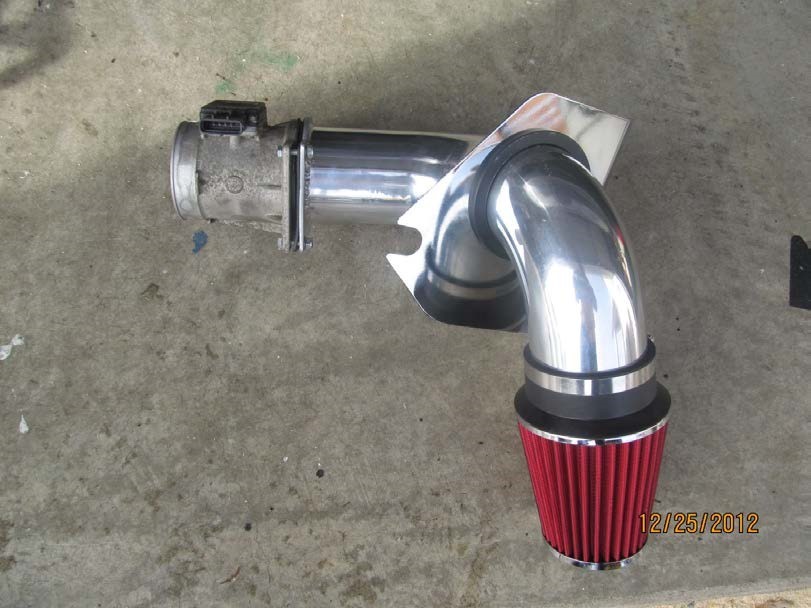
9. Tighten the clamp to the filter using your 5/16 nut-driver.
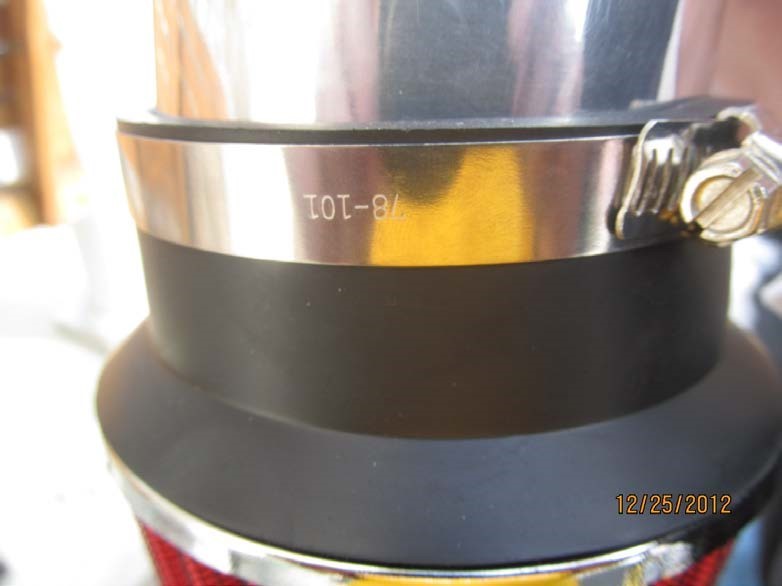
10. Clamp and clamp number for the filter:
11. Start with rubber boot in throttle body.
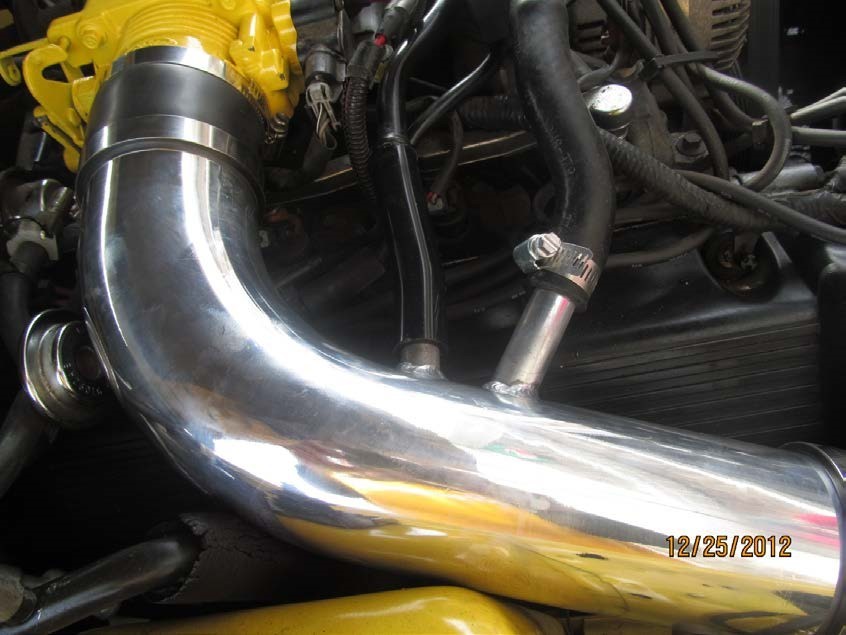

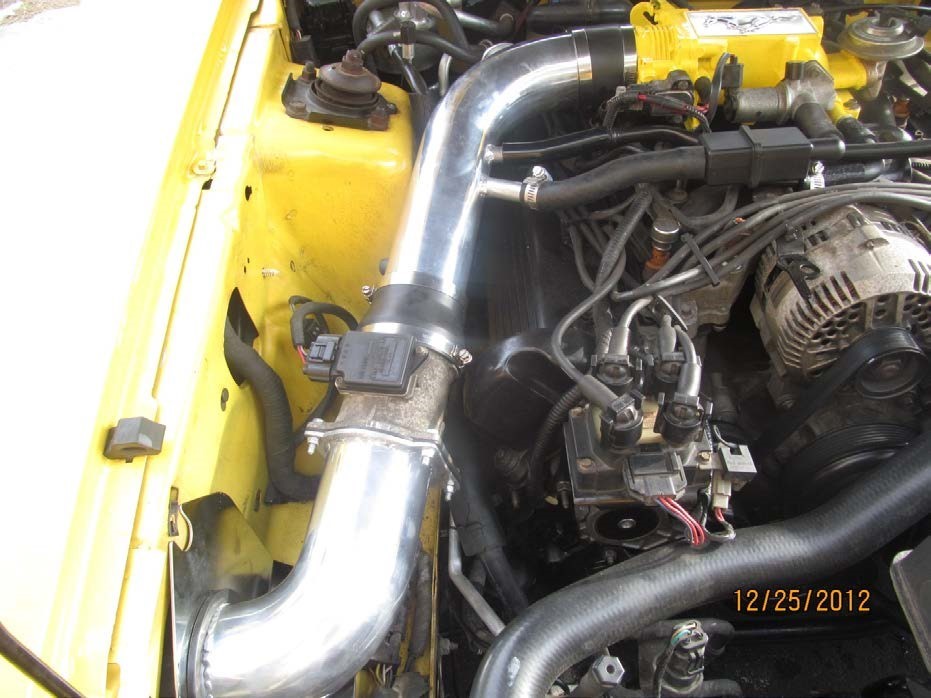

12. Connect vacuum hoses as shown below. You will need the extra vacuum hose supplied in your kit
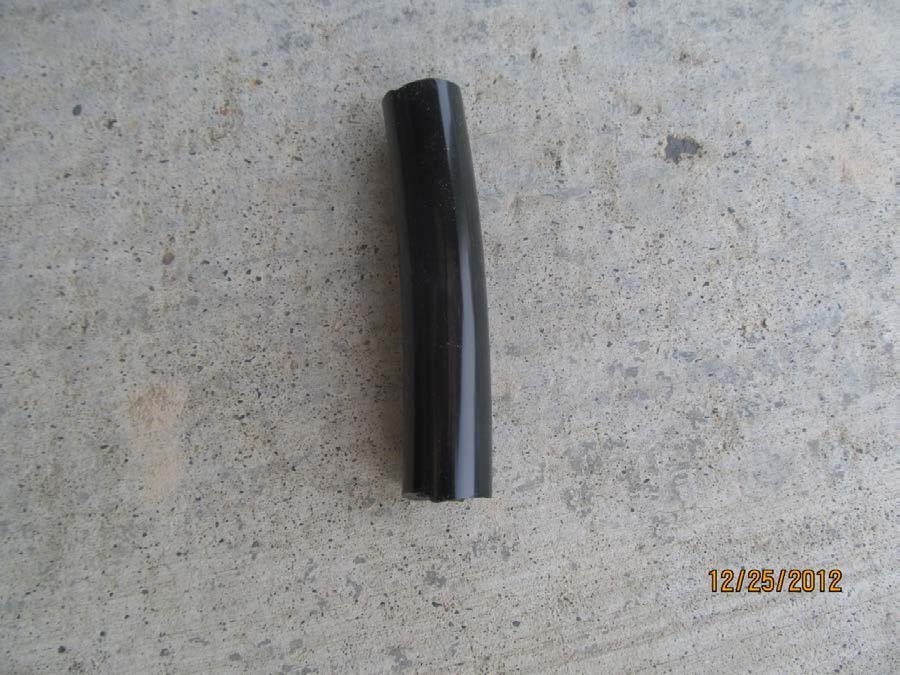
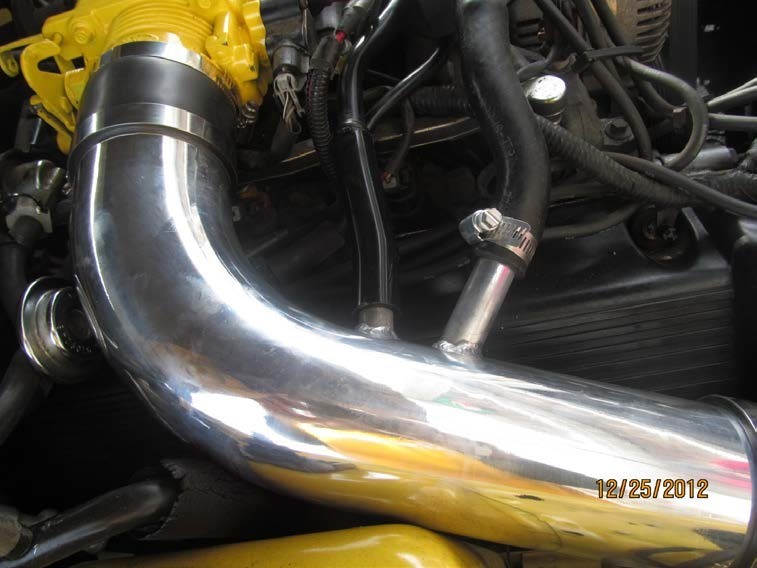
13. Connect electrical connection as shown below
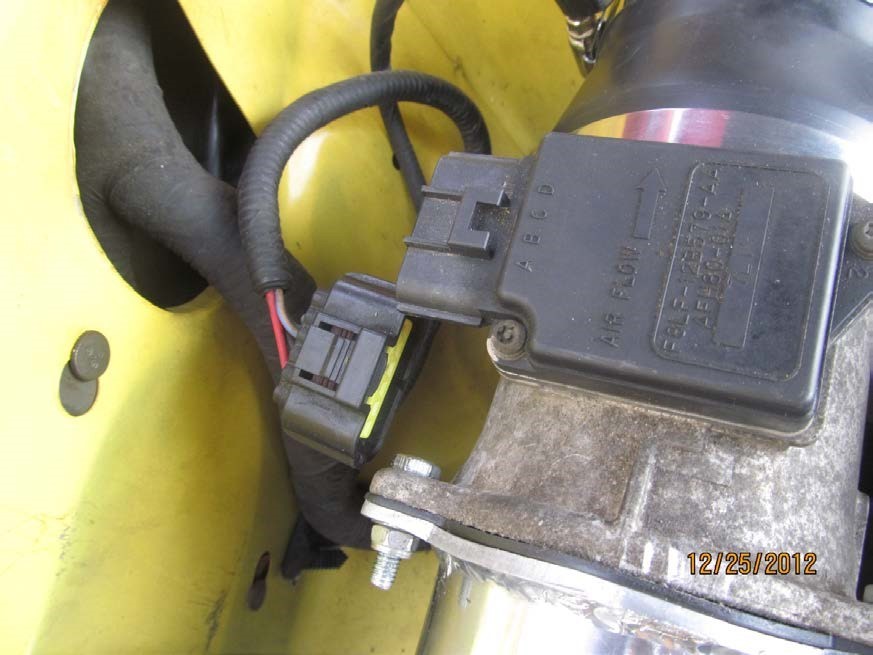
14. You will now need to install the two screws that will hold your cold air-intake to your front fender. You will not use the small plug on your new cold air-intake.
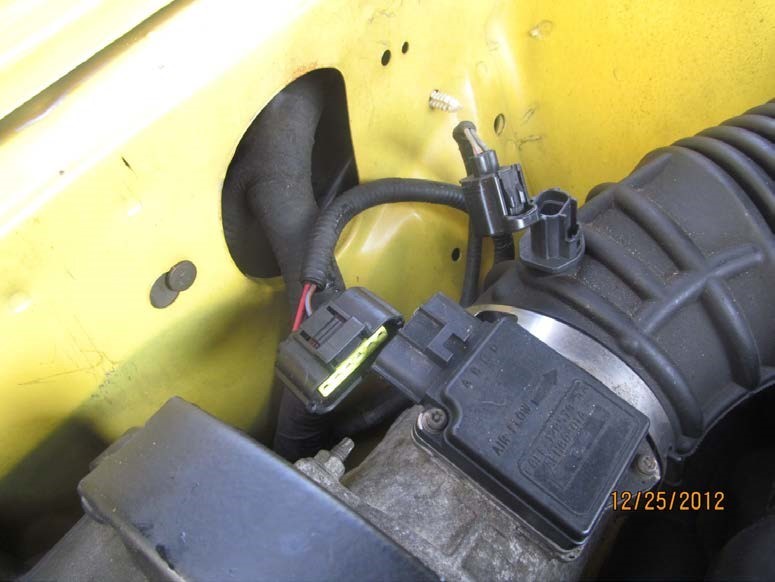
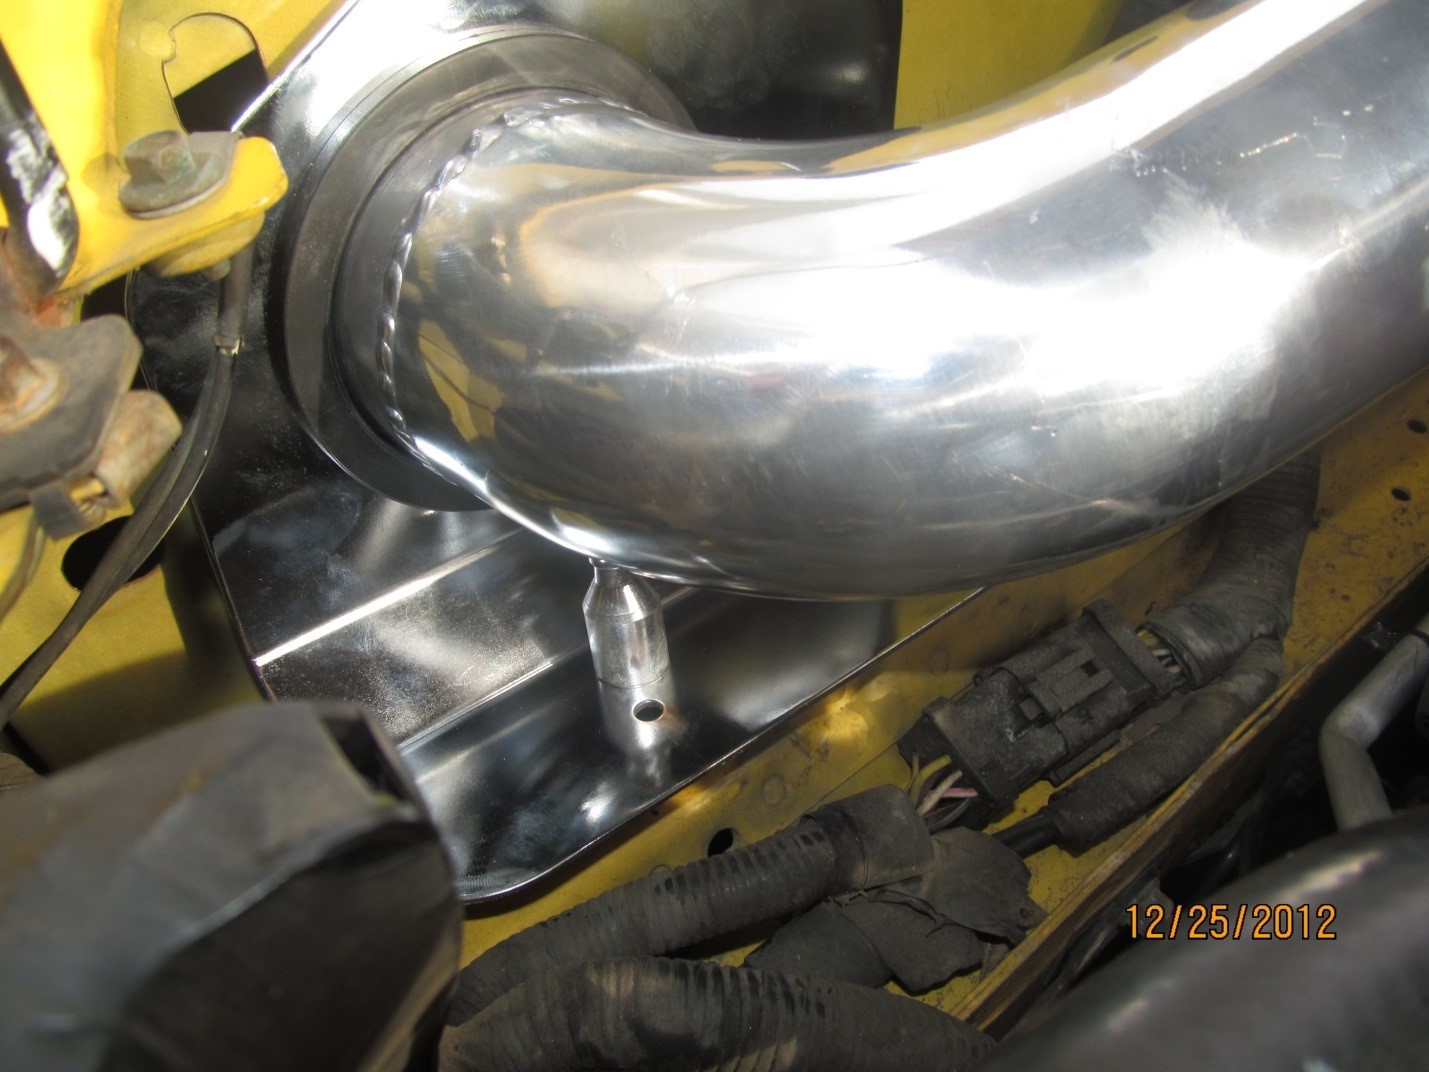
15. For the GT you will need to install a plug into the cold air-intake pipe as shown below:
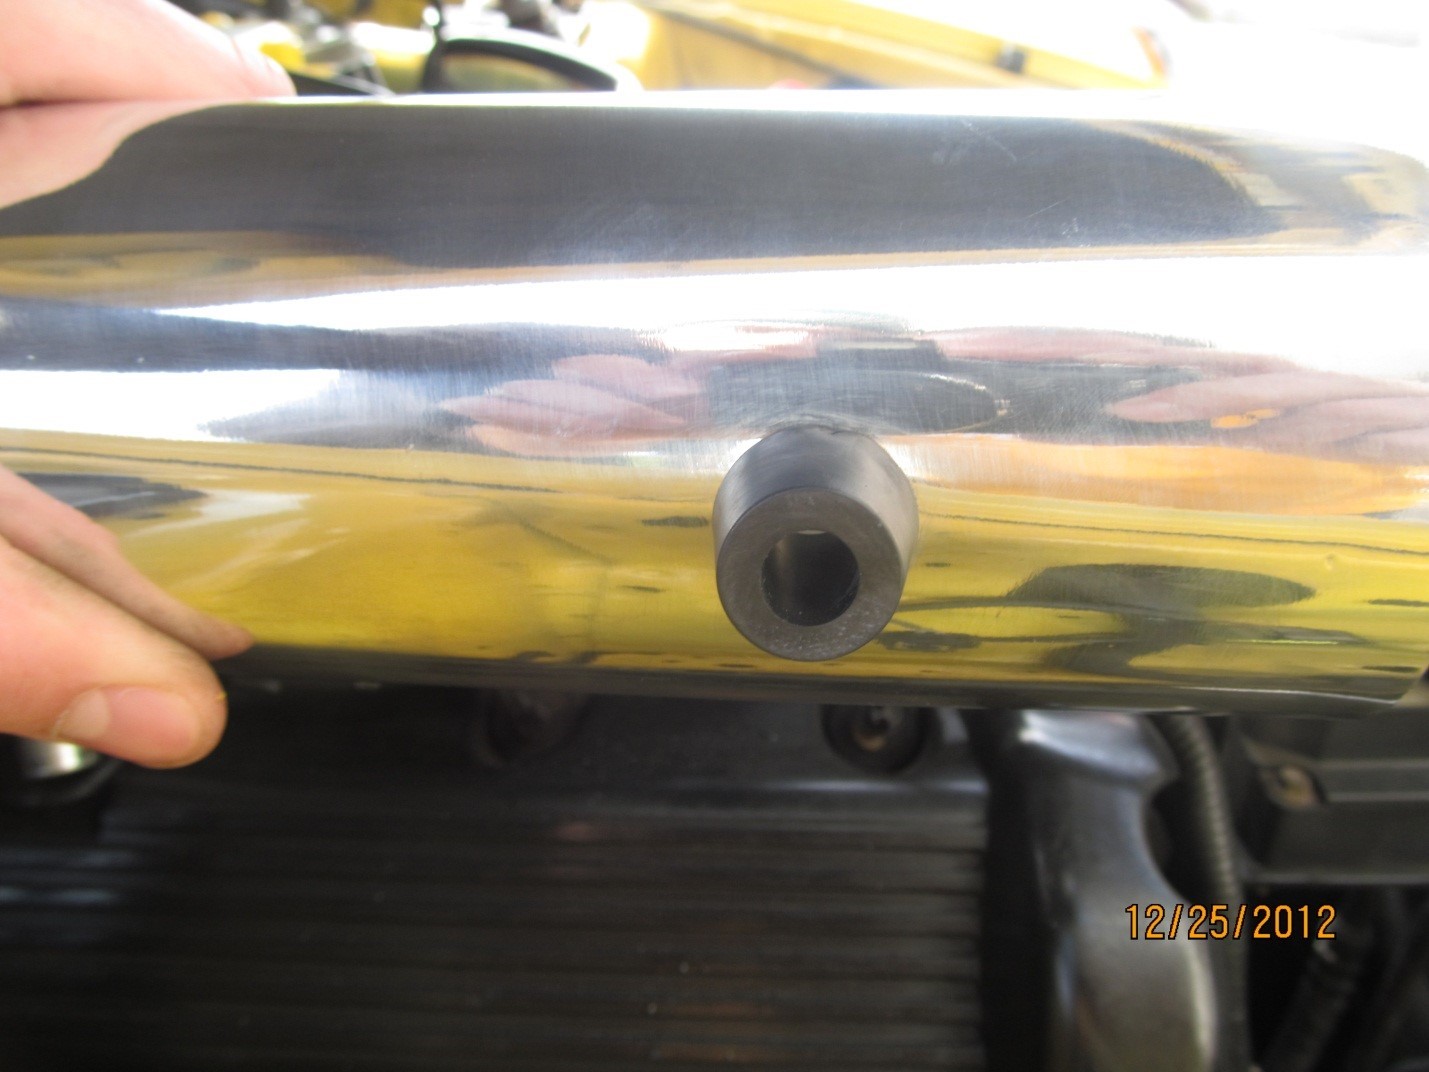
16. Double check all connections to ensure they are tight. Make sure the electrical connection is tight. Your cold air in-take project is complete. Your car may show a check engine light warning. This can be reset at your local dealer. You will love the sound on your new cold air-intake.
Installation Instructions written by AmericanMuscle customer Jeffery Pritt 1/18/2013

