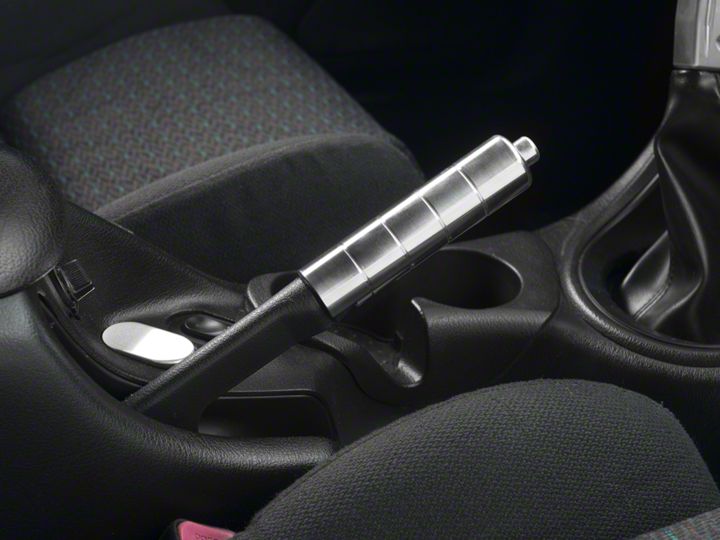
Mustang Emergency Brake Handle Installation Guide
Installation Time
5 minutes
Tools Required
- Allen wrench (included)
- 2 screws (included)

Shop Parts in this Guide
Installation
1. With your car in park and your car turned off, apply your Emergency Brake (See Before image). Make sure that your car is on a level flat surface and not on a hill that the car could potentially roll on.
2. Clean your Emergency Brake handle and make sure everything is working properly. If your Emergency brake is not in good working condition, have it serviced before proceeding.
3. Remove your new Billet Emergency Brake handle from the box and wrapping. It should include the handle, the button, and two set screws. Slide the new button piece into the new handle to prepare for installation.
4. Using your Allen Wrench (supplied), start screwing in the two set screws (supplied). Only start the screws, do not screw in too far as you won’t be able to slide the cover on. Be careful not to scratch the surface of the new handle.
5. Once the screws have been started, slide the new cover over your stock Emergency Brake handle. Once you have completely slide the new cover over the old handle you can now tighten the set screws from underneath to keep the cover in place. If you are having difficulty sliding the new handle over the old you can use a little WD40 on the stock handle to help the new handle slide on more easily.
6. Once the handle is on tight, test the Emergency Brake to make sure it works properly.
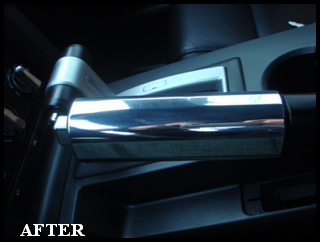
7. Now just clean the handles surface and enjoy! (See After image)

Installation instructions provided by AmericanMuscle customer by Donald Martell Jr

