
Mustang Clutch Quadrant ('82-'04) - Installation Instructions
Installation Time
2 hours
Tools Required
- Pry Bar
- Screwdriver set
- Pliers
- Basic wrench set
- Car ramps
- Jack stands
- Patience
- And a Haynes Manual never hurts for reference, if needed.
Installation
1. From under the vehicle, you will need to remove the dust cover on the transmission so you can gain access to the clutch cable and pressure plate. (normally it will be black and has one bolt that holds it on)
2. Using the pry bar, compress the pressure plate, by pushing the clutch fork back. Have someone press the pedal while you are looking at the cable if you don’t know what directions it needs to go. But the pedal can’t be pressed when you are using the pry bar because the cable will already be tight if the pedal is pressed.
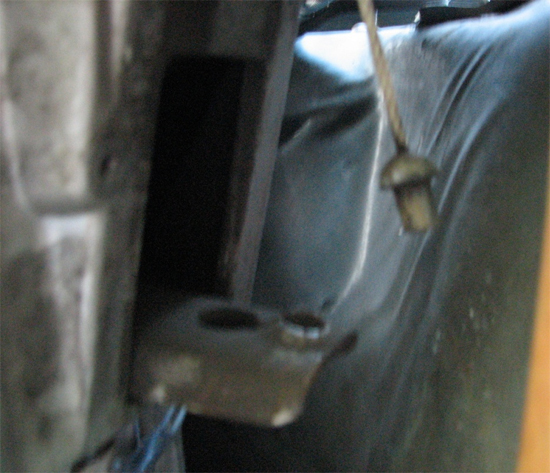
3. The quadrant is located above the pedal assembly, inside the car. The stock unit will be an off white plastic piece, as seen in the next picture. It is higher up and relatively close to the firewall where the clutch cable goes through (it wouldn’t hurt to pop your hood and take a look at where the cable enters the car from the firewall for a reference point). I performed the install on a 92 fox body and my quadrant had two retainer clips to pop off.
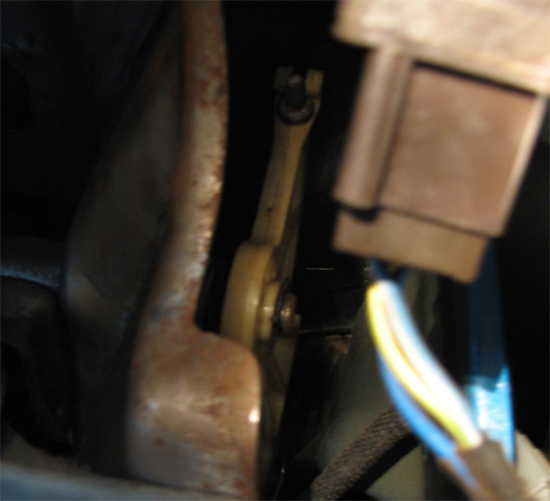
4. The other end of the cable is at the top of the quadrant as seen in this previous picture. It should be loose (after you’ve removed the cable from clutch fork) so just move it off of the end of the quadrant.
5. Now pull the clips out from the quadrant. Don’t worry too much about the rear clip because you won’t need that one anymore but the other one is still going to be needed (the clips are shown in the picture below).
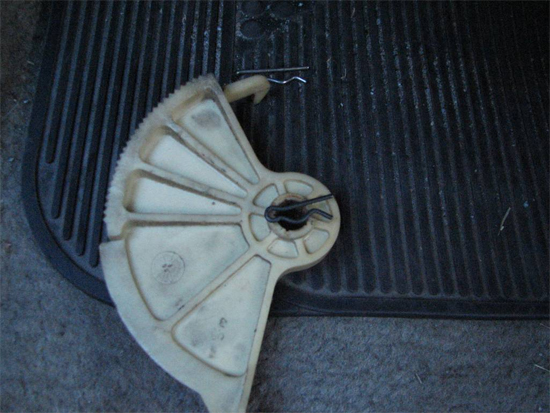
6. Now, you have to play with the pawl on the back where the quadrant was. It is pretty difficult to get off so don’t be afraid to get a little rough with it. The pawl also comes equipped with a not so friendly spring. Neither of these pieces will be used again so try prying it to the left with a screw driver and it will eventually release and you will be able to remove them. In the next picture the quadrant is already removed and the pawl is exposed.
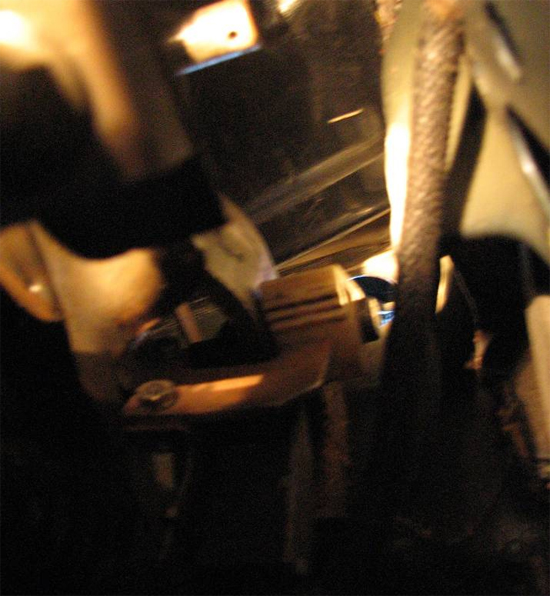
7. Now after all the old pieces have been removed, it is time to put the new quadrant on. The quadrant comes with some washers/spacers to be used with it.
8. Instead of multiple washers, mine just came with one longer cylindrical metal spacer that you slide up there first.
9. Next, you slide the big plastic washer on.
10. Now install the quadrant itself.
11. Make sure everything moves properly, and then insert the retainer clip back through the hole you removed it from.
12. Then you need to put the end of the cable on the new quadrant. My quadrant had two hooks but choose which one you think you need. I had a bunch of adjustable parts, so I used the second hook in the middle of the quadrant.
13. After you hook the cable back to your new quadrant, it’s time to do what you did before with the pry bar and put the cable back to its original location.
14. Once the cable is in place, put the dust cover back and lower your car back down if you put it up earlier.
15. Before you start the car up and try to drive around push the clutch pedal and test it out and make sure everything feels right and you can move it into gear fairly easy. It is best if you get a firewall adapter because it makes it quite a bit easier to adjust your cable and comes in handy.
16. Now drive the car around and get a feel for the new quadrant making adjustments as needed.
Installation instructions provided by AmericanMuscle customer Zack Poczontek 9.23.10

