Top Sellers in Challenger
How to Install a Bullitt Fuel Door for 1994-2004 Mustang
Installation Time
15 minutes
Tools Required
- Screwdriver with a torx bit
- Allen wrenches (9/32)
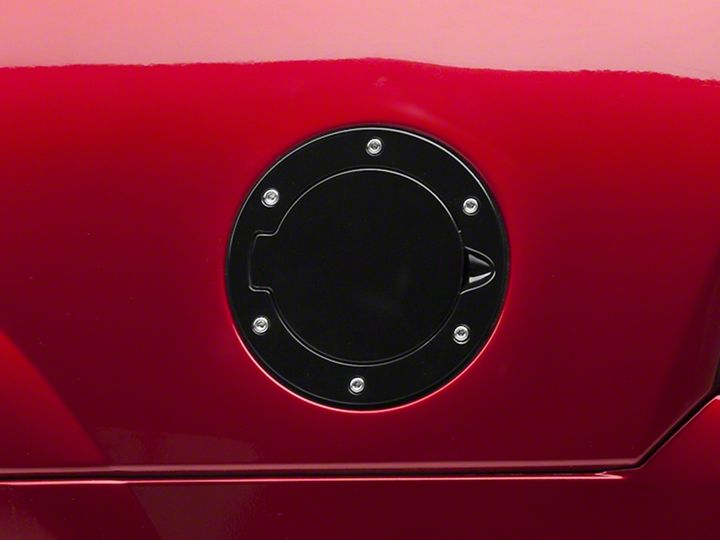
Shop Parts in this Guide
Installation
Stage 1: Remove stock fuel door
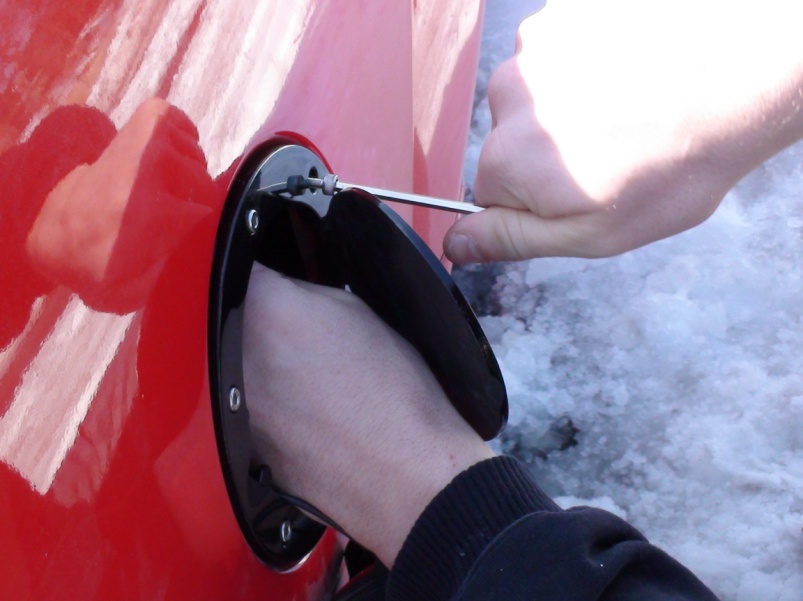
The stock fuel door is held on by two screws and two separate rubber stoppers. The screws that hold the door on are located at the two and four o’clock position while the rubber stoppers are at the eleven and seven o’clock position. Each of these are removed by your screw driver with a torx bit.
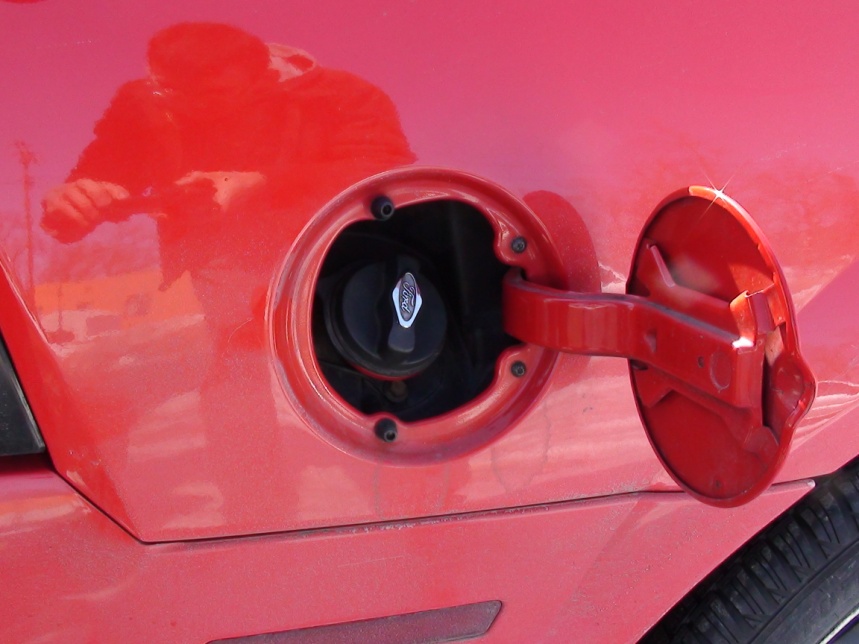
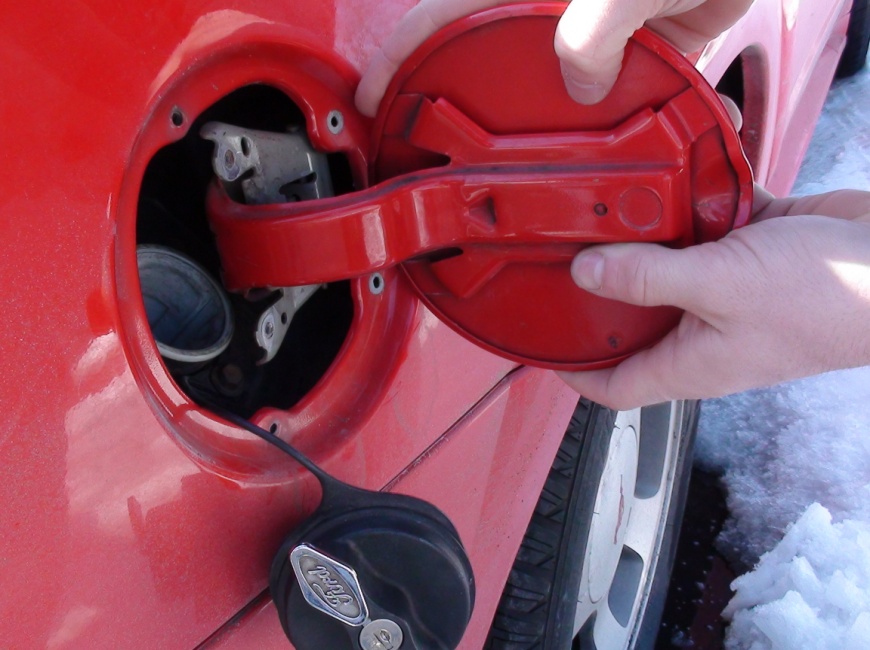
When removing the two screws holding the stock door on, make sure to hold the fuel door as you remove the second screw to prevent the door from swinging and scratching the car. Also, remove the gas cap or there will not be enough room for the stock fuel door to be removed.
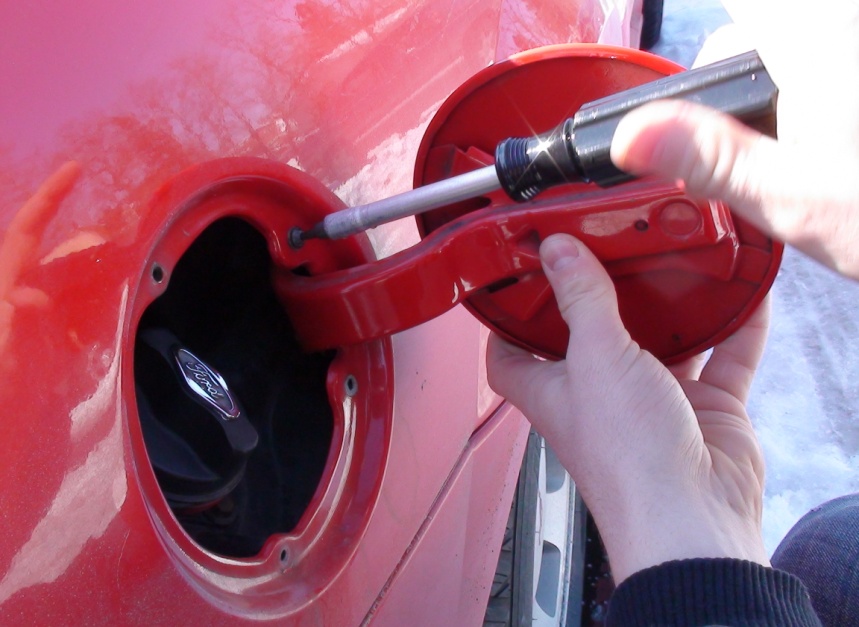

As you can see, the hinge the stock fuel door is connected too is very large and can be difficult removing with the gas cap still attached.
Stage 2: Preparing the new fuel door for installation.
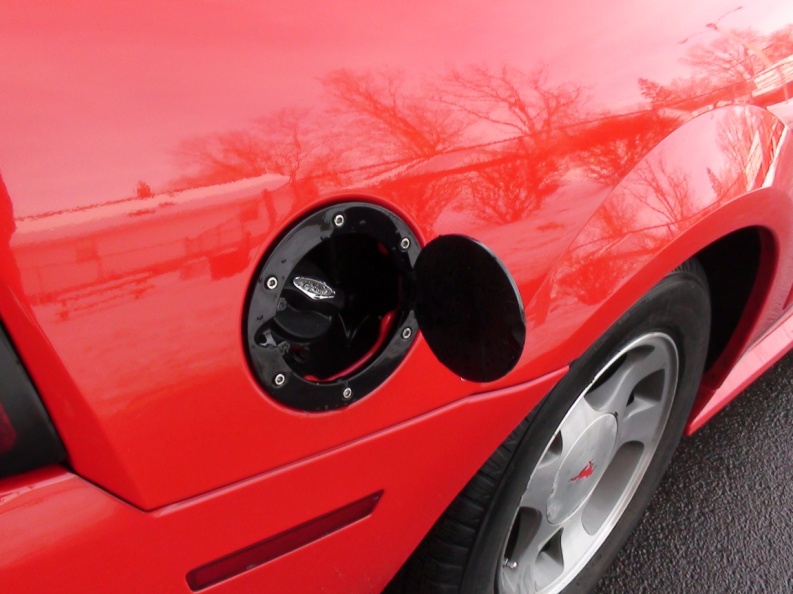
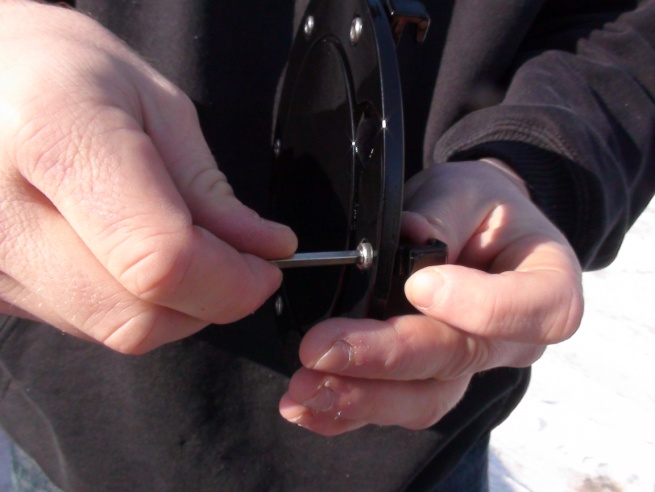
As you can see in the picture to the left, there are two black, square hooks on the left. In order to attach the fuel door, you must turn these so the hooks are facing out. Do so by using your Allen wrench to loosen the bolts on the front of the fuel door, spinning the hooks to the outside, and then tightening the front back up. When finished, the hooks should look like the picture bellow.
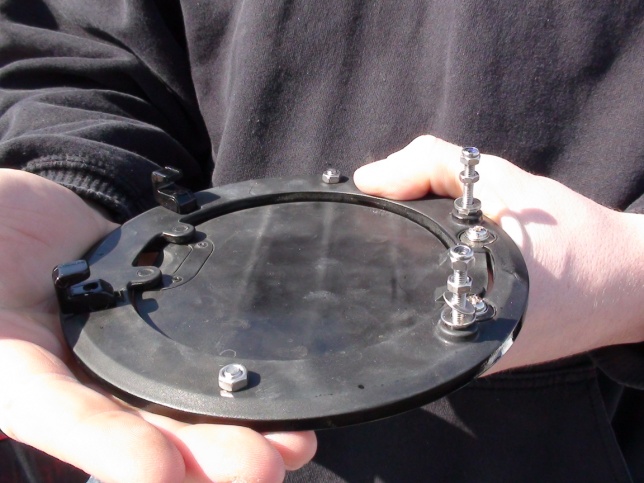
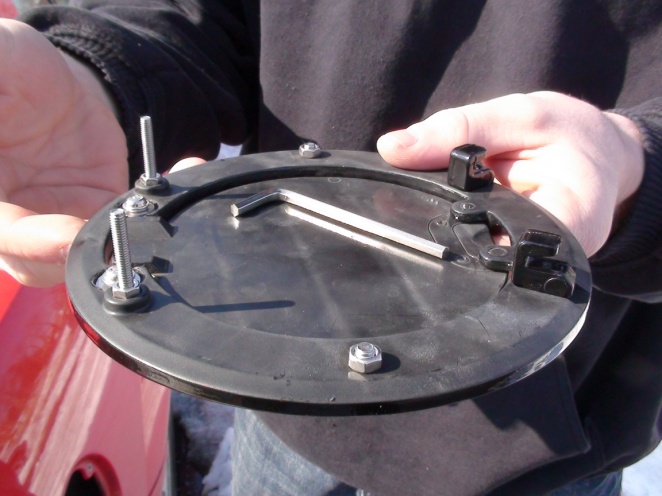
To the left, you can see there are a few nuts on the back of the fuel door. In order to properly attach the door, you must remove all of the nuts from the bolts. When clear, you are ready to begin attaching the fuel door to the car.
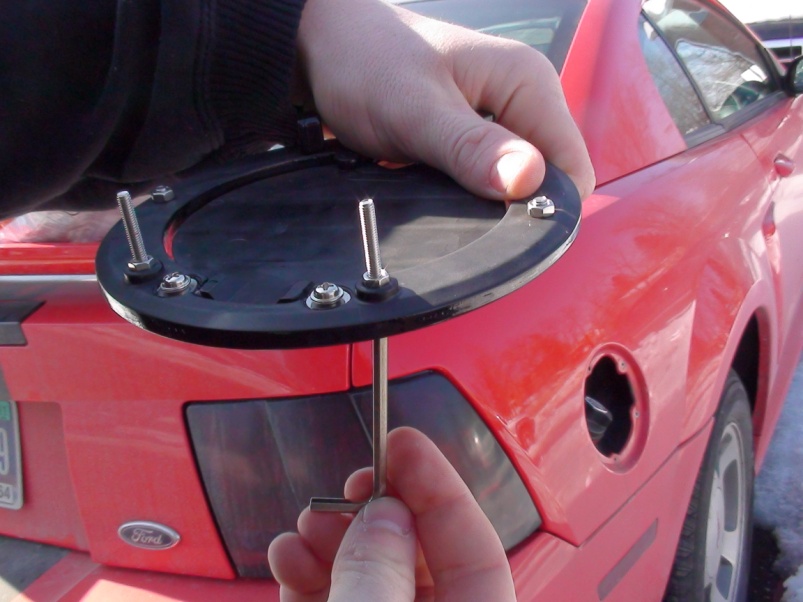

Stage 3: Attach the fuel door to your vehicle
Attach the hooks to the rim of the fuel door by sliding the hooks of the fuel door over the rim of the car. The hooks should hug the car firmly, but not tight enough to fight you.
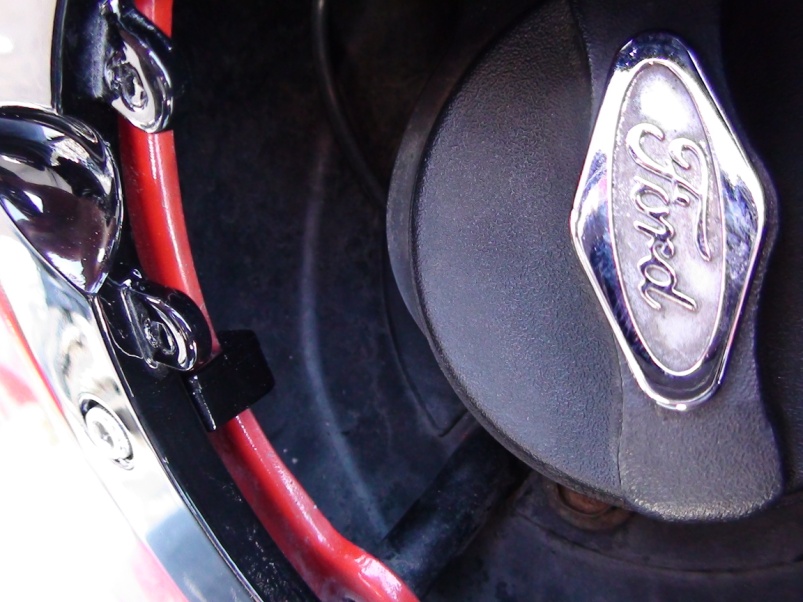
Once the hooks are in place, rotating the new fuel door while the rim is attached will not scratch the car. This is the best method for lining up the holes for the bolts rather than trying to line up the holes nearest the hinge of the door and attaching the hooks at the same time.
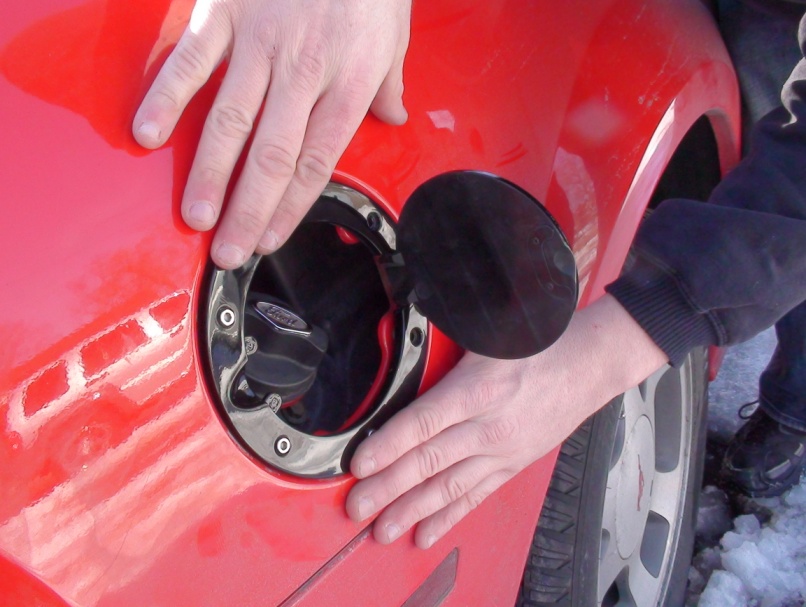
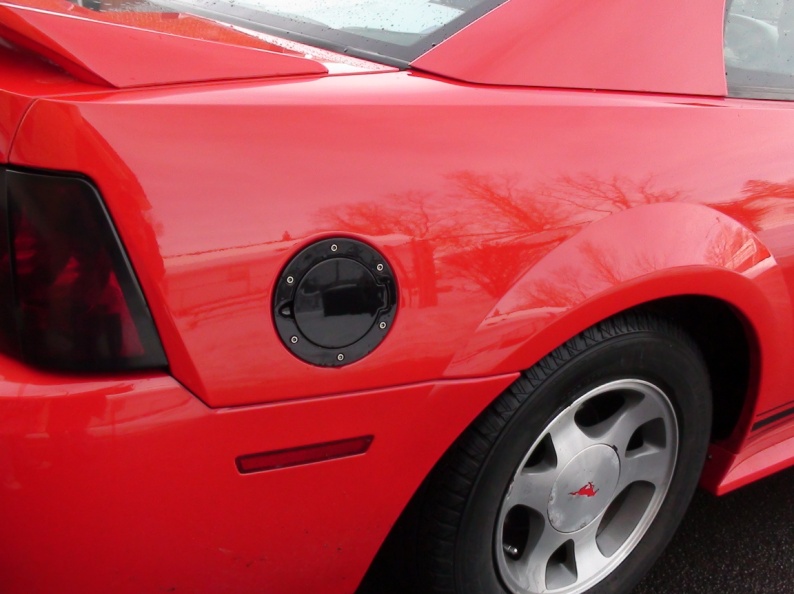
On the new fuel door, the holes for the bolts will line up with the holes in which the original stock fuel door attached itself too. Once lined up, insert the bolts and use the washers to attach the new fuel door to the car.
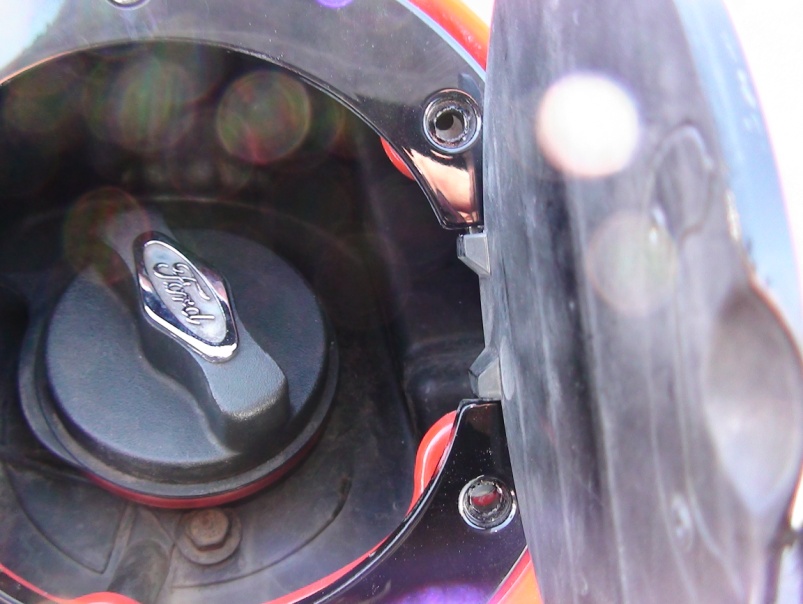
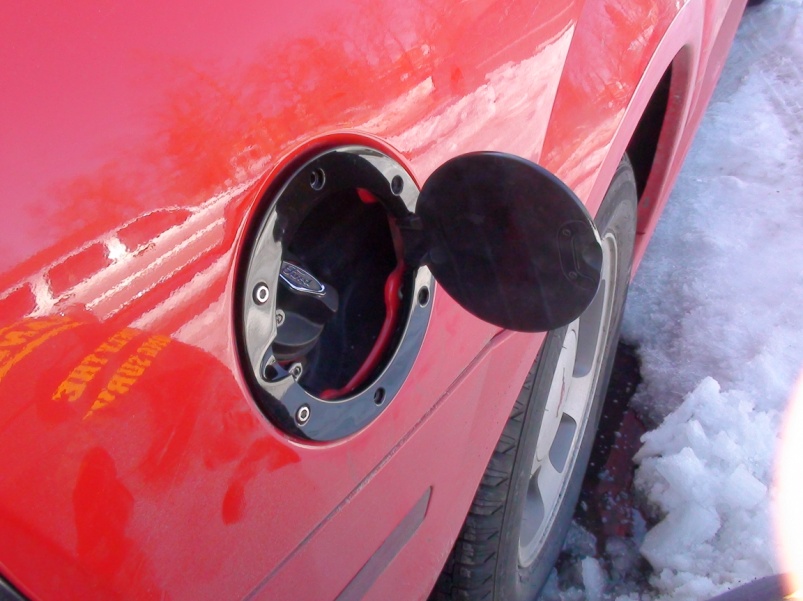
Use a socket wrench inside the fuel door compartment to hold the nut in place as you use an Allen wrench to tighten the bolts that hold the fuel door in place. As this part is the trickiest part of the installation, take great care when using the Allen wrench so you do not scratch the outside of your new fuel door. Be sure to tighten the fuel door as best as you can to make it lay flush with the rest of the car.
