
How to Install an Inner Front Tie Rod on your 1994-2004 Mustang
Installation Time
2 hours
Tools Required
- Floor Jack
- 1/2 Inch Ratchet
- 19mm Socket
- Hammer
- Torque Wrench
- Needlenose Pliers
- Flat Head Screwdriver
- Crescent Wrench
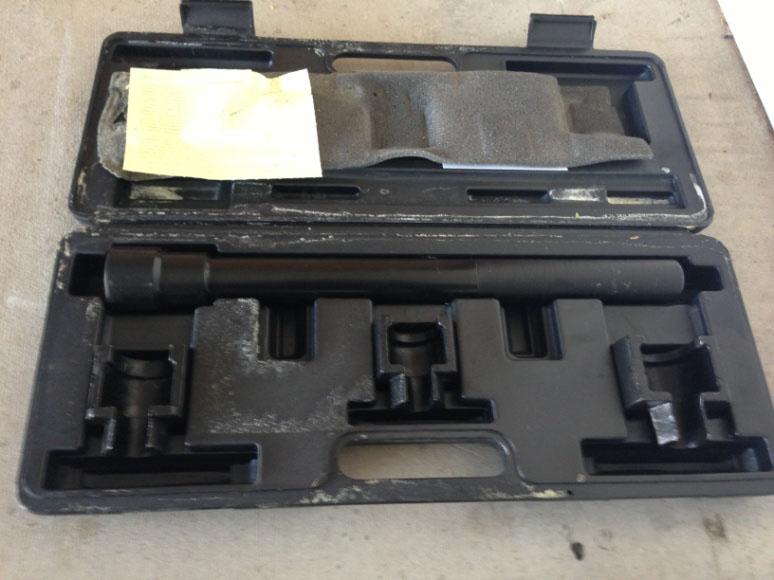
- Inner Tie Rod Tool (recommended)
- Vice Grips
- (2) Large Zip Ties
- (2) New Cotter Pins
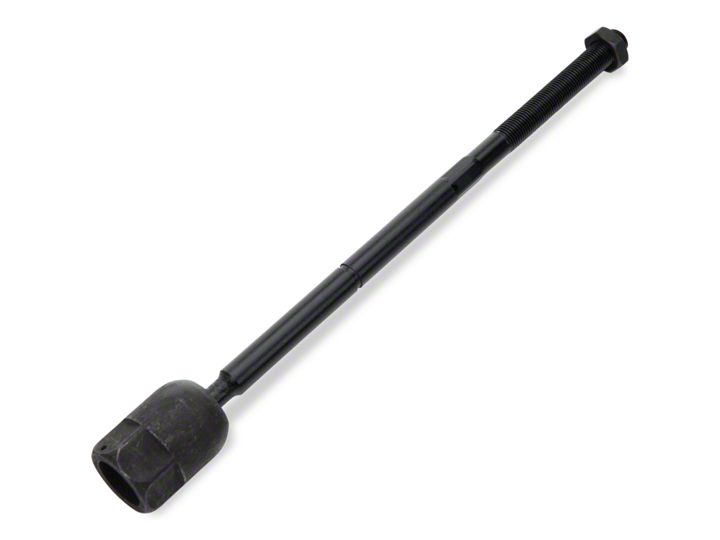
Shop Parts in this Guide
Tools Needed:
Floor jack
1/2 in Ratchet
19mm Socket
Hammer
Torque wrench
Needle nose pliers
Flat head screw driver
Crescent wrench
Inner tie rod tool (recommended)
Vice grips
(2) Large Zip ties
(2) New cotter pins
Note: You WILL need an alignment after this procedure!
Install Instructions:
1. Put car in gear (Park for automatics) and engage the emergency break.
2. Chock the rear wheels.
3. Loosen lug nuts while wheel is still on the ground.
4. Raise the wheel off the ground using floor jack and remove the wheel.
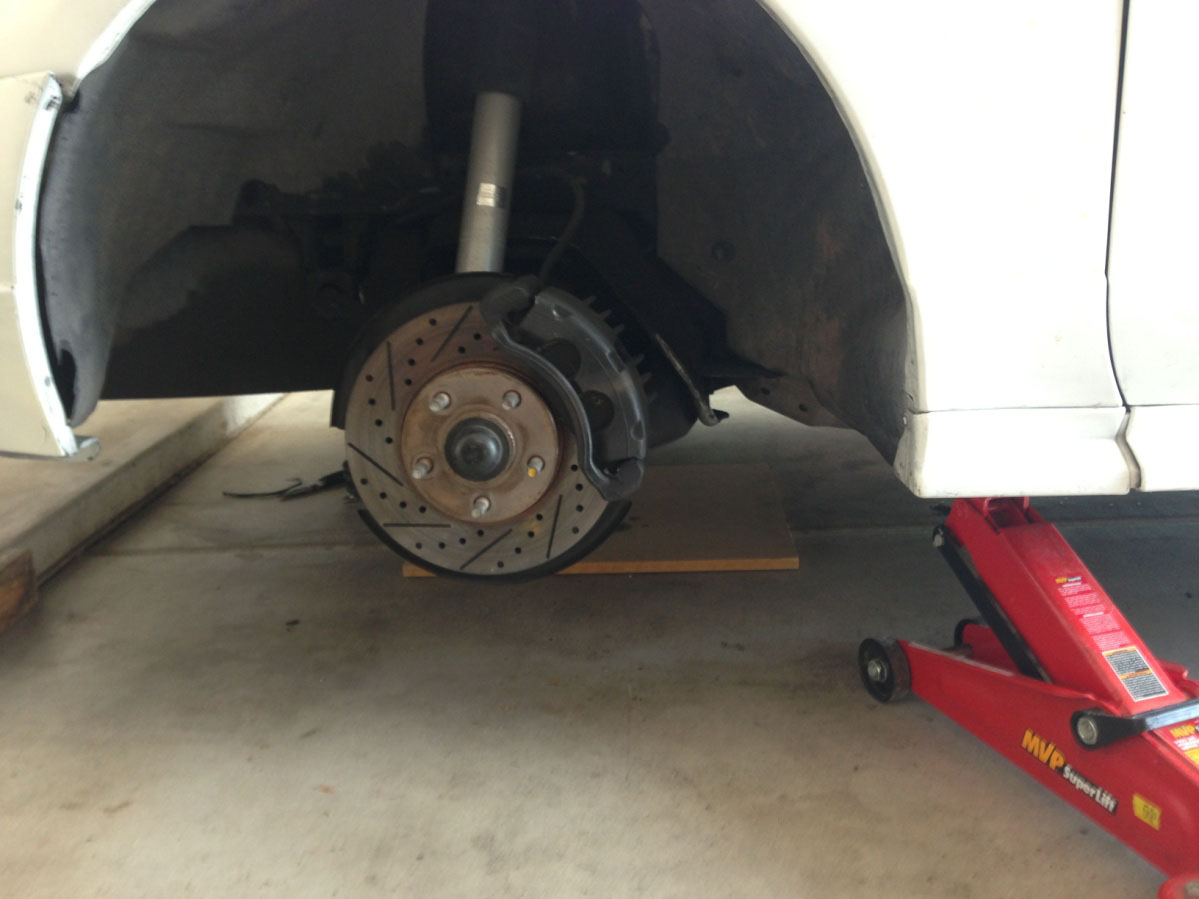
5. Behind the front of the rotor you will see the outer tie rod end with a castellated nut, remove the cotter pin with your needle nose pliers.
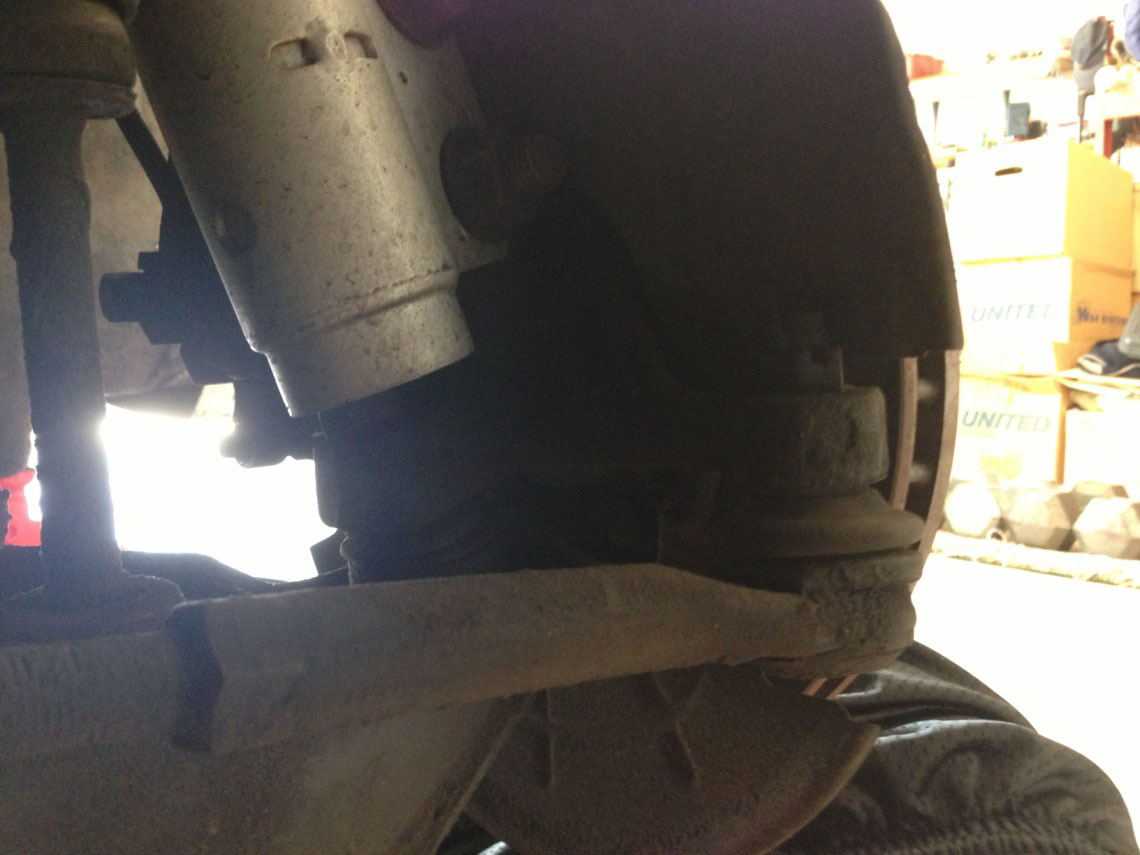
6. Use your 19mm socket and ratchet to remove the nut.
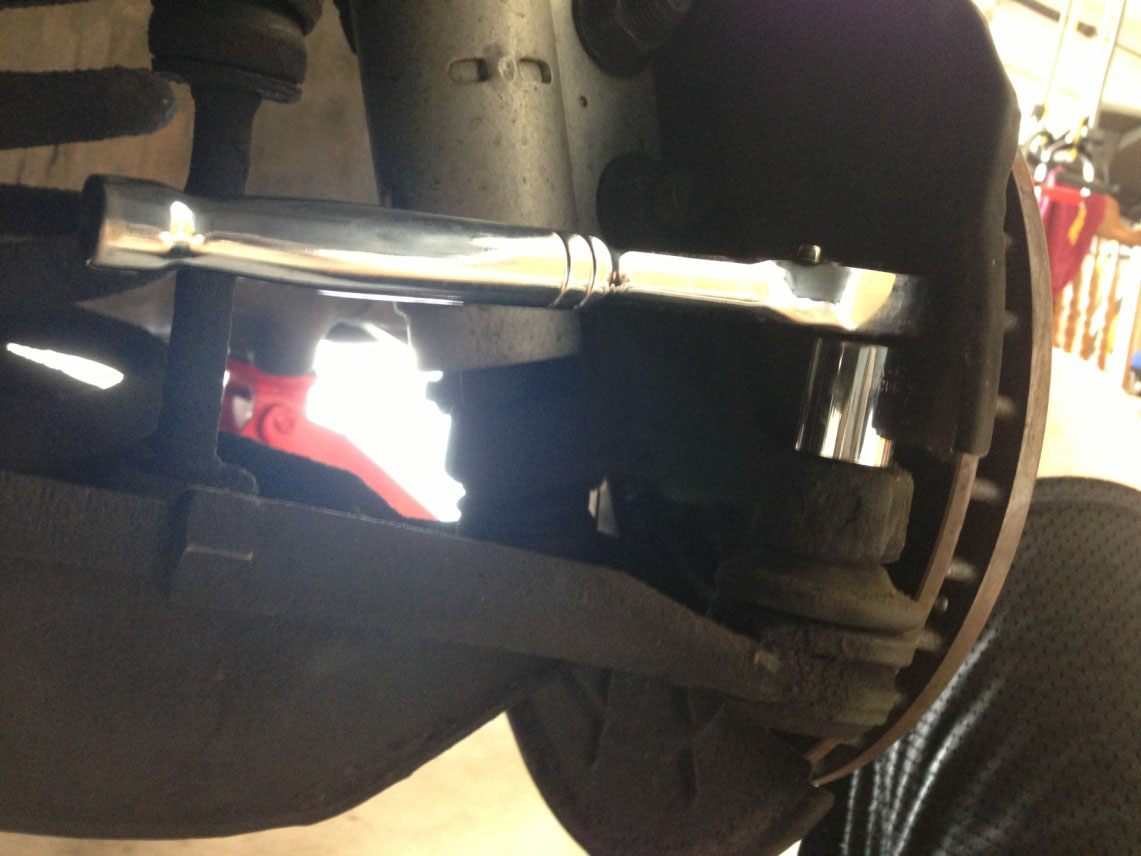
7. Use a crescent wrench or vice grips to loosen the nut holding the outer tie rod in place.
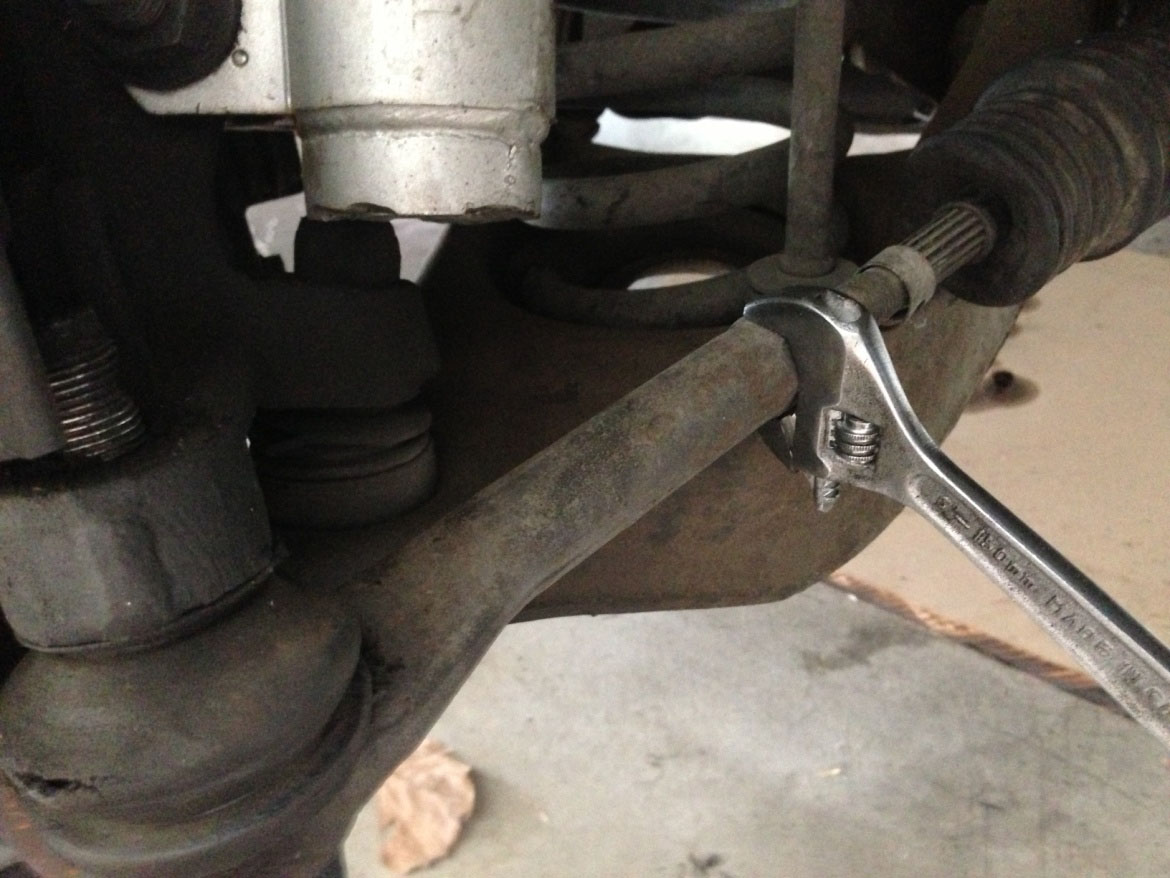
8. Now take a hammer and hit THE HOUSING holding the outer tie rod, DO NOT hit the tie rod itself or the threads because you can easily damage it. (This may take a few solid hits but it will fall out)
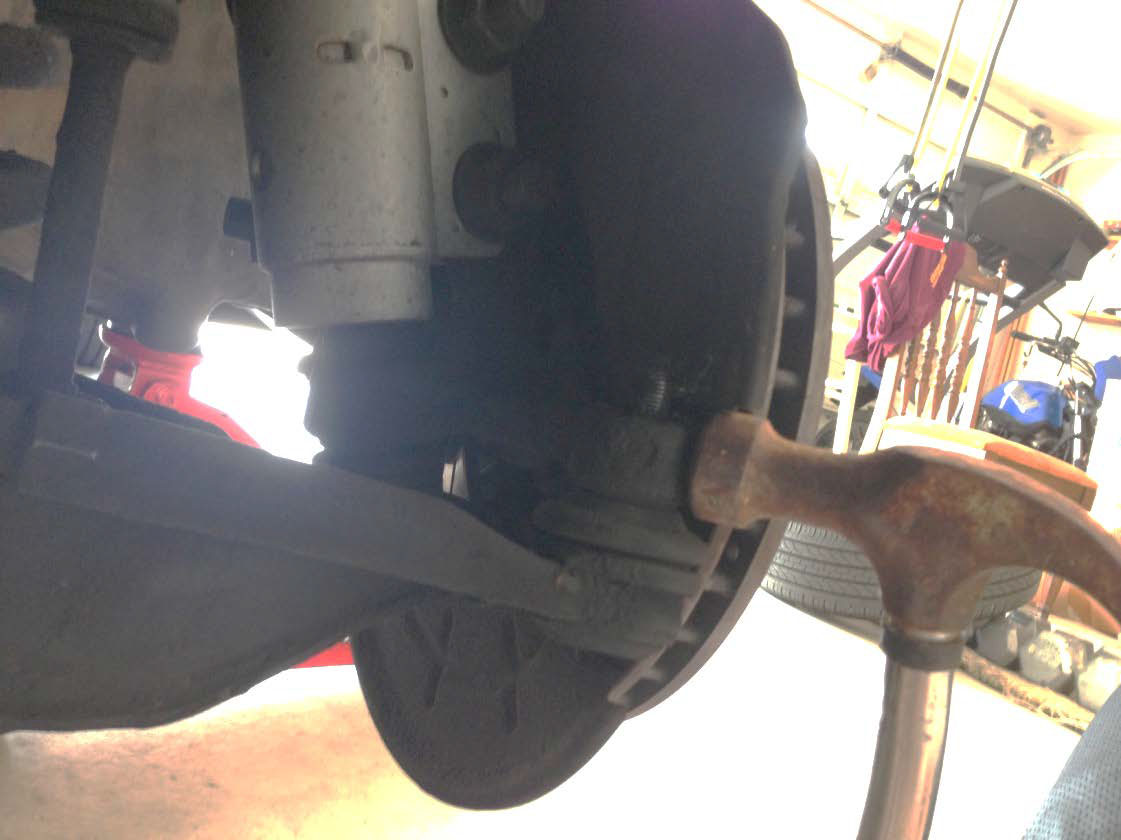
9. Now count the number of revolutions it takes to unscrew the outer tie rod off the inner tie rod and write it down. (This will give you a general measurement when you put this back together only to get you to the nearest alignment shop)
10. Remove the small clip from the inner tie rod boot using your pliers.
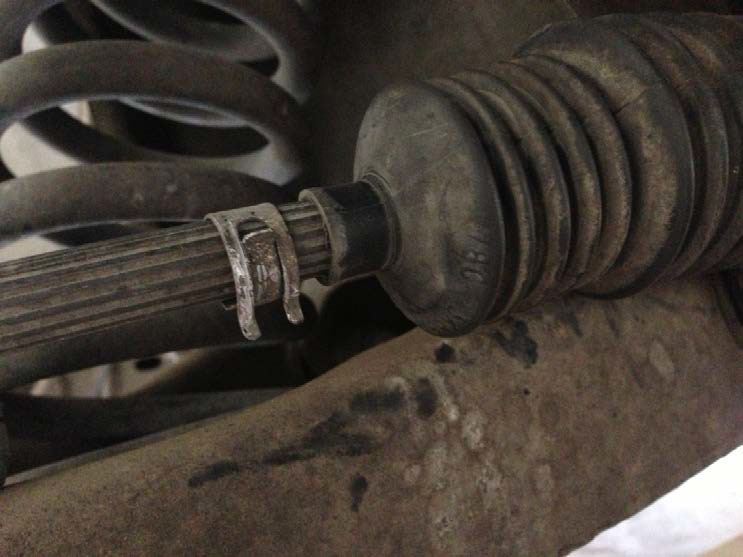
11. You can go ahead and break the large one closer to the rack because it’s not reusable once removed. (I used a mixture of a flat head screw driver and the needle nose pliers)
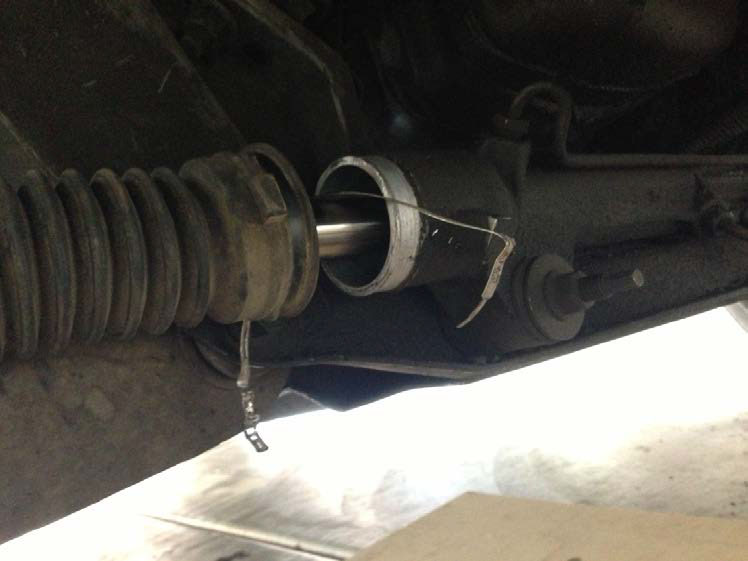
12. Remove the boot.
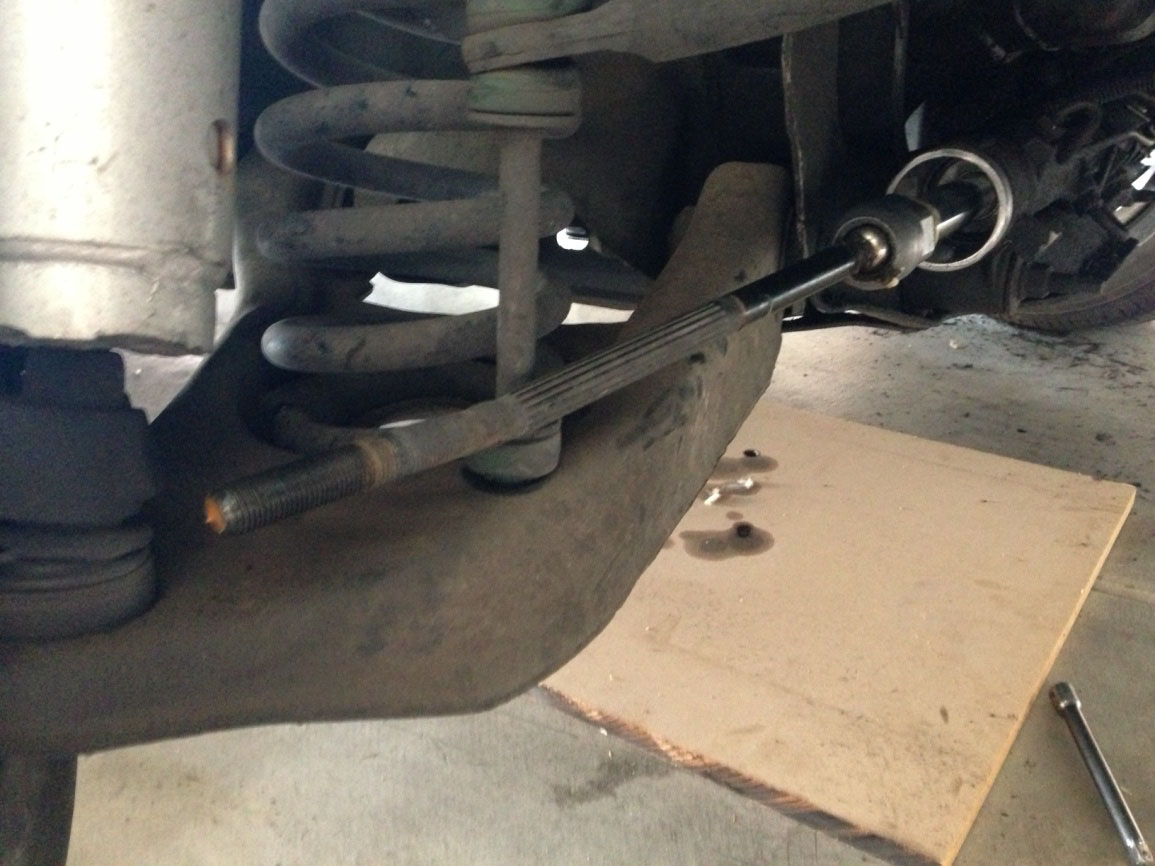
13. If you have an inner tie rod tool use it along with your 1/2 in ratchet to break loose the inner tie rod. You can also use a pair of large vise grips to do this if you don’t have the tool. (AutoZone or O’rielys rents this tool out)
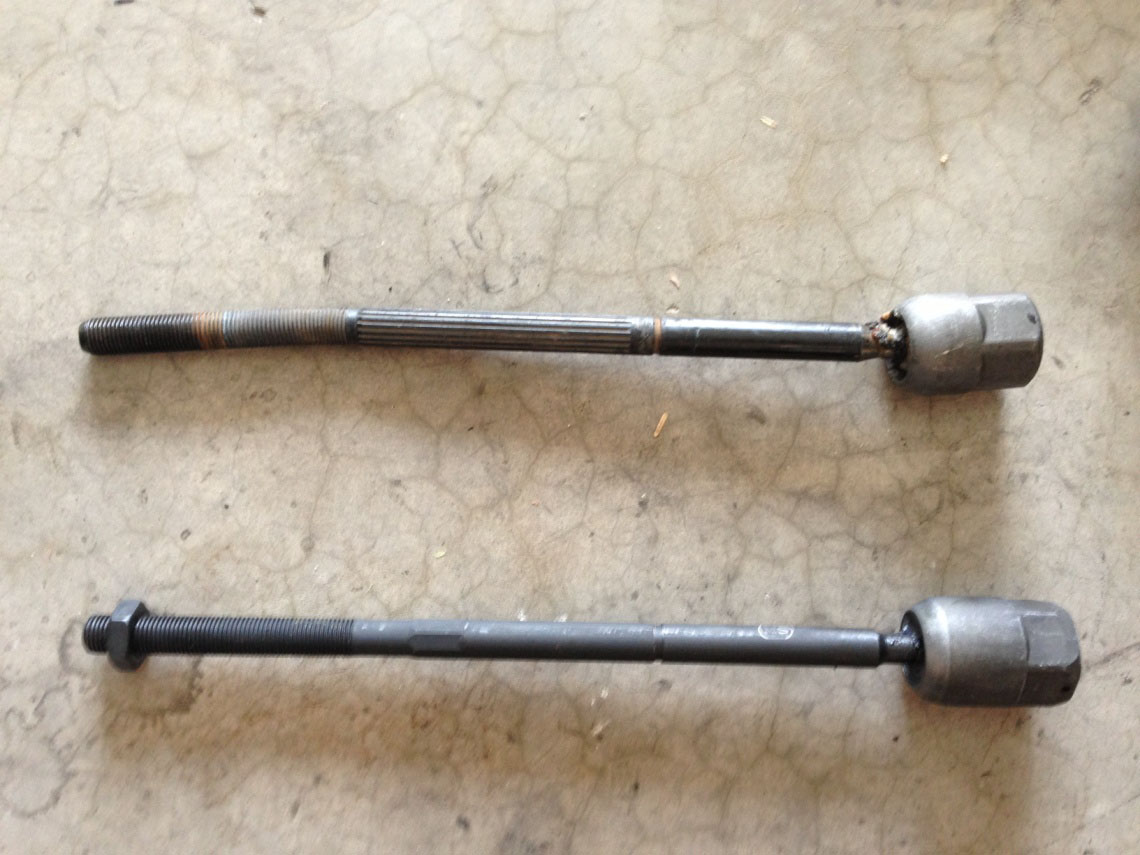
14. Install your new inner tie rod and torque to about 60ft/lbs.
15. Reinstall the inner tie rod boot and just use a large zip tie in place of the clamp you removed.
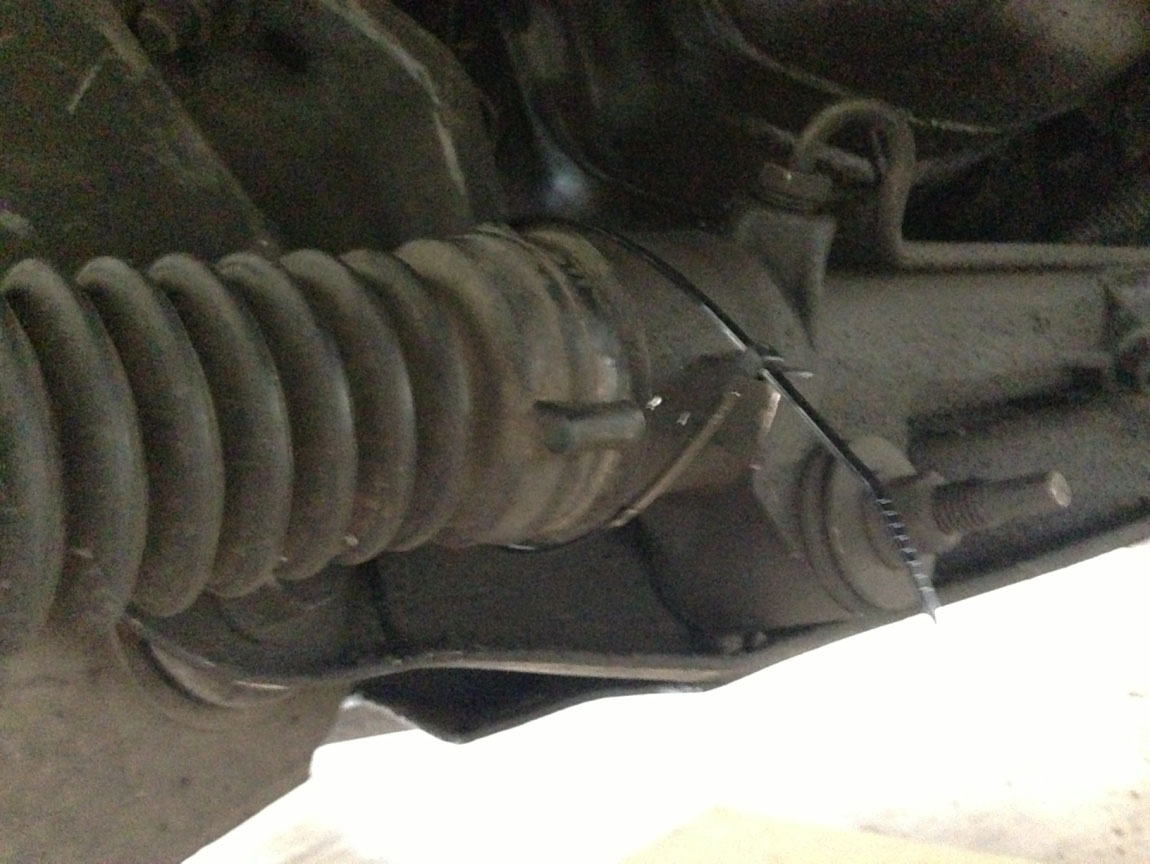
16. Recall that number you wrote down and reinstall the outer tie rod. (A new nut to lock the tie rod down should already be in place)
17. Put the tie rod back through its housing and reinstall your castellated nut to about 27ft/lbs
18. Put your new cotter pin back in.
19. Reinstall The Wheel and lower the car.
20. REPEAT ON THE OTHER SIDE and you’re done!
Reminder: After you have completed this job take your car directly to an alignment shop or you’ll be buying yourself some new tires soon as well.
Installation Instructions written by AmericanMuscle customer Isaiah Cook 9.18.13

