
How to Install a Replacment Front Outer Tie Rod End on your 2005-2014 Mustang
Installation Time
1 hours
Tools Required
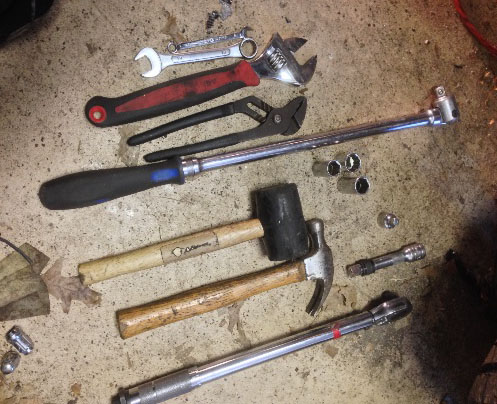
- 10mm & 18mm Open End Wrench
- 17mm, 18mm, 19mm Deep Sockets
- 3/8 Inch Ratch, 1/2 Inch Ratchet
- Multi-Adjustable Wrench
- Grip Pliers
- Rubber Mallet & Hammer
- Extensions and Breaker Bar
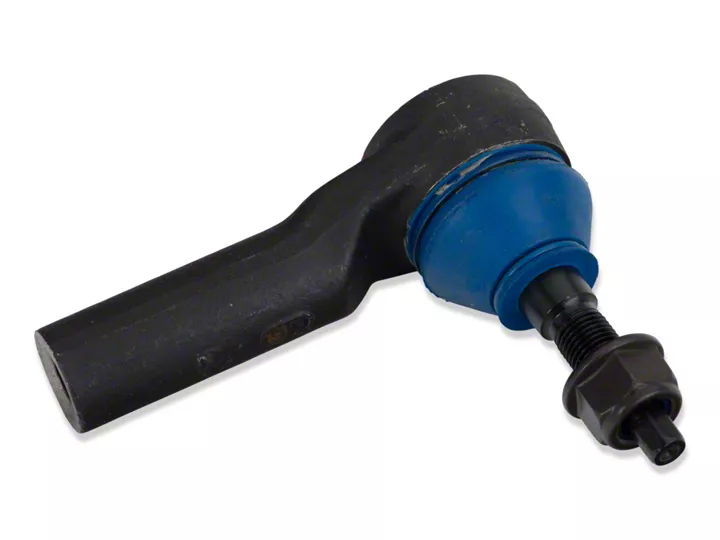
Shop Parts in this Guide
Install Time: 2-3 Hours
Tools Needed:
1. 10mm & 18mm open end wrench
2. 17mm, 18mm, 19mm deep sockets
3. ⅜ Ratchet, ½ ratchet
4. Multi adjustable Wrench
5. Grip Pliers
6. Rubber Mallet & Hammer
7. Extensions and Breaker Bar
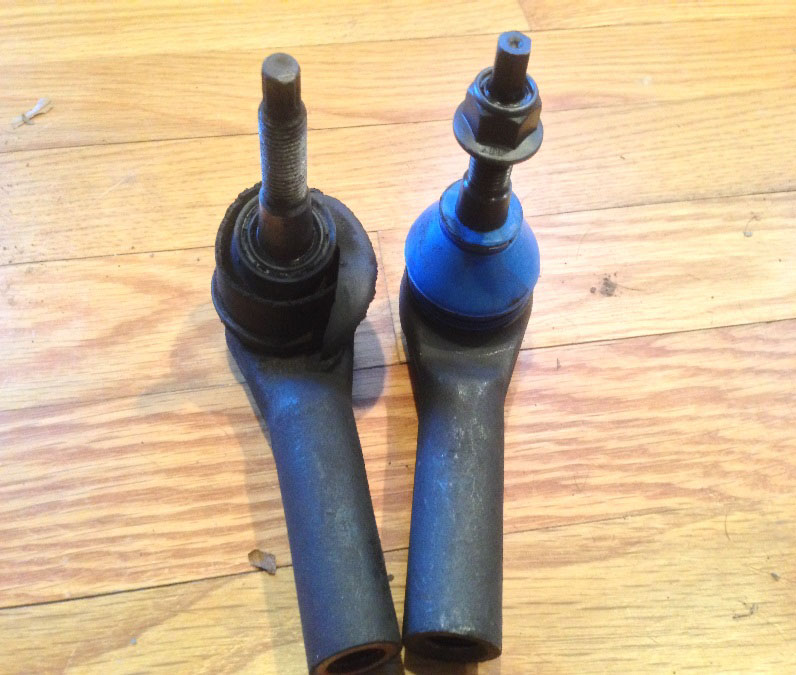
1. Jack your car up securely. Double check, then check again! Remove the wheels. You will notice the new outer tie rod end seems like the boot is higher. It is. Once its install it will compress. The old one as you can see here is tore up! Good thing I am replacing them!
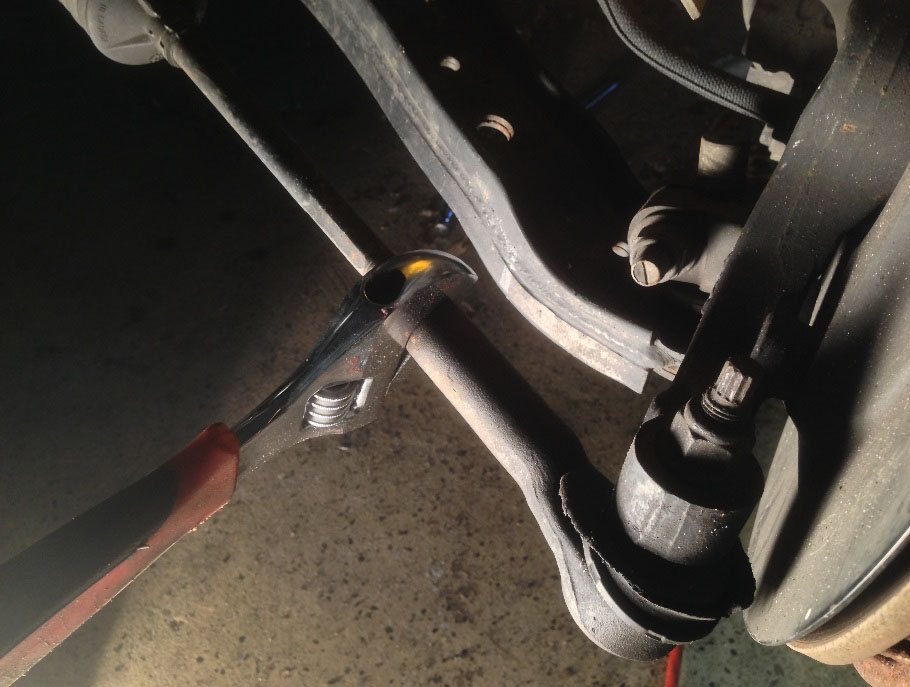
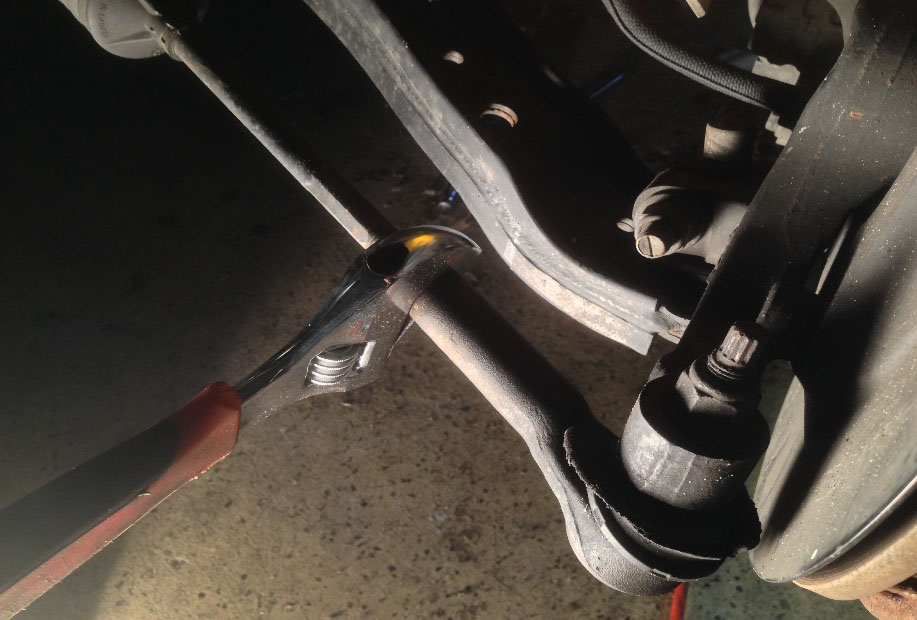
2. Now take your 18mm socket and remove the retaining nut on the tie rod end. See picture (A). If your nut is spinning with the tie rod which is cause by more excessive wear than I had you will have to lock the tire rod in place using a 10mm open end wrench. See picture (B).
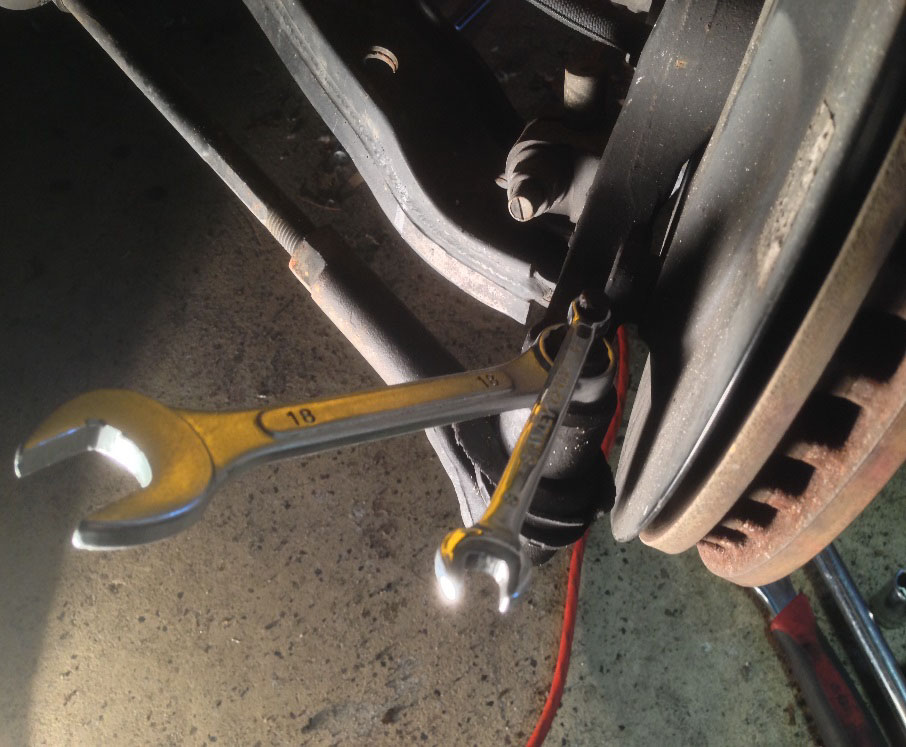
Picture (B)
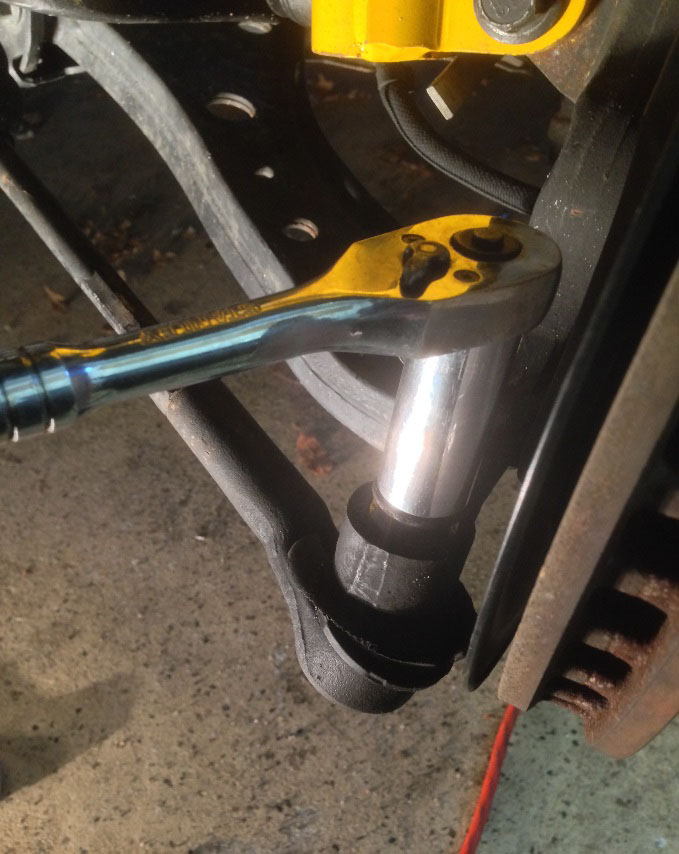
Picture (A)
3. Now use an open end wrench to loosen the jam nut. This thing is on there tough. Use some liquid wrench or WD40 and let it soak for 30-60 minutes of indeed you cant remove it. I used a rubber mallet and tapped the open end wrench. **NOTE** Once the jam nut is free. DO NOT attempt to turn the jam nut seperate from the arm! If you do this you WILL need an alignement. Since the jam nut and arm move together just turning 360 degrees (one full turn) will allow you to save money on an alignment.
4. Now with the retaining nut removed, use the rubber mallet to hammer out the tie rod end. In severe cases you will need to use a regular steel hammer. Dont worry, it will come out no problem. 2-3 good hits on the center of the head will send it right through.
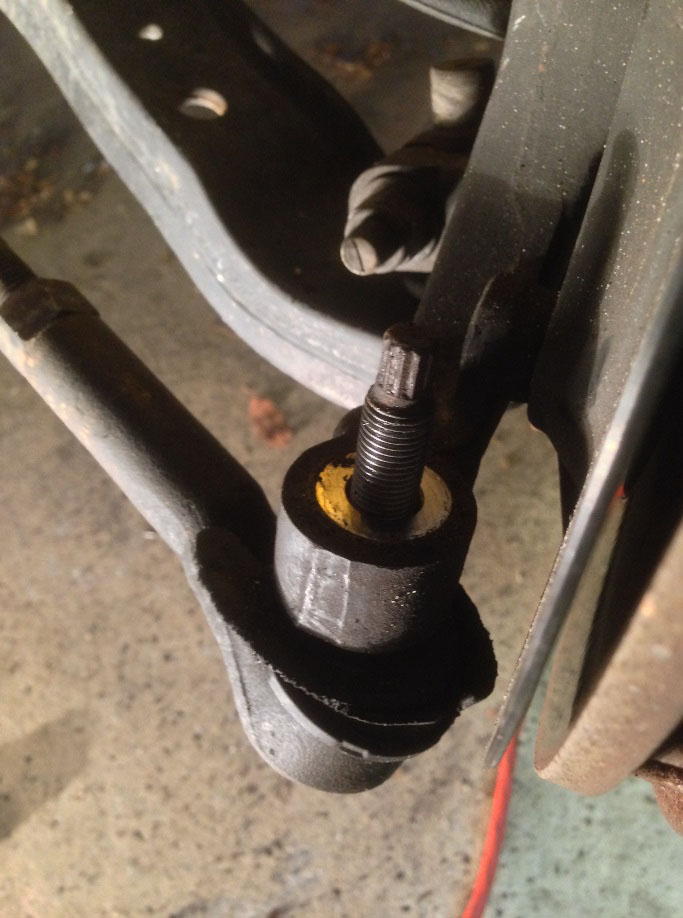
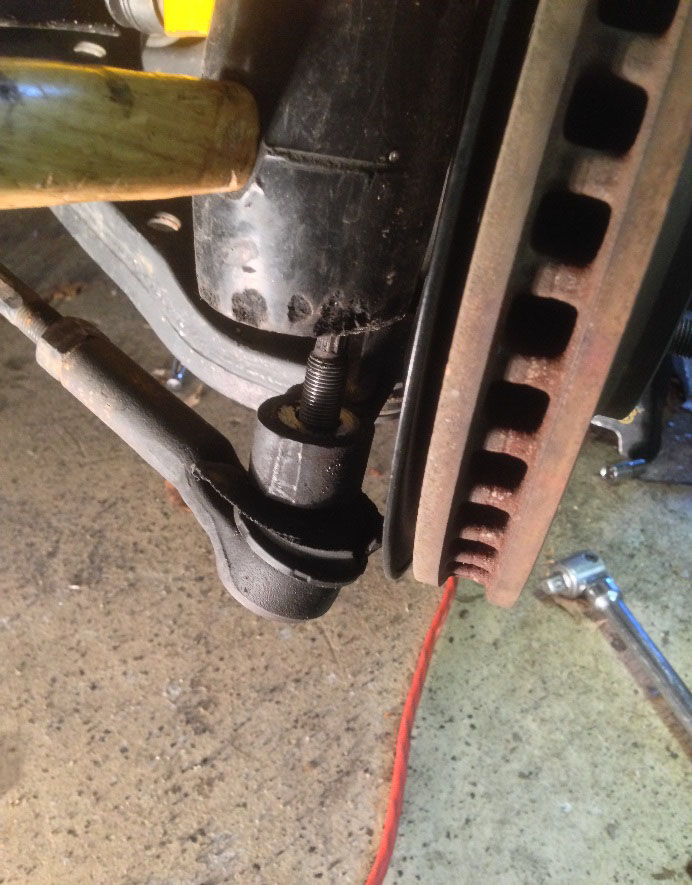
5. Now that the tie rod arm is free. You can easily turn the tie rod end counter clockwise by hand since you unlocked the jam nut earlier. The tie rod arm is in the exact same position as your previous alignment so nothing as been changed.
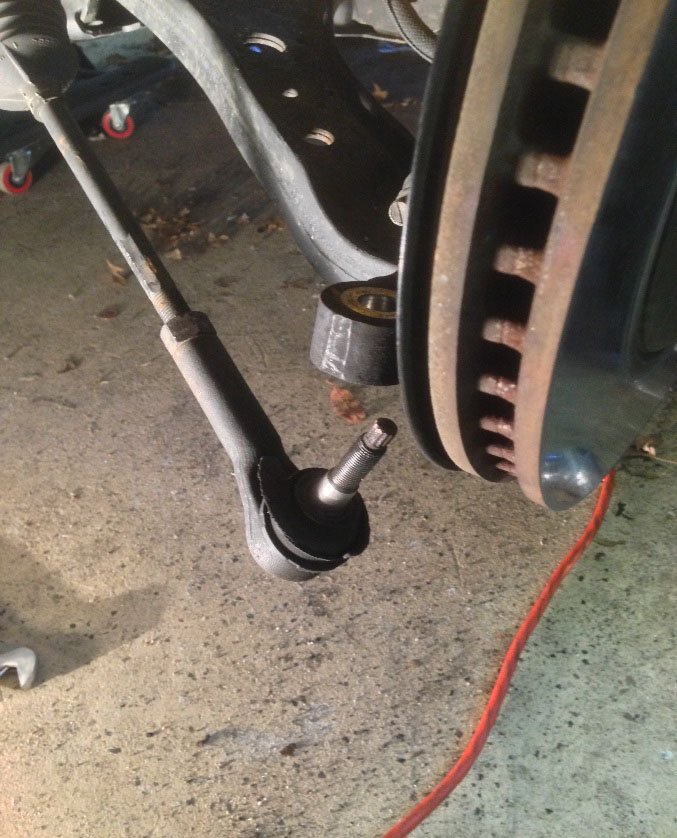
6. Now install the new tie rod end. Turning clockwise. Make sure to get it into the same position as the old one was. This can easily be achieved by being able to turn the jam nut & arm at the same time one full turn (360 degrees). If you get more than one full turn then turn the tie rod end another turn clockwise. You can only go in full turn increments since the tie rod end faces up. It shouldn't take long to get this done. Once its hand tight move to the next step. **Do not attempt to tighten the jam nut until the tie rod end is connected!**
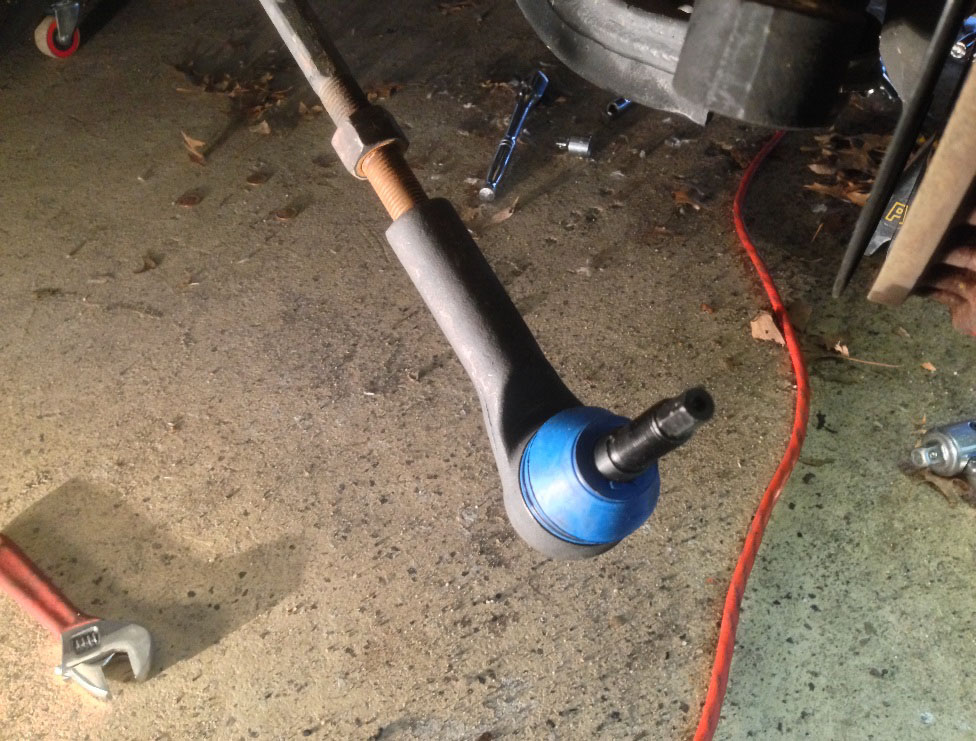
7. Now insert the new tie rod end. Use the rubber mallet to tap & press it into place.
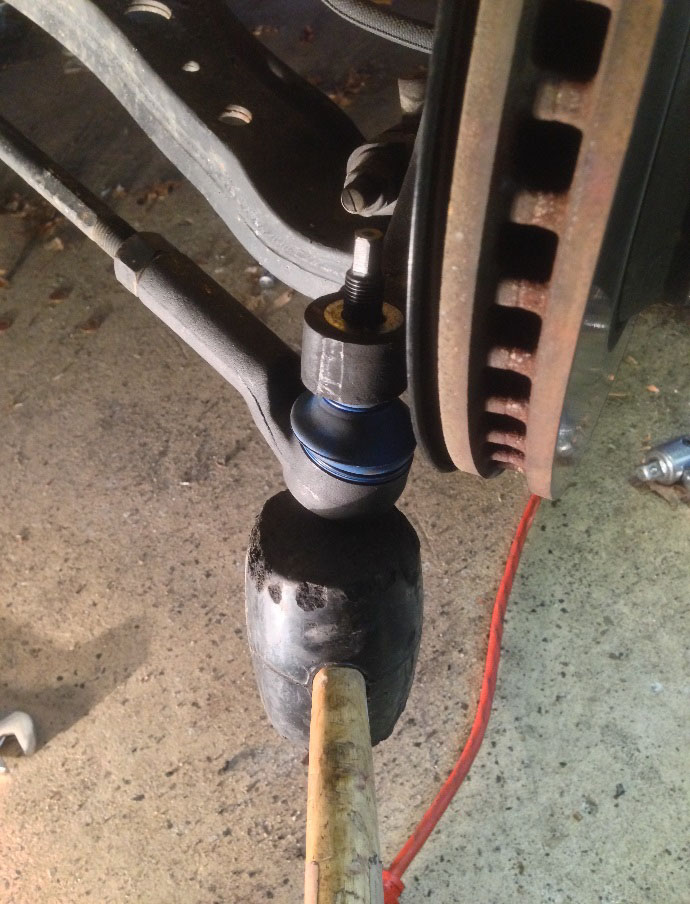
8. Now use your 17mm socket and wrench to install the retaining nut onto the tie rod arm bolt.
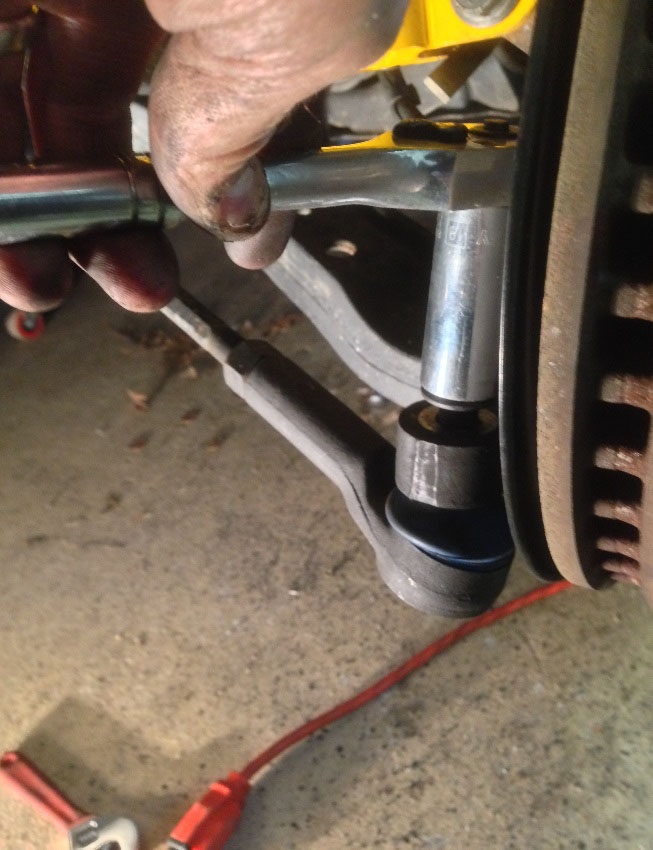
9. Now put your 17mm socket onto your torque wrench and tighten & torque to 59 ft lbs.
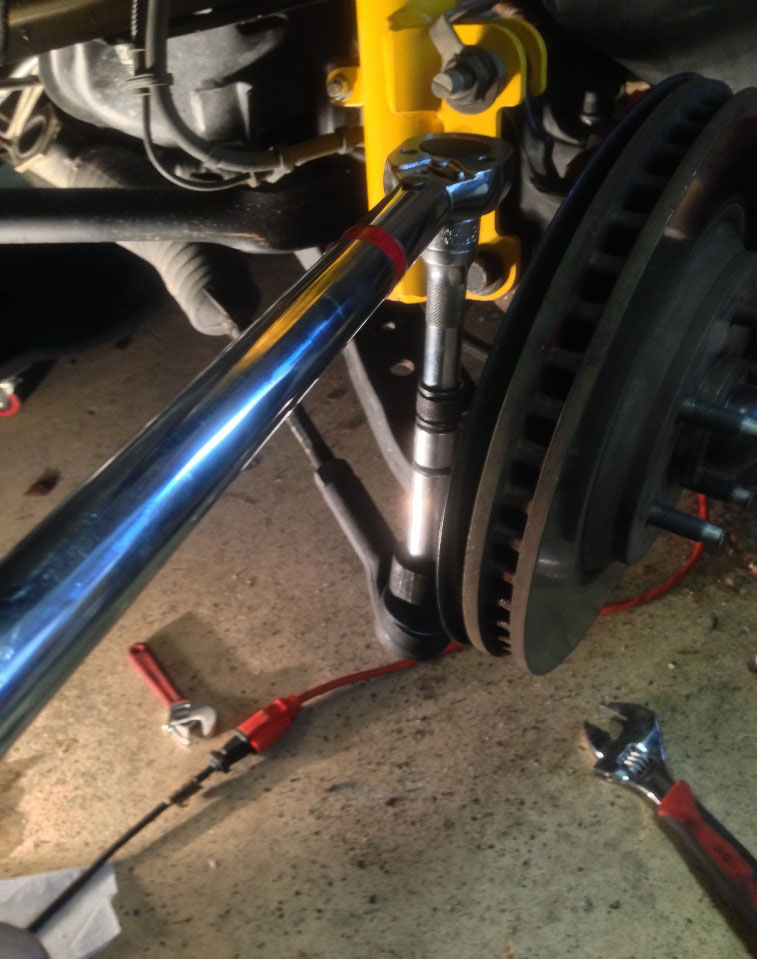
10. Now tighten the jam nut. Reinstall wheels, and lower vehicle safely. If done correctly alignment should still be spot on. I was getting an alignment anyway so I took mine in. **I recommend getting your alignment checked, and adjusted if needed as incorrect toe will destroy your tires.** There is a misconception that camber destroys tires, when in fact toe is 75% or more responsible. Get your alignment checked!
11. Your done! Enjoy your new tie rod ends and no more clunk or sloppy steering!
Installation Instructions Written By American Muscle Customer Corey Benoit 4.22.2014

