
How to Install Pre-Painted Quarter Window Louvers on Your 2005-2009 Mustang
Installation
1. Once you receive your louvers, take them out of the box and inspect them for damage and make sure the paint matches your car. Also, make sure your louvers came with the supplies to mount them to your car. No additional tools are needed for this install.
- (8) strips of 3M tape – precut to fit
- (2) packs of adhesive promoters
- (4) alcohol prep pads
- (2) Quarter Window Louvers
- Instruction Booklet
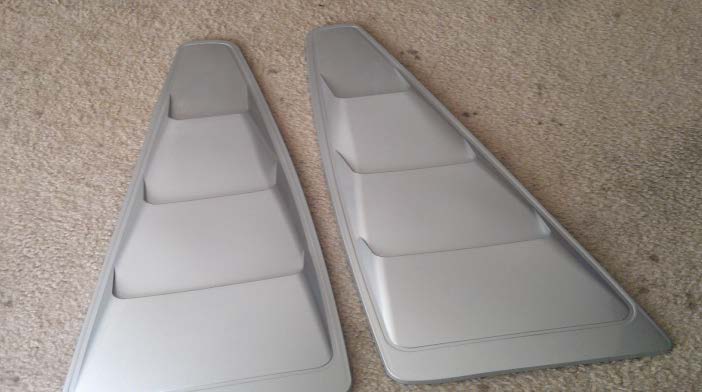
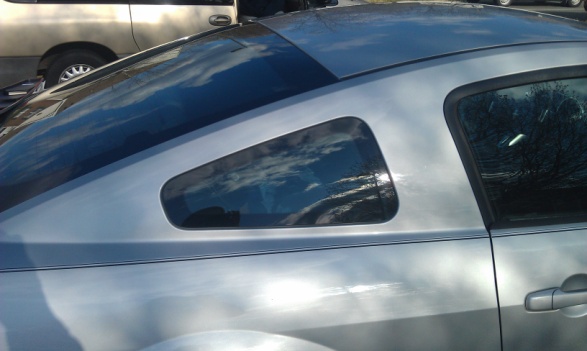
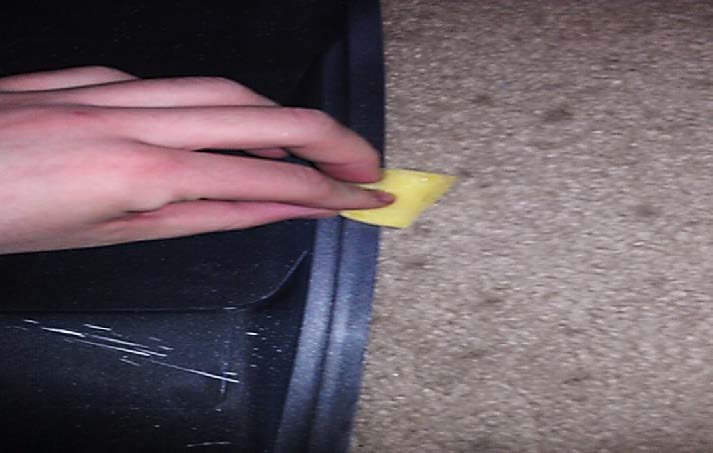
2. Once you have done that, take an adhesive promoter and wipe down the edges where the 3M tape will be applied. Make sure you wipe it good to get any particles off that would prevent the 3M tape from bonding with the louver.
3. Next you will need to apply the 3M tape to the louver. The 3M tape is precut to fit the louver so it should be pretty straight forward to see where each should be attached.
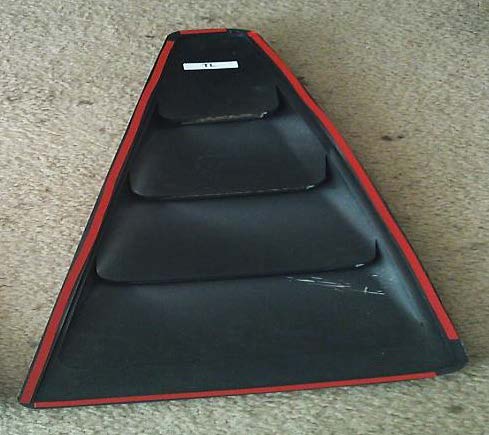
4. Give the 3M tape time to adhere to the louver. The adhesive promoter pack says to keep the temperature between 60-80 degrees Fahrenheit for the best bond.
5. Now you need to prep the car for the louvers. Take an alcohol prep pad and wipe down the area where the 3M tape will stick to the car. It is important once again to get all the dirt particles off to ensure a good bond between the louver and the car.
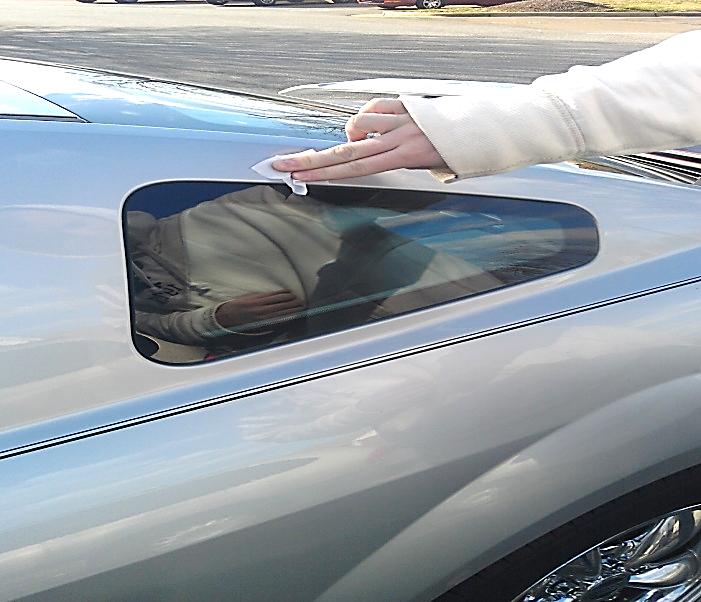
6. Now you’re ready to mount the louver to the car. Peel back the red adhesive tape off the louver and place it in its desired location.
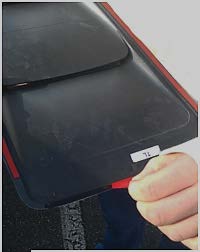
7. Once you have it in its desired location, firmly press against the louver to ensure a good bond between the louver and the car. The instructions didn’t specify the amount of time you need to leave the car parked before driving it. After some online research, I found it most common to leave the car parked for about 24 hours to ensure the best bond.
8. ENJOY!!!
Installation Instructions written by AmericanMuscle customer Robert Hickey 4.4.12

