
How to Install a Digital Window Switch on Your 1979-2013 Mustang
Installation Time
1 hours
Tools Required
- Wire Crimping Tool
- T-taps
- Electrical Connectors
- 16g Electrical Wire
- 4 Small Self Tapping Screws
- Electrical Tape (Optional)
- ire Cloths Hanger (Optional)
- Zip ties (Optional)
- Wire Cover/loom (optional)
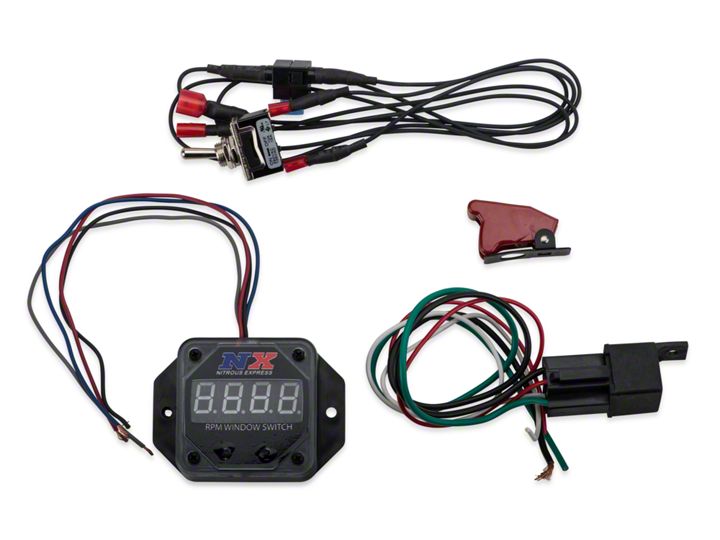
Shop Parts in this Guide
Installation
When you order a NX 18959 Window Switch, you will receive an MSD 8969 window switch. MSD now supplies NX with their window switches.
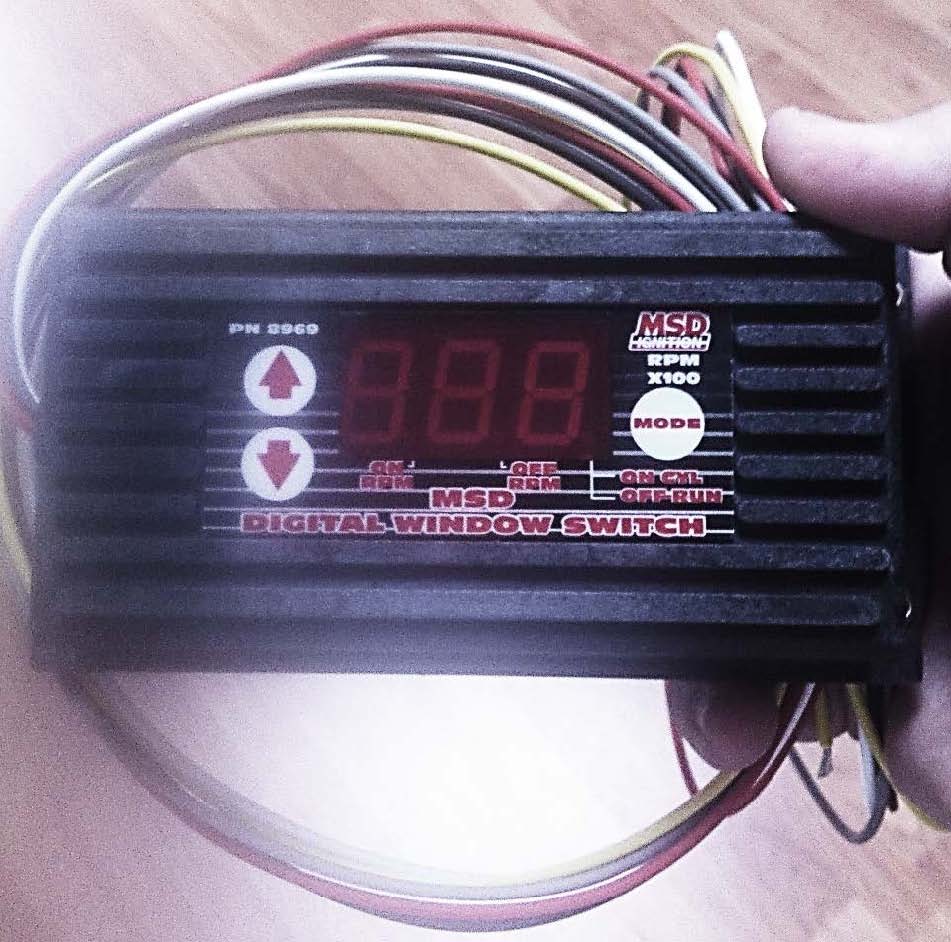
Installation Instructions:
1. Find a suitable location for your control box. I chose to install mine in my glove box. Use four small self tapping screws in order to hold it in the location you choose.
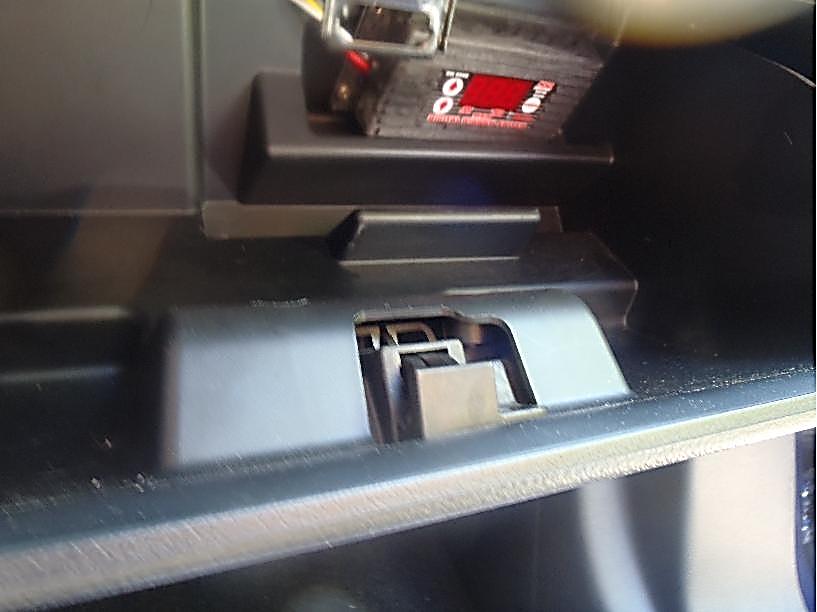
2. Disconnect your negative power cable from your vehicle to prevent being shocked by accident.
3. Route the wires from the glove box into the engine bay. You can use a wire hanger in order to pull up the wires. You do not need the gray (closed circuit) wire. You can cut it off or wrap it around so it’s not hanging in the engine/glove box.
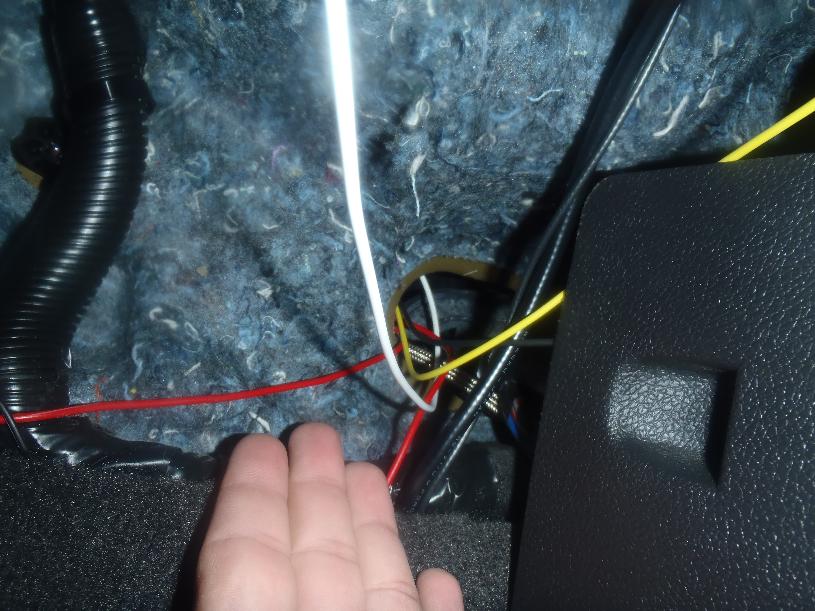
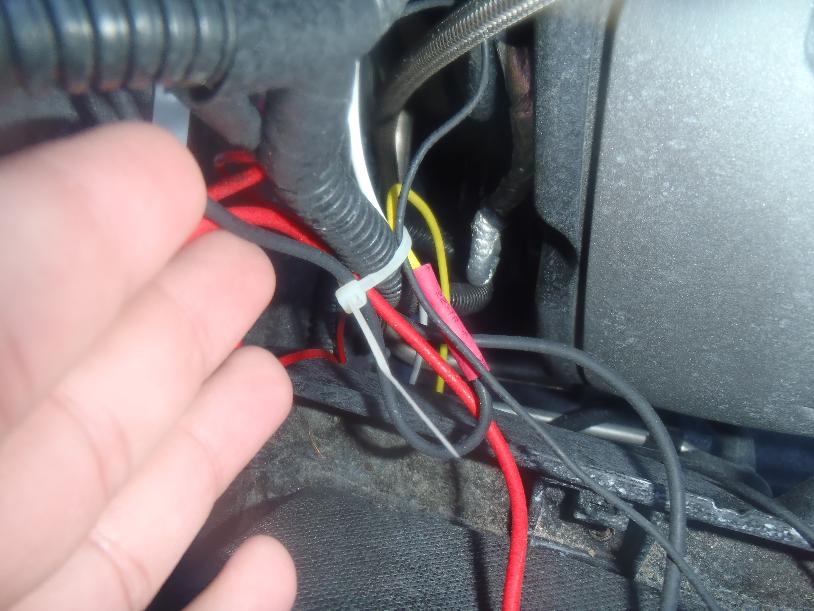
4. Find a suitable ground location. Install a connector on to the black wire and ground it. Here is a good ground location located near the passenger side shock tower.
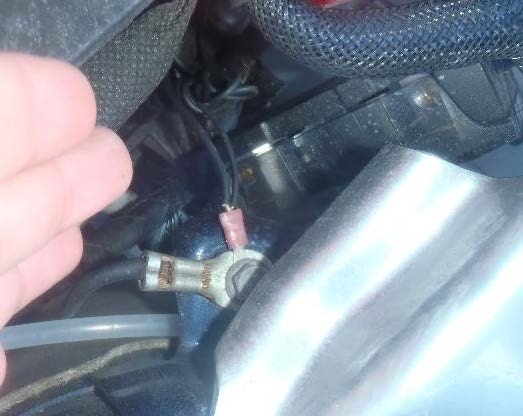
5. Find a good switched 12v source. Each car is different. For a 2011 Mustang GT, you can tap into the Auxiliary body module fuse located in the passenger side fuse compartment. You will connect the red wire from the control box onto the switched 12v source.
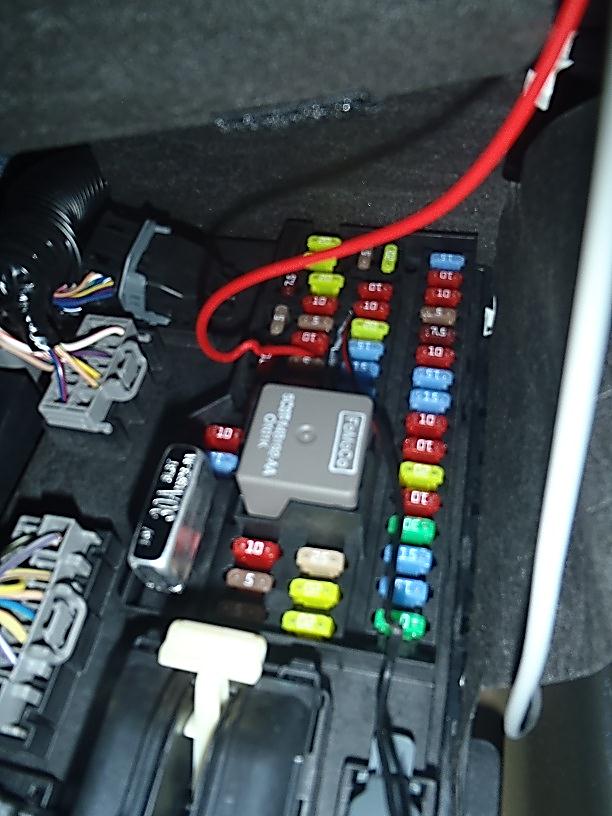
6. Find a tach signal. You can tap into either a fuel injector or a coil pack. I tapped into the fuel injector. Coming off the injector, there are two wires. A blue one and a different one (various colors) . Do not tap the blue wire, those are the ground wires. Instead, tap into the different colored one. You can tap any injector or any coil pack. You will connect the the tach signal to the white wire coming from the control box.
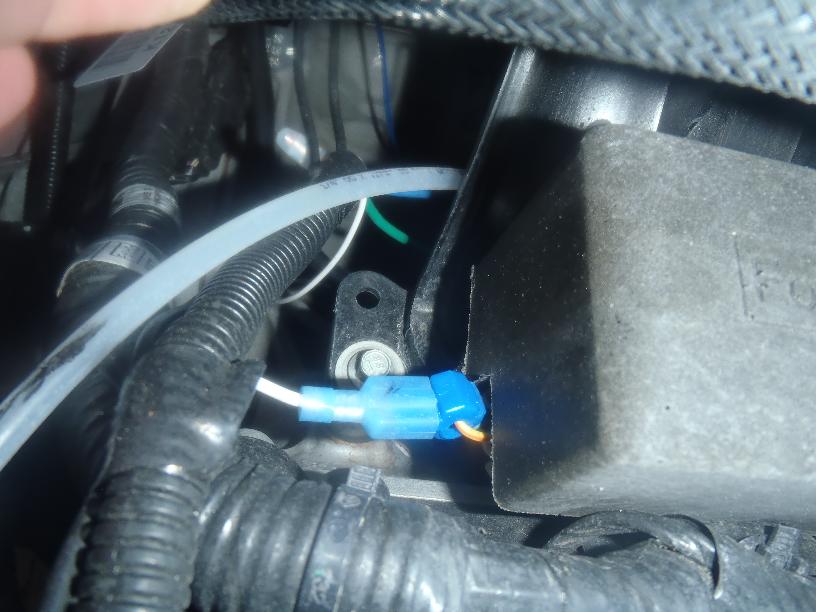
7. If you have a Fuel Pressure Safety Switch, go to 7a. If not, 7b
A. If you have a Fuel Pressure Safety switch, you will disconnect the ground wire off the fuel pressure safety switch. You will then connect the yellow wire from the window switch control box to the fuel pressure safety switch.
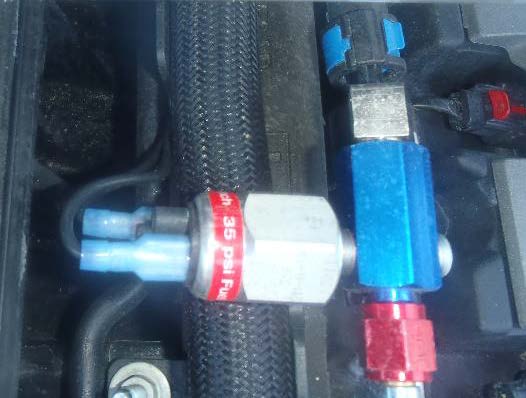
B. If you do not have a fuel pressure safety switch, disconnect the ground wire from the relay off the main system. Connect the yellow wire from the window switch control box on to where the ground from the main system relay would be.
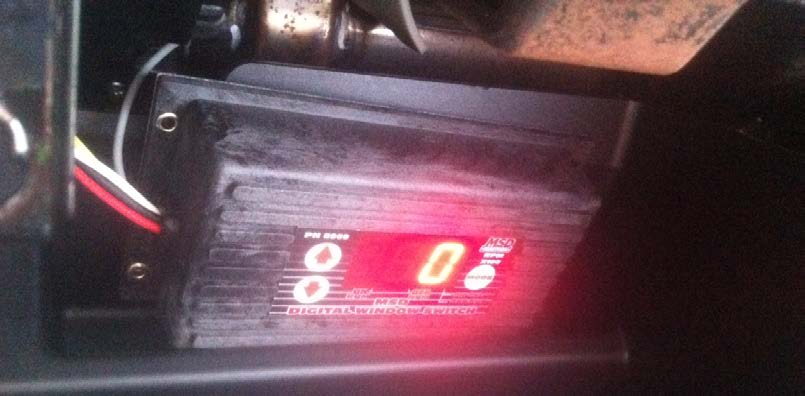
8. Use the zip ties, electrical tape, and wire loom/protectors to hide and protect your wiring. The gray wire coming from the control box will not be used. You can choose to either cut if off or zip tie it away near your control box.
9. Reconnect the ground cable to your battery.
10. Check your control box. Nothing should be on right now.
11. Turn your key of your ignition to the on position, but do not start the car. Ensure the control box has powered on and reads zero.
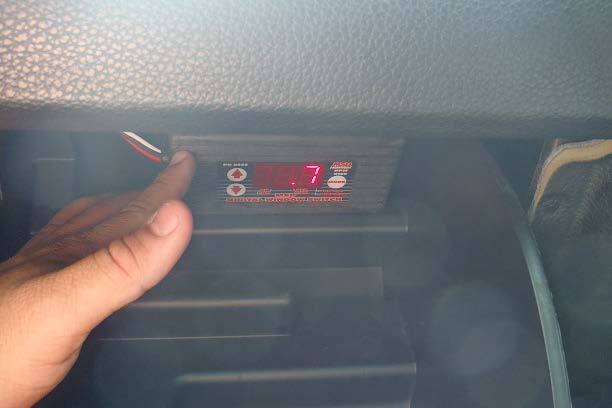
12. You can now set your control box. Press the mode button to set the low, high, and cylinder select to the options that pertain to you. For a 2011 Mustang GT, you will select cylinder 8 selector.
13. Turn on your vehicle. You will now see the RPMS of your car on your control box. If it shows the RPMs, then you are done.
Installation instructions provided by AmericanMuscle customer Ricardo Iglesias 5.1.12

