Top Sellers in Corvette
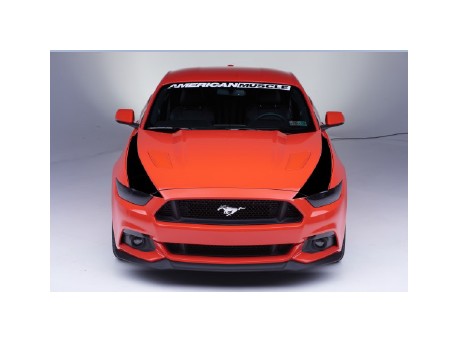
How to Install American Muscle Graphics Outer Hood Stripes - Matte Black (15-17 All) on your Ford Mustang
Installation Time
1 hours
Tools Required
- Spray bottle with soap & water mixture
- Plastic Squeegee
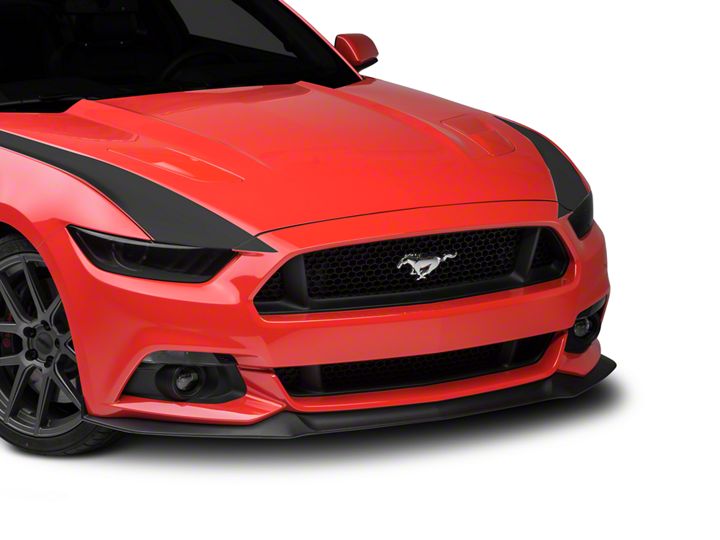
Shop Parts in this Guide
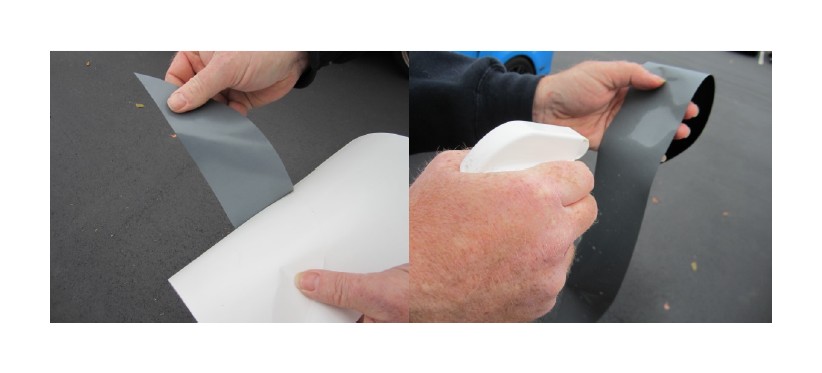
Step 2: Peel backing from insert exposing the adhe-sive. Also spray back of decal as your peel-ing the backing paper off.
Step 3: Place the decal on the car. You will be able to maneuver it into position because of the soap and water solution you sprayed on earlier. If it doesn't slide enough peel back and spray on more solution.
Step 4: Squeegee out the water from underneath the decal with a squeegee (covered in a cloth that will not scratch the vinyl and keep the vinyl wet). The rear of the decal should be about 1/10th from the edge of the body panel.
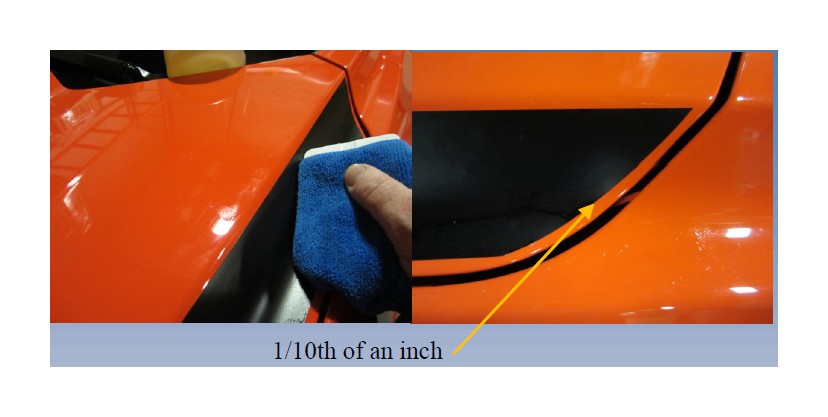
Step 3: Get the vinyl on the back towards the door to a point were it is dry and wont move when gently moving the rest of the decal (about from the cen-ter of the wheel forward). You can then start to smooth the front half. The goal is to have about 1/10th of an inch at the front part of the hood above the headlight. The part going toward the bumper should go over the hood to be wrapped. Once this section of decal is dry and lined up, wrap the front around the hood.
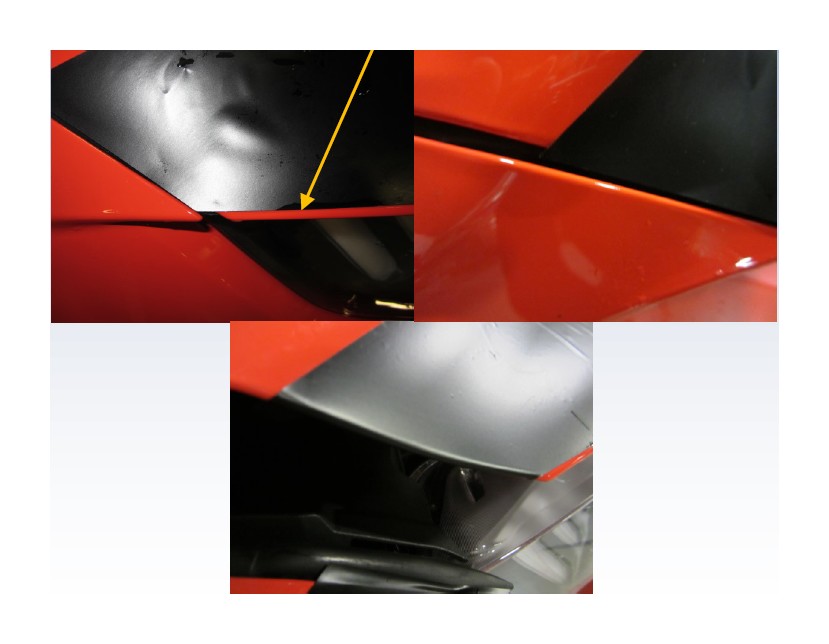
Step 4: Next place the front piece on the bumper over-lapping it over the large section you just in-stalled. Lapping it over the first section allows you to line up this sections width with the first section to assure alignment when installed with the hood gap. You then tuck the vinyl down and behind the weather-stripping. It may be easier if the piece was dry on the bumper first, do this use a hair dryer.
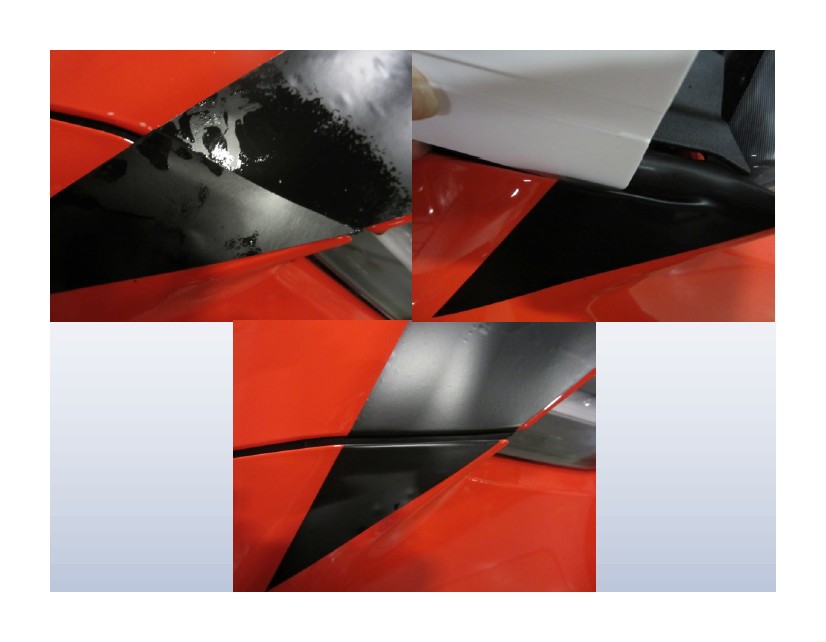
Leave several hours, depending on climate, of dry time before cleaning car. Use a quick detailer in a spray bottle for the initial clean-ing then hand wash car waiting at least several days for the first time after drying. Do not power wash vinyl or wax vinyl.


