Guaranteed 12/24 Delivery Still Available see item page for details! available on most items - Details
Best Sellers
Self Adhesive Emblem and Badges Installation Guide
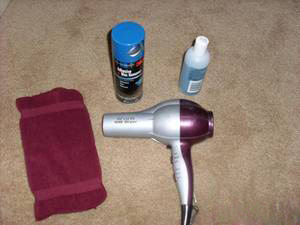
Tools Required
- Hair dryer
- Adhesive/Glue remover aka Bug and Tar remover (found at most local Auto-part stores)
- Rubbing alcohol
- Clean Towel or Paper Towels
- Blue Painters Tape (optional)
Installation
1. First gather all materials together.
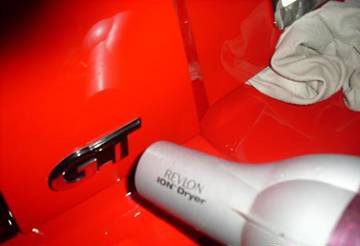
2. Removing your old badges: You will be using a hair dryer to heat up the adhesive/glue that holds the badges on to the car. The heat will soften the glue making it easier to remove the emblems. Set the hair dryer to the high heat setting and keeping the hair dryer about 3 inches away from the badge heat the entire emblem evenly. Periodically check how hot the paint is getting, you do not want to over heat the paint. Once the adhesive has softened you should be able to easily pry the old stock badge off the car. If the badge will not come off repeat this process, it may take some time to soften the glue.Note: be very careful as the paint surface will be hot!
3. Prep: Once you have removed the old stock badge you will need to clean the surface from all the glue residue that is left behind. This can be done by applying some adhesive/glue remover to a towel or a paper towel and cleaning the surface. It may take some good old fashion elbow grease to remove all the glue residue. Once all the adhesive is removed use some rubbing alcohol to clean the paint surface from any grease or dirt, this will allow the tape on the new badge to stick correctly.
4. Applying the new badges: Now you need to decide where you are going to place your new badges. You can use some blue painters tape to help mark off the area where you will be placing the emblem. When ready to apply the badges remove the red seal from the double-sided tape on the back of the new badge, be careful not to touch the sticky part. Line the badge up so it's straight (you will only have one chance to do this right) and firmly hold badge in place for 30 seconds.
5. Now you’re done!! Enjoy your new badges!!!
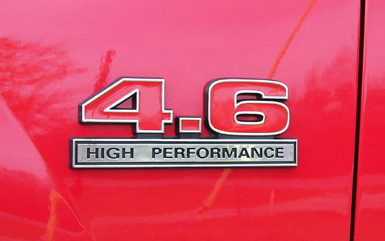
Installation instructions provided by AmericanMuscle customer Kevin Brosch


