Guaranteed 12/24 Delivery Still Available see item page for details! available on most items - Details
Best Sellers
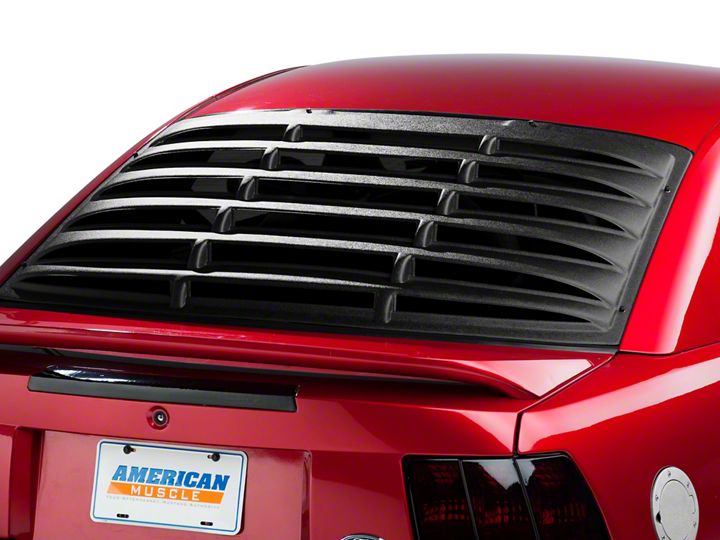
Mustang Rear Window Louvers - ('94-'11) - Installation Instructions

Shop Parts in this Guide
Installation
1. Tie down plates to the louver, snugly using the supplied thumb nuts.
2. Lay the louver with hardware attached onto the glass and check the fit. Ensure louver is placed high enough towards the top of window to allow trunk opening clearance. Mark the hardware mounting locations, precisely with a felt tip pen or a grease pencil and remove the assembly.
3. Remove the backing tape from the hardware and apply to the glass being very precise with the initial contact between the tape and the glass, attaching and removing the tape will adversely affect the bond strength of the tape to the glass. REMOVELOUVER FROM GLASS LEAVING HARDWARE ATTACHED.
4. Apply heavy pressure to the mounting hardware to ensure good contact across the entire surface area.
5. Apply a thin bead of clear or black silicone to all edges of the hardware mounting plates and “squeegee”in with a finger to ensure moisture cannot “undercut” the tape.
6. A full 24 Hrs is required to achieve a fully cured bond to the glass, do not install louver during this period. The added stress of the louver at speed on the vehicle could cause tape to fail and a total loss of adhesion will occur.
7. After the recommended cure time has passed, inspect the bond strength of the tape to the glass prior to re-installing the louver. If any problems are visible call the hotline before proceeding.
8. TAPE BOND WILL TAKE 24 Hrs TO CURE. DO NOT INSTALL LOUVER DURING THIS PERIOD.
Installation instructions provided by Manufacturer


