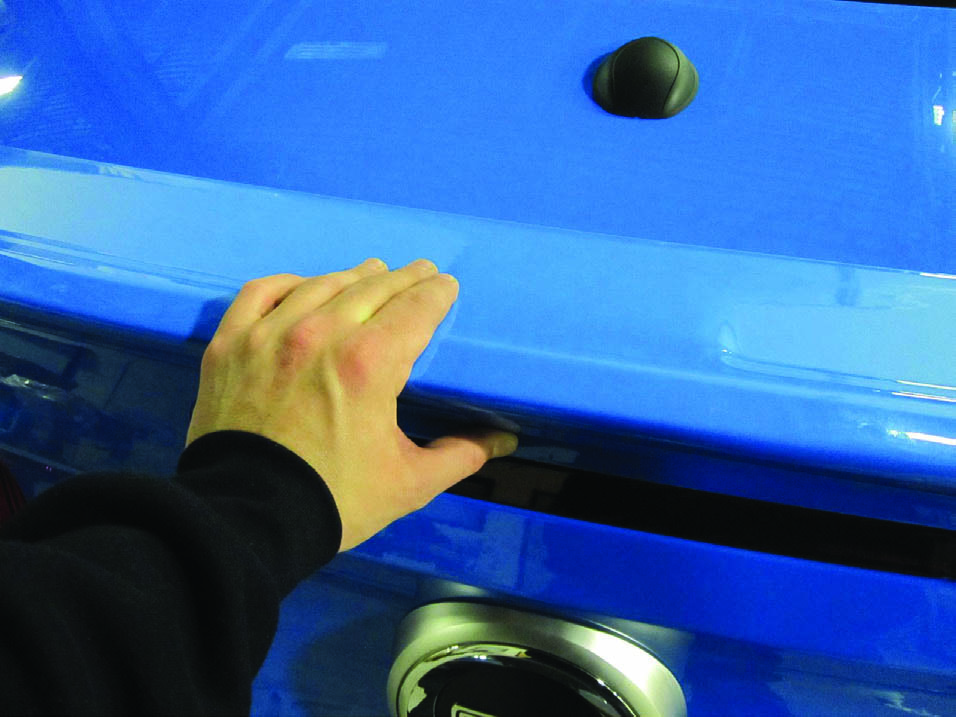
How to Install a GT500 Style Rear Spoiler on your 2010-2013 Mustang
Installation Time
2 hours
Tools Required
- Flat Head Screwdriver
- Phillips Head Screwdriver
- Ratchet & 10mm Socket
- Plastic Putty Knife
- Adhesive Remover
- Heat Gun
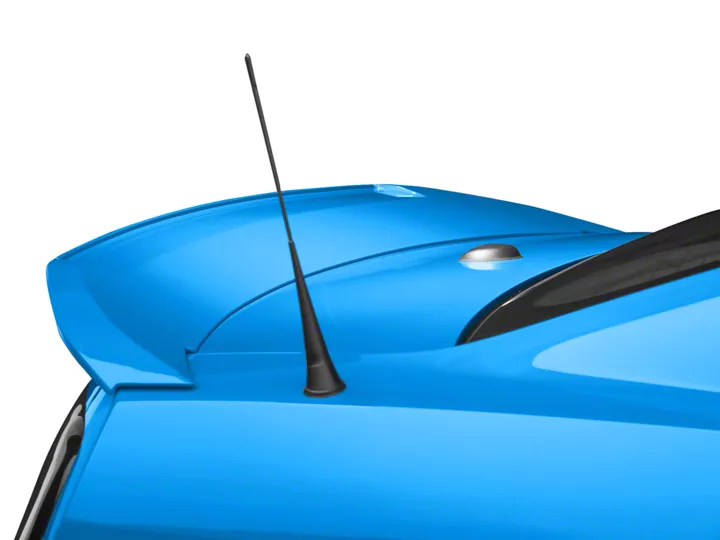
Shop Parts in this Guide
Installation Instructions for
Painted GT500 Rear Spoiler (2010 Mustang)
Tools Required:
• Flat Head Screwdriver
• Phillips Head Screwdriver
• Ratchet & 10mm Socket
• Plastic Putty Knife
• Adhesive Remover
• Heat Gun
STEP 1
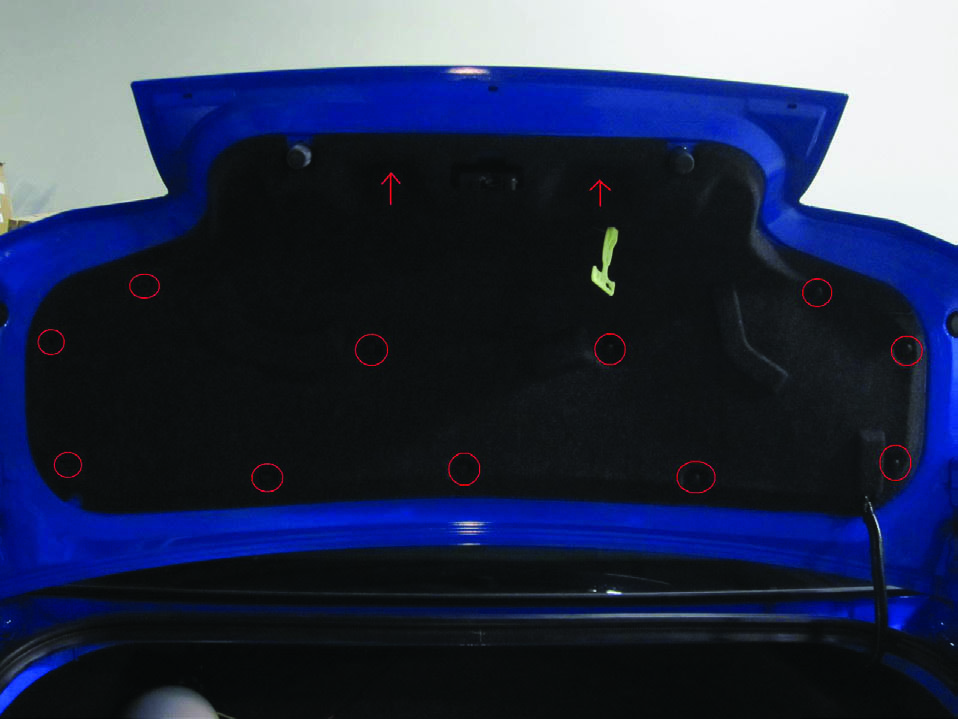
Remove the 13 plastic clips holding the trunk liner to the trunk lid. Simply pull out on them and they will pop right out. Once loose, remove the trunk liner.
STEP 2
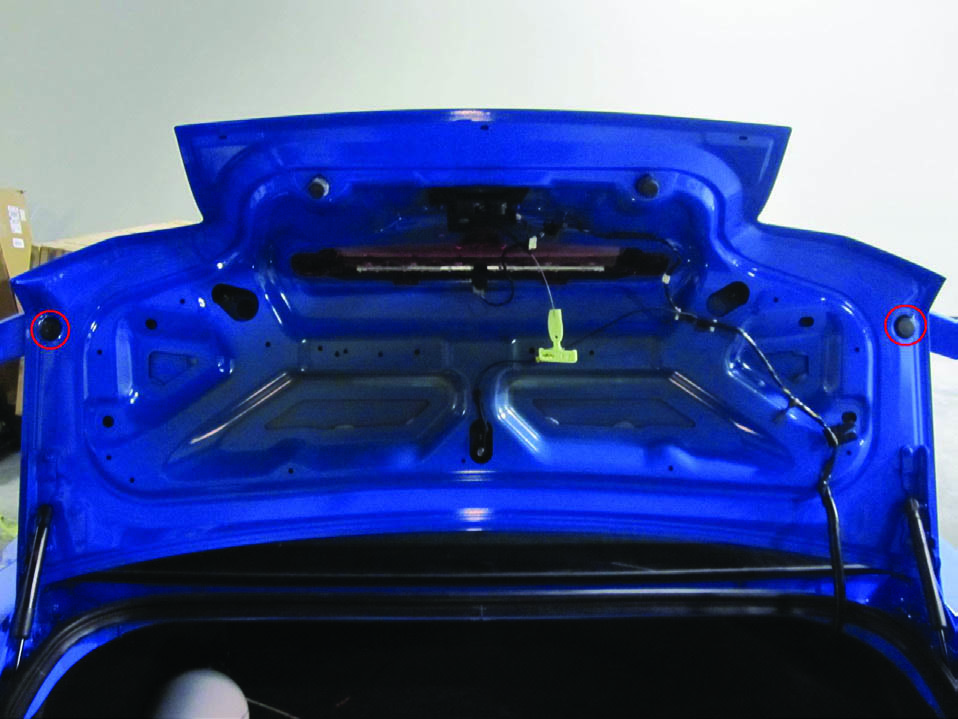
Use a flat head screwdriver to remove the two plastic caps shown below.
STEP 3
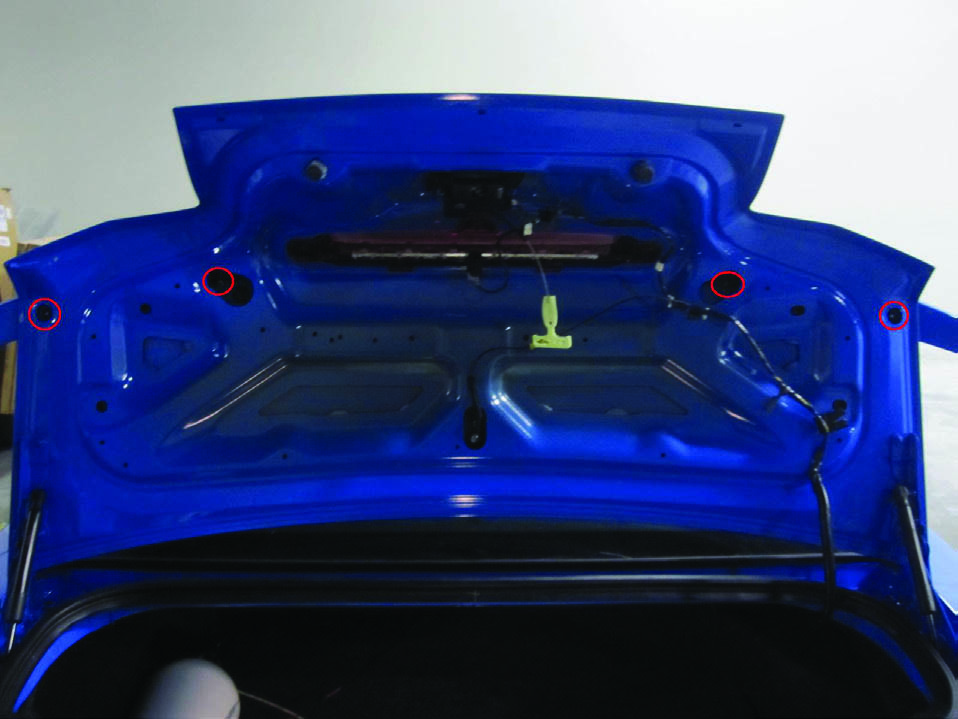
Use a 10mm socket to remove the 4 nuts holding the factory spoiler on
STEP 4
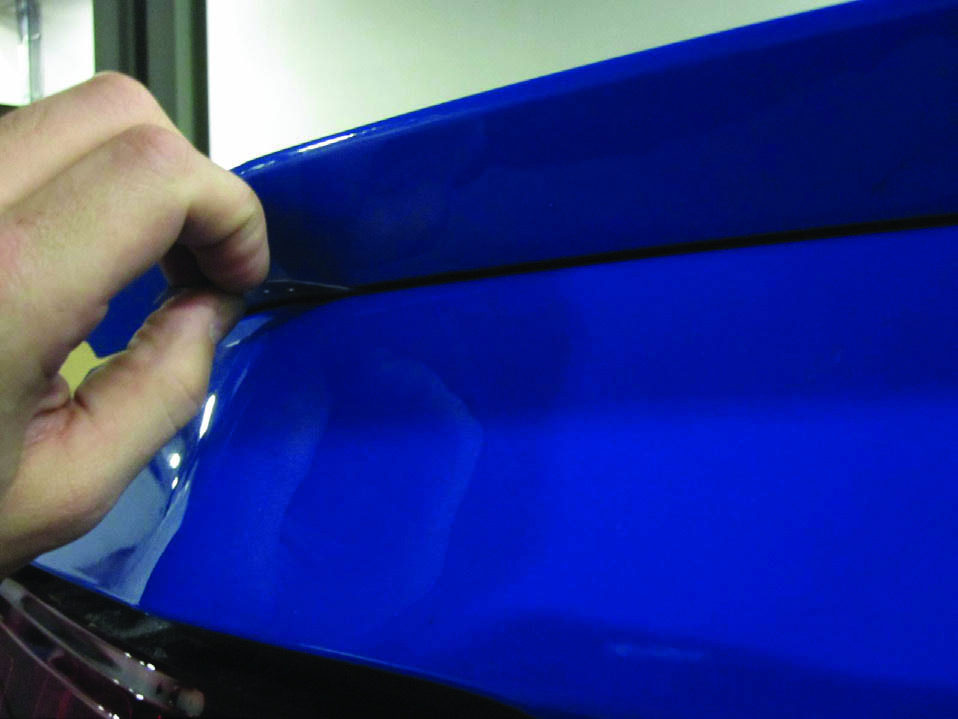
Use a heat gun around the edges of the factory spoiler to loosen the adhesive. It may also help to gently pry the spoiler up and run around the edges with a razor blade as shown. Once the adhesive is loose, remove the factory spoiler form the vehicle.
STEP 5
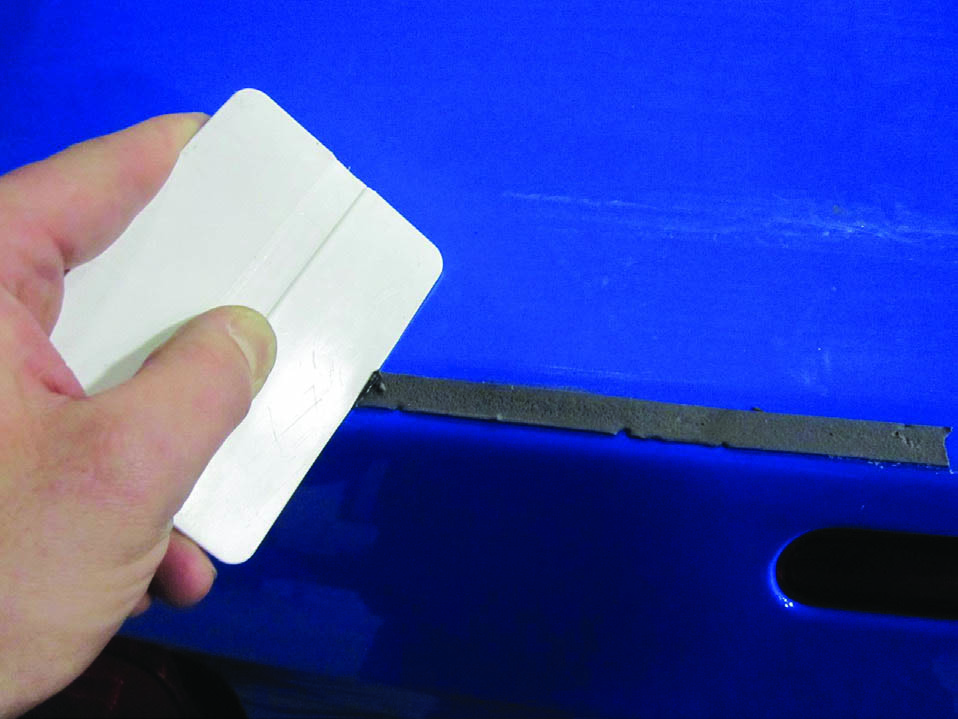
Use a quality adhesive remover and a plastic putty knife or squeegee to remove the left over adhesive.
STEP 6
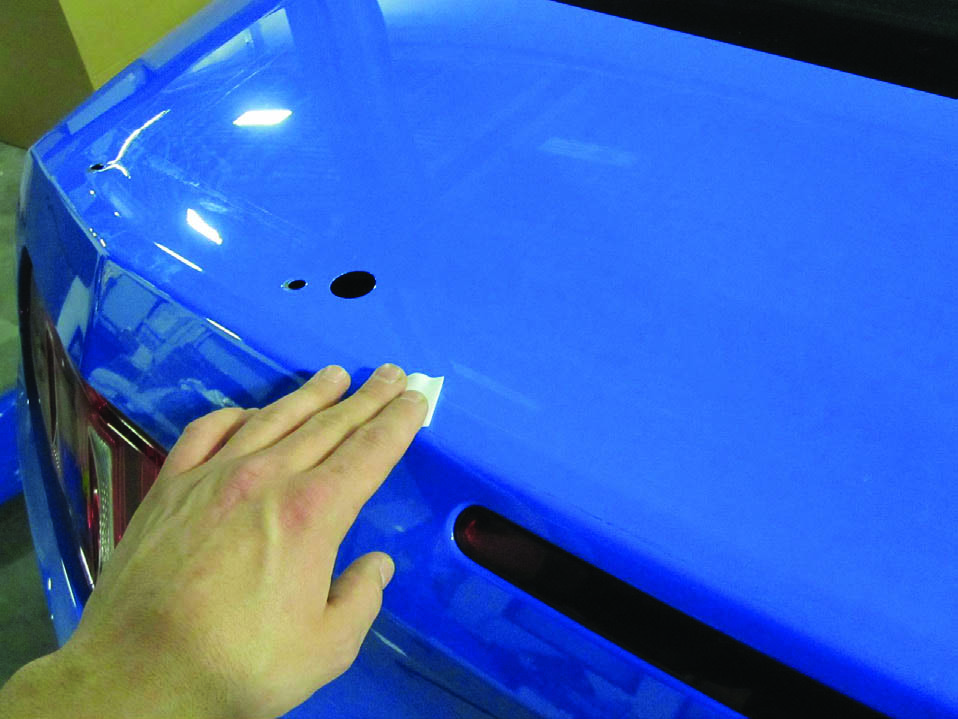
Once the trunk lid is free of adhesive, wipe down any areas where the new spoiler’s tape will adhere with the supplied Alcohol Prep Pads.
STEP 7
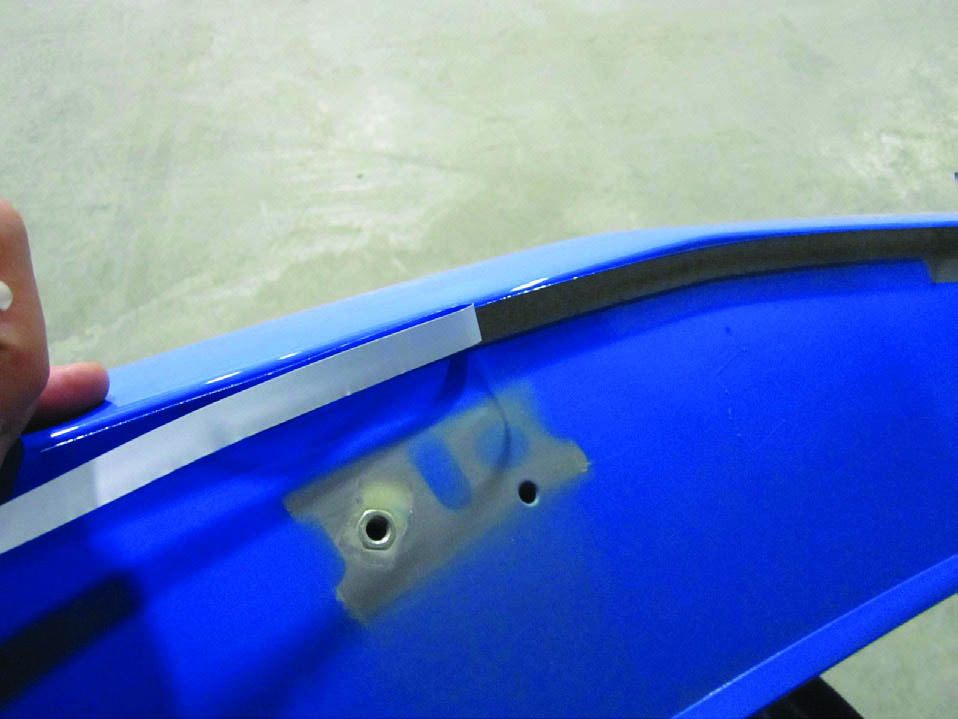
Peel the backing from the tape on the spoiler as shown.
STEP 8
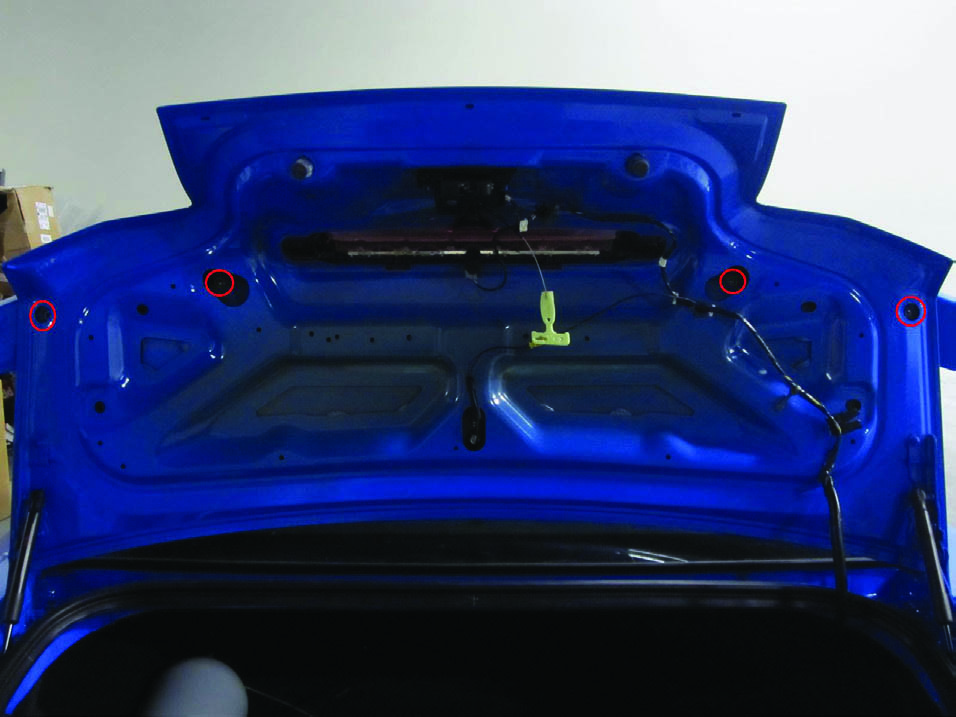
Place the spoiler on the trunk lid, but do not press down yet to seat the adhesive. Lift the trunk lid while supporting the spoiler so you can install the 4 supplied Phillips head screws and washers as shown.
STEP 9
Remove the backing from the tape and place the grille on top of the tape as shown. Press down hard to fully seat the grille in the adhesive tape. Once the grille is in place, you may either cut the excess from the edges or simply fold them over as shown. These will not be seen when the louver is installed on the vehicle.
