
How to Install Raxiom Retro Style Headlights on your 2005-2009 Mustang GT and V6
Installation Time
1 hours
Tools Required
- Phillips Head Screwdriver
- 10mm Socket and Ratchet with Extension
- Flathead Screwdriver
- Lugnut Removal Tool
- Jack
- Jack Stands
- Wheel Chocks
- Blanket or Sheet to protect bumper
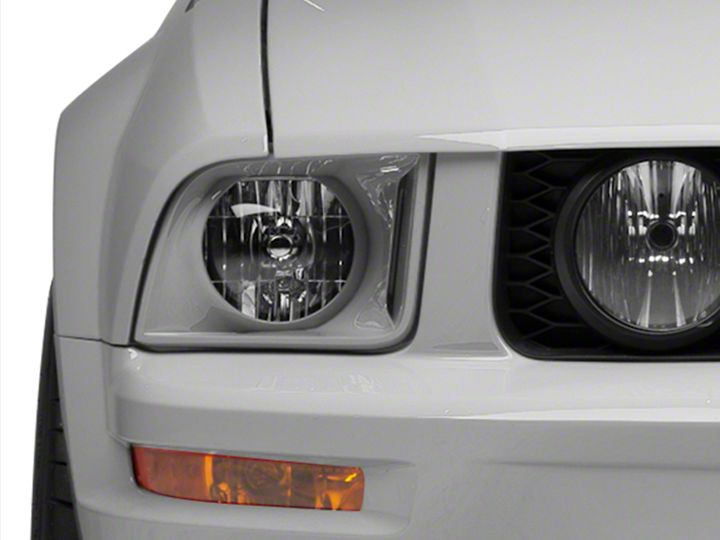
Shop Parts in this Guide
Tools Needed:
Phillips head screwdriver
10mm socket and ratchet with extension
Flathead screwdriver
Lugnut removal tool
Jack
Jack stands
Wheel chocks
Blanket or sheet to protect bumper
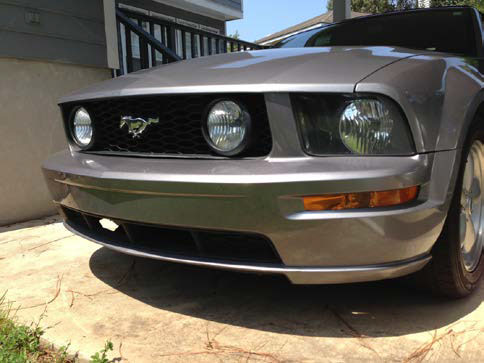
BEFORE
Installation Instructions:
1: Start by lightly loosening the lug nuts on your front wheels and then engage the ebrake, chock the wheels, lift your mustang a few inches off the ground, and secure your jack stands at structurally sound places on the frame.
2: Now, pop the hood and disconnect the negative battery cable.
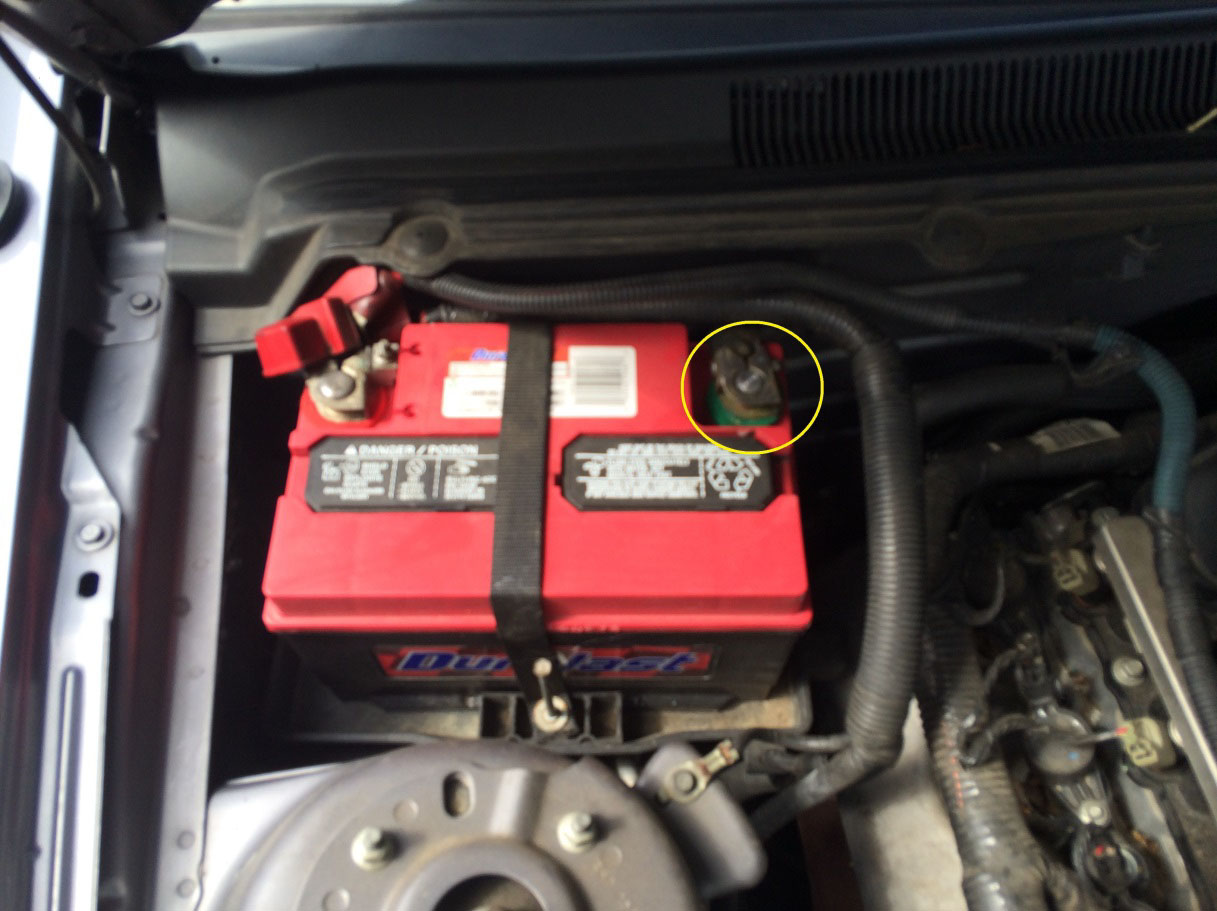
3: While you’re waiting for your pony’s power to deplete, go ahead and finish removing the lug nuts. Take the front wheels off and set them aside.
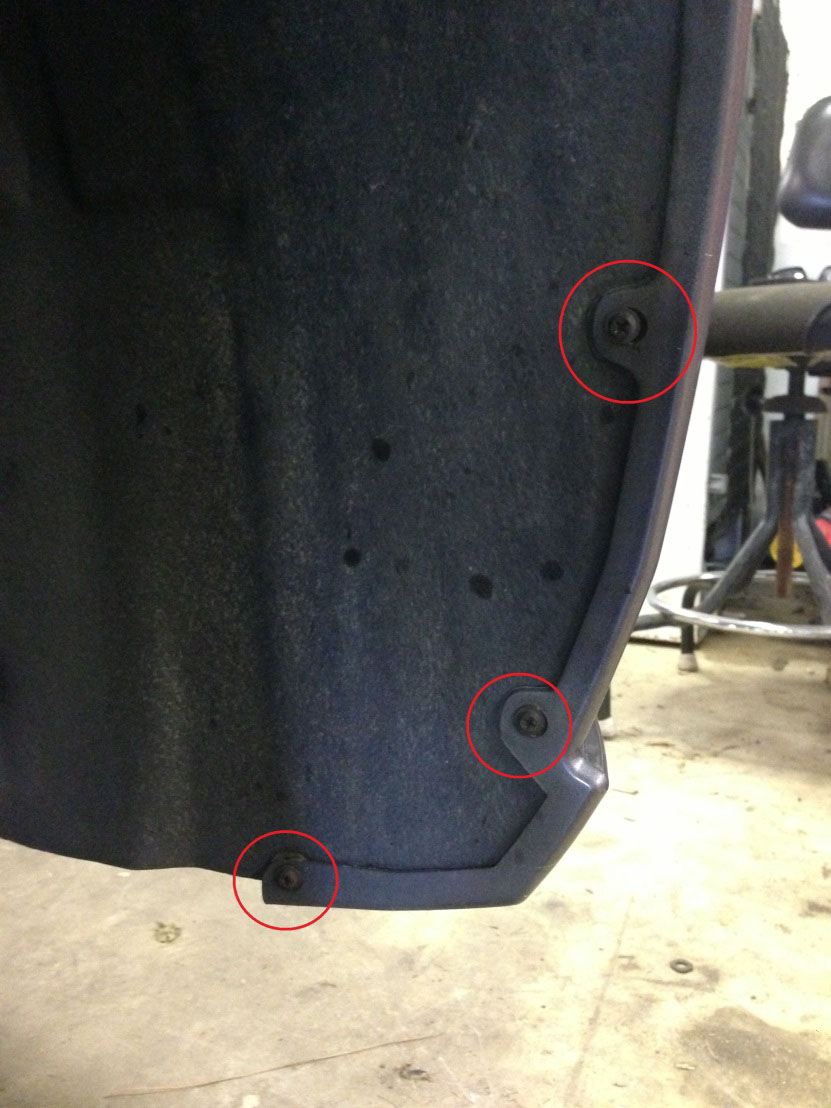
4. Now, you need your Phillips head screwdriver. Remove the three screws shown below and set them aside. If you want, you can remove the entire splashguard by pulling a few push pins to make the task a bit easier but it is not necessary.
5. Remove the two outermost nuts on each side of the bumper. They are shown here:
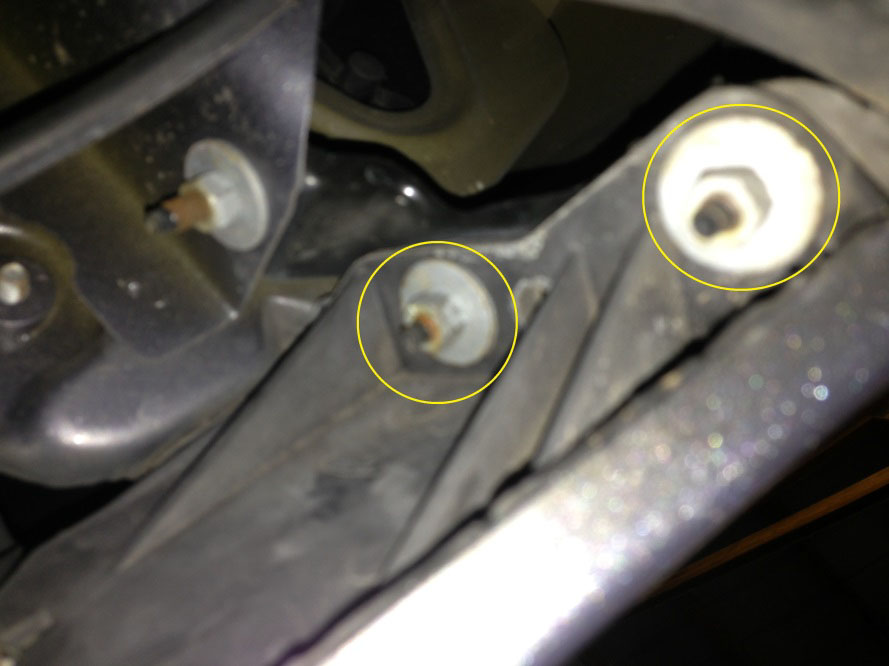
Be sure to only remove the two pictured above. When these are removed, pull the bumper off of the studs, and be careful not to scratch it.
6. You can easily reach up and twist the turn signal socket and remove the bulb and small wiring harness next to it.
**GT Models Only: while under the car, remove the three 5.5mm bolts on the lower radiator cover. They are towards the rear of the cover itself. You can’t miss them.
7. Back up top, you have 6 push pin style retainers to remove from your upper radiator cover. Use a flathead screwdriver to make this step less tedious.
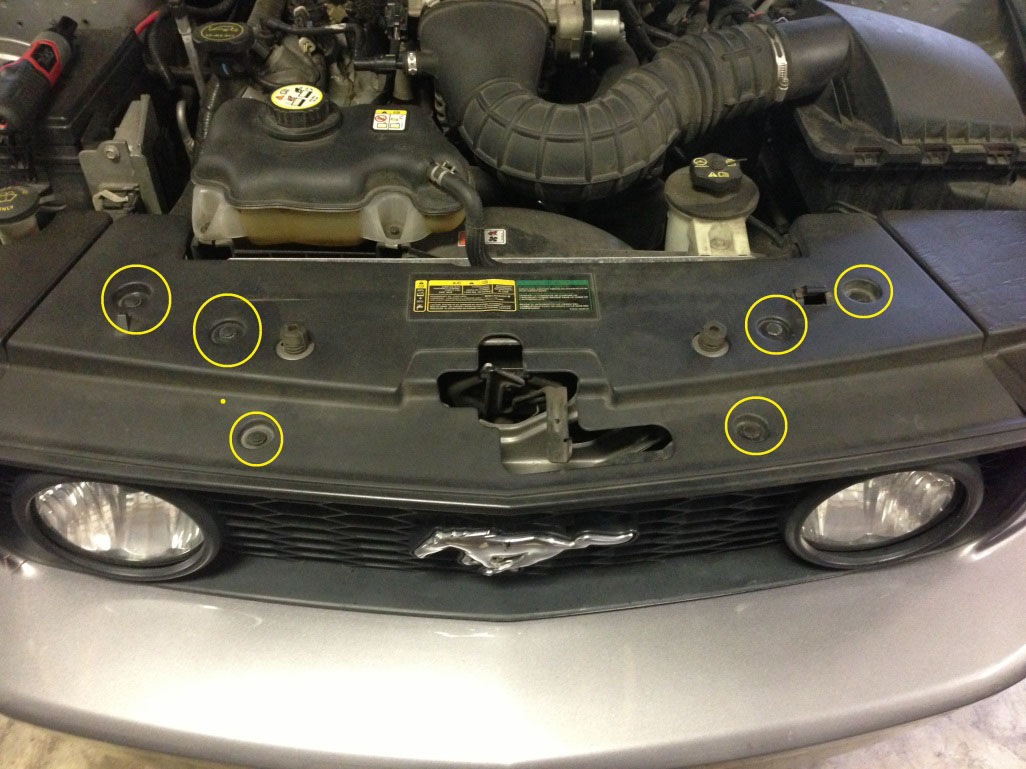
8. There are two 10mm bolts at the top, one on each side of the grille, that need to be removed. Then pull the bumper over the two plastic tabs shown below.
9. Now, lift up on the bumper and pull it straight out. If you have fog lights, disconnect the harness from the bulb.
10. When the bumper is removed, set it aside on something soft so it doesn’t get scratched.
11. Now down to business. Don’t get angry when you realize that all of the work you just did was only to remove two 10mm size bolts from under each headlight, shown below.
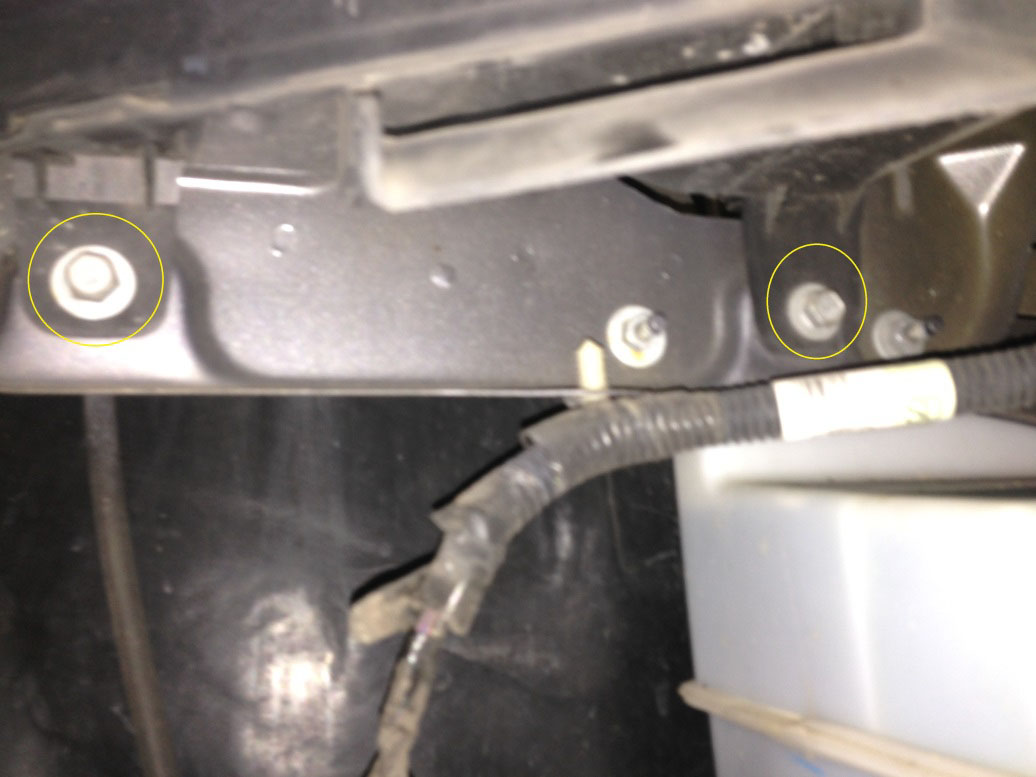
12. After those are removed, there is another push pin retainer up top that is even harder to remove than the others. Once it is done, remove the 10mm bolt up top. Very carefully pull your headlights away from the vehicle. Disconnect the harness from the back of the new bulb by depressing the tab shown below.
13. Take your new headlights and connect it to the harness.
14. Re-install your new headlights the same way you removed the factory ones.
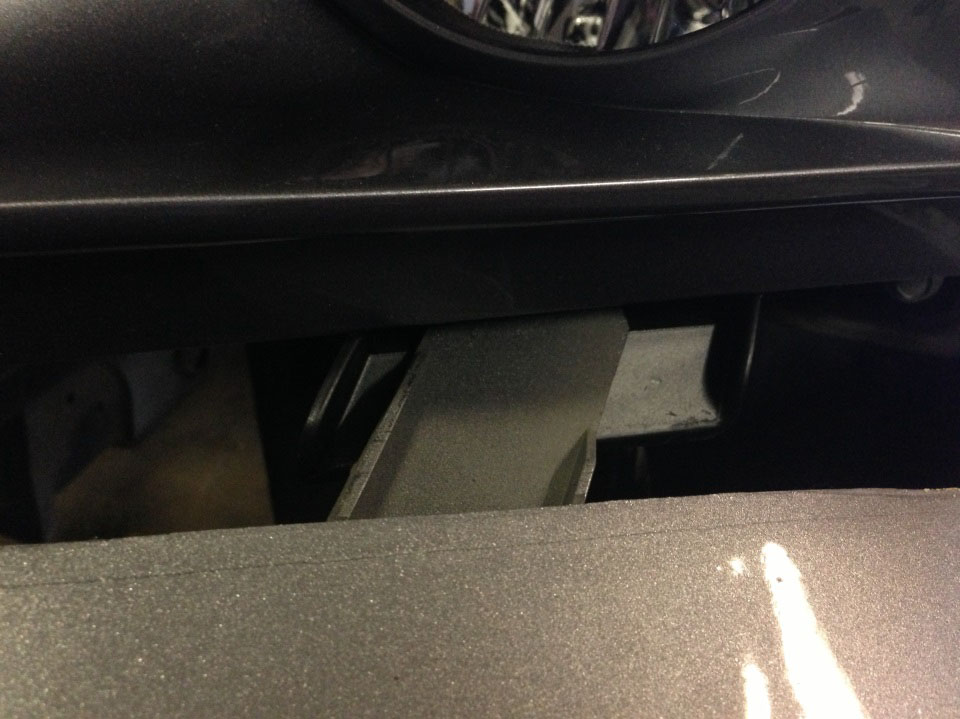
**Special note: when reinstalling the bumper, there are two large plastic tabs that slide into position under the headlights. Be sure to take the time and line these up properly so as not to damage your bumper or headlights. There is a picture below:
16. Test the new headlights to make sure they are plugged in and working properly.
17. Re-Install the bumper in the opposite of removal
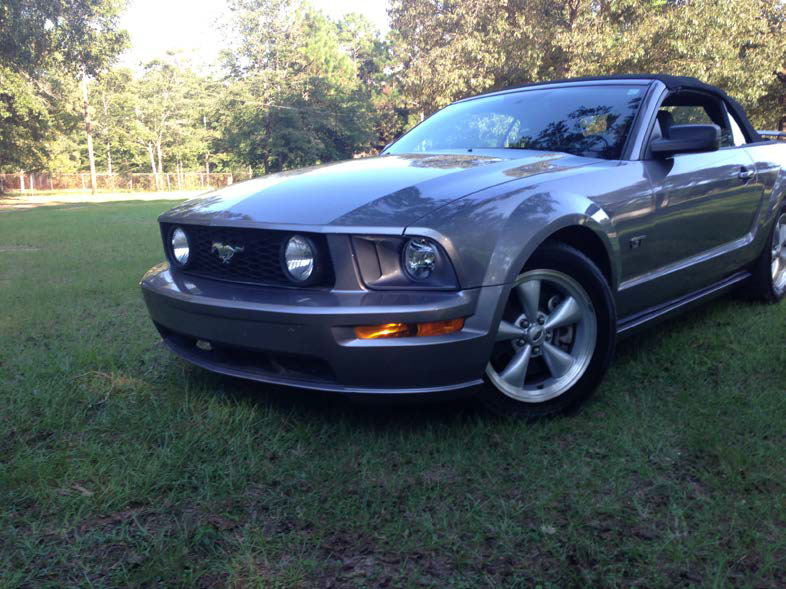
AFTER
Installation Instructions Written By AmericanMuscle Customer Hunter 10.23.2013

