
2005-2009 Mustang Hood Scoop - Painted - Installation Instructions
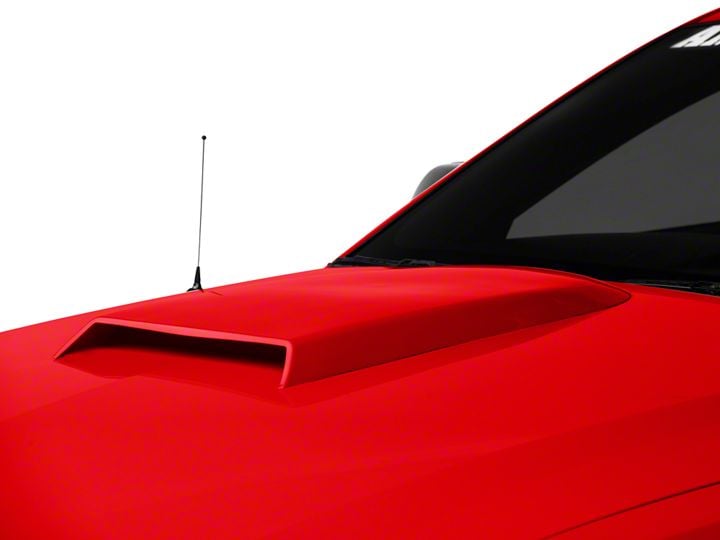
Shop Parts in this Guide
Installation
1. Cut windshield washer nozzle holes out of supplied template.
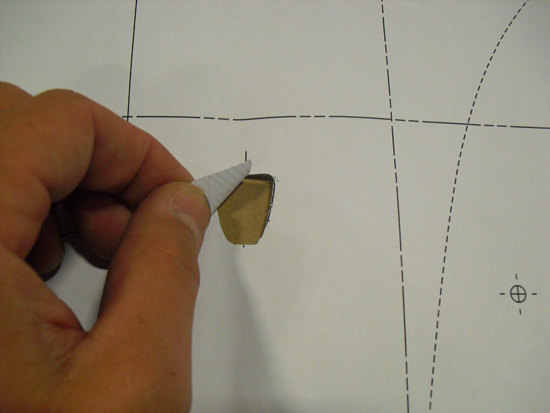
2. Place template on hood using washer nozzles for guidance.
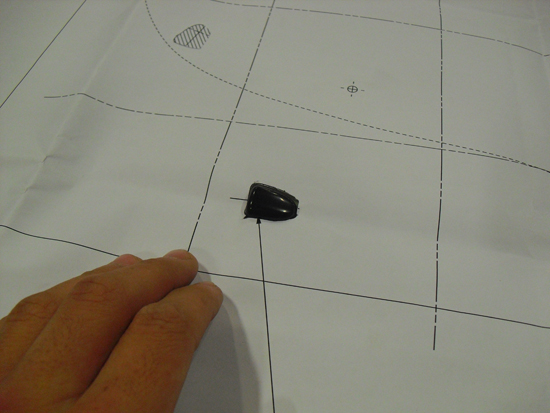
3. Pull template as tight as possible and place tape on the corners to keep desired placement.

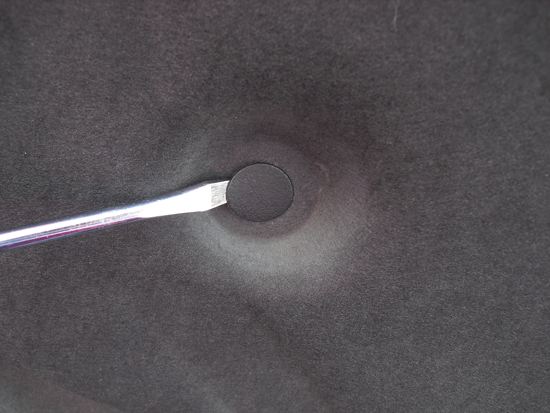
4. Open hood and using a small flat-bladed screwdriver remove plastic retaining clips keeping the hood insulation on. When all clips are removed, pull insulation from hood and set aside.
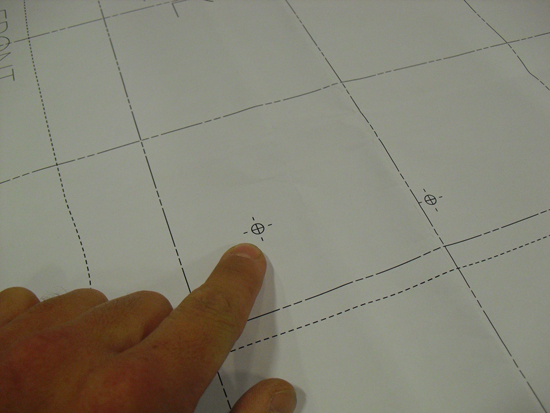
5. Using a 7/32 drill bit, drill 7 holes through the “X” marks on the template. It is very important that the template has been properly applied and pulled tight as outlined in Steps 2 and 3. Once holes have been drilled, the tape and template can be removed from vehicle.
6. Using the supplied 3M Automotive Adhesion Promoter, thoroughly clean the surface of the hood scoop and scoop insert where adhesive tape will be applied. Using supplied Alcohol Prep Pads, thoroughly clean surface of hood where scoop will be applied.
Caution:Do not use 3M Adhesion Promoter on vehicle’s painted surfaces.
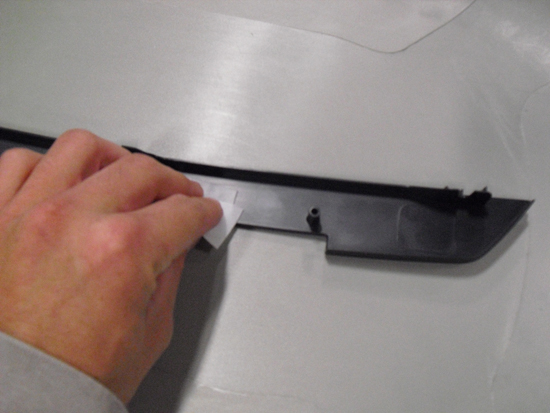
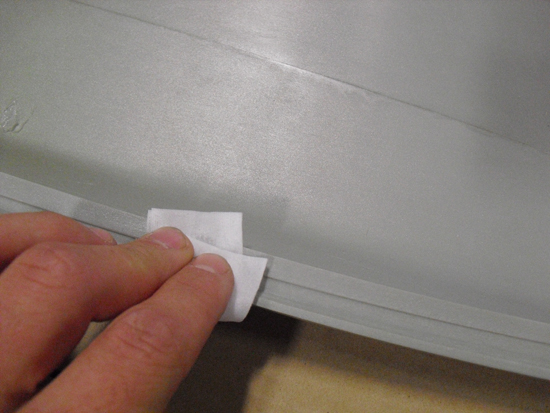
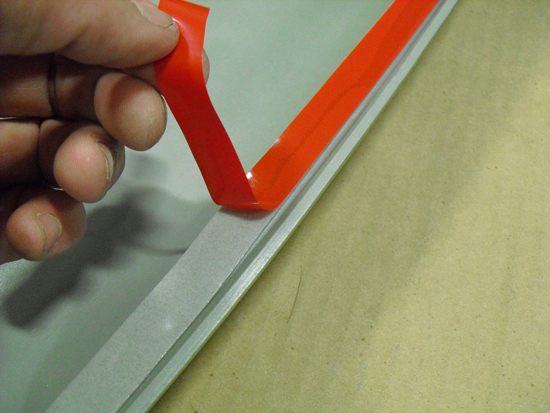
7. Apply the supplied adhesive tape to the scoop insert and the edges of the scoop, making sure it does not extend past the edges.
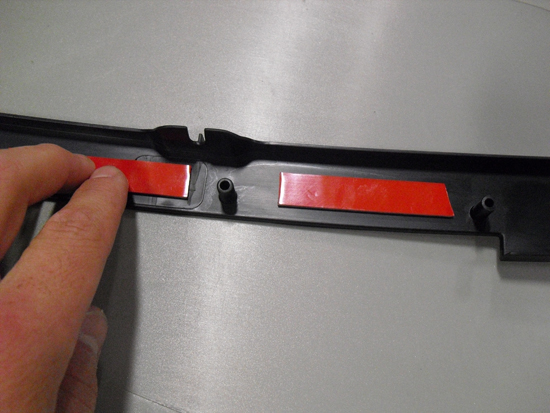
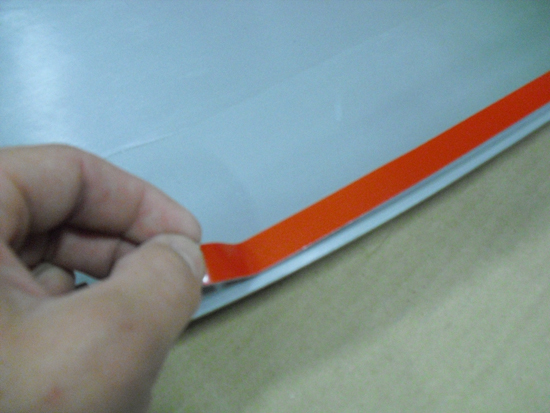
8. Peel backing from adhesive tape on scoop insert and using guidance holes, apply it to the hood scoop.
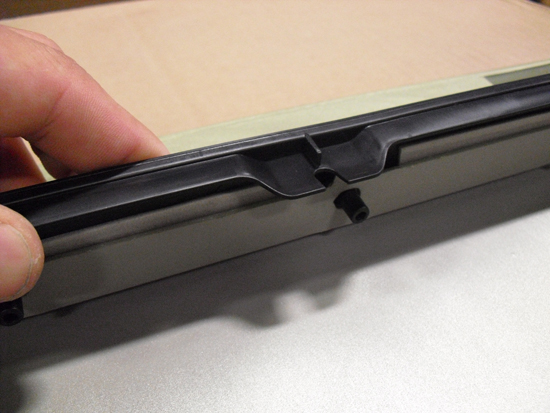
9. Insert the supplied hardware into the 4 holes on the hood scoop and the 3 holes on the hood scoop insert.
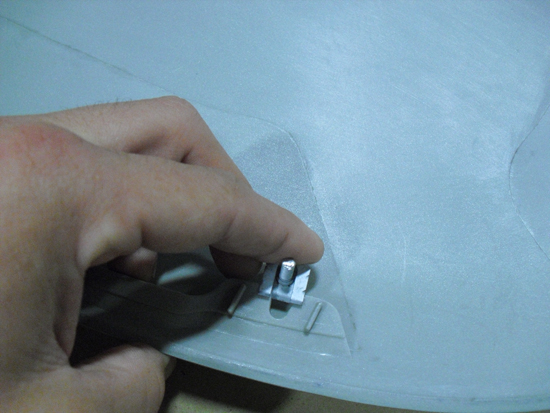

10. Peel backing from adhesive tape on hood scoop.
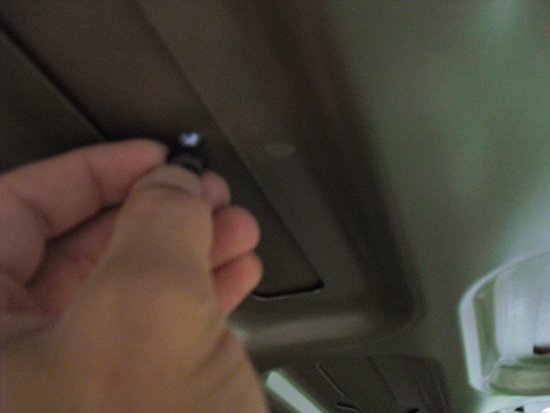
11. Carefully place hood scoop on top of hood making sure that all 7 bolts go through the holes you have drilled. Once all bolts are in, secure them with supplied nuts from underneath the hood.
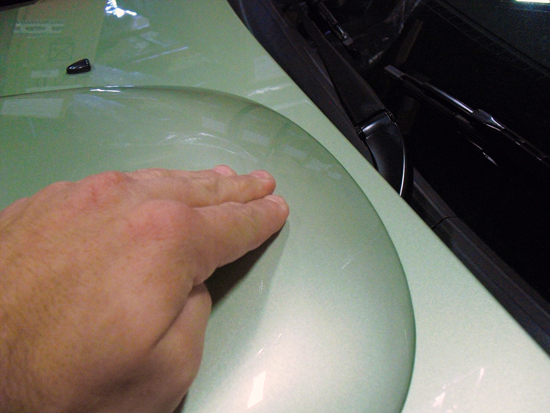
12. After all nuts are secure, lower hood and push firmly on hood scoop where adhesive tape was applied to ensure a proper fit.
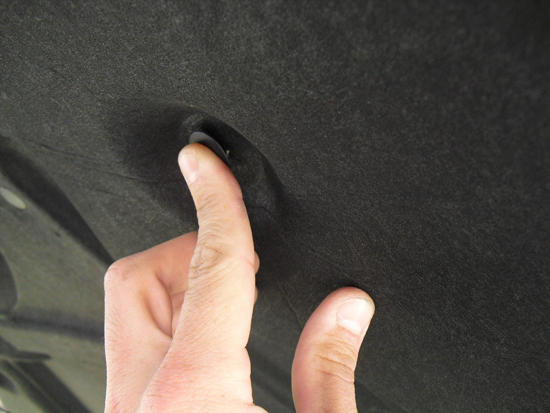
13. Raise hood and re-install hood insulation with clips that were removed in Step 4.
Installation instructions provided by Stack Racing

