Talk to a Mustang Sales Tech
1-877-887-1105
M-F 8:30A-11P, Sat-Sun 8:30A-9P
Top Sellers in Mustang
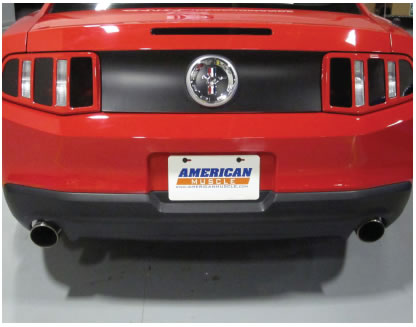
How to Install an MMD Tail Light Trim Bezels - Pre-Painted on Your 2010-2012 Mustang
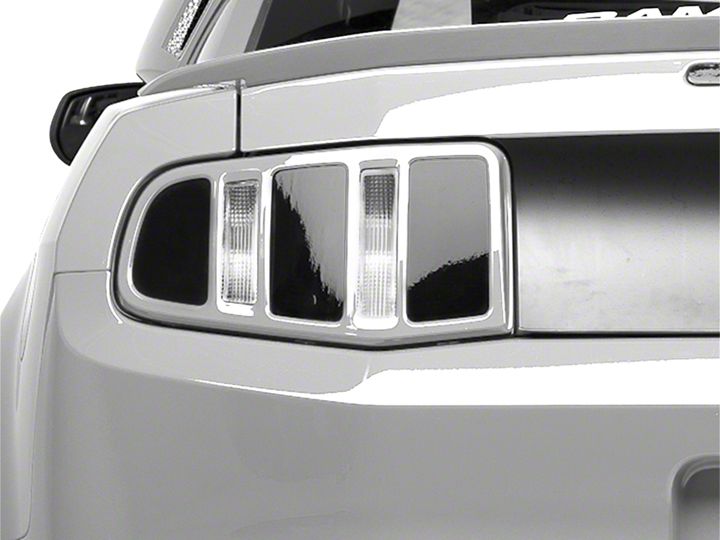
Shop Parts in this Guide
Installation
Before beginning, make sure your tail lights are clean, dry, and free of any dirt, road grime, etc.
Step 1
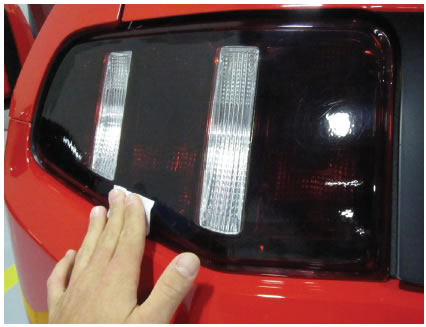
Rub the supplied alcohol prep pad around the outer edges of the tail light as shown. This will ensure a clean surface for the adhesive to bond.
Step 2
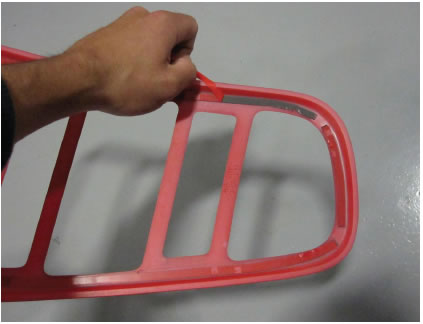
Remove the backing from the 3M tape as shown.
Step 3
Place the trim over the tail light using the outer edges as fitment guides. Once the trim is properly aligned, press down around the edges of the trim to fully seat the adhesive.
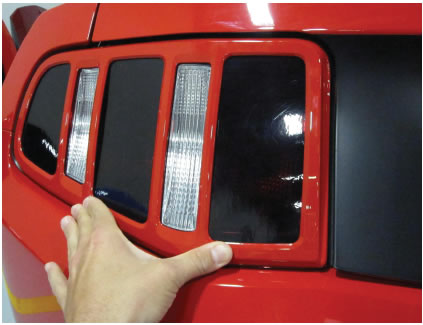
Step 4
Repeat Steps 1-3 for the opposite side tail light to complete the installation.
