Best Sellers
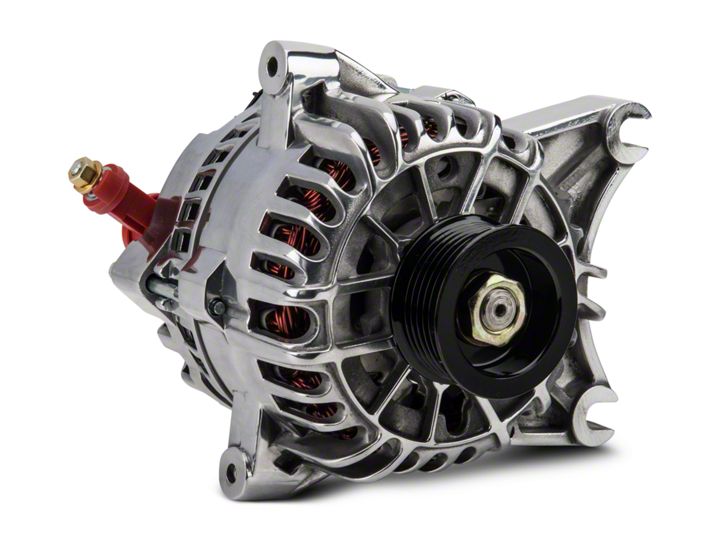
How to Install PA Performance Alternator - 130 Amp - Polished on your Mustang
Installation Time
2 hours
Tools Required
- 18mm Socket
- 15mm Socket
- 13mm Socket
- 10mm Socket
- Ratchet/Breaker Bar
- Flat Head Screwdriver
- Pliers (possible)
- Extra set of hands (optional)

Shop Parts in this Guide
Please Note: These install instructions reference a PA Performance Alternator 130 Amp (Polished) but are good for any Alternator for the 01-04 V6 Mustang.
Inspection: When installing a new alternator it is always recommended to check the serpentine belt for any wear. In the image below, the cracks in my old belt show that it is getting worn and needs to be replaced. Also, if the old alternator is malfunctioning, it is a good idea to have a new battery on hand. A bad alternator can and will make the battery bad as well.
Removal of Old Alternator:
1. Start by disconnecting battery.
2. Loosen the belt by using a 18mm socket and ratchet/breaker bar on the belt tensioner to release the tension on the serpentine belt. If you are not replacing your belt you can just remove it from the alternator’s pulley instead of completely removing it. I replaced mine and on the package of the belt shows belt route it will need to take to be installed correctly, you can also take a photo of your belt route prior to removal or find the route online. The tensioner pulley is the small one to the bottom left.
3. Disconnect the plug from the alternator by pressing with your finger on the release tab and gently pry the plug up with a flat head screw driver.
4. Use the 13mm socket to remove top bolt holding the alternator in place.
5. Loosen the bottom bolt on the alternator using 15mm socket, do not remove at this time
6. Pivot the alternator to a standing position to easily remove the nut holding the electrical cord in place using the 10mm socket.
7. Now remove the bottom 15mm bolt loosened in step 5 and remove old alternator.
8. Place new alternator in place and line up with bottom bolt, there is a metal spacer in the vehicles bolt hole, that may need to be adjusted if new alternator does not fit into the space. I used a pair of pliers for this, I squeezed the spacer and turned it back and forth to move it in order to give me less than 1 mm more space that I needed. Replace bolt and hand tighten.
9. Replace the cord from step 6 to the top of the new alternator and tighten nut completely with 10mm socket.
10. Pivot alternator to line up top bolt and replace top bolt removed in step 4 and tighten completely using 13mm socket.
11. Finish tightening bottom bolt with 15mm socket, if you had to move the spacer it will tighten up with the bolt.
12. Insert in the plug, ensure it is plugged in tight and you hear a “click” It is important that this is in tight and in all the way so the computer can regulate the voltage. Should look like this now:
13. Replace serpentine belt, with either old (if still good) or new one. Should be straight forward, an extra set of hands is helpful at this point, I installed the belt starting at the tensioner pulley, and followed the diagram that came with the belt and onto the alternator last. The flat side of the belt goes onto the smooth pulleys and the grooved side of the belt goes onto the grooved pulleys
14. Now you can replace or reconnect the battery. I didn’t replace mine at this time, but I did about a week later. Once connected, you are done. Congratulations! You have just installed your new alternator. Take it for a test drive. If you notice the battery gauge fluctuates, ensure that the plug in step 12 is firmly in and the wires are undamaged.
This is what it should look like when done:
15. NowReconnect the battery or replace if it needs it (recommended). I did not replace my battery during this install but I did a week later. Once battery is reconnected you are done. Congratulations.


