Guaranteed Free Delivery by 12/24! available on most items - Details
How To Install a Digital Auto Meter Phantom II Air/Fuel Ratio Gauge on Your 1979-2015 Mustang
Installation Time
1 hours
Tools Required
- Wire Stripper
- Wire Crimps
- Wire Crimping Tool

Shop Parts in this Guide
INSTALLED ON: 1994 Ford Mustang GT
STEP 1: Find a good place to install the gauge, where it
is visible from the driver’s seat.
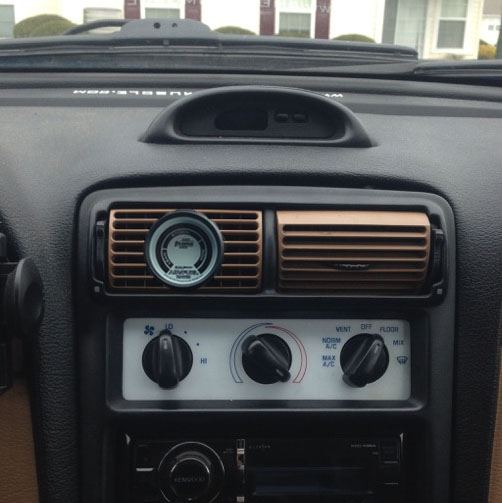
STEP 2: Pull up on the plastic door sill and remove it
from the car.
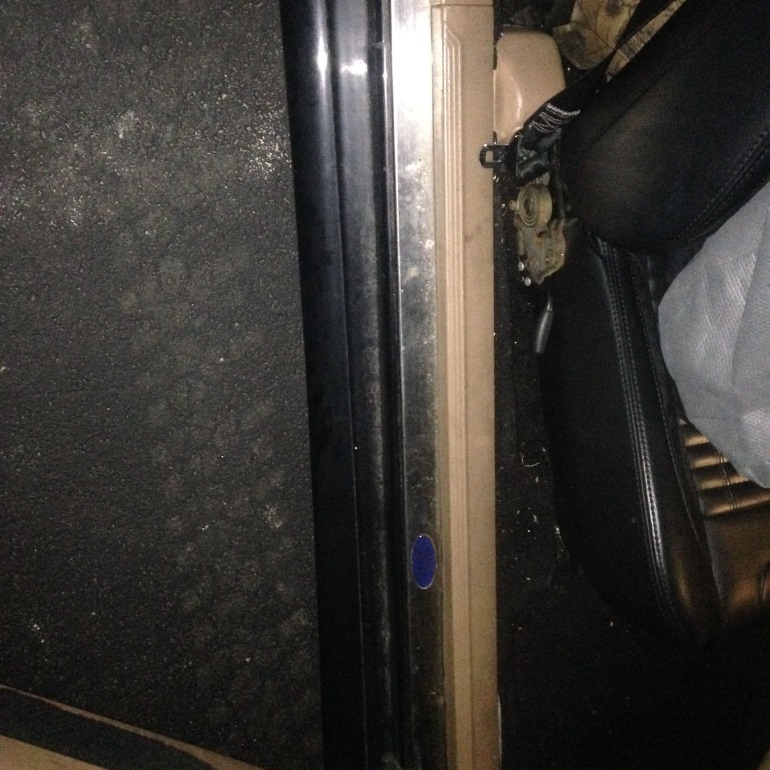
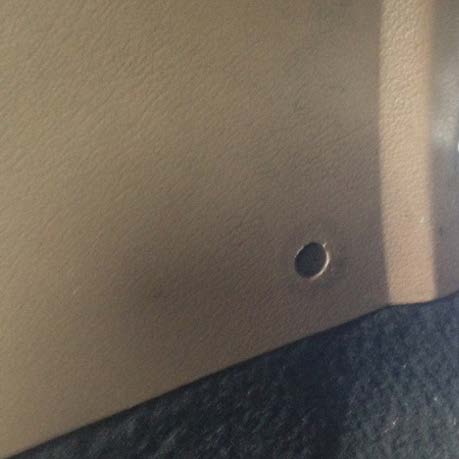
STEP 3: Remove the kick panel, by lifting the door sill;
then pull out the plastic pin down in the front corner of
the kick panel and remove the kick panel to access the
computer.
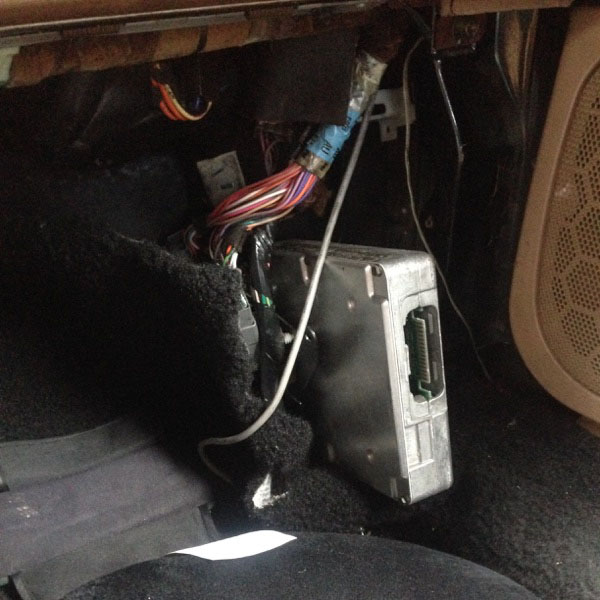
STEP 4: Access the computer wire harness and tap the
purple wire into: pin number 44, gray w/light blue stripe
or pin number 43, red w/black stripe at the PCM.
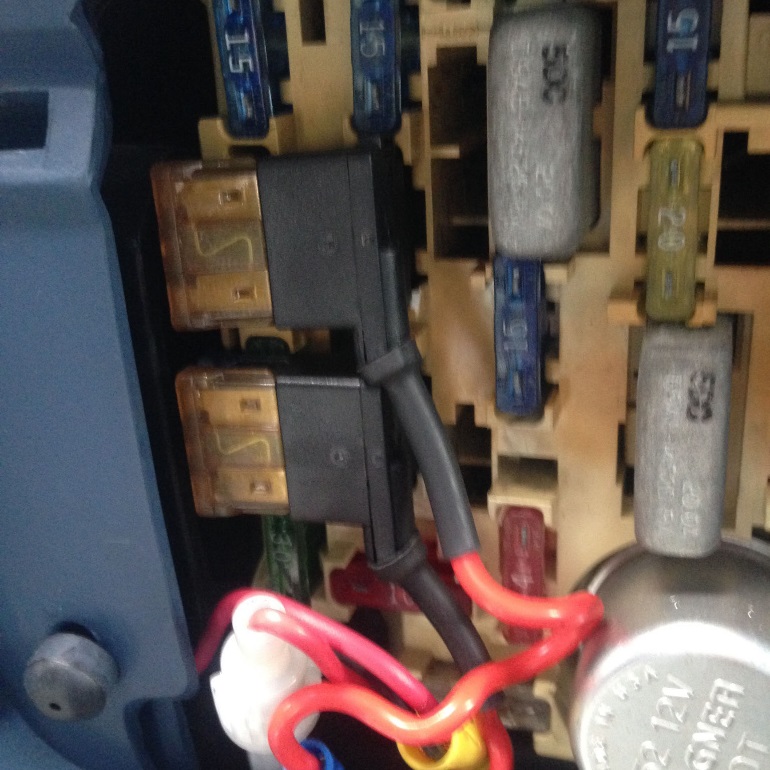
STEP 5: I use fuse piggy backs, attach the red wire to a fuse piggy back installed in a slot that gets power when the key is on such as the radio fuse and install the original fuse in the front slot and a 5amp fuse into the outer slot that feeds to the gauges. Attach the black wire to a ground screw, they are the green screws that are located in the kick panel area or the center console area of the car. There is usually a black ground wire already feeding to a ground screw.
Installation Instructions written by AmericanMuscle Customer Ryan Houck 12.16.2014


