Top Sellers in Mustang
How to Install PMAS Velocity Cold Air Intake - No Tune Required on your Mustang
Shop Parts in this Guide
PMAS Velocity Intake System Installation Instructions
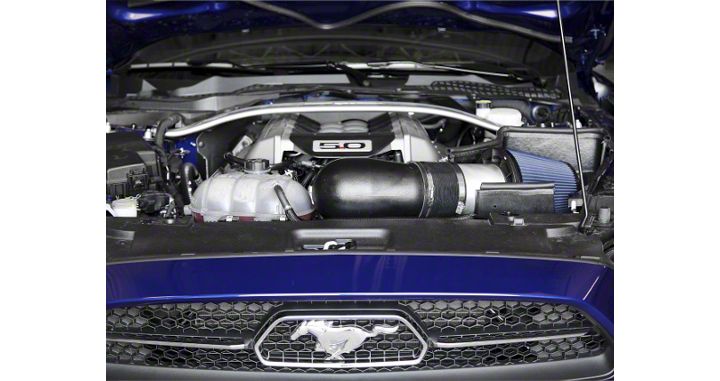
Thank you for purchasing the PMAS Velocity Intake System for the 2015 Mustang 5.0. Please read these installation instructions carefully before proceeding.
Step 1: Remove decorative engine cover by lifting it and sliding it under the strut tower Brace.
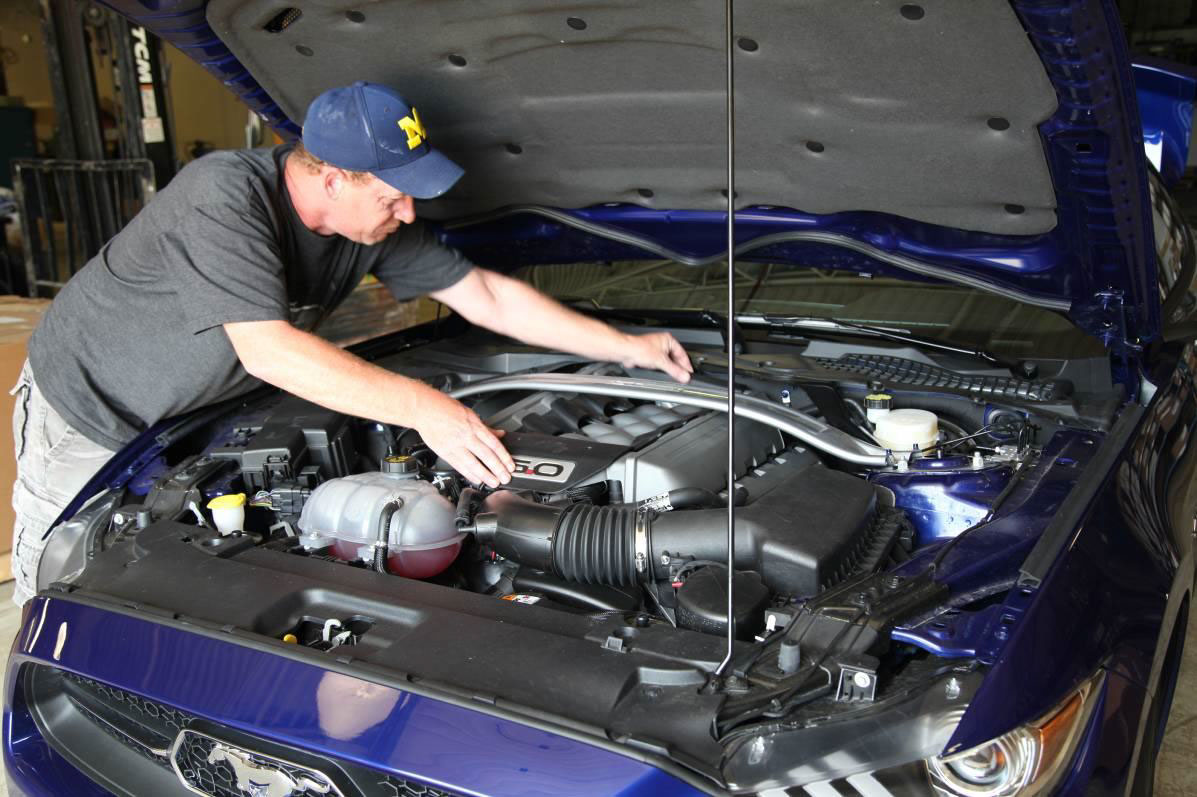
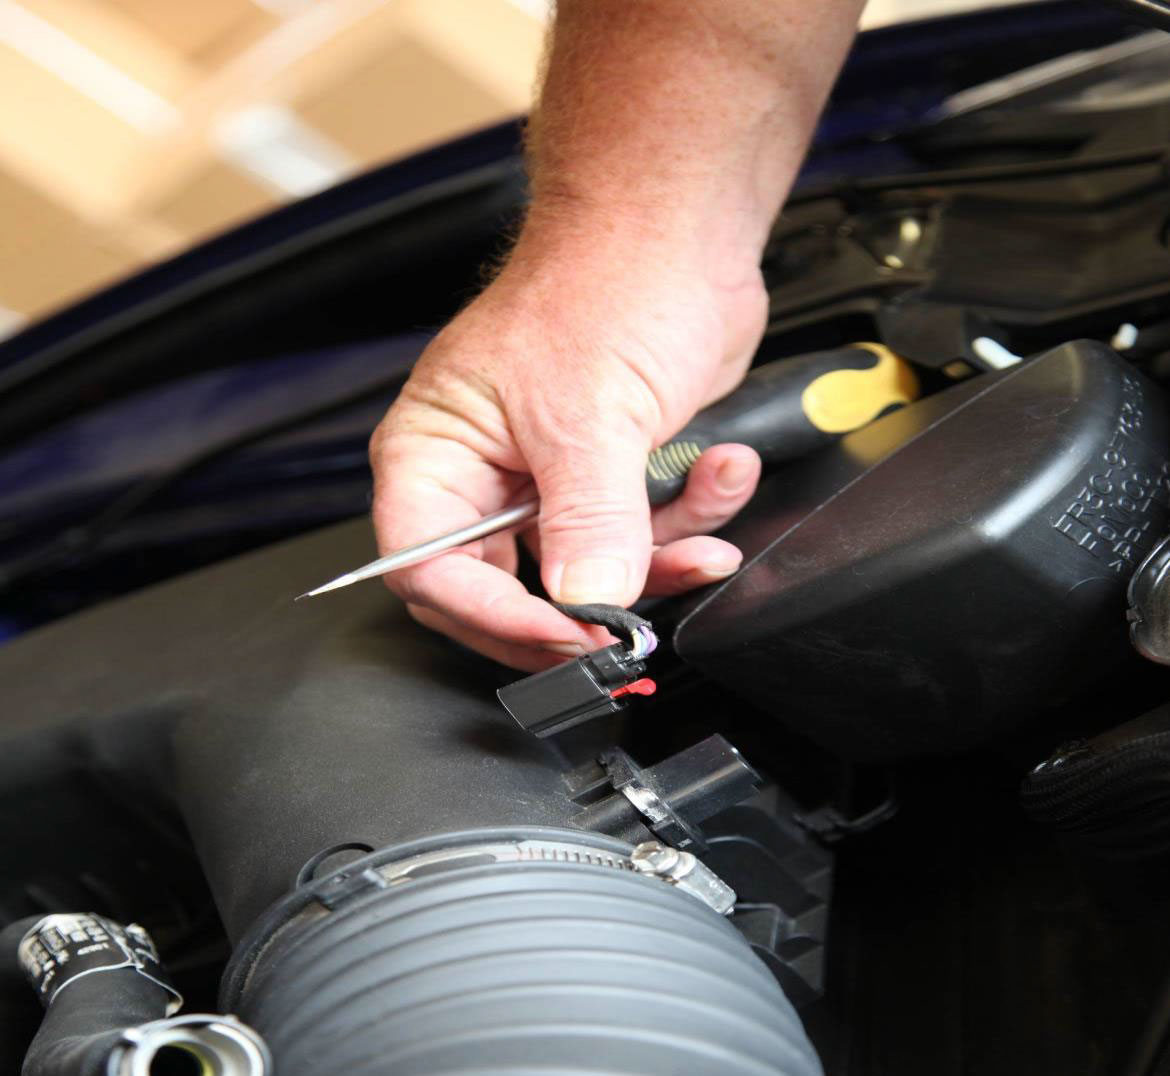
2: Disconnect Mass airflow sensor connector
3: Remove hose clamp at air box next to mass airflow sensor
4: Remove intake hose from air box
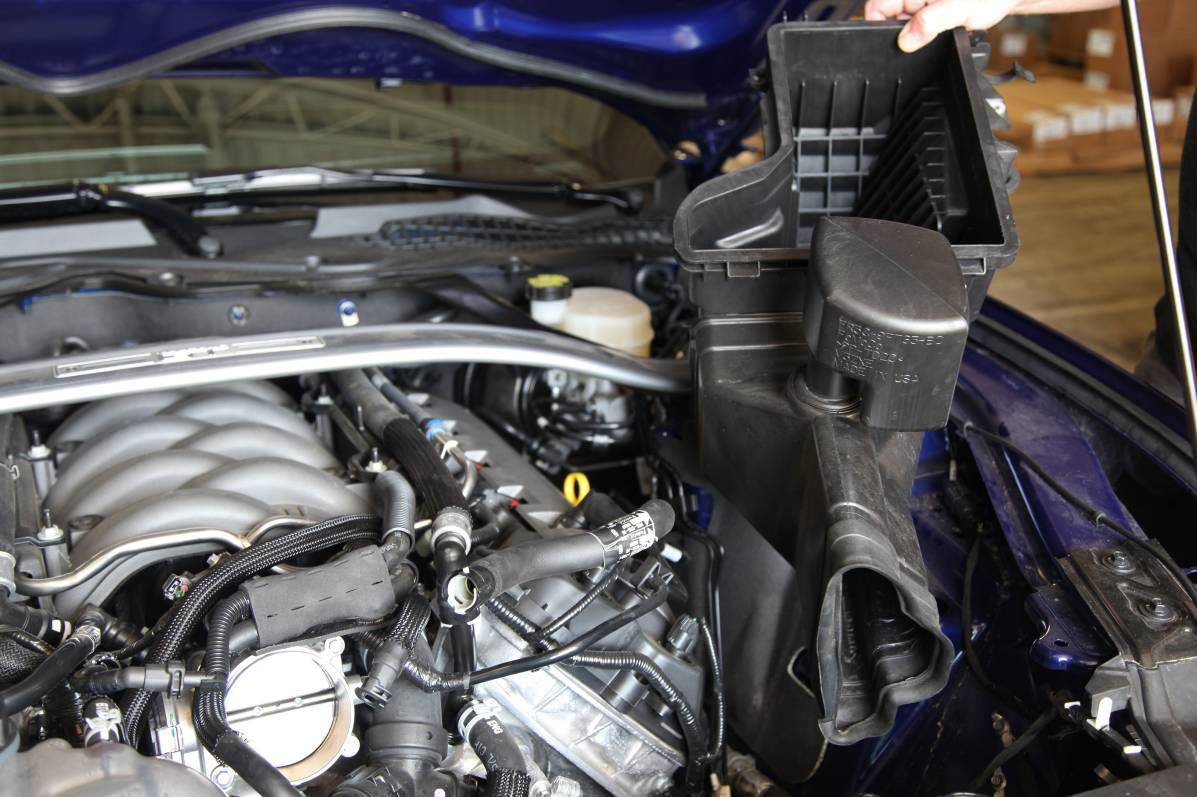
5: Release air box snaps holding down factory air box lid, and remove air box lid.
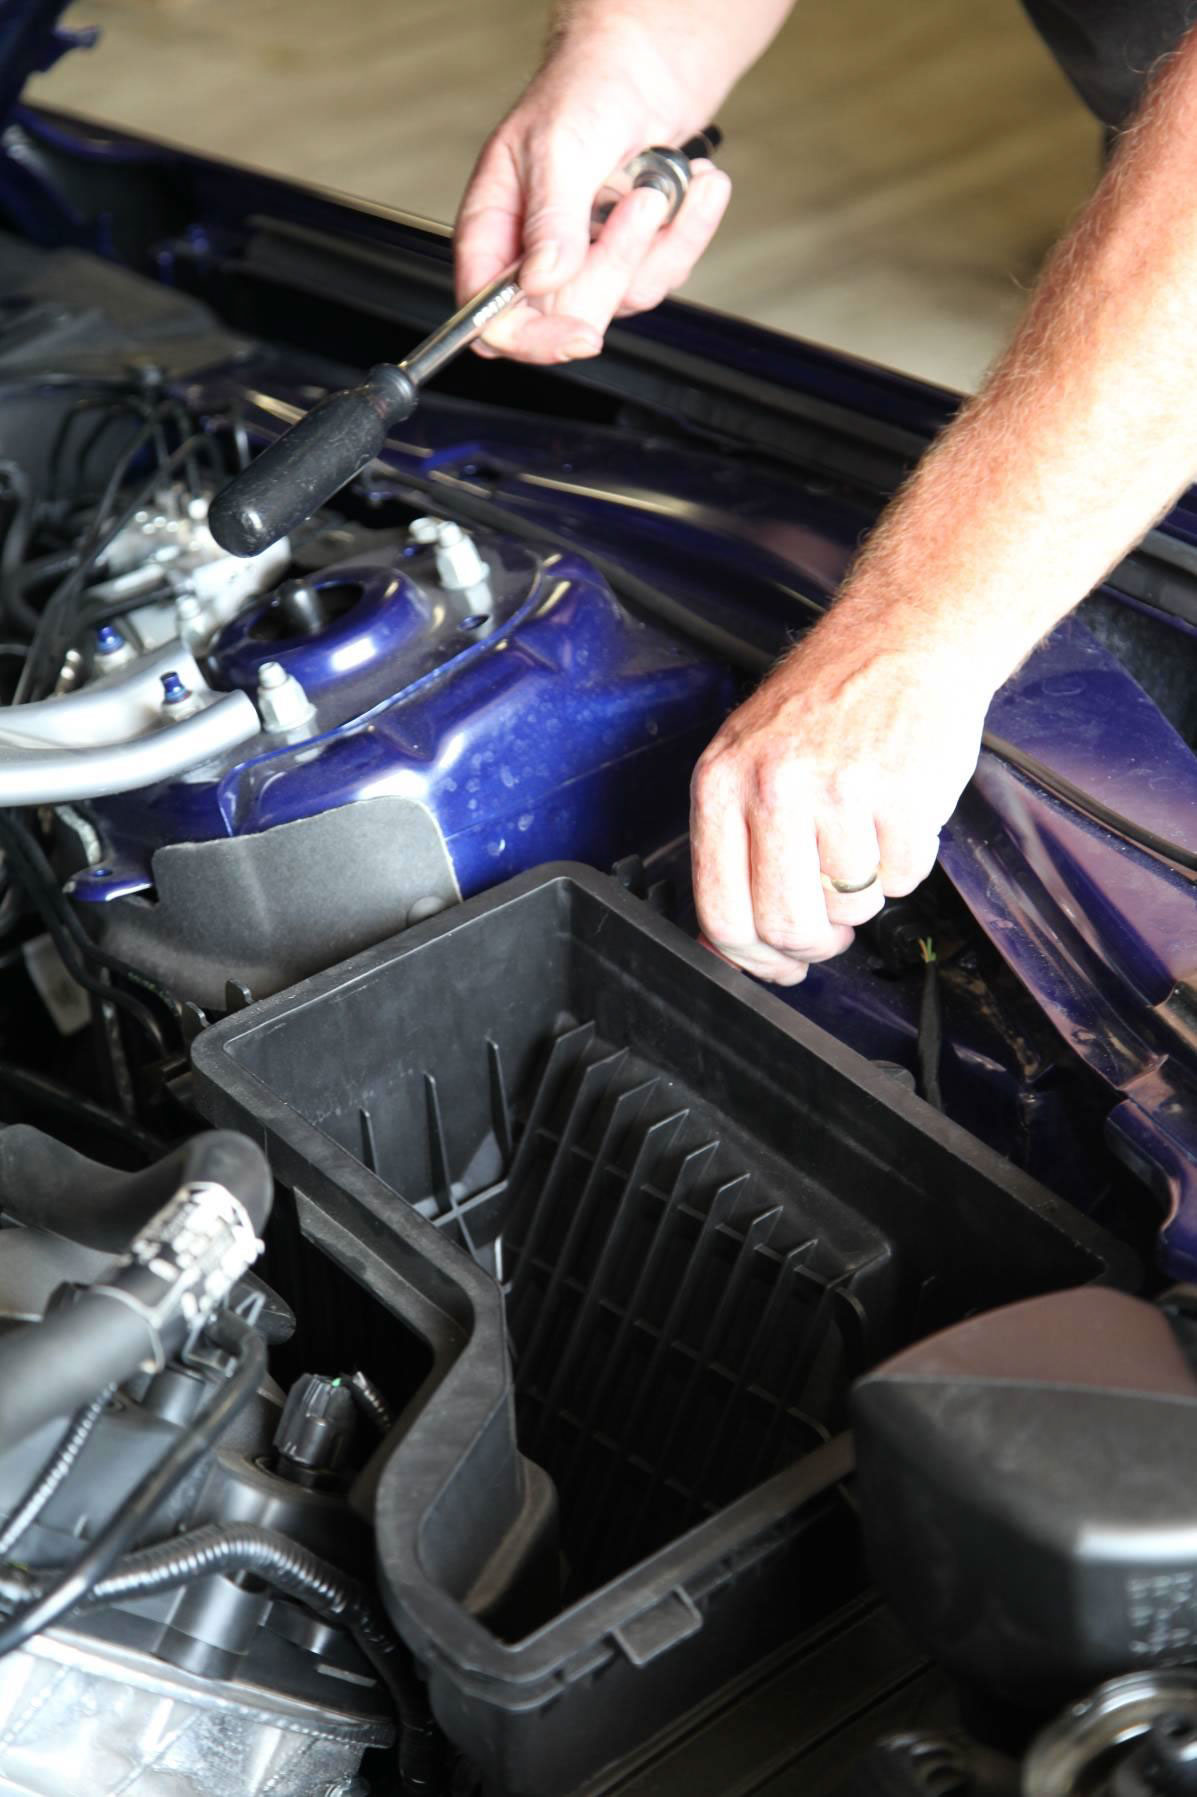
6: Remove single bolt holding lower air box to inner fender and remove lower air box.
7: Remove intake tube clamp at throttle body
8: Remove intake tube from Throttle body
9: Carefully remove plastic clips attaching three hoses to intake tube.
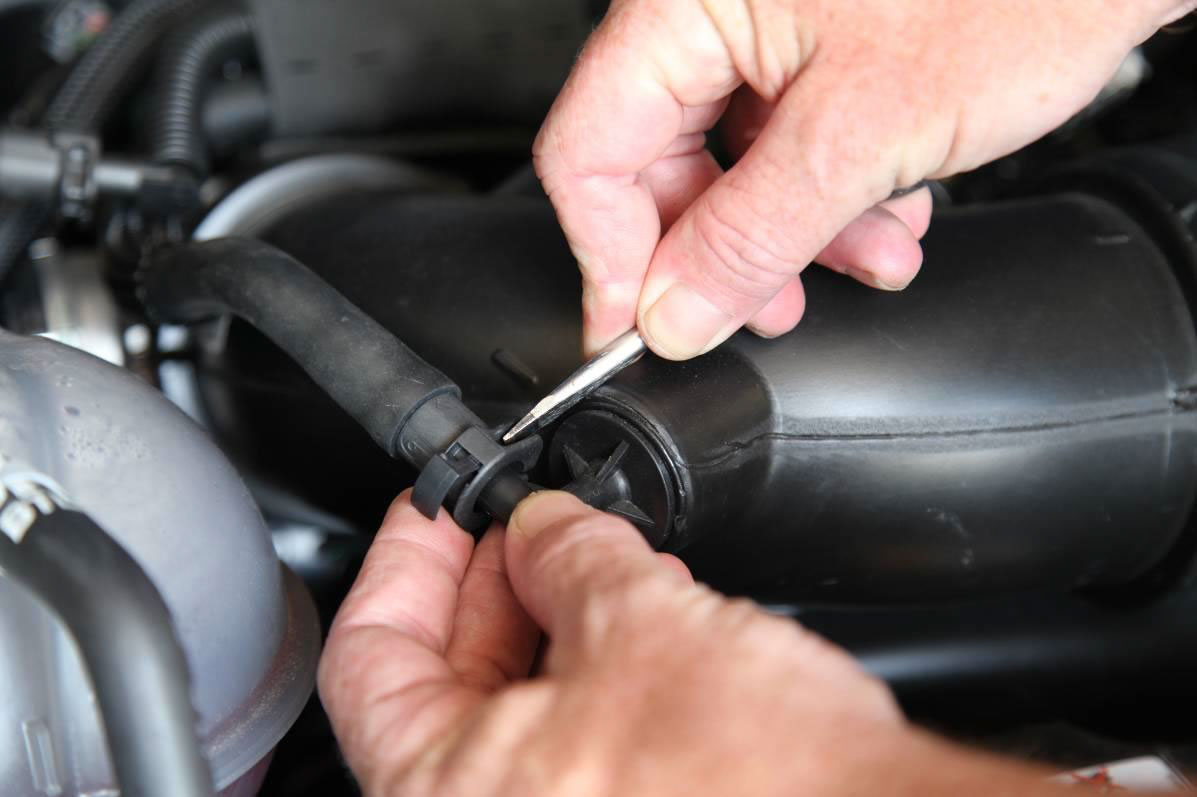
10: Remove hoses from intake tube
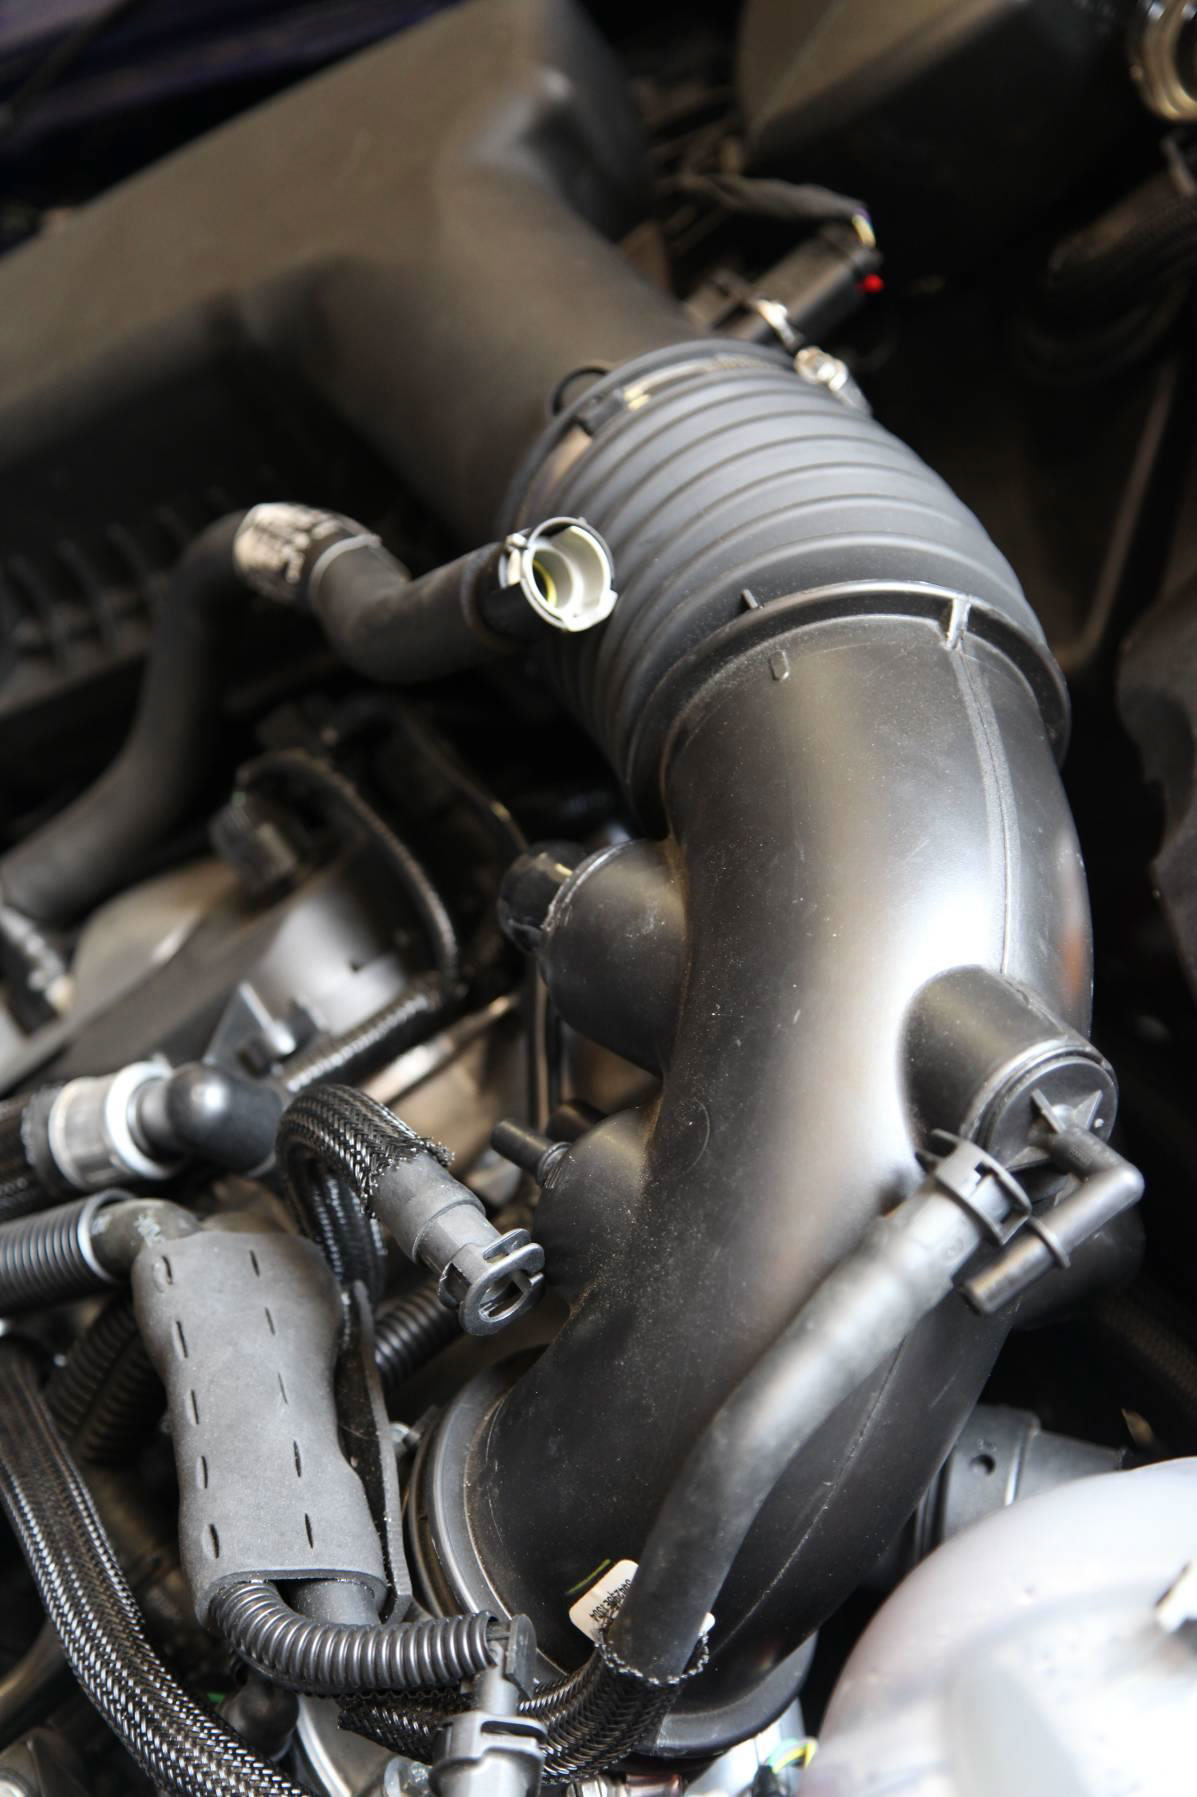
11: Remove sound tube from intake tube.
12: Remove intake tube. If desired remove entire intake tube from attachment at firewall.
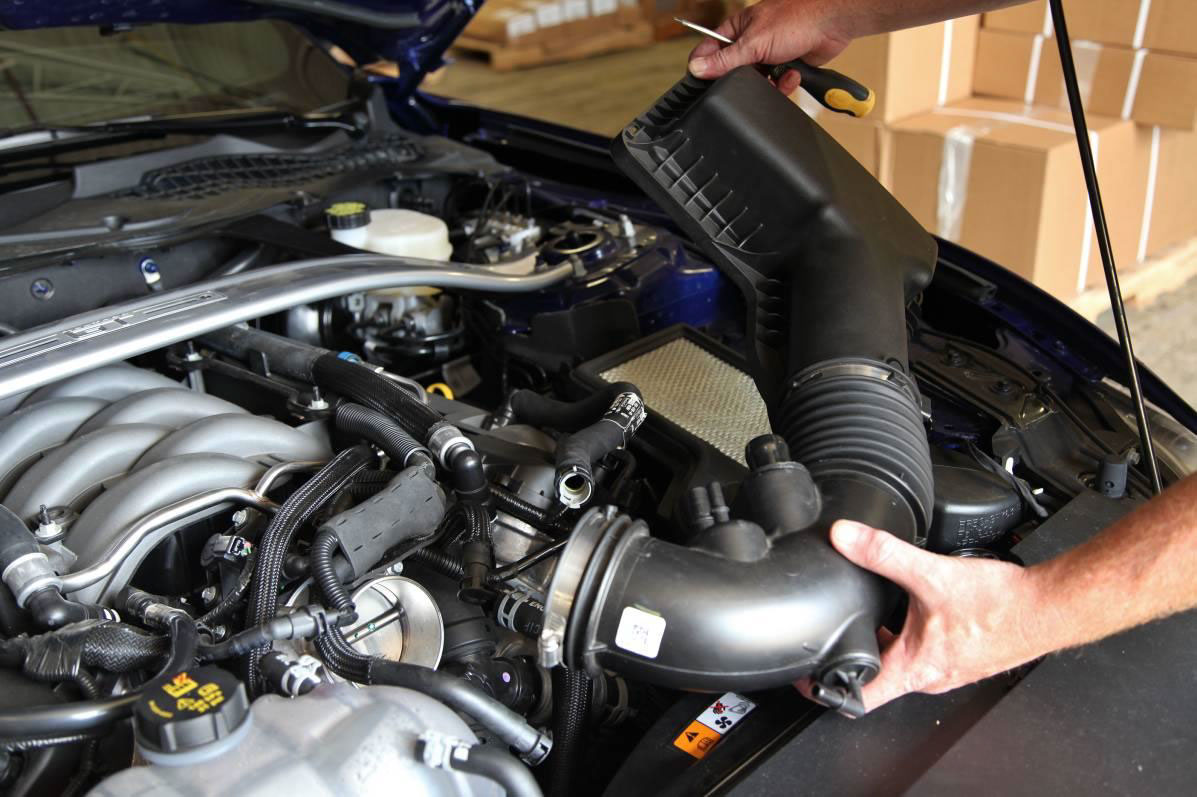
13: Remove two bolts from coolant reservoir, install supplied reservoir relocation bracket using supplied bolts.
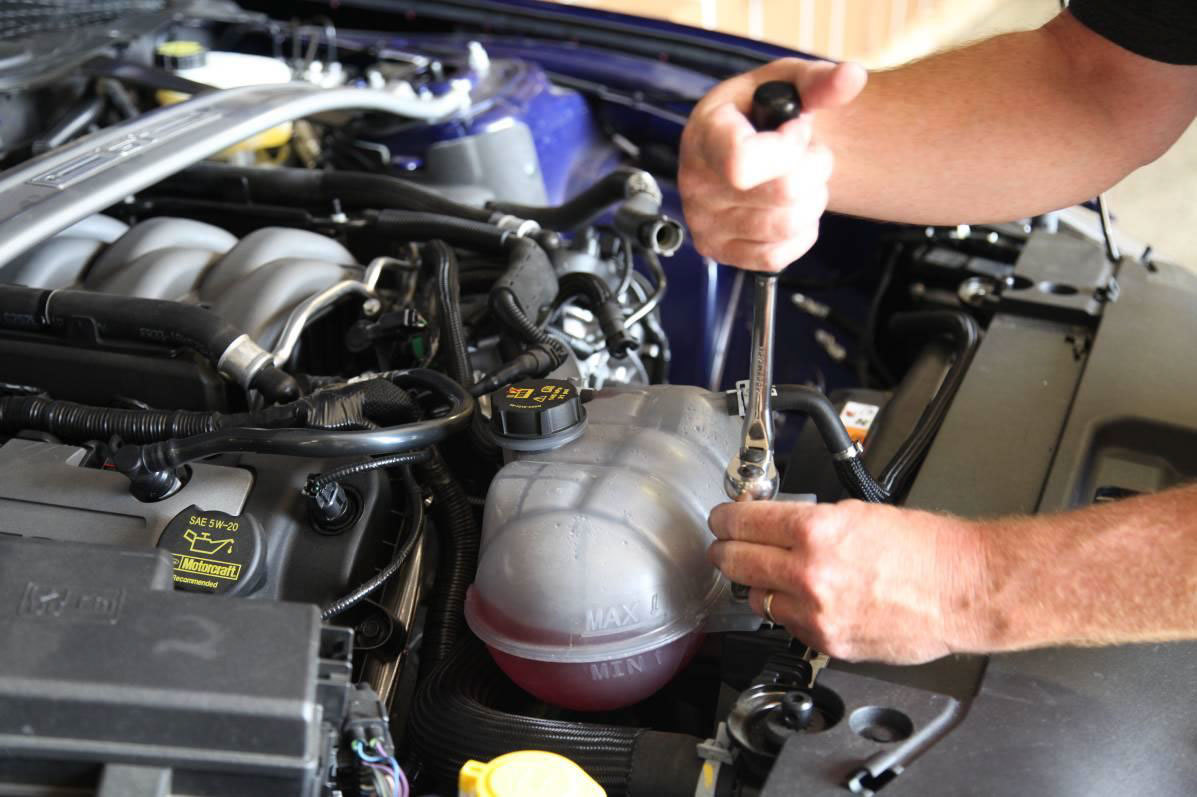
14: Install coolant reservoirs onto relocation bracket using factory bolts.
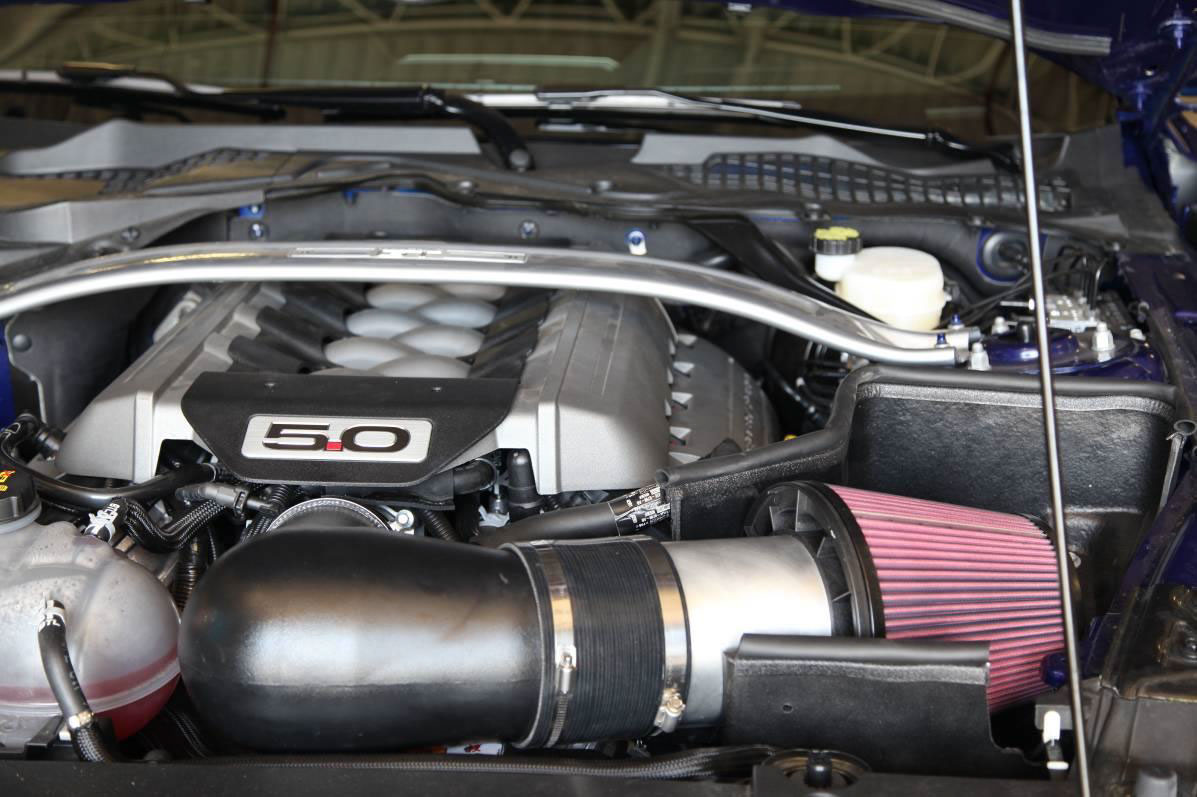
15: Install PMAS heat shield and install one hold down bolt in original location.
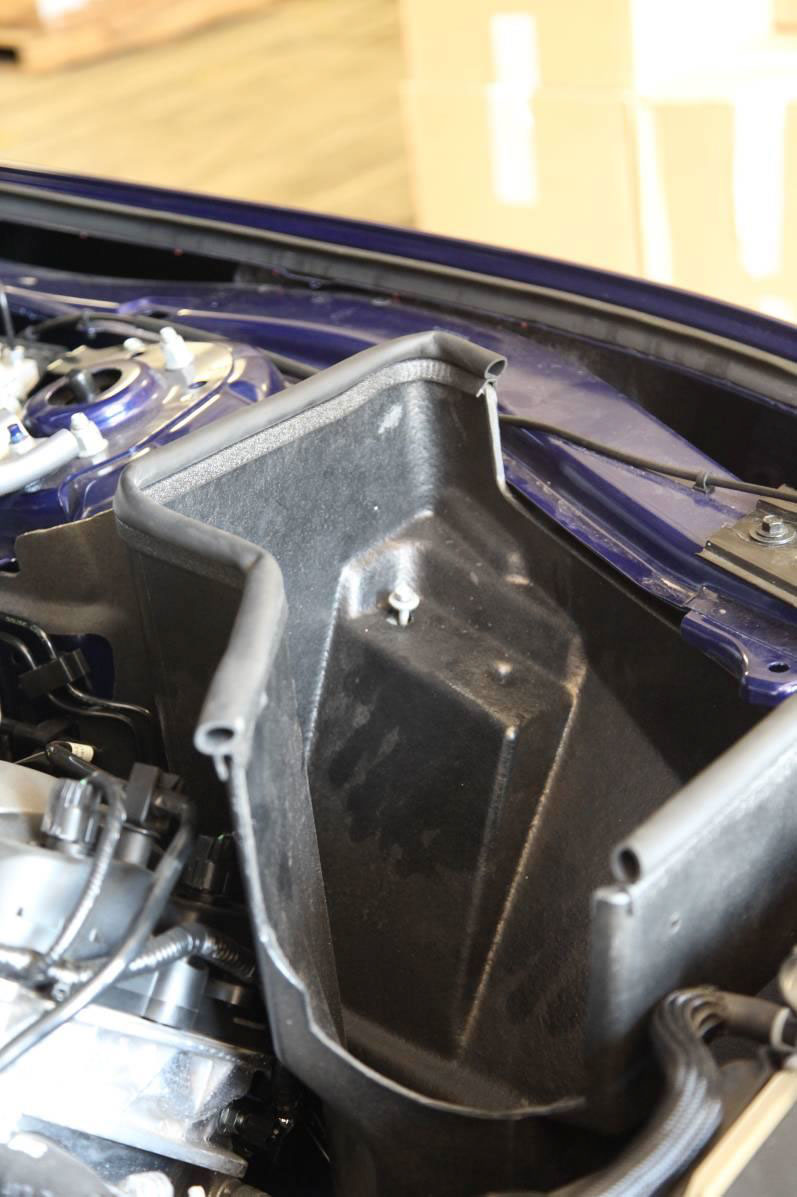
16: Slide large 5” hose coupling onto PMAS intake tube.
17: Slide PMAS Velocity Mass Air flow Sensor into 5” coupling, do not tighten any clamps at this time.
18: Carefully slide throttle body end of PMAS intake tube onto Throttle body, and lower entire assembly into the lower air box. Make sure that the portion of the maf sensor with the electrical connection in pointing up towards the hood.
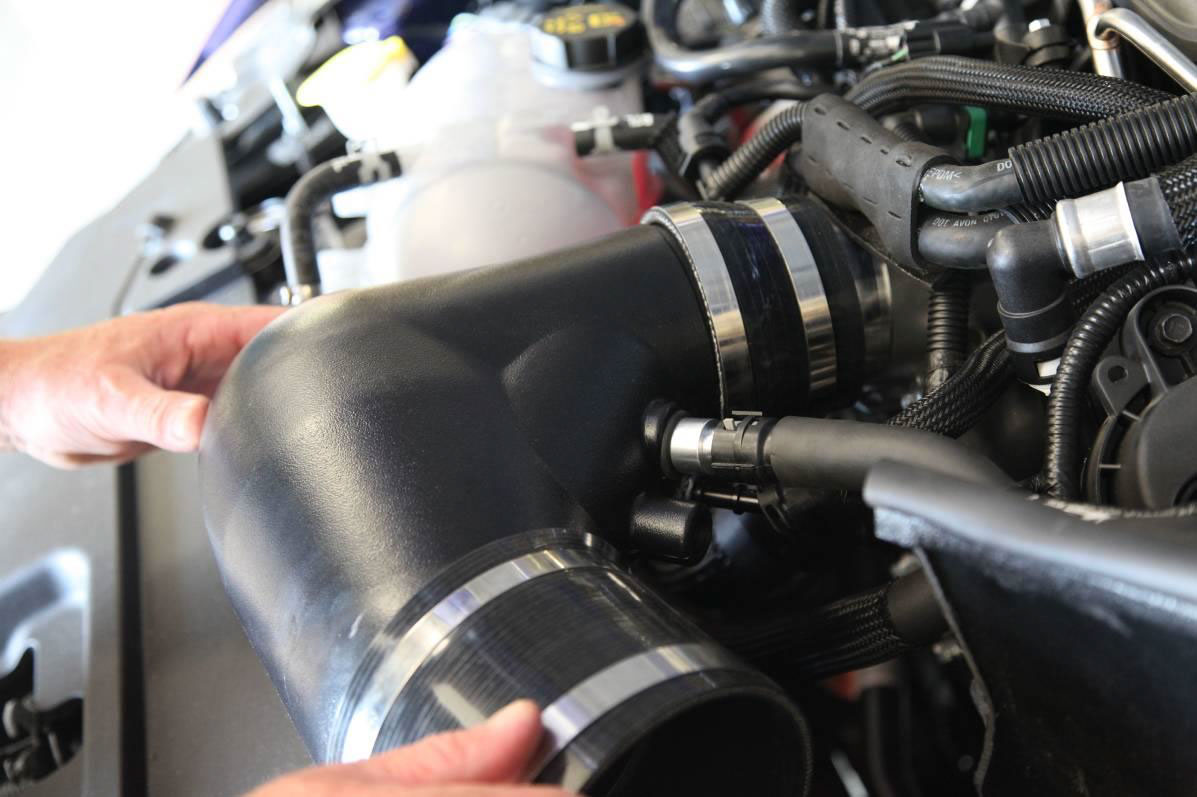
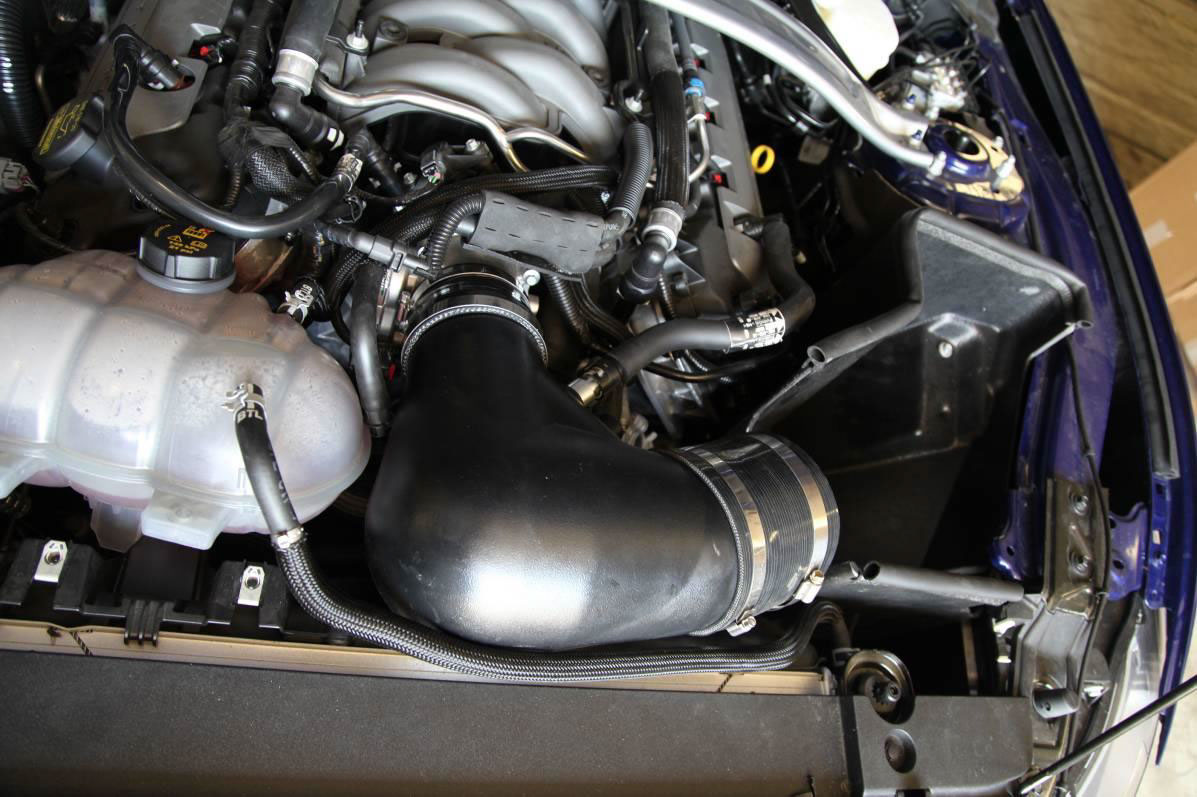
19: This step in very important. Make sure that throttle body coupling is pressed firmly and completely onto throttle body. If done correctly the large intake elbow will be touching the top of the fan shroud (see picture) this will ensure proper hood clearance. Tighten throttle body clamp.
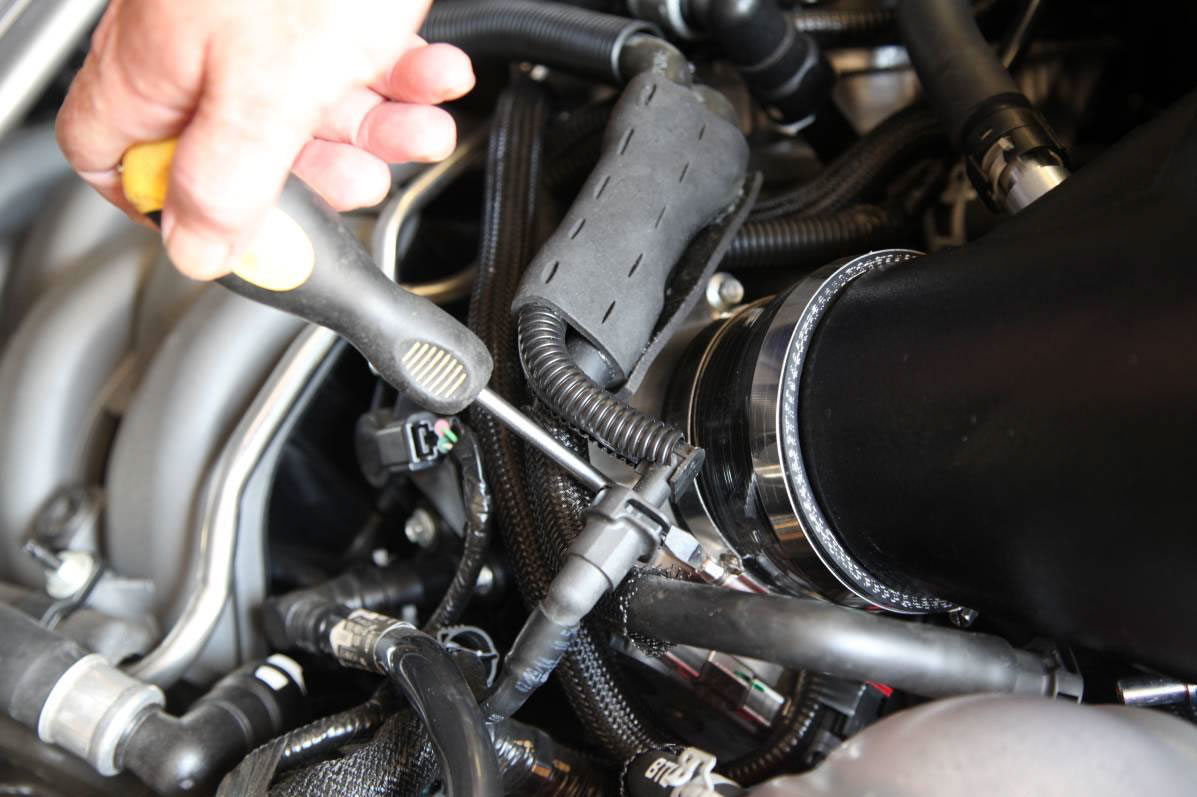
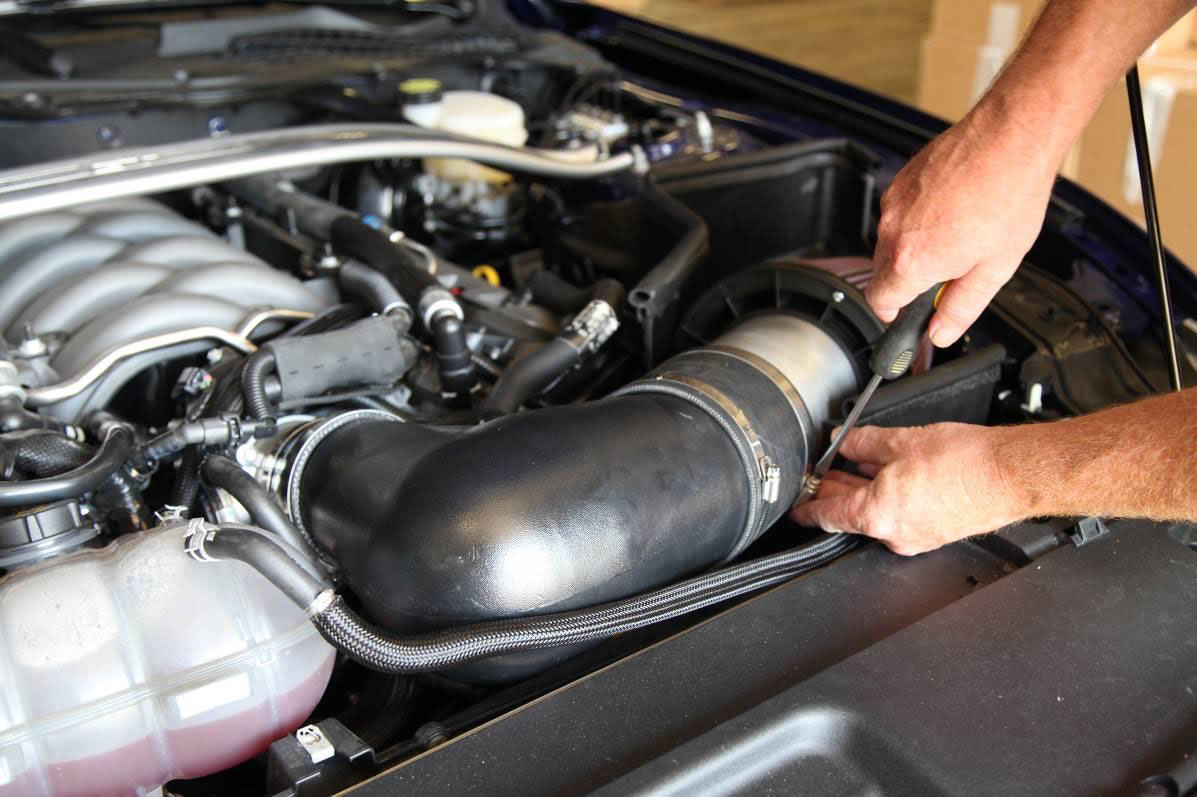
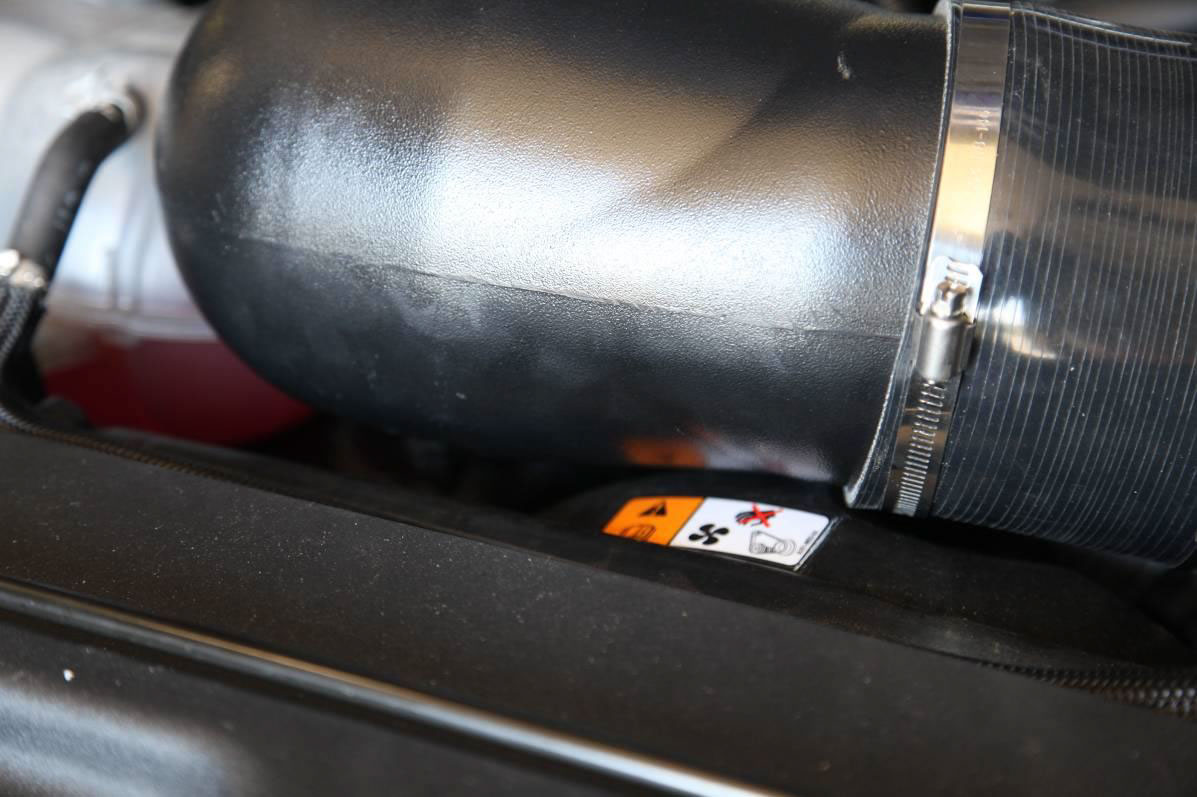
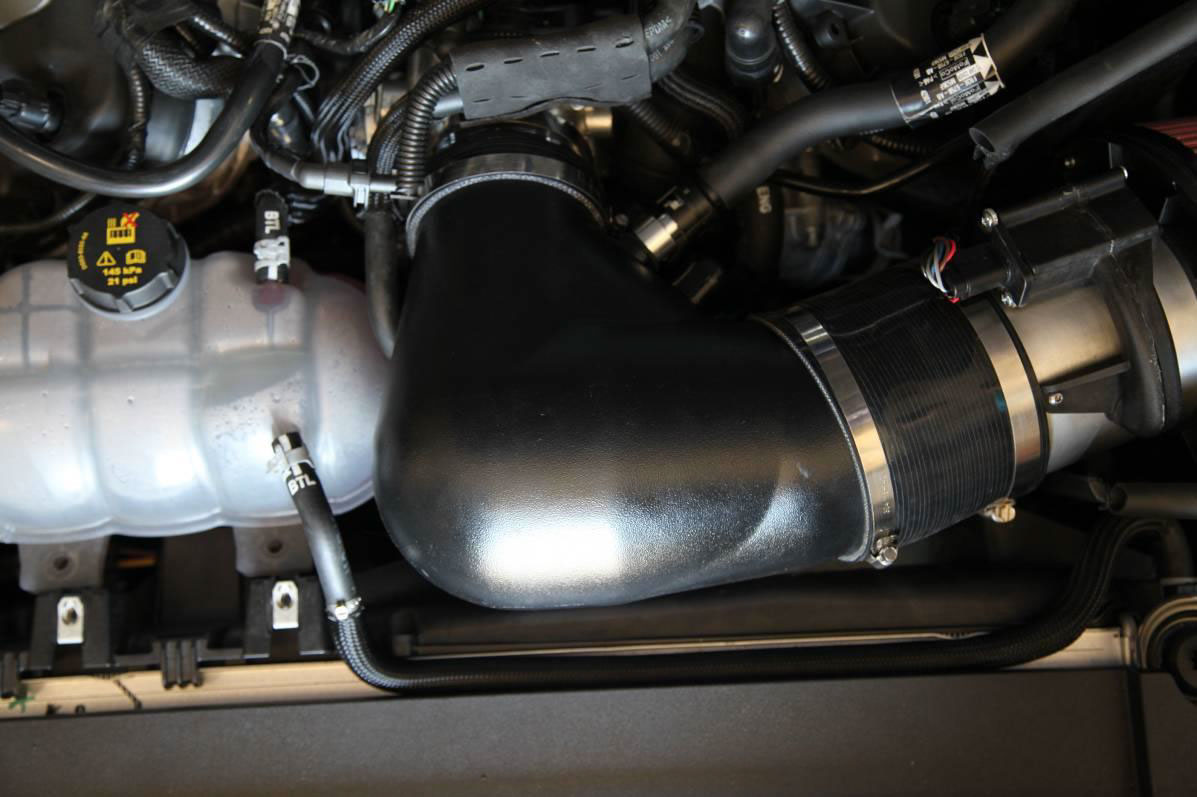
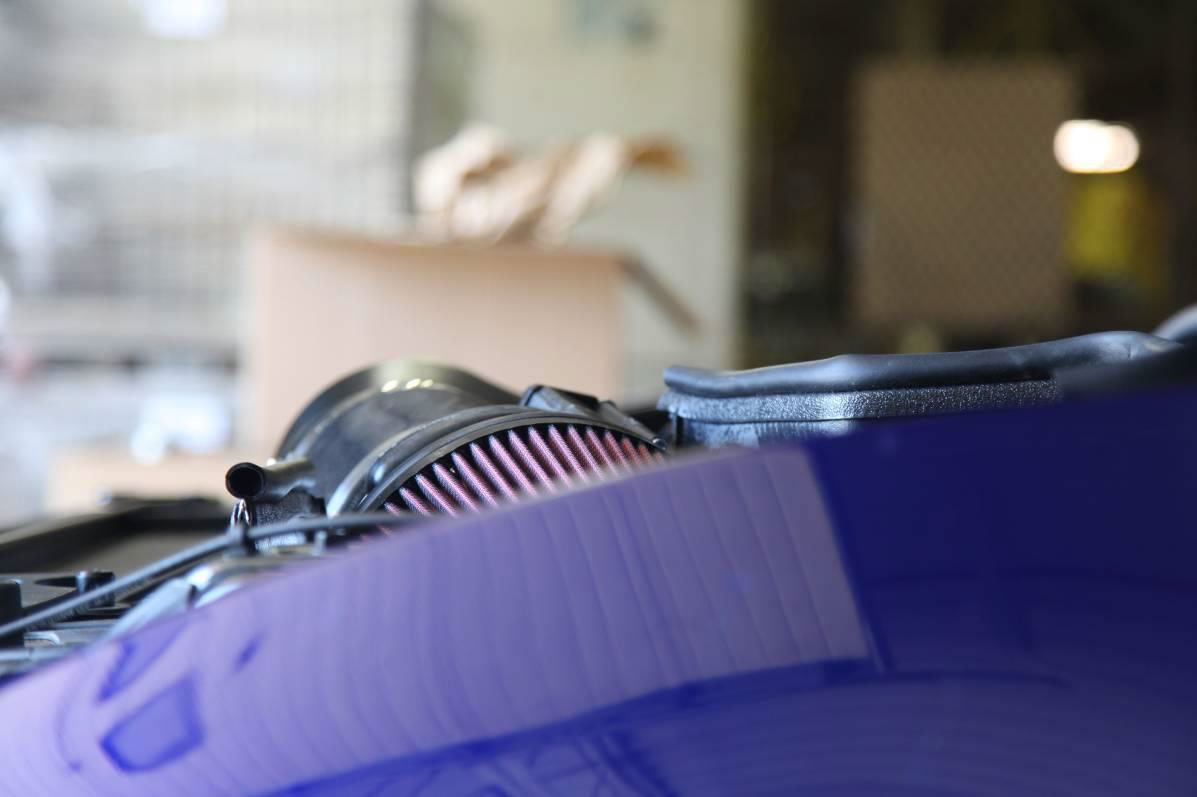
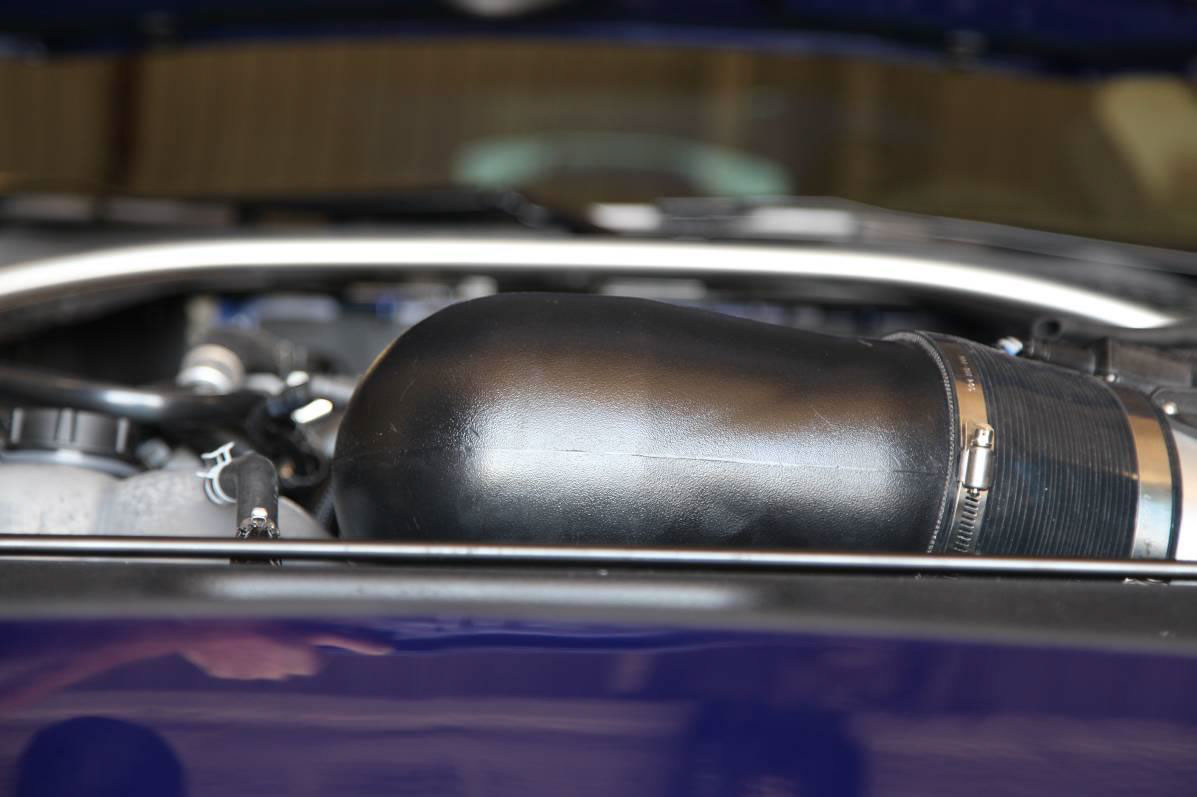
20: Make sure maf is correctly oriented and placed, then tighten down two 5” hose clamps.
21: Reinstall three hoses onto intake tube and sound tube if desired. Reinstall hose clips.
22: For no tune required kit install supplied PMAS maf sensor into the Velocity Maf housing and reconnect Maf connector. For tune required kit install factory maf into Velocity maf housing and reconnect Maf connector (tune with supplied maf transfer function)
23: By hand, lower hood until hoods stops. Gently press hood down by hand until hood body lines match up. This will assure hood clearance. If hood does not clear, then repeat step 16. We are not responsible to hood or intake elbow damage do to improperly aligned intake tube. This system is very large and it clears but it is VERY close.
24: Start engine, let engine run for 30 seconds then turn off engine
25: Restart engine and enjoy!
