
Best Sellers
How to Install PMAS Cold Air Intake - Tune Required (11-14 GT) on your Ford Mustang
Installation Time
45 minutes
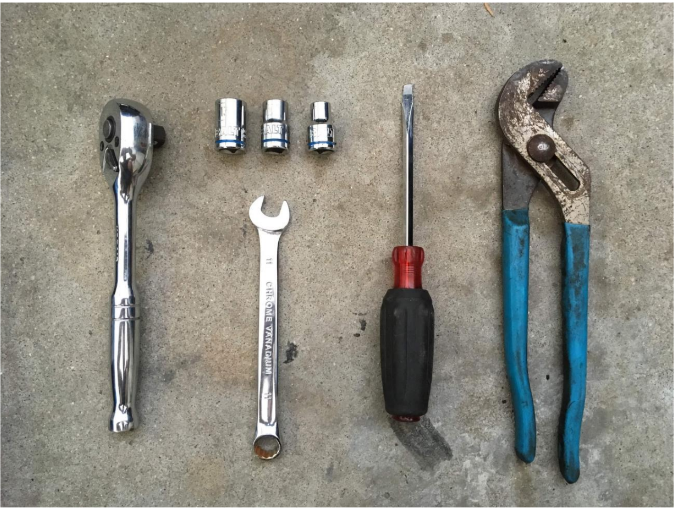
Tools Required
- Flathead Screwdriver
- Ratchet
- 13mm Socket
- 10mm Socket
- 8mm Socket (Optional)
- 11mm Wrench
- Pliers
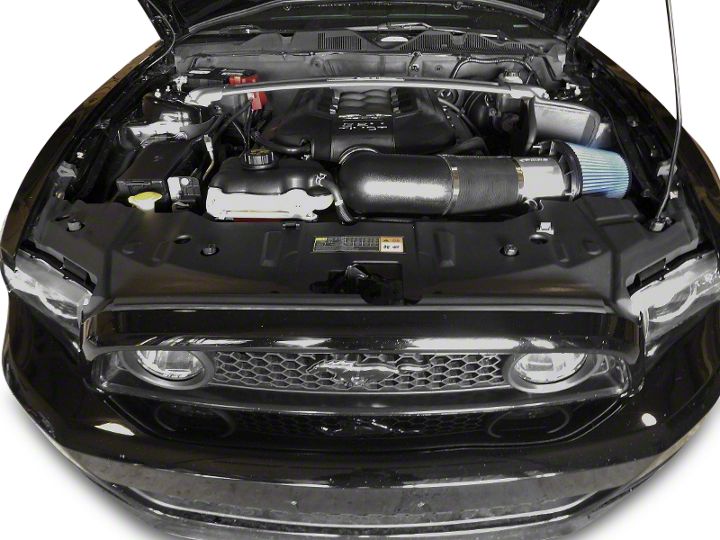
Shop Parts in this Guide
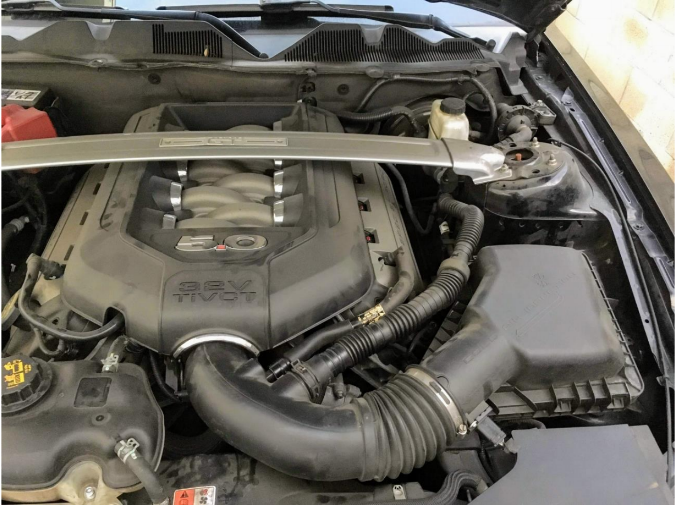
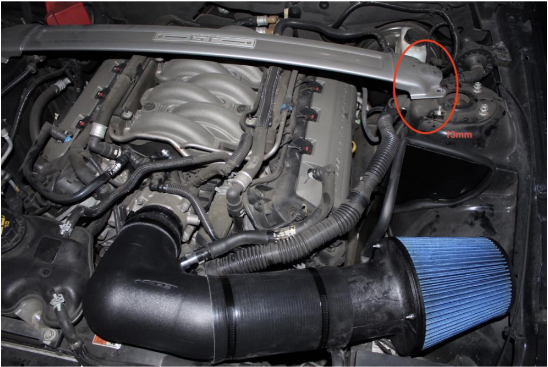
Before Picture
Installation Steps
1) Open the Hood. Remove the (4) 13mm bolts to remove the Strut Bar. Remove the Engine Cover.
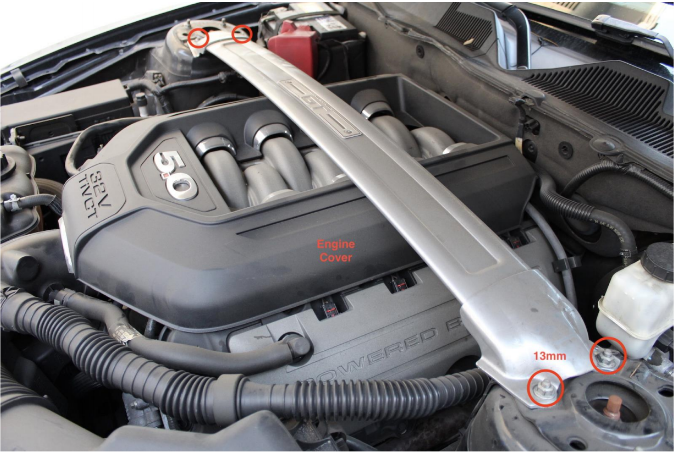
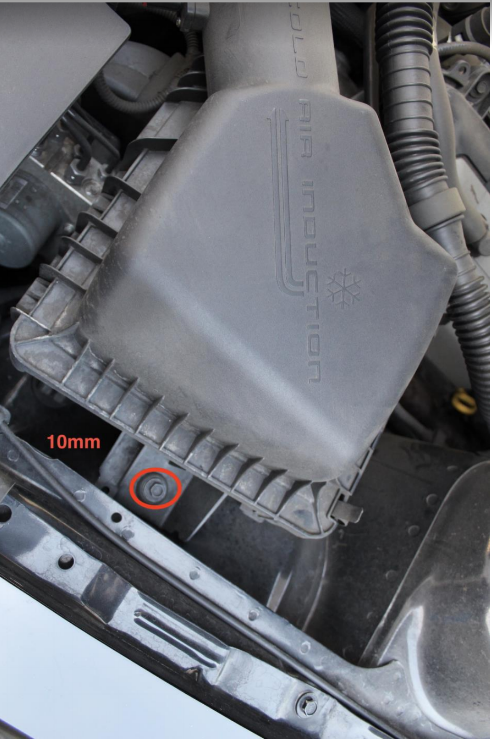
2) Remove the 10mm bolt securing the stock intake box to the car.
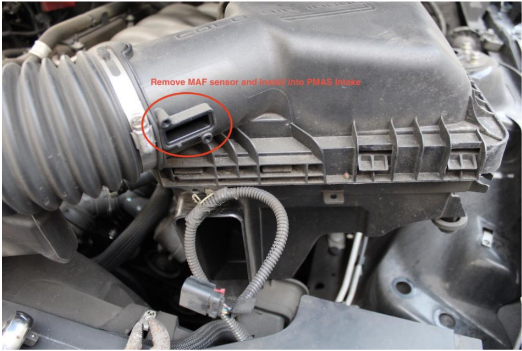
3) Disconnect the MAF sensor harness and remove the MAF sensor using a T20 Torx/Star bit. There’s a red tab that you can pull using a flathead screwdriver that will allow the MAF harness to disconnect.
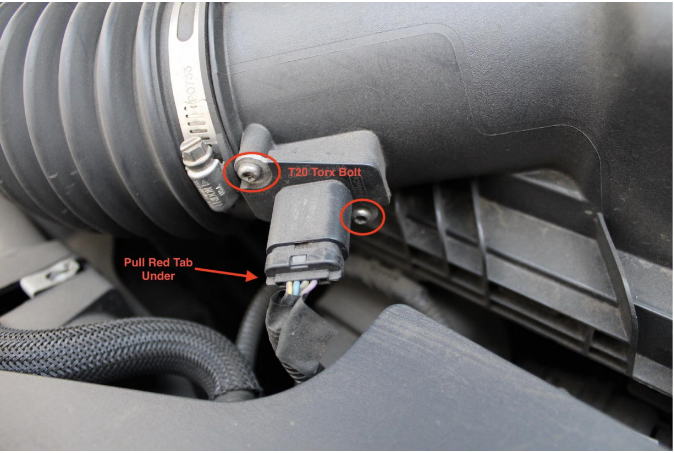
Be very careful with the MAF sensor as it is very delicate. Do not use anything other than MAF sensor cleaner to clean the MAF sensor. The MAF sensor will be moved to the new PMAS intake.
4) Disconnect the 2 hoses connected to the Stock intake tube.
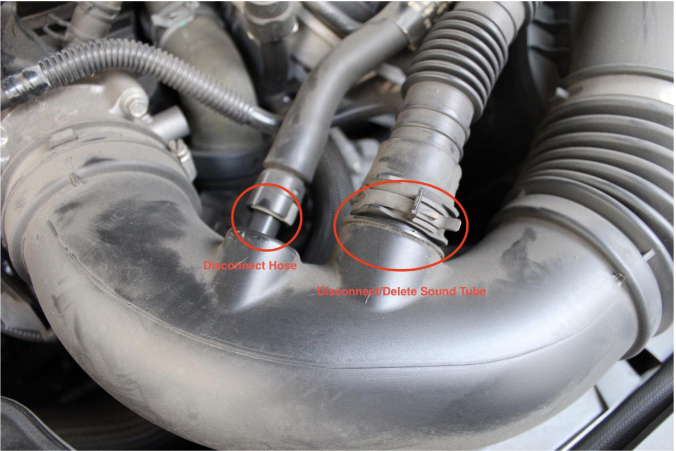
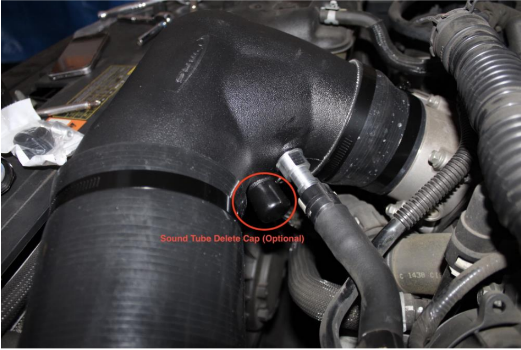
The sound tube can be deleted using the cap that comes with the PMAS intake. (Optional)
5) Using a flathead screwdriver or an 8mm socket, loosen the metal clamp to remove the intake from the throttle body.
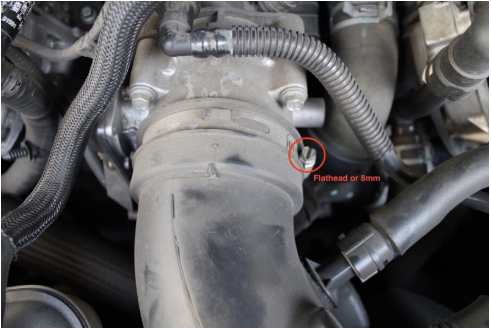
6) This should allow you to remove the entire stock intake assembly as a whole. Don’t forget to remove the MAF sensor and keep it safe as you will need it on the new intake.
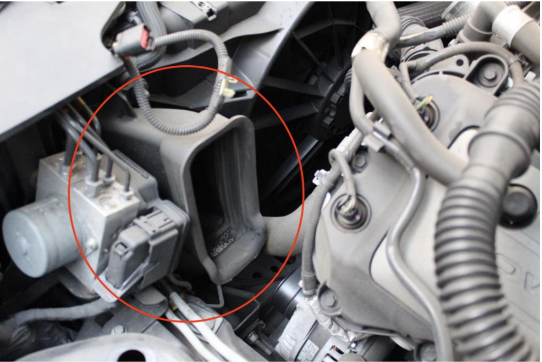
7) Remove the stock airbox plastic piece that is hidden near the brake unit.
8) Because of the large PMAS intake size, the stock coolant overflow reservoir needs to be moved over using the included PMAS bracket.
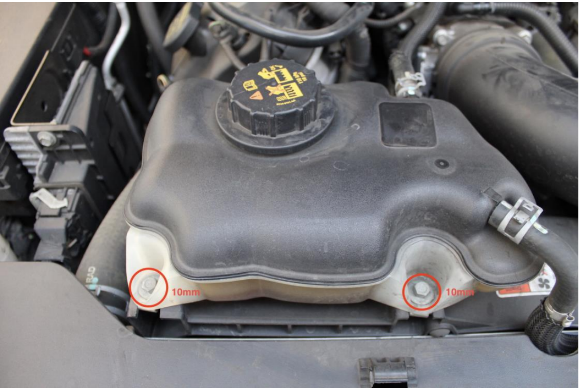
It does not require draining the coolant or disconnecting any hoses. Simply remove the (2) stock 10mm bolts to unbolt the coolant tank.
9) Using the relocation bracket and the provided hardware (M4 hex bolt head, washers, and 11mm nut), move the coolant tank over.
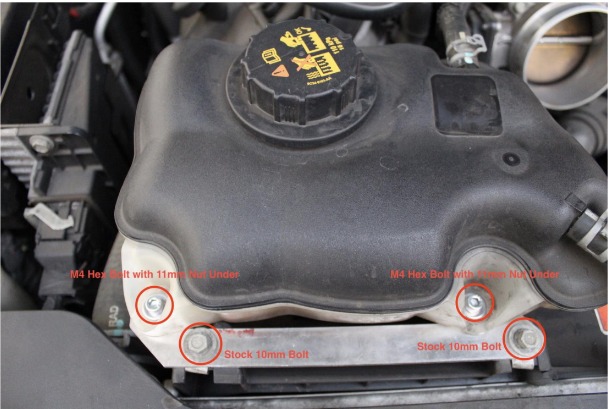
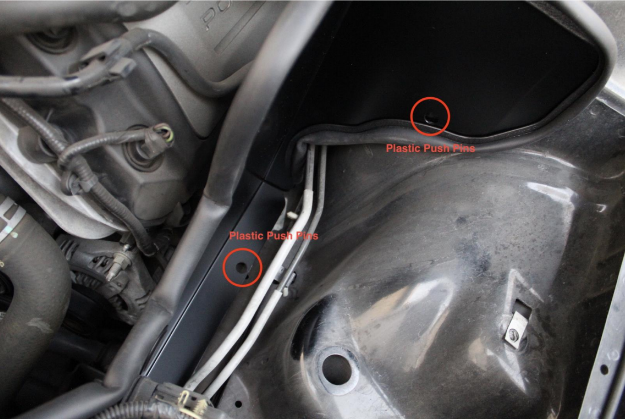
10) Install the PMAS heat shield using the provided (2) plastic push pins. There should be 2 holes in the car body that it will align with.
11) Connect the PMAS intake tube to the throttle body and tighten the metal strap down.
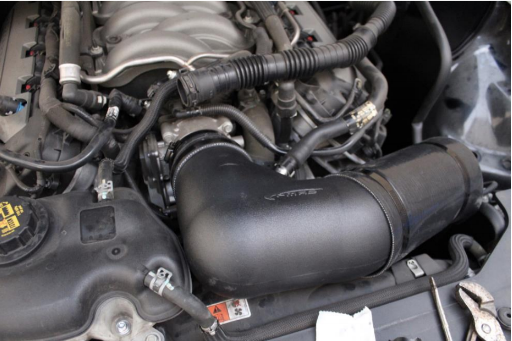
12) Reconnect the 2 hoses disconnected earlier. 1 of them is the sound tube. This can be deleted by using the provided firewall plug. Or you can connect this to the intake to retain the sound tube.
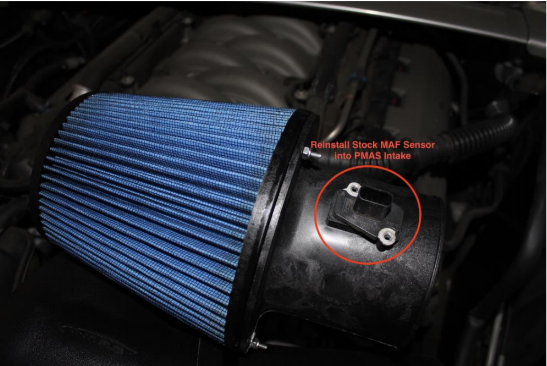
13) Install the stock MAF sensor into the PMAS intake air filter housing using a T20 Torx bit.
14) Reinstall the engine cover. Reinstall the (4) 13mm strut nuts to secure the strut bar to the car.
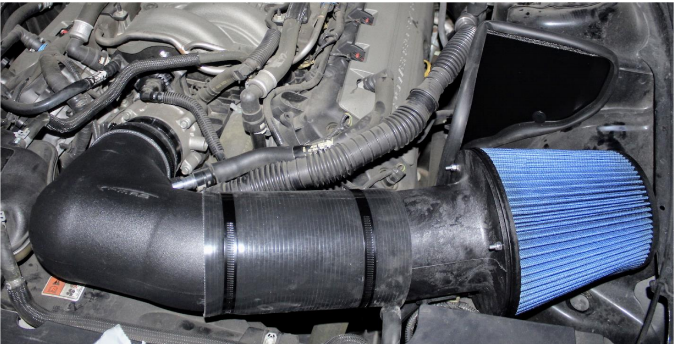
After Picture
Installation Instructions Written by AmericanMuscle Customer David Lee 01/18/2019


