
Best Sellers
How to Install Prothane Front Sway Bar Bushings - 27mm on your '79 5.0L; '94-99 V6; ''00-'04 GT Must
Installation Time
4 hours
Tools Required
- Floor Jack
- 2 Jack Stands
- 4 Tire Chocks
- 5/8" Deep Well Socket
- 3/8" Drive Ratchet
- 3/8" Drive Extension
- Box Cutter
- Rag and Cleaner
Time Necessary: Approximately 1 hour
Tools Required:
• Floor Jack
• 2 Jack Stands
• 4 Tire Chalks
• 5/8” Deep Well Socket
• 3/8” Drive Ratchet
• 3/8” Drive Extension
• Box Cutter
• Rag and Cleaner
Removal Procedure:
1. Insure that two new bushings, as well as a tube of grease were supplied in the box.
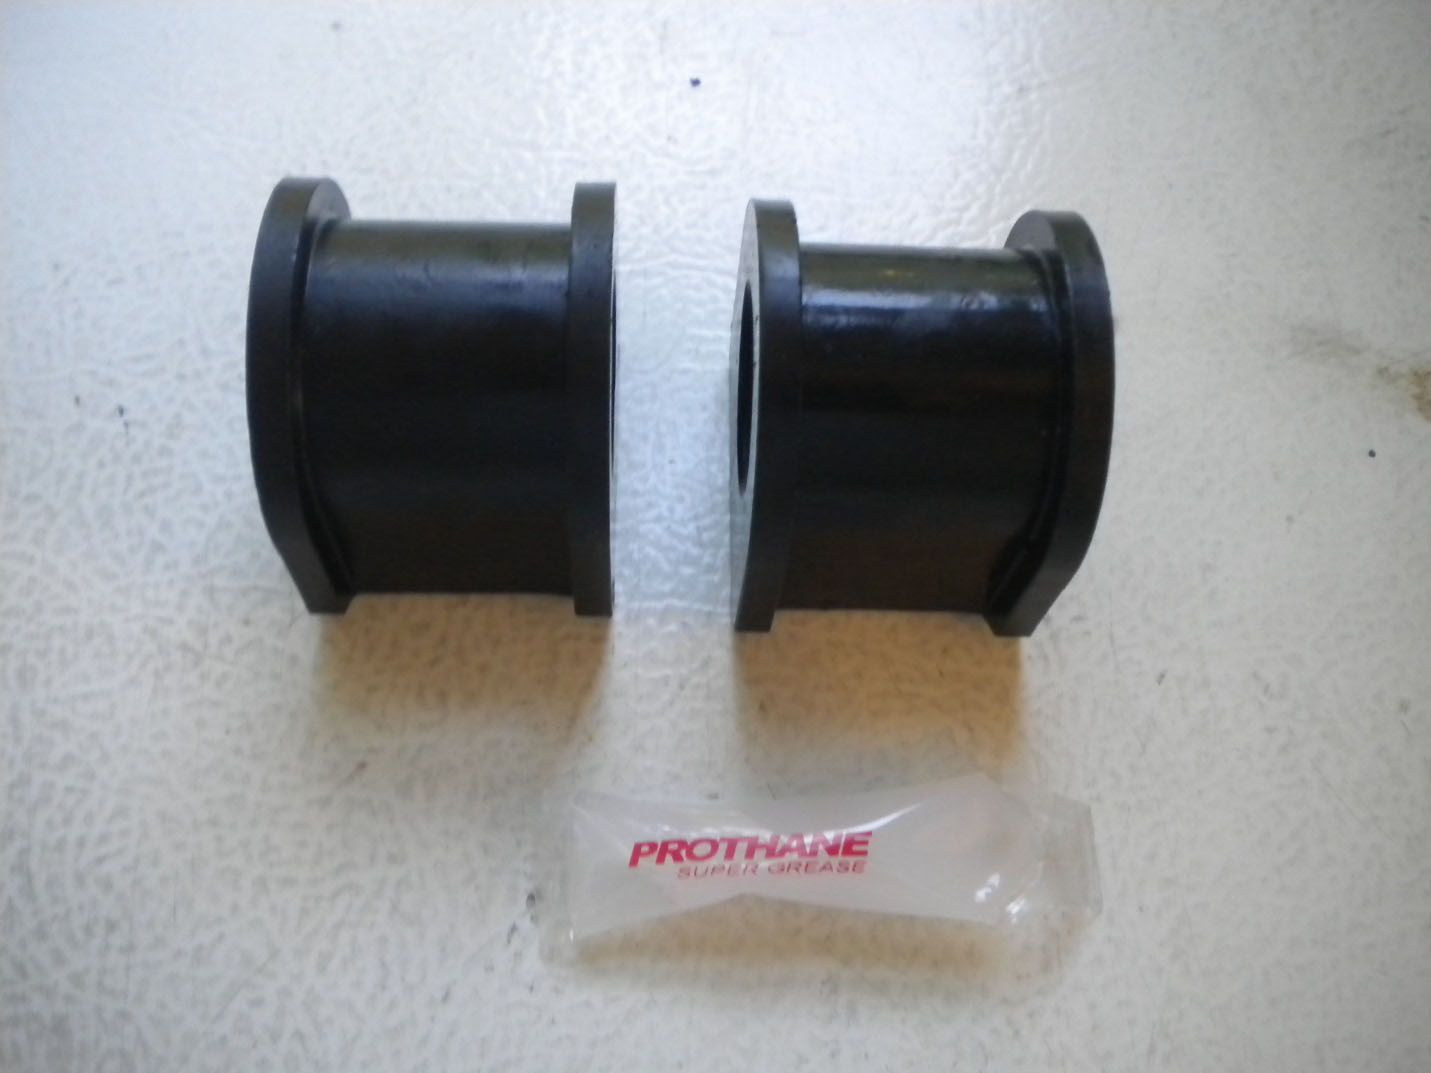
2. Place tire chalks in front and behind the rear wheels. Engage the emergency brake and put transmission in gear. Automatics should be in park.
3. Raise the front of the vehicle onto jack stands. Be sure the jack stands are secure under the vehicle before starting the maintenance.
4. Locate the front sway bar bushings. Work on them one at the time. Loosen the two, 5/8” nuts using the socket, extension, and ratchet. Once the nuts are off, pull the sleeve that goes over the bushing straight down. This sleeve is most likely on pretty tight, so some elbow grease is necessary.
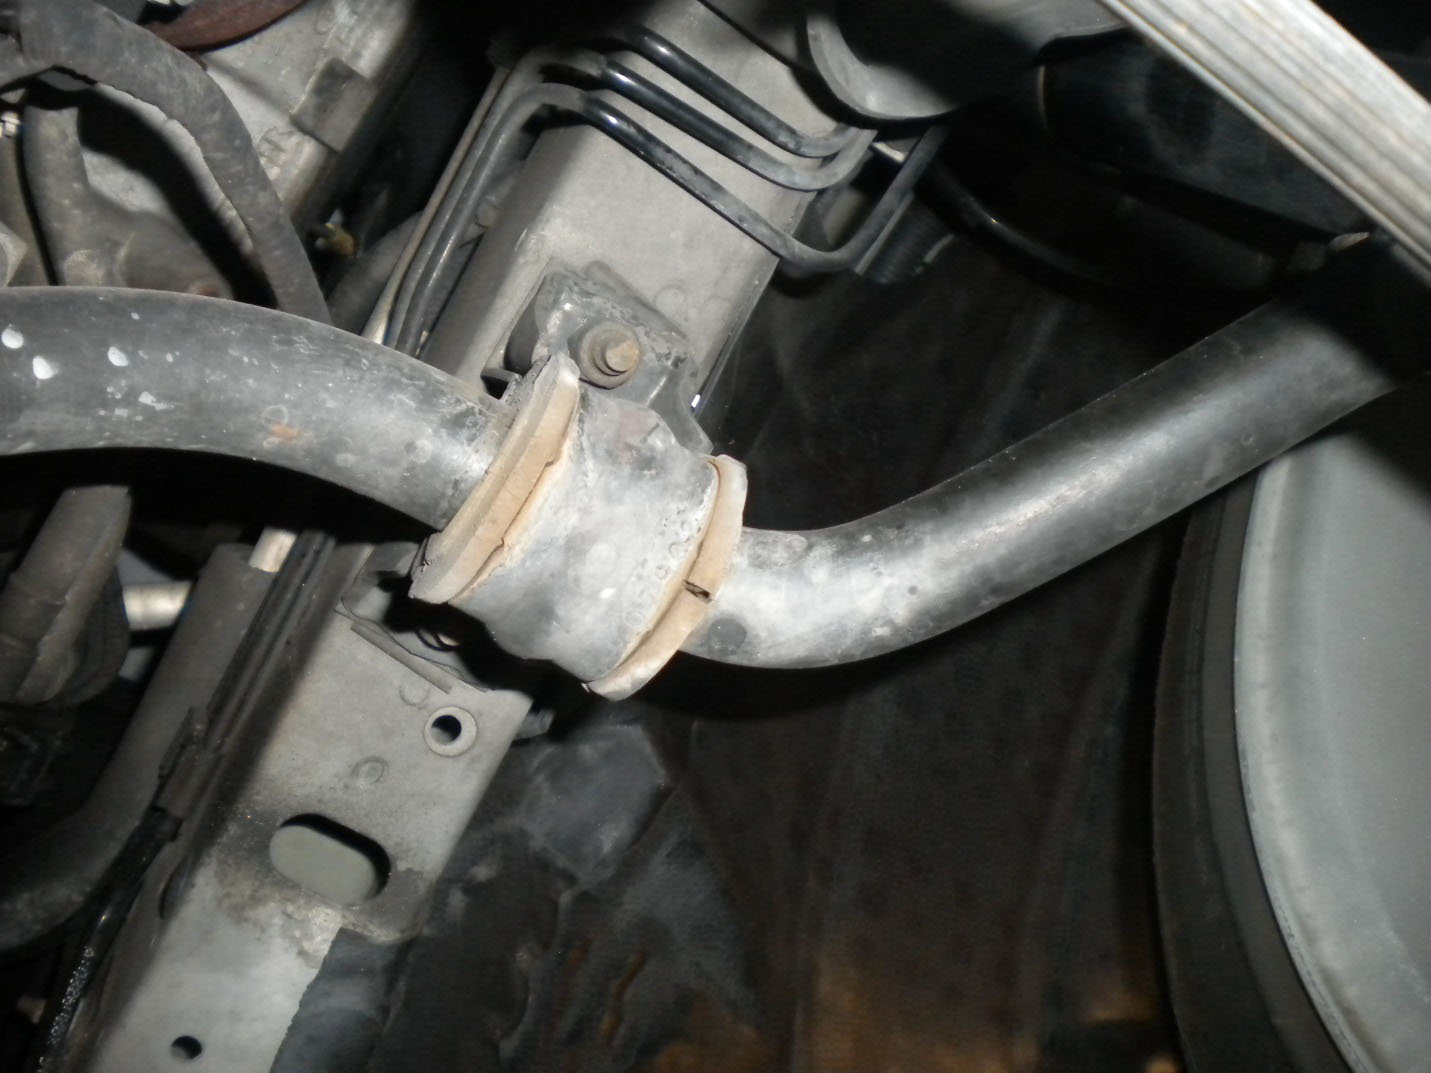
The two 5/8” nuts are circled in red. The sway bar bushing sleeve is what covers the bushing. Remove it by pulling straight down on it after removing the two nuts.
5. Using a knife or box cutter, cut the old bushing off.
6. Clean the sway bar, sway bar bushing sleeve, and the base that separates the bushing from the frame.
Installation Procedure:
1. Locate the slit that is pre-cut on the side of each new bushing. The new bushings will be put on the sway bar by opening the slit over the sway bar.
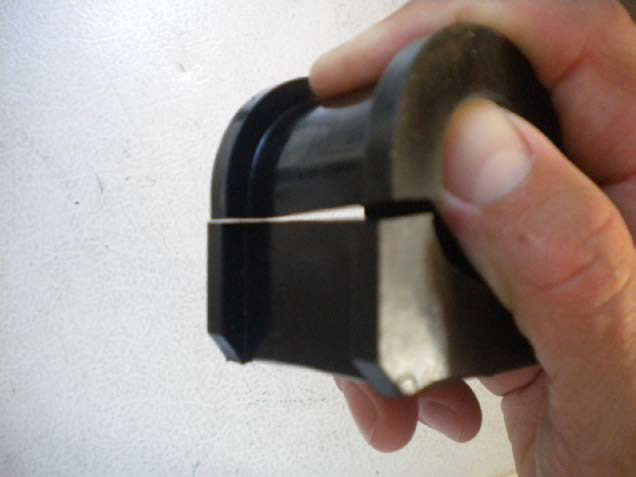
2. Using the provided grease, use approximately half the tube of grease on the first bushing, massaging it into the grooves of the bushing. Note the location of the cut in the bushing.
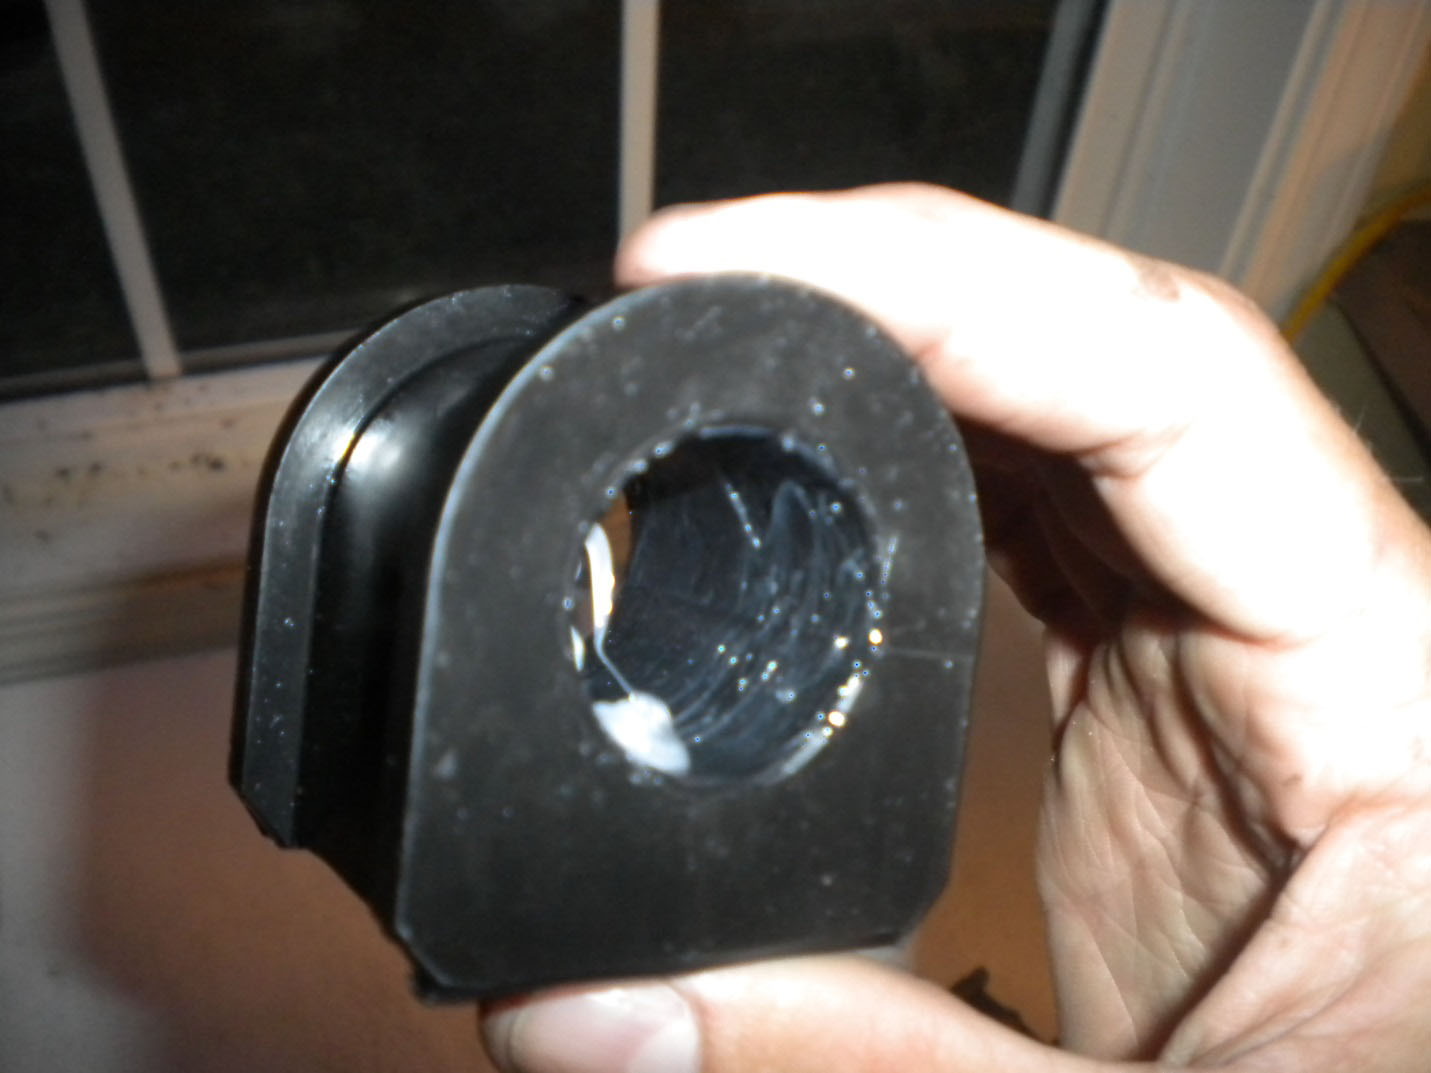
3. With everything cleaned, open the bushing and push it over the sway bar.
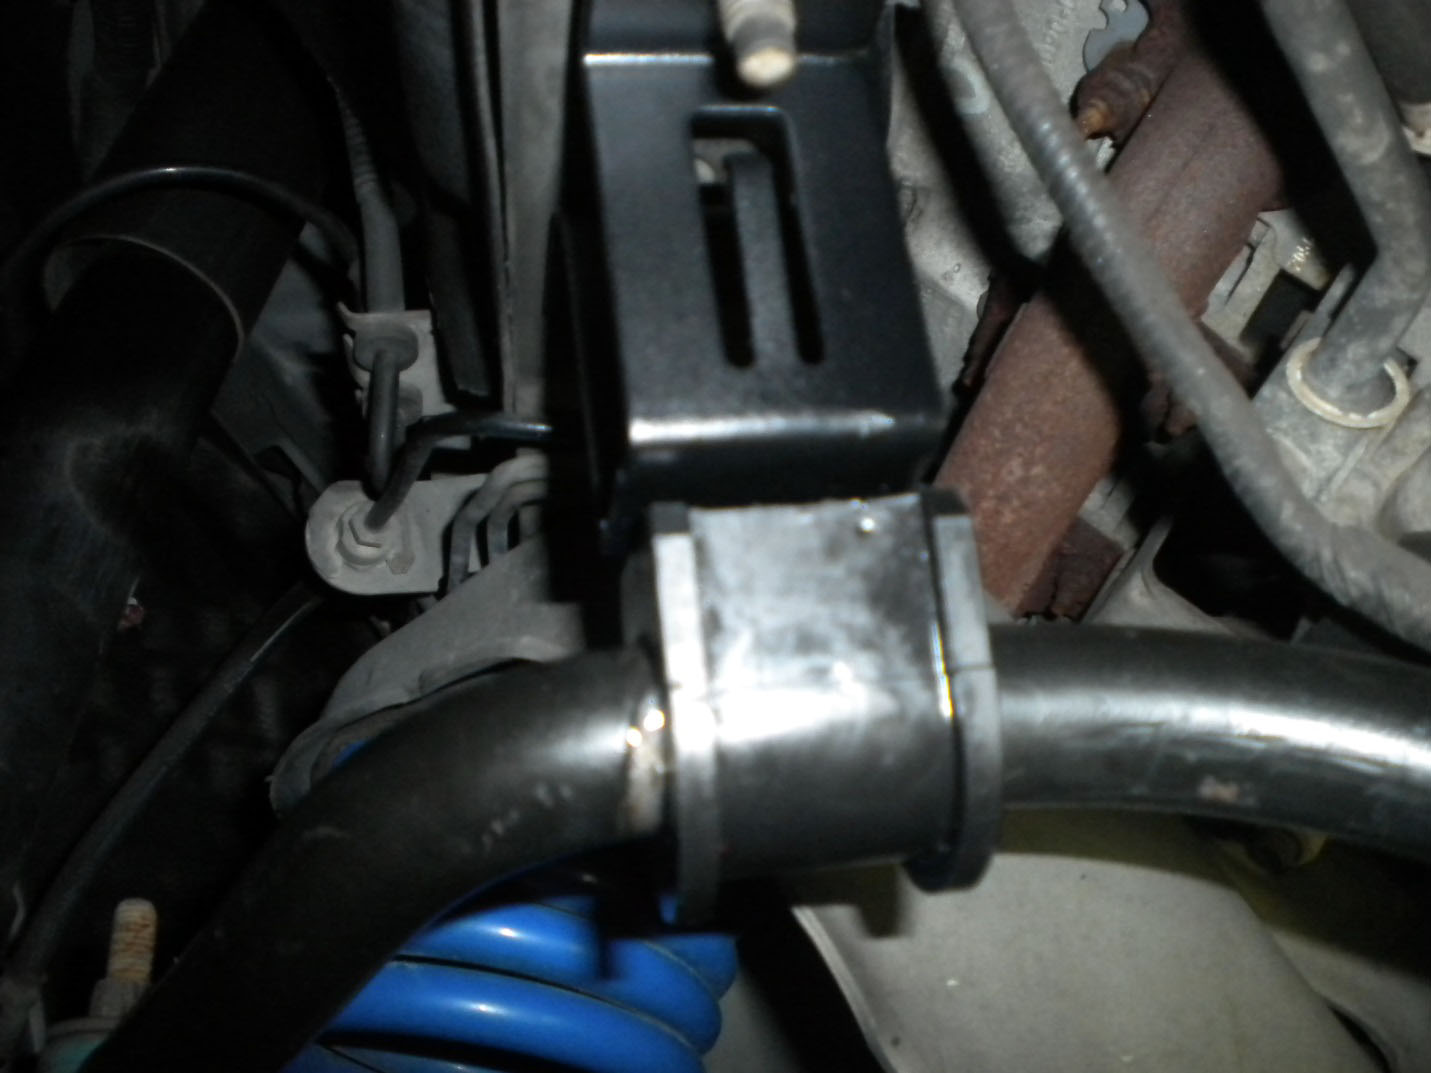
Top arrow: Sway bar bushing base, it separates the bushing from the frame. Bottom arrow: New Prothane bushing.
4. Re-install the sleeve by pushing it over the bushing. Tighten the two 5/8” nuts. To tighten the nuts, keep going back and forth between them so that the bushing is level and tightened evenly.
5. With the bolts snugged up well, repeat this procedure to the other front sway bar bushing.
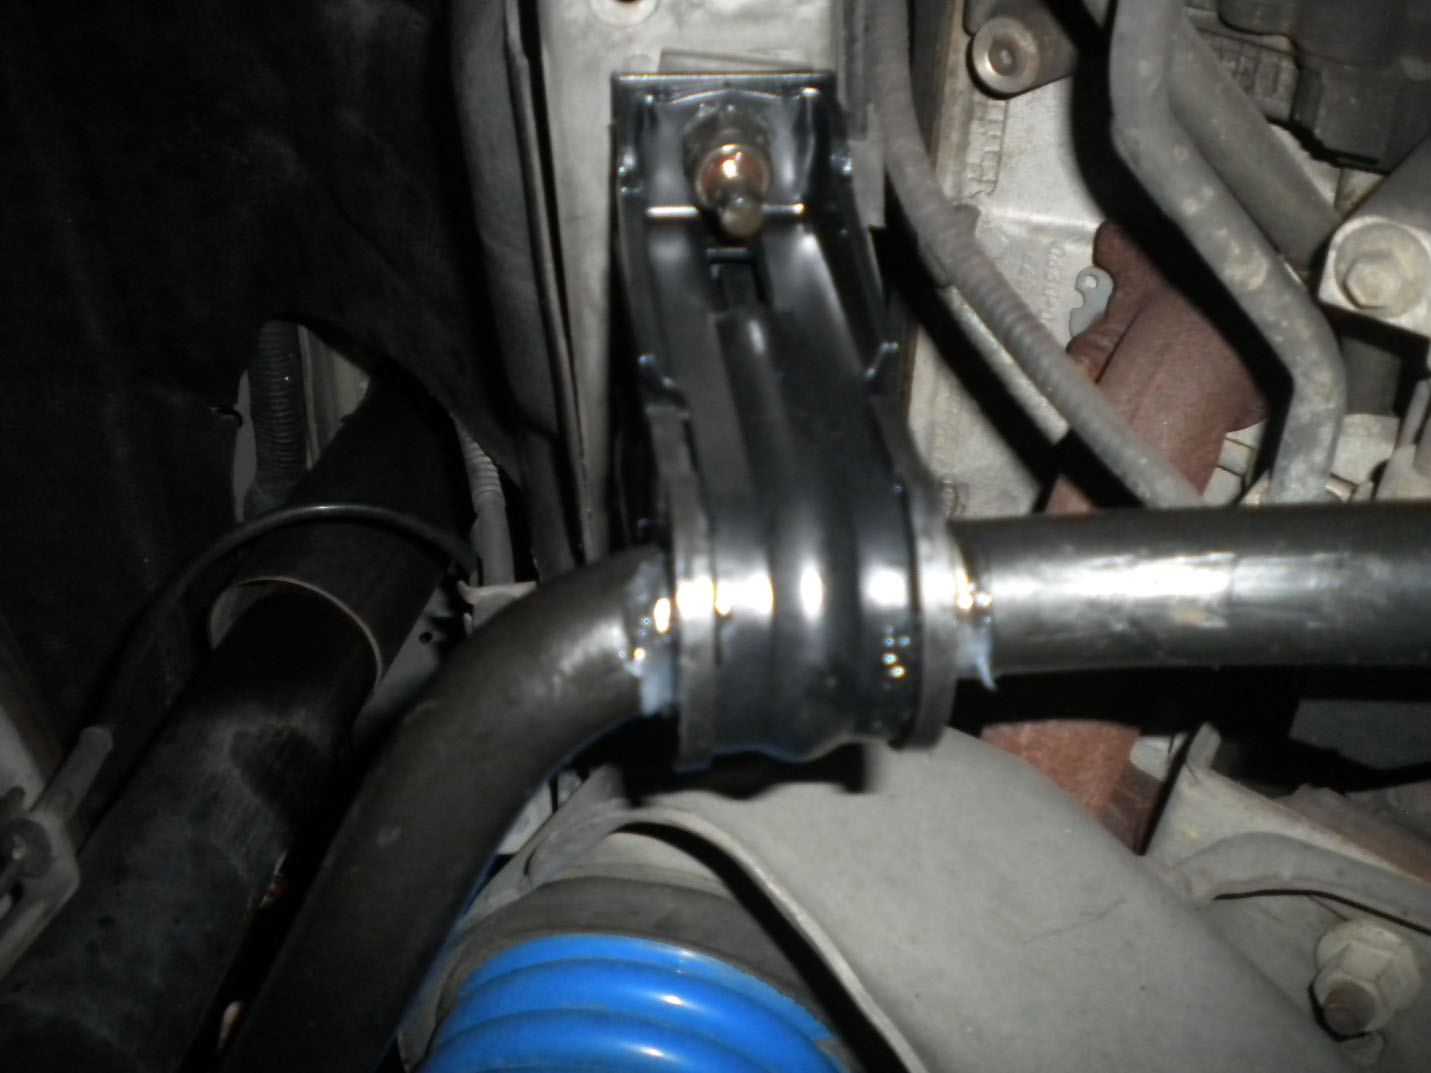
Enjoy crisper and more reliable cornering performance.
Installation Instructions Written By AmericanMuscle Customer John Collmann 11.12.13


