
How to Install Power Stop Cross-Drilled & Slotted Front Brake Rotors on your 2011-2014 GT Mustang
Installation Time
1 hours
Tools Required
- Torque Wrench
- 13/16 Socket
- Rubber Mallet
- 15mm Socket
- ½ in drive Ratchet
- Jack
- Jack Stands

Shop Parts in this Guide
Installation Instructions
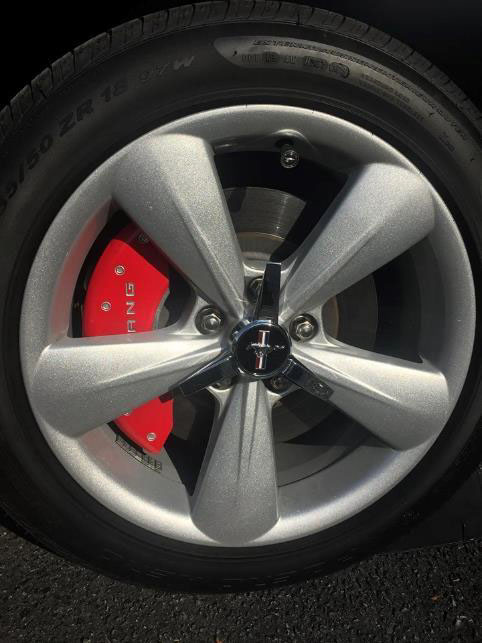
1. On level, solid ground, place wheel chocks and jack up the car and place on jack stands
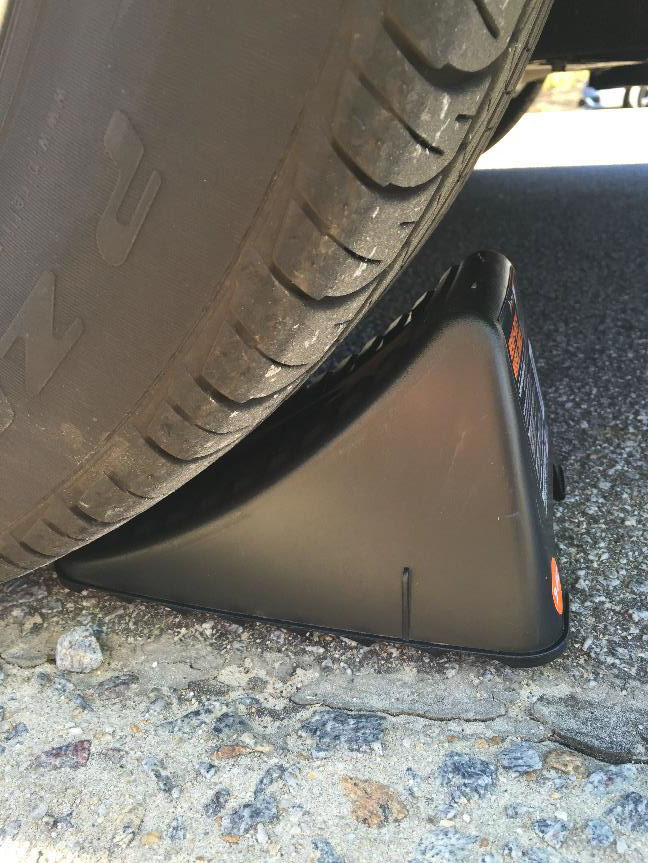
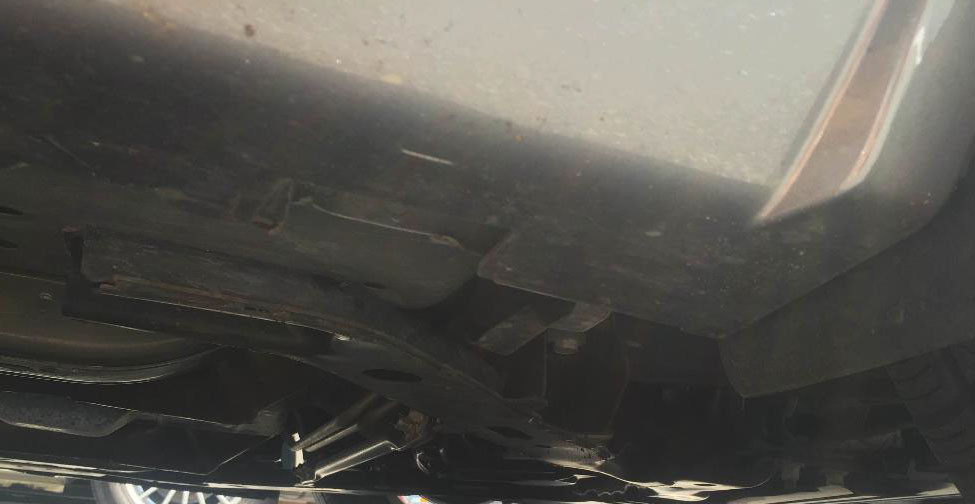
2. Remove the lug nuts and pull the wheel off.
3. Remove the 2 bolts holding the caliper bracket to the rotors using the 15mm socket. These may be very tight due to lock tight from the factory, a rubber mallet may be necessary here.
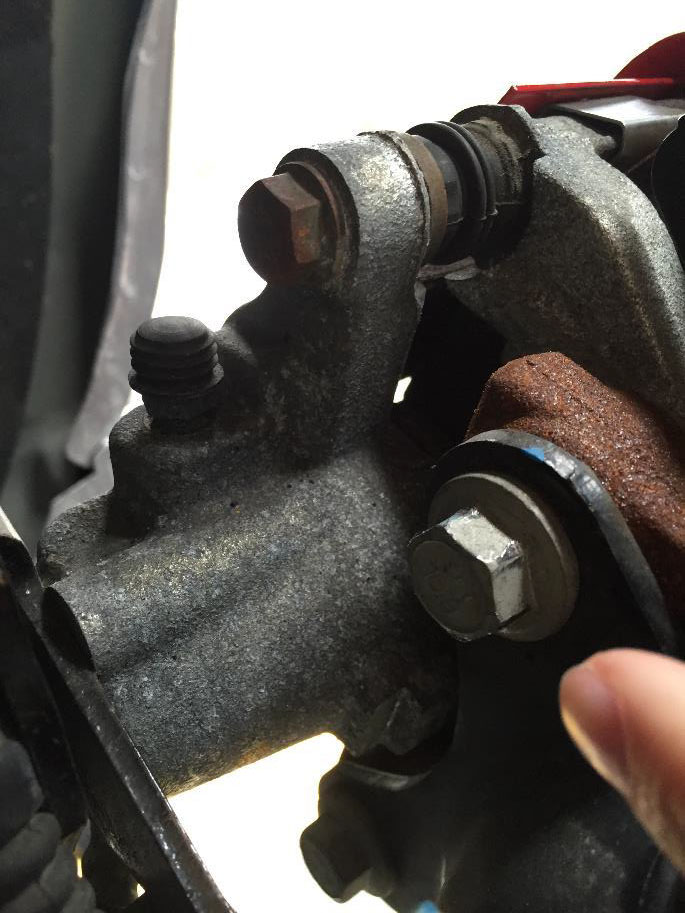
4. Rest the Caliper on a spare jack stand, do not let it hang by the brake line.
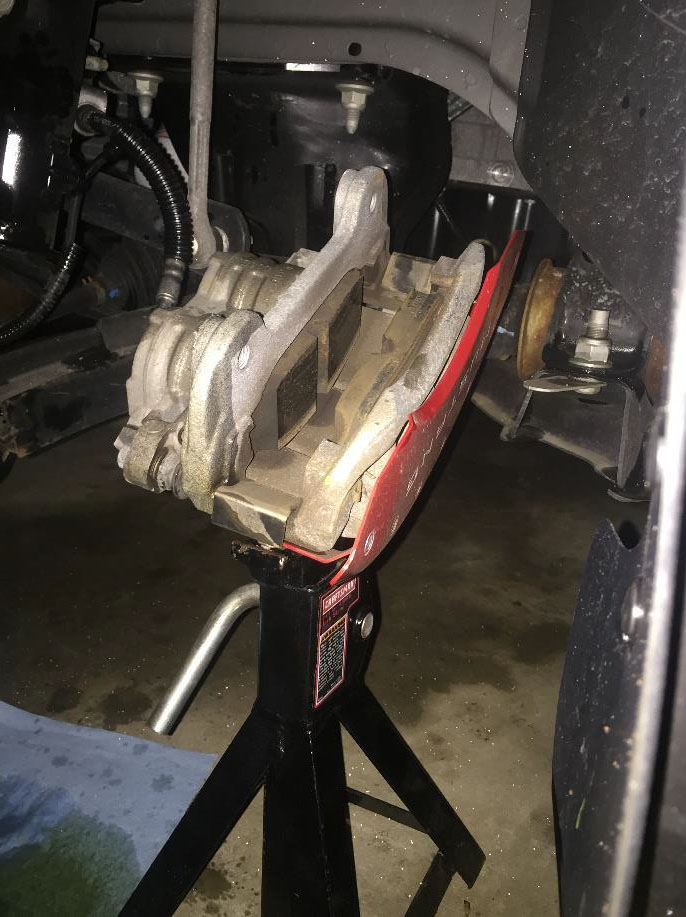
5. If present, remove the retaining washer and pull the rotor off. If the rotor does not come off, use the rubber mallet with a cloth to loosen the rotor.
6. Put the new rotors in place.
7. Reattached the caliper bracket and tighten the bolts down.
8. Put the wheel back on and tighten the lug nuts, but do not torque yet.
9. Lower the car back to the ground and torque the lug nuts in a star pattern to 100 ft/lbs.
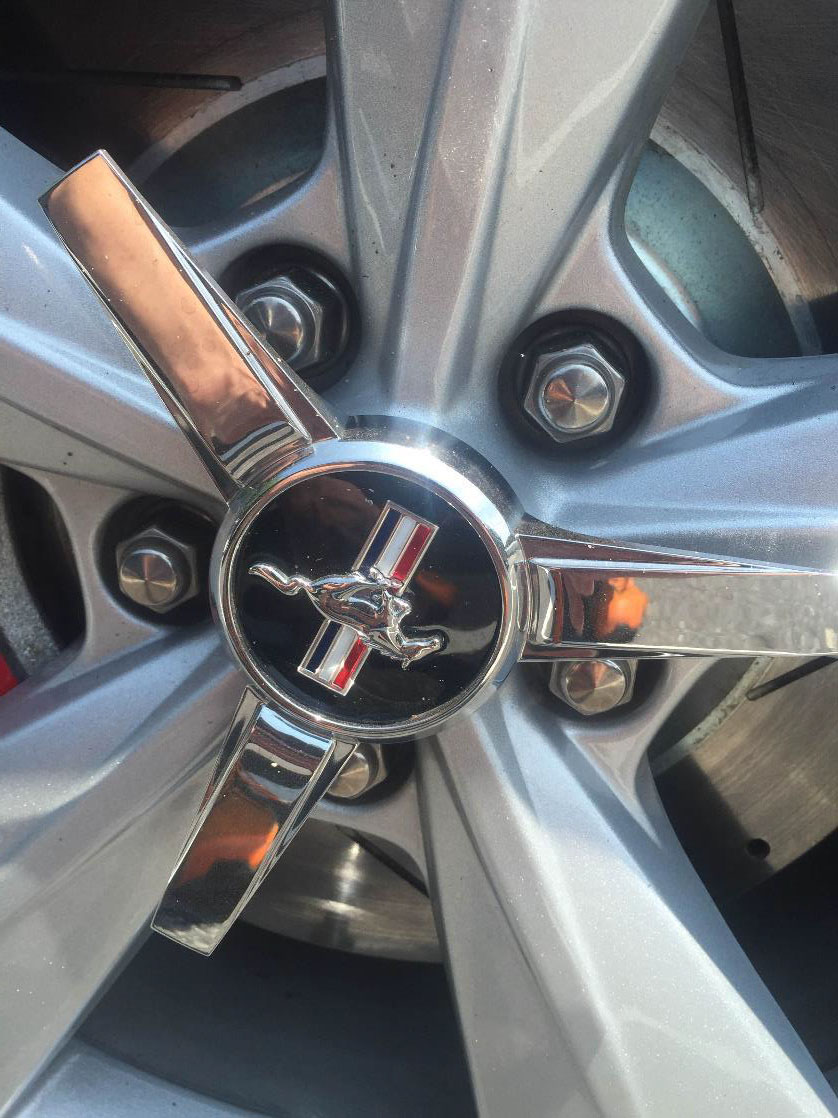
10. Repeat this process for the other side.
11. Enjoy your new brake rotors!
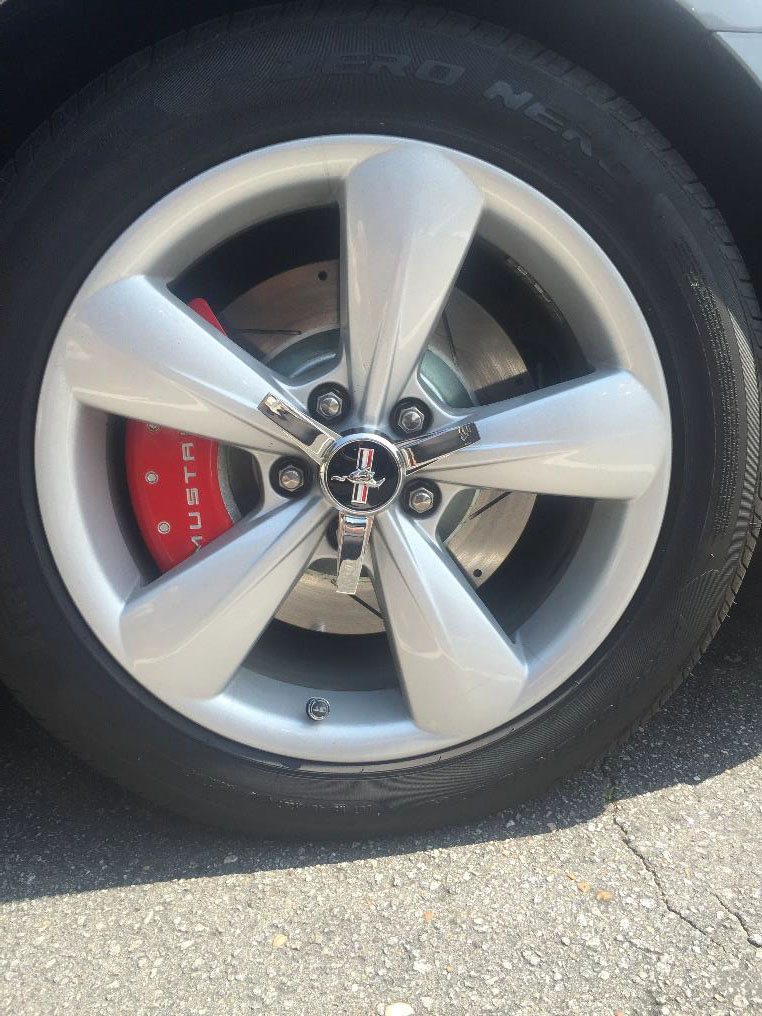
Installation Guide written by AmericanMuscle customer J. Blount – 6/8/15
