
How to Install Power Stop Evolution Cross-Drilled & Slotted Rotors - Rear Pair (94-04 Cobra, Bullitt, Mach 1) on your Ford Mustang
Installation Time
2 hours
Tools Required
- Jack
- Jack-Stand (s)
- Lug Nut Wrench/Breaker Bar
- Ratchet
- 12mm Crescent/Ratcheting Wrench
- 15mm Socket
- If you plan on changing the brake pads at the same time you will need:
- Rear Piston compression Tool (Can be purchased at any parts store for cheap)
- 3/8” Ratchet
- 3/8” Extension
Instructions for installing Powerstop Evolution Cross-Drilled & Slotted Rear Rotors on 99-04 Cobra, Mach 1, or Bullitt
Note: In this guide I will show you how to remove and replace the rear rotors for a 99-04 Cobra, Mach 1, or Bullitts. While it is recommended to also replace the pads when changing rotors, it is up to you if you choose to do so.
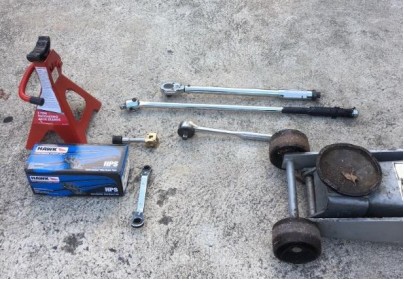
Step 1: Begin by loosening the lug nuts of your rear wheel, jacking the car up, and safely resting it on a reliable jack stand. Remove the wheel.
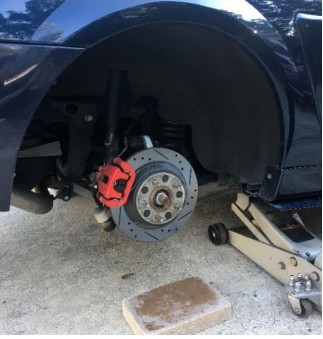
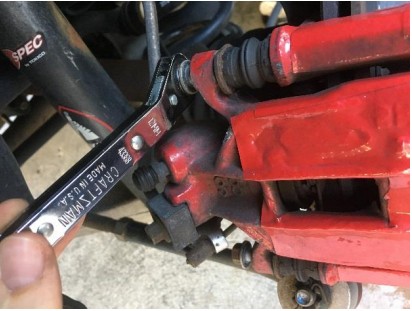
Step 2: With the wheel off, use your 12mm ratcheting wrench or crescent wrench to loosen the two bolts holding the caliper to the bracket. There is limited room, so a regular a ratchet/socket combo is unlikely to fit.
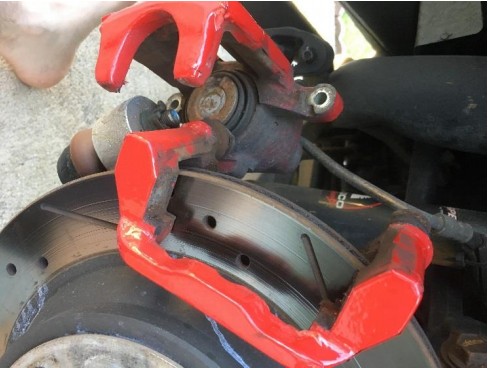
Step 3: Lift the caliper off of the pads, you may need a flathead to assist if the caliper is too tightly fitting. Secure the caliper somewhere so that there is limited stress on the brake line.
Step 4: Remove the old brake pads from the bracket. They simply slide out.
Step 5: With the caliper and pads out of the way, it is now time to remove the two 15mm bolts holding the caliper bracket to the car. These bolts can be very tight, so use a shorter breaker bar and be sure not to round them.
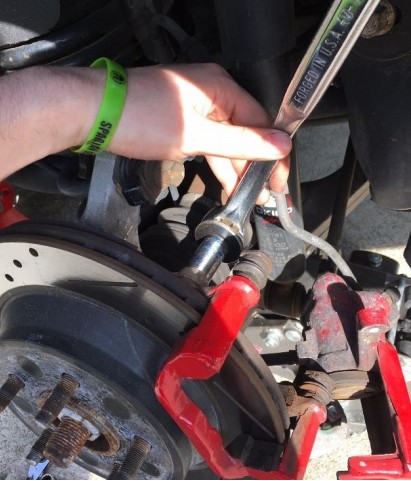
Step 6: Remove the caliper bracket
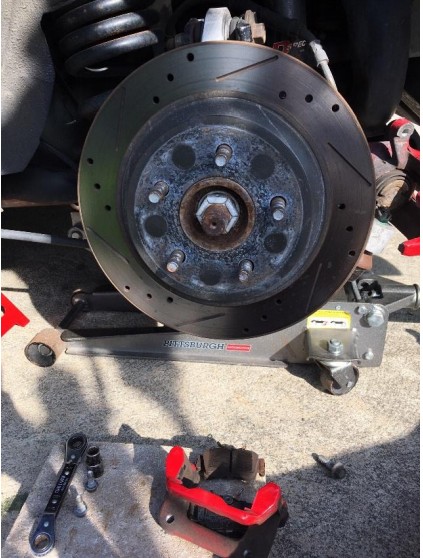
Step 7: You should be able to slide the rotor off now. If the rotor is seized to the hub, use a rubber mallet and hit the top and bottom to knock it loose.
Step 8: Clean the surface of the hub, and slide your new rotor into place. Be sure to use the correct rotor as they are side specific.
Step 9: Reinstall your caliper bracket, making sure the bolts are tightened down hard. At this time it’s a good idea to spray the new rotor with brake cleaner to remove any factory coatings.
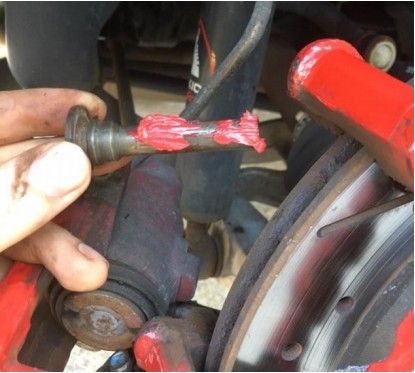
Step 10: Pull the slide pins out of the back on the caliper bracket. These pins should be moving freely. If not, clean them off and apply some grease to the pins and re-insert them.
~~~Steps 11 and 12 concerns how to change the brake pads. If you are re-using your old pads, feel free to skip ahead ~~~
Step 11: Using your Rear-Caliper Piston Compression Tool, find the appropriate side that fits the slots of your caliper piston. Using the 3/8 ratchet and extension, along with the compression tool, turn the piston clockwise until it is fully compressed back into the caliper. (Rear calipers must be spun and pushed in at the same time, unlike the fronts that only need to be pushed straight in). Make sure that the slots on the piston are at the top and bottom when you are finished rotating.
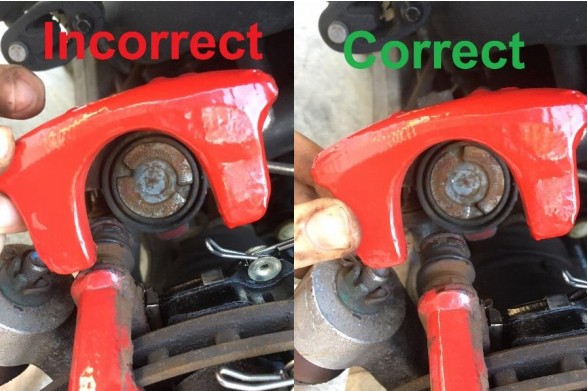
Step 12: {Optional} Apply some grease to the backs of your new pads, and on the shims to reduce vibration noises.
Step 13: Insert the new pads into the bracket, make sure they fit snuggly. You can now fit the caliper back over your new pads.
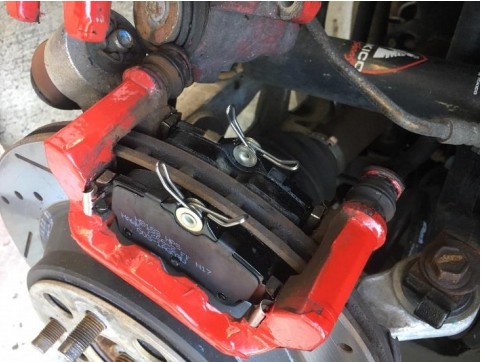
Step 14: Using your 12mm ratcheting wrench, tighten down the caliper bolts.
Step 15: Re-install your wheel, and repeat the entire process on the other side of the car.
Enjoy your new stopping power!
Note 1: If you compressed your piston to install new pads, you will have to pump your brake a few times before moving the vehicle.
Note 2: Follow the manufacturer’s recommended bedding procedure to “bed in” the new rotors properly.
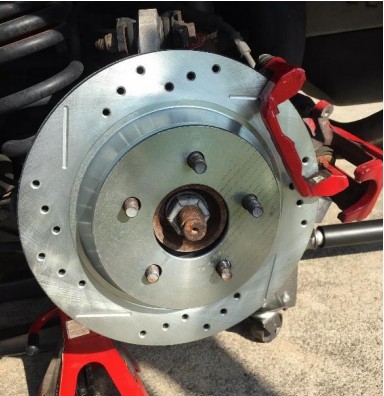
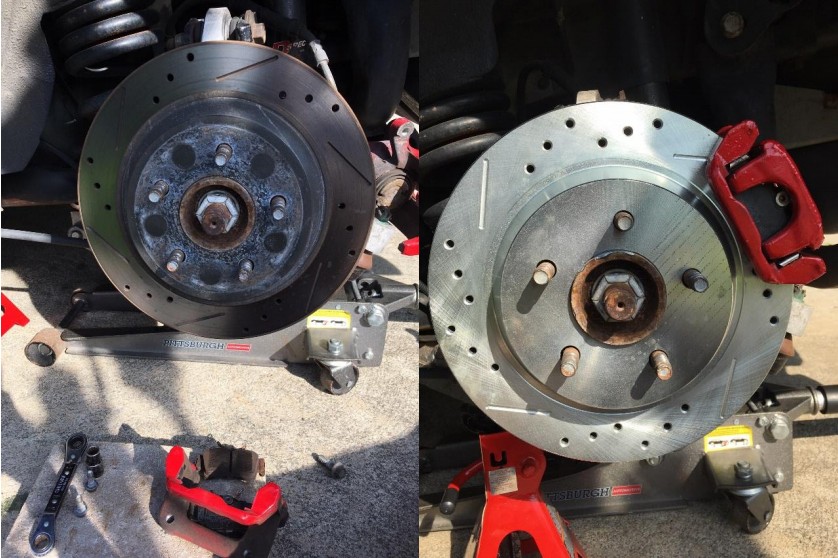
Before/After:
Installation Instruction Written by AmericanMuscle Customer Eric 5/20/2019

